General Information
An Email autoresponder is a very handy feature that allows users to set an automatic reply for incoming Emails to their account, whenever they are unavailable.
Some reasons why you might need or use an email autoresponder are if you are on vacation and want to let people know you will get back to them after you return, or if you have a contact email address that accepts “general e-mail” and you want to send an automatic reply to people who send email to this address letting them know you received their e-mail.
How to Create Email Autoresponders in cPanel
There are two ways of doing this. Either from your cPanel account or directly from your Webmail interface. Let’s review the cPanel method first.
1. Login to your cPanel account.
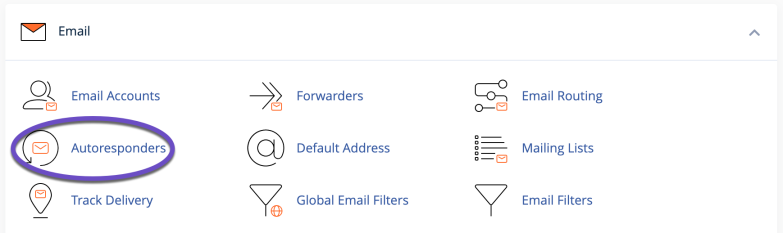
2. Navigate to the Email section and click on Autoresponders.
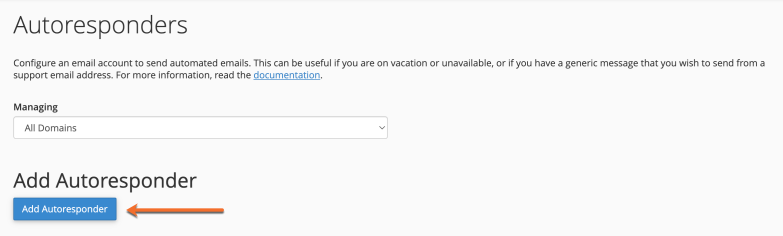
3. If you haven’t already created an autoresponder, click on Add Autoresponder. Once on this page, you will be prompted with some helpful information.
5. Fill in each empty field starting with the Character Set. This is set by default to utf-8, a commonly used internet communication standard. We recommend you leave this setting as it is.
6. Next, we have the Interval box. Here you can set the number of hours the autoresponder has to wait between replies to the same sender Email address. This is important to prevent spamming senders with Auto-reply messages. If you set the interval time to 0, senders will receive the autoresponder’s message after each Email sent to your account.
7. In the Email box, you must specify the Email address you wish to add the autoresponder to. Below, under Domain, you need to choose the associated domain.
8. The From box will encapsulate your User Name to appear in the response.
9. The Subject line is self-explanatory. As with regular Email communication, this line will contain the autoresponder subject header.
In the Body text, you can include your autoresponder message. You can also choose to add HTML formatted text inside. In this case, make sure to check the box above This message contains HTML.
10. The Start and Stop settings set the time frame you wish the autoresponder to be active. You can either have it start immediately and run continuously until you turn it off or choose a specific time frame by clicking on Custom.
11. Click Create/Modify, then go back to see your autoresponder.
How to Create Email Autoresponders using Webmail
The second way to add an autoresponder to your Email address is by accessing it directly from your Webmail account. For this, you will need to follow roughly the same process.
First, log in to your Webmail account by navigating to https://yourdomain.com:2096.
Next, scroll down the page to the Manage Your Inbox section and click Autoresponders. You will be redirected to the same page we described above.

Now all you need to do is follow the steps described above from 1 through 11, and you’re all set.
We hope this has been helpful to you. If you have further questions, drop us a message in our online support chat.