1. Home
  2. Managed WordPress
  3. How Create a New WordPress Instance Using the WordPress Manager

How Create a New WordPress Instance Using the WordPress Manager

This tutorial applies exclusively to our Managed WordPress Hosting product.

Follow these steps to create a new WordPress instance using the WordPress Manager:

1. Log in to the WordPress Manager.
(If you need help logging in, see this article.)

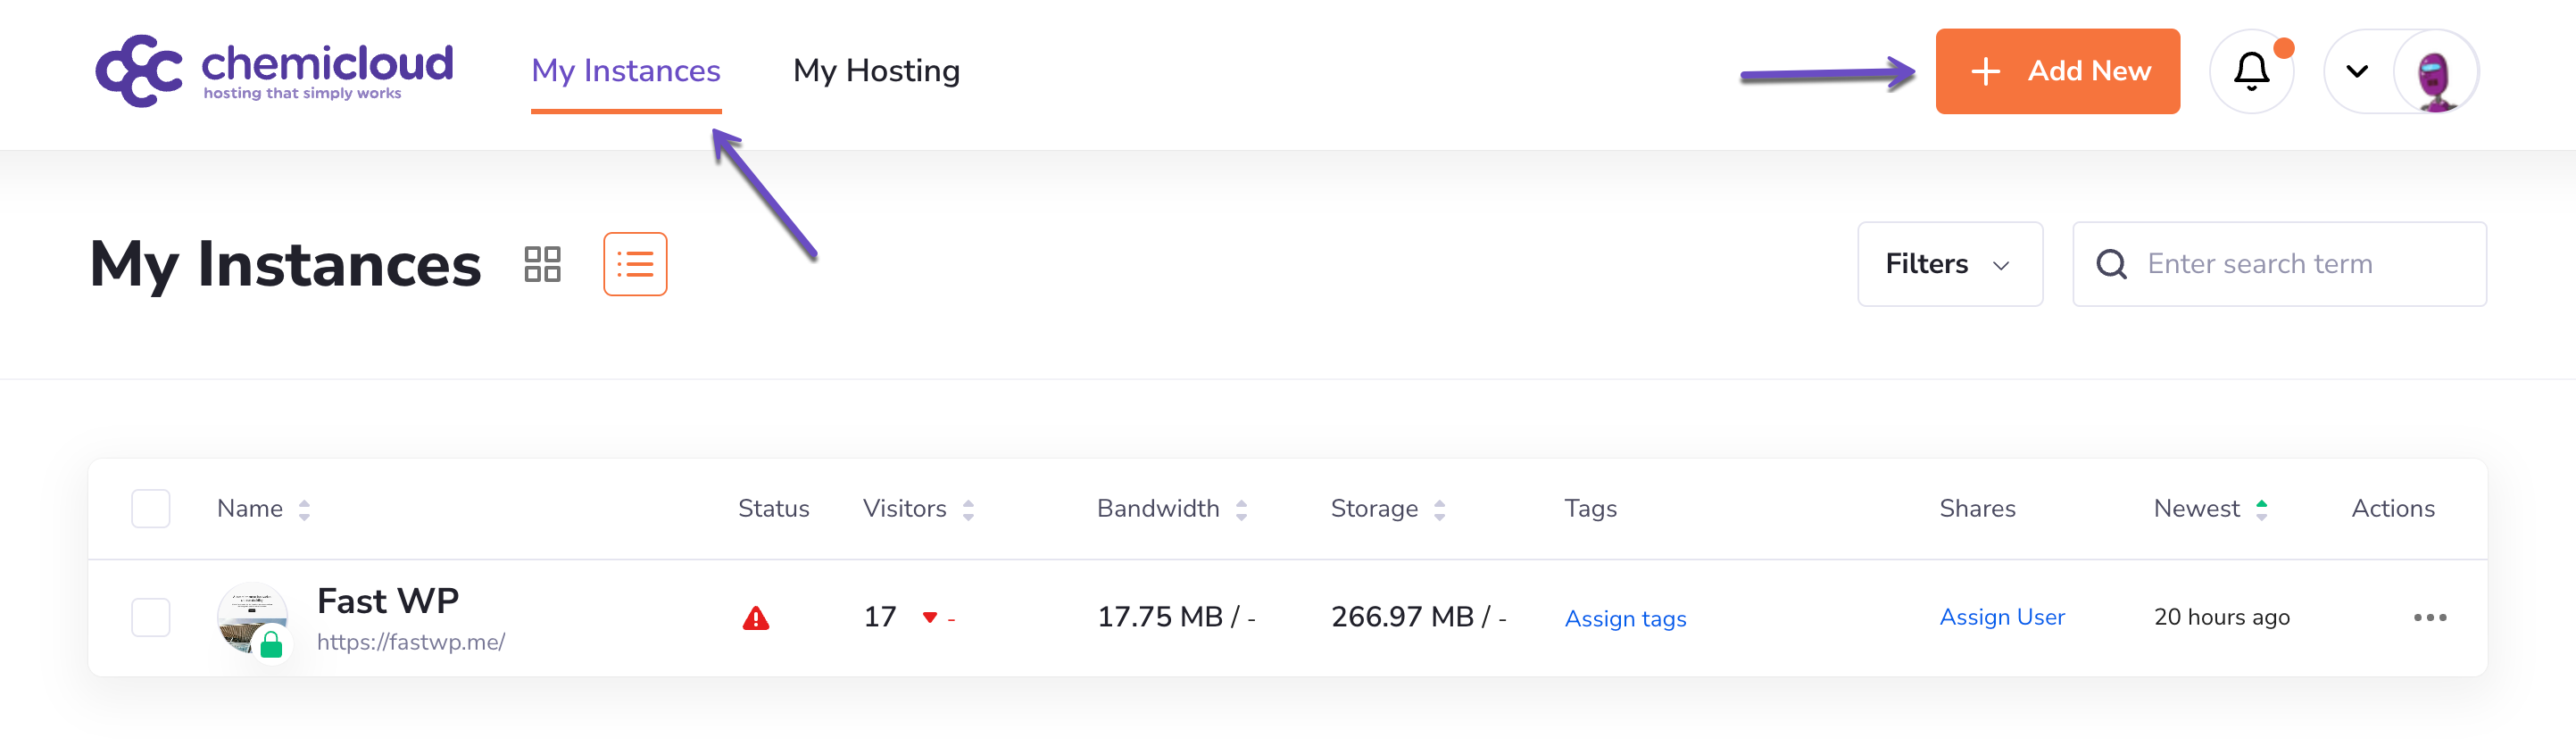
2. Go to My Instances > click + Add New to create a new WordPress instance.

You’ll be prompted to either create a new WordPress instance or import one from another provider.

My Instances > Add New

3. Select “Create New WordPress Instance” and click Continue.

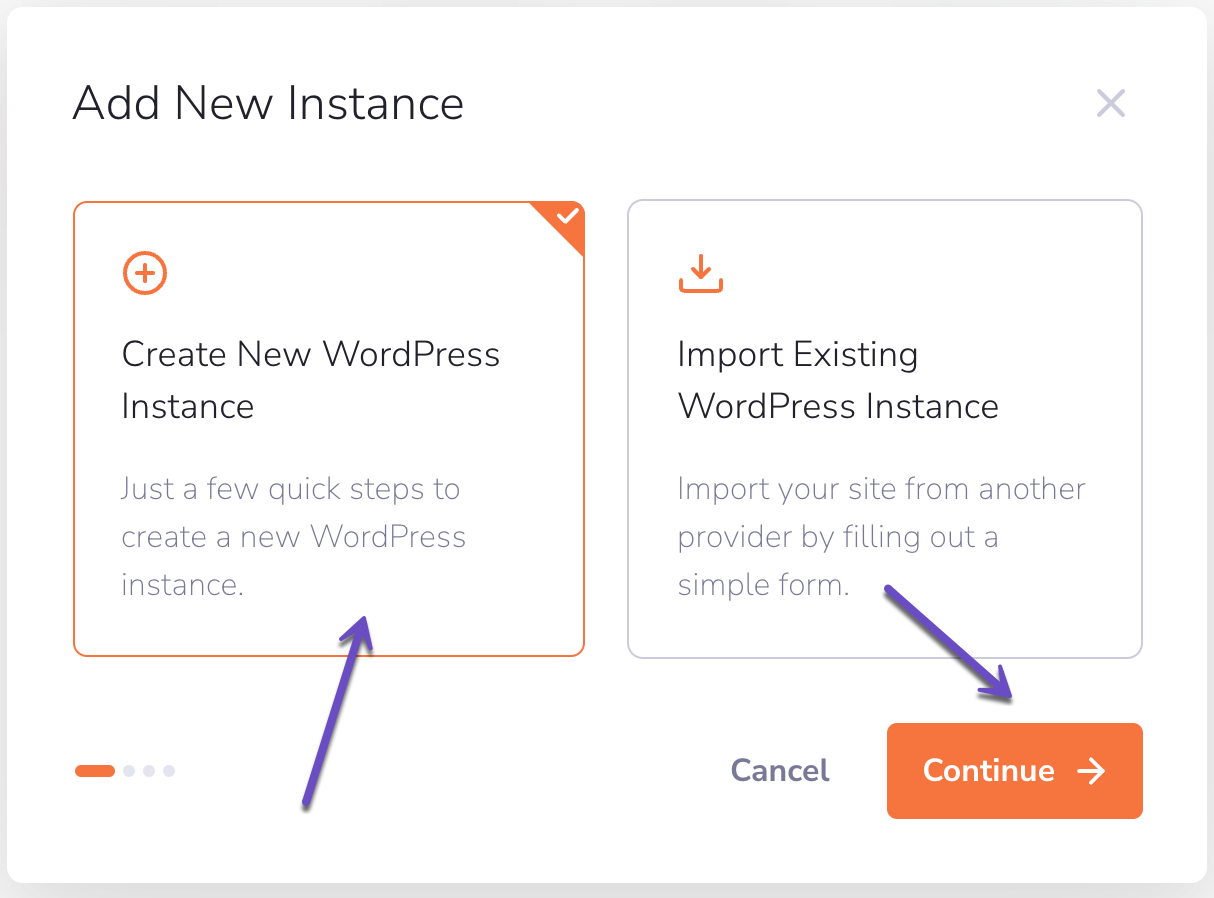
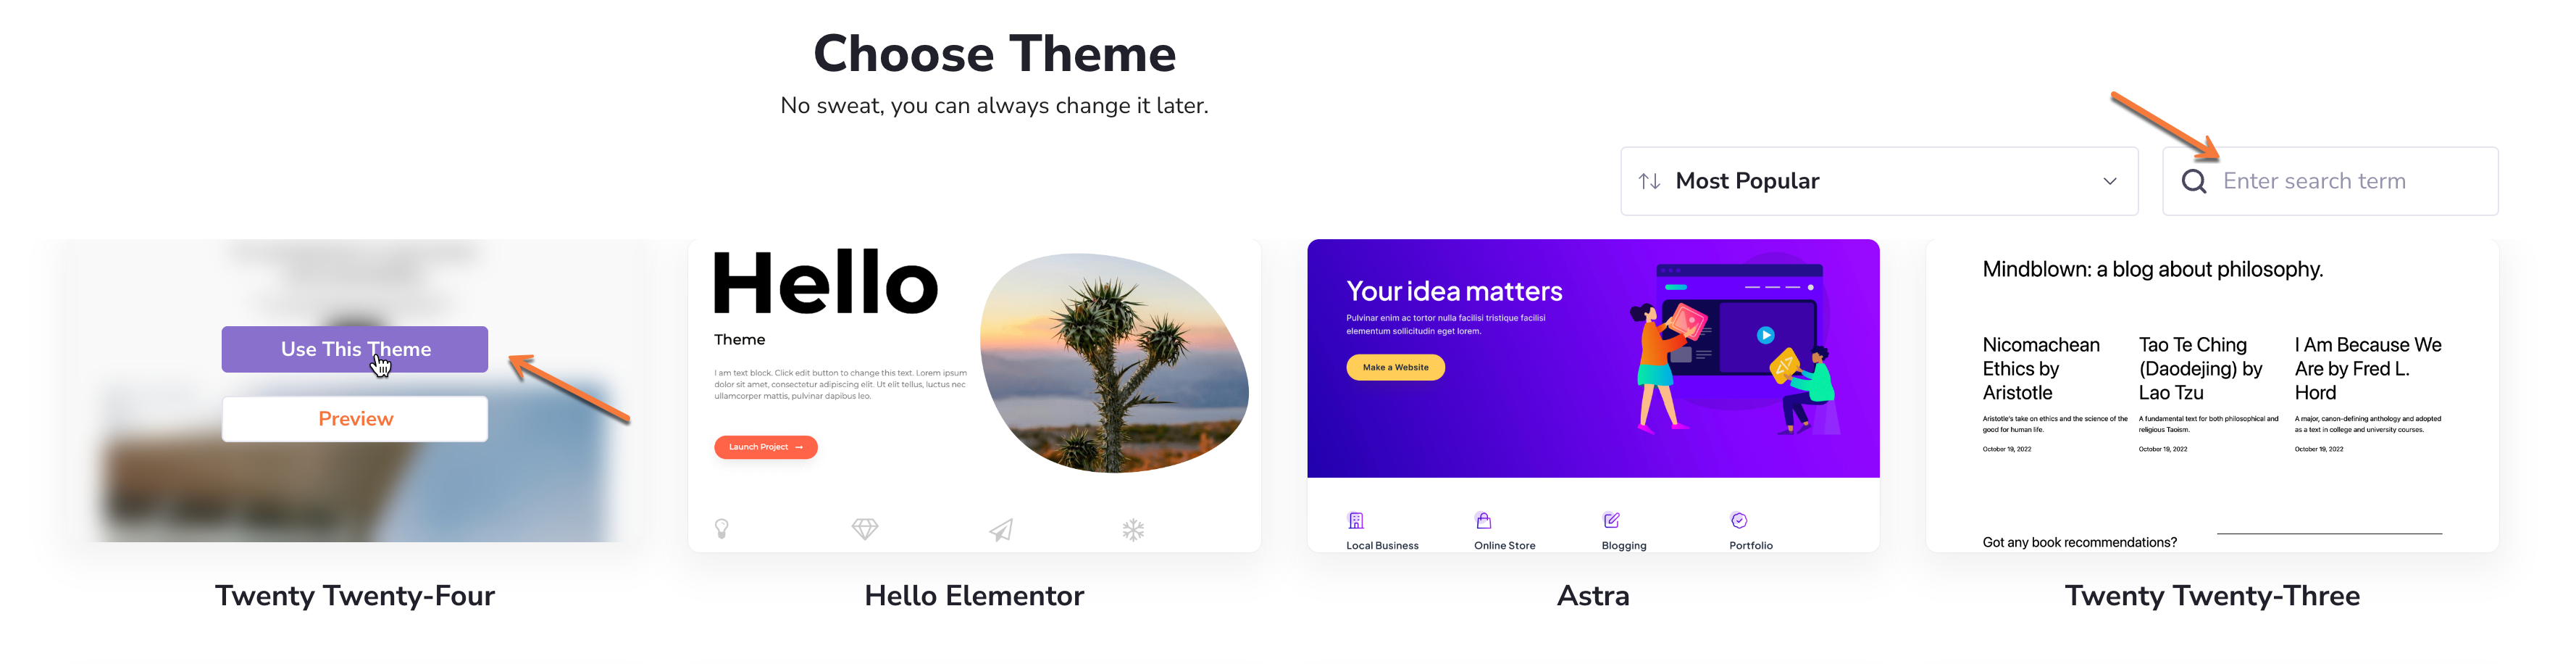
4. Choose a WordPress theme from the list or search for a specific one in the WordPress theme repository.

Choose WordPress Theme

(If you plan to install your own theme later, select any theme for now. You can upload your own theme through the WP admin panel after installation.)

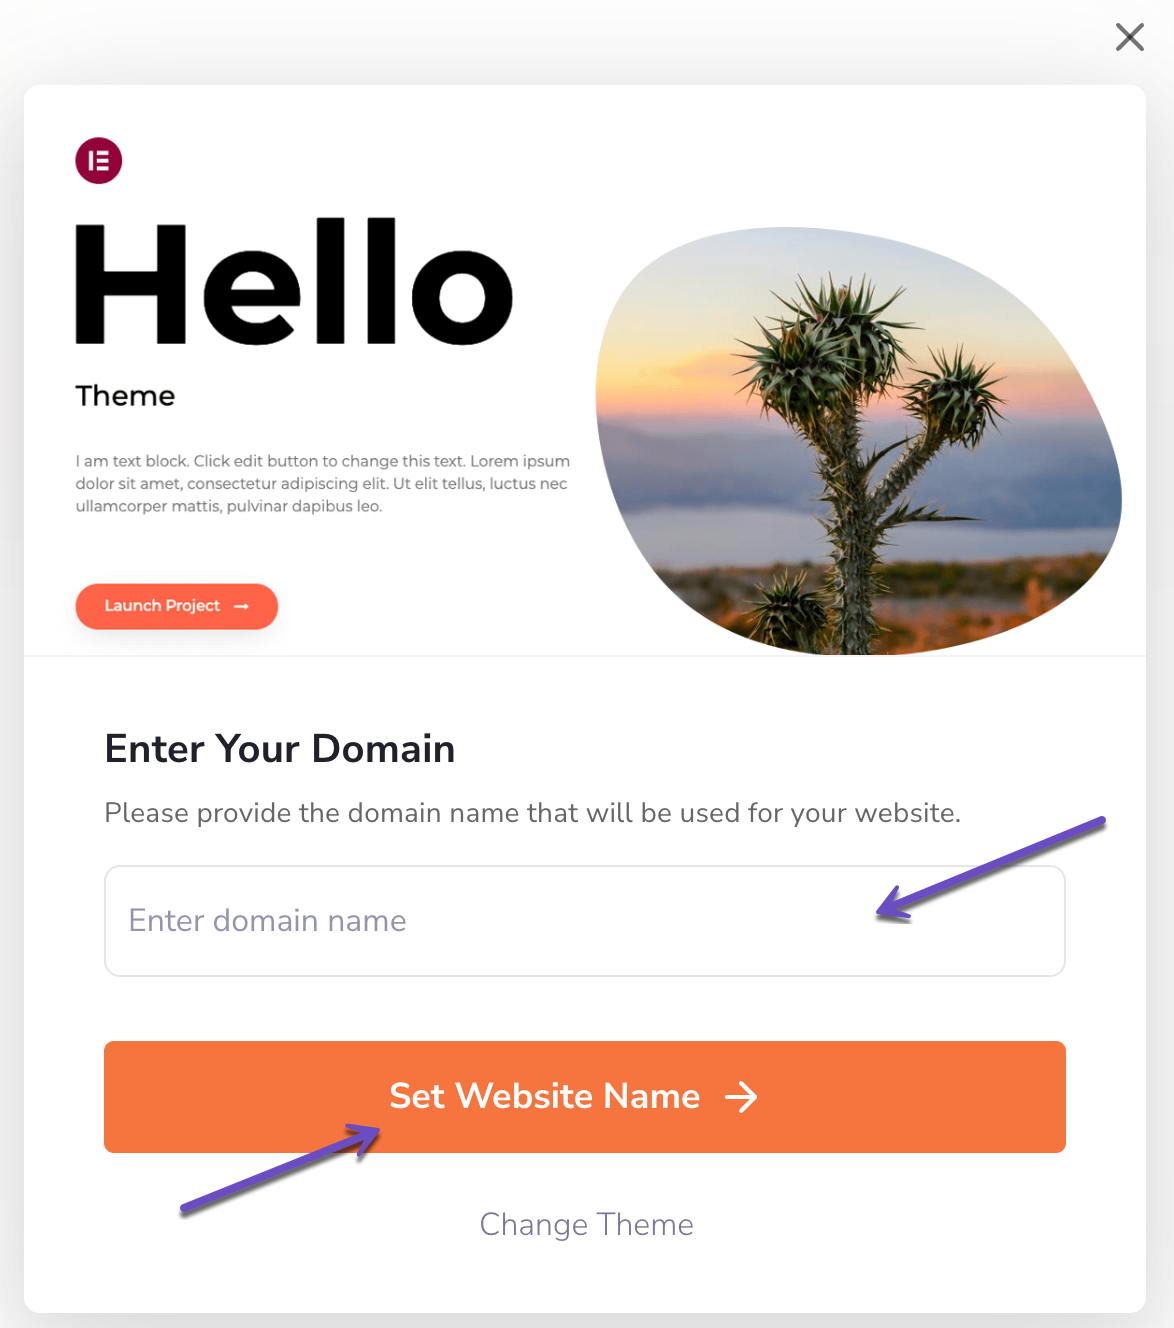
5. Please provide the domain name that will be used for your WordPress instance, then click on the “Set Website Name” button to go to the next step.

Enter Your Domain

5. Set your site’s name

Choose a name that will help you easily identify the site, especially if you’re managing multiple WordPress sites.

Set WordPress Instance Name

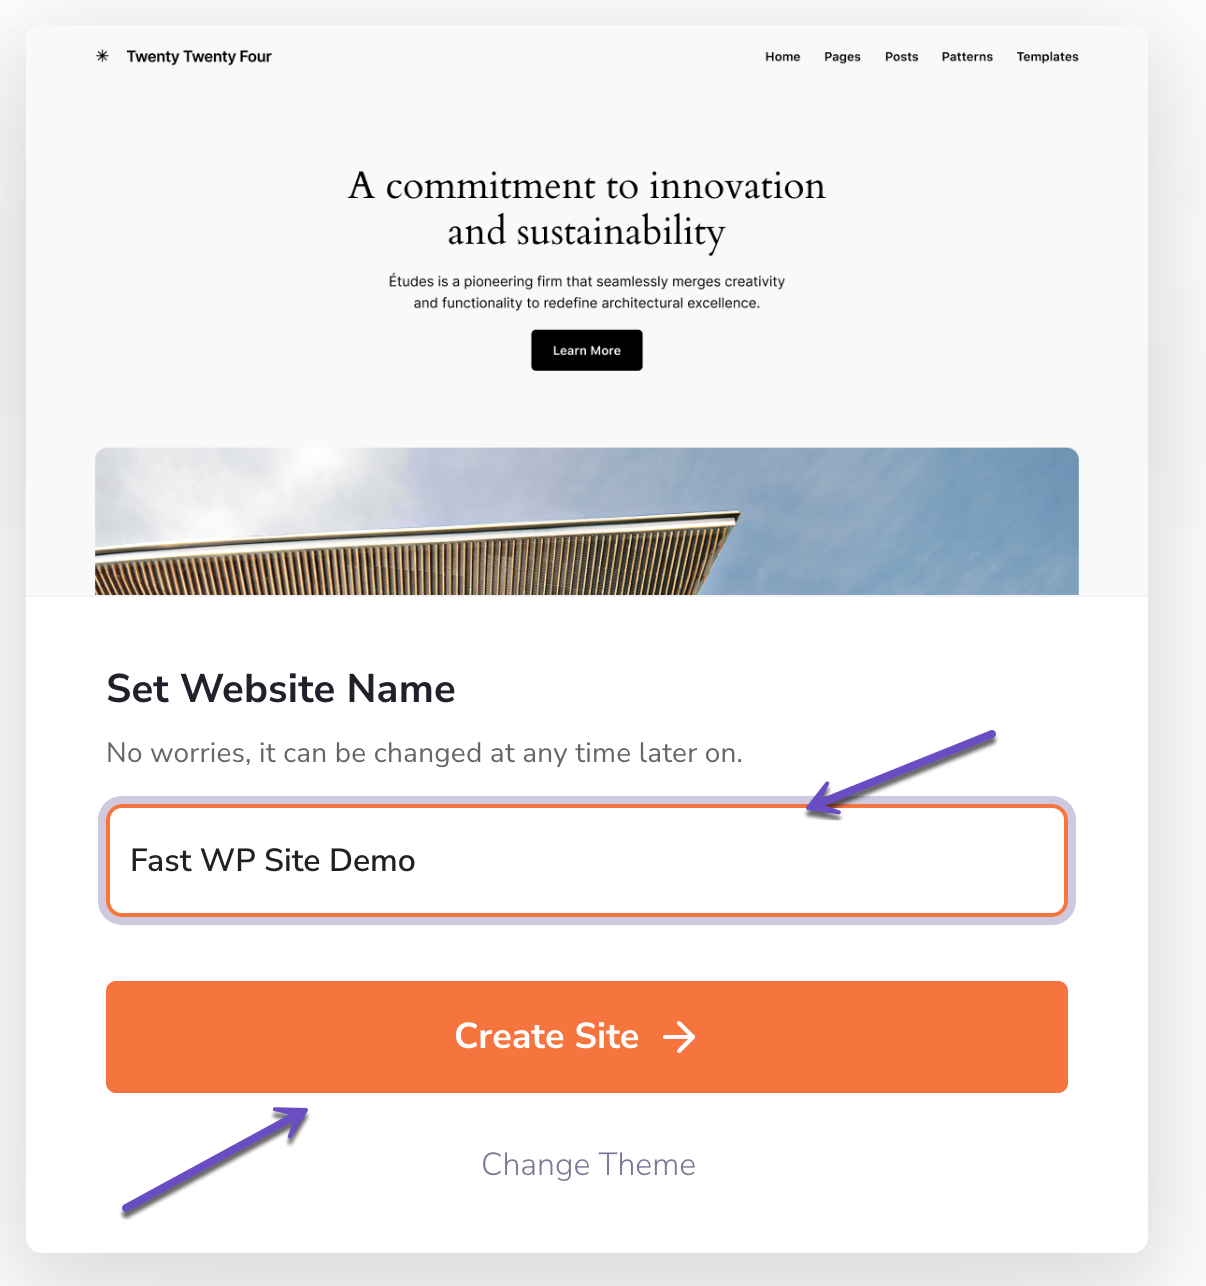
6. Click “Create Site”
Once the installation is complete, you’ll see a confirmation message.

That’s it! You can now start managing your new WordPress instance by clicking Manage Your Website.

⏭️ Join us for the following tutorial, where you will learn how to manage your WordPress instance.

Updated on October 12, 2024
Was this article helpful?

Related Articles

Spring into Savings!
Up to 78% Off Hosting Plans + Free Migration!
👉 View Deals

Leave a Comment