The WordPress Manager allows you to view and manage all your WordPress installations in one place.
In this tutorial, we’ll explore different ways to access the WordPress Manager so you can choose the method that works best for you.
Method 1: Logging In Through Your ChemiCloud Client Area
You can easily access the WordPress Manager directly from your ChemiCloud customer account.
This method simplifies the login process by using your existing account credentials, eliminating the need for separate login details.
Step 1: Go to chemicloud.com/login and log in to your ChemiCloud customer account.
Step 2: In your Client Area Dashboard, navigate to Active Services. Click the “WordPress Manager” icon on the right side.

This action will automatically log you into the WordPress Manager without requiring a separate username and password.
That’s it! You’re now logged into the WordPress Manager automatically. Easy, right?
Method 2: Logging In Directly via URL
If accessing the ChemiCloud Client Area isn’t convenient, you can log in directly using a direct URL.
Step 1: Enter the following URL into your browser’s address bar:
https://manage.serverhostgroup.com/login
Step 2: You’ll be prompted to enter your email address and password. Please use the “Forgot password?” feature to reset your password and set a new one. The email address is the same as the one that you’ve used while placing the order with us.
Your login screen should look like this:
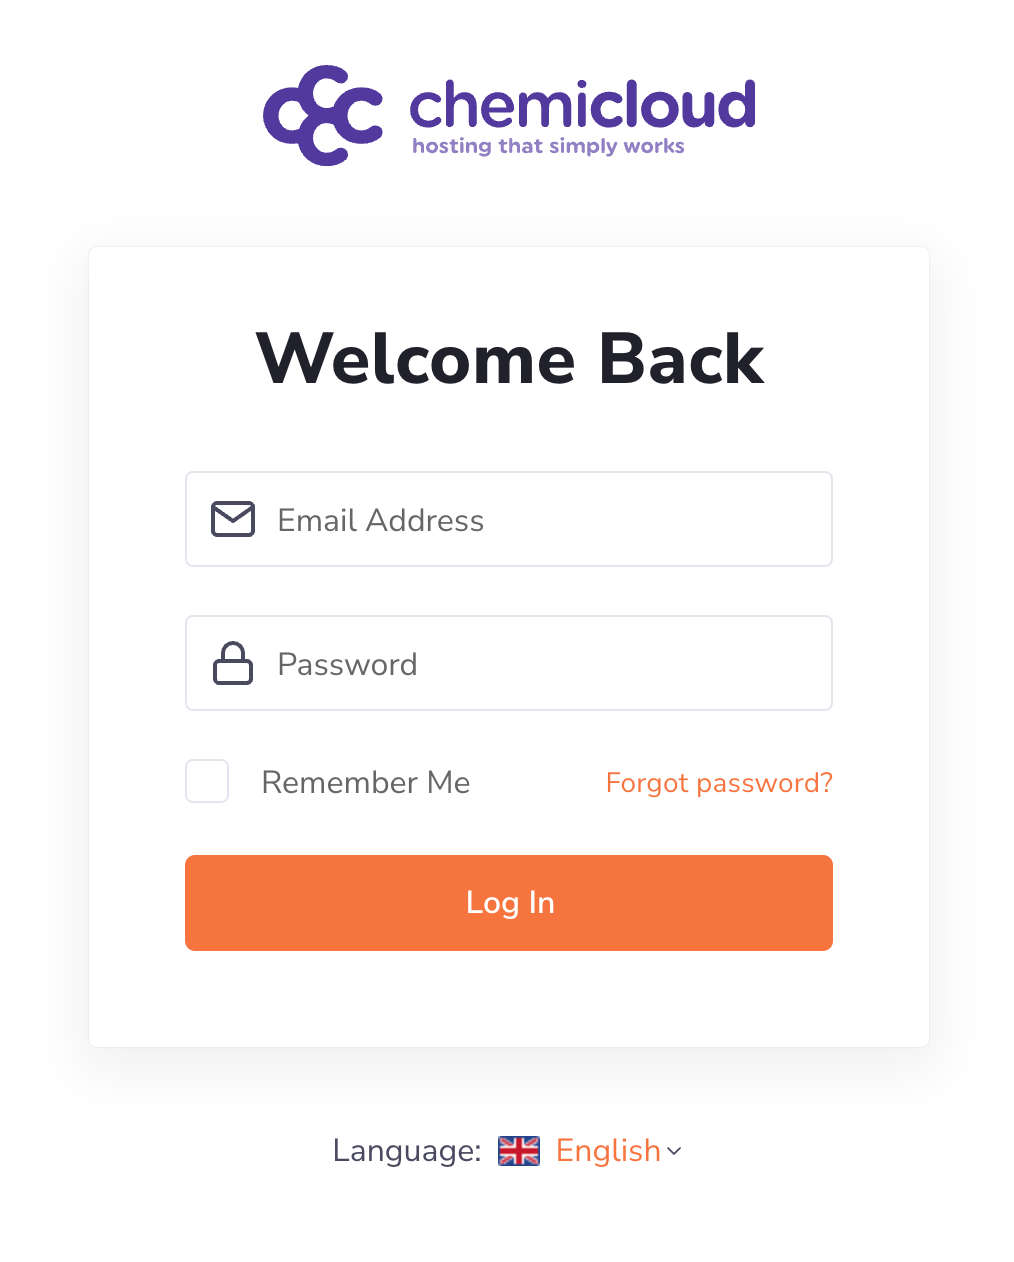
Step 3) Click Log in.
That’s it! This action will log you in the WordPress Manager automatically. That was easy, right?
Choose the method that suits you best and enjoy managing your WordPress installations with ease!
Enhancing the Security of Your WordPress Manager Account
In this section, we’ll discuss how to enhance the security of your WordPress Manager account by enabling Two-Factor Authentication (2FA).
1) Enabling Two-Factor Authentication (2FA)
Two-Factor Authentication (2FA) adds an extra layer of protection by requiring two forms of identification when logging into your account: something you know (your password) and something you have (like a one-time code generated by an authenticator app). Enabling 2FA significantly reduces the risk of unauthorized access.
To enable 2FA in your WordPress Manager, follow these steps:
Step 1: Log in to your WordPress Manager.
Step 2: Click on your client profile icon located at the top right corner of the screen.
Step 3: Select Account Details from the dropdown menu.

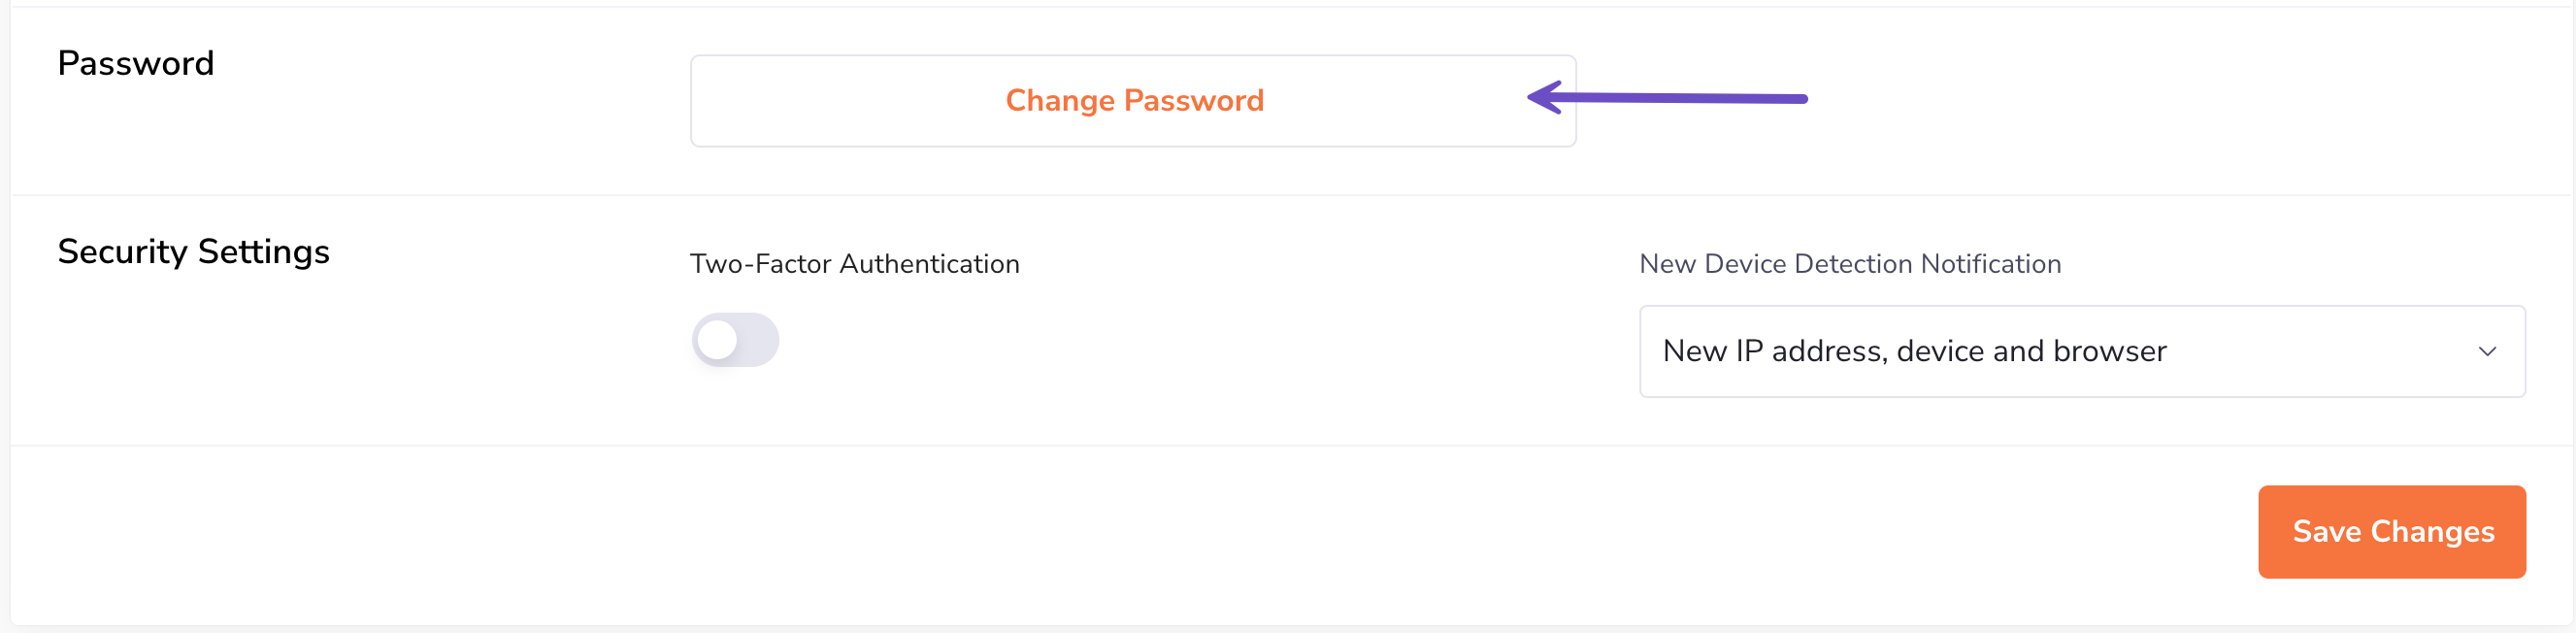
Step 4: Navigate to the Security Settings section and toggle the button for Two-Factor Authentication to ON.
Step 5: Follow the on-screen instructions to set up 2FA. This usually involves scanning a QR code with an authenticator app like Google Authenticator or Authy.
Step 6: Enter the one-time code generated by your authenticator app to confirm the setup.
If you decide to disable two-factor authentication in the future, simply return to the same location and toggle the button to OFF.

That’s it, now you know how to enable or disable Two-Factor Authentication for your WordPress Manager.
2) Using Strong Passwords
A strong password is essential for maintaining a secure connection with your WordPress Manager. A strong password should be at least 12 characters long and include uppercase letters, lowercase letters, numbers, and special symbols. Avoid using easily guessable information such as names or dates related to yourself or family members. You can use online tools that generate random passwords for added security.
3) Regularly Update Your Passwords
- Change your password every three months or more frequently if needed.
- Avoid reusing old passwords across different platforms or services.
- If you suspect any suspicious activity on your account, change all associated passwords immediately.
The steps below will quickly take you through changing your WordPress Manager password. Remember that this only works if you know your current password.
Step 1: Log in to your WordPress Manager.
Step 2: Click on your client profile icon located at the top right corner of the screen.
Step 3: Select Account Details from the dropdown menu.
Step 4: Navigate to the Password section and click the Change Password button.
Step 5) In the next window, enter your old password, type in your new password, and confirm it.
Strong passwords usually include lower and upper case letters, numbers, and special characters such as @,#,~,_, (,* .
And that’s it! Now you know how to change your WordPress Manager password!
Conclusion
After reading this guide, you should better understand how to log in to the WordPress Manager, including accessing it through your ChemiCloud Client Area or logging in directly.
⏭️ Join us for the following tutorial, where you will learn how to create a new WordPress instance using the WordPress Manager.