Zoho is an excellent alternative to Google’s Workspace Plans, formerly known as GSuite. In addition to paid services, they also provide free email hosting for custom domains for up to 5 users. Although they bill this as a “free for businesses” feature, you can absolutely use it with your personal domain name, if you wish.
This KB article will help you set up a free account at Zoho and configure your domain name to use Zoho Mail using cPanel.
How to setup Zoho Mail
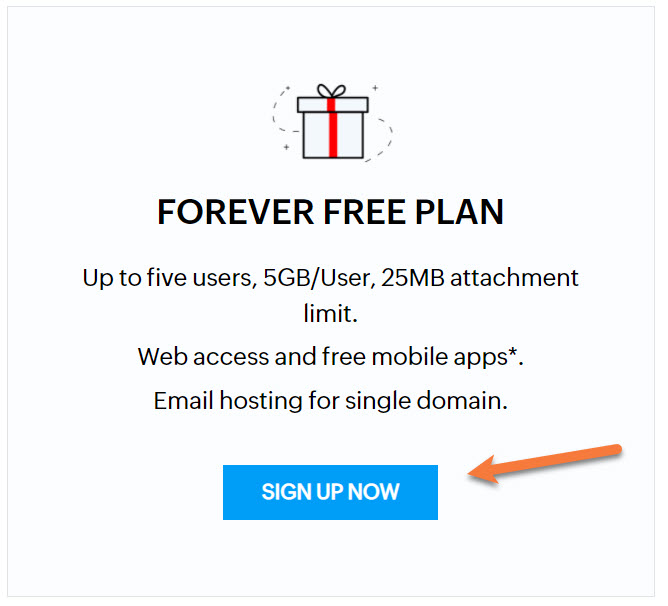
Step 1: You must create a Zoho Forever Free Email Plan. You can do that by visiting this page. To find the forever free plan, scroll down and look for it midway down the page.
During sign up, you will be asked for your domain name or given the option to purchase one from Zoho. They will also ask you to create an account and setup a username + password, and provide your phone number for SMS verification.
Step 2: After setting up your account, Zoho will ask you to verify you own the domain you’re trying to setup with their mail service.
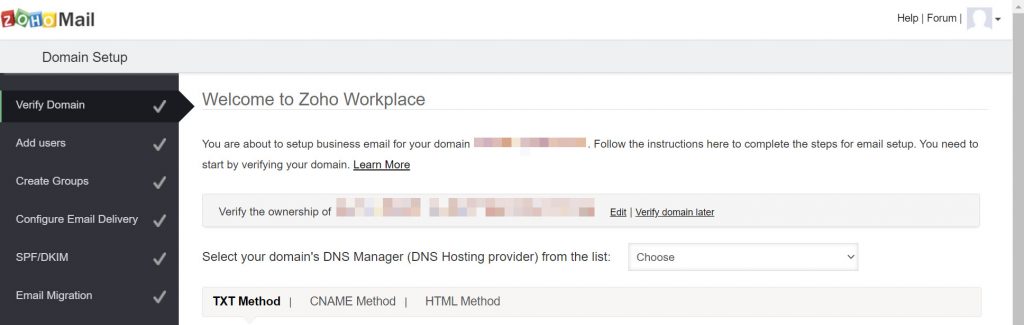
Zoho provides a few options for domain ownership verification. Since your domain’s DNS is pointed to ChemiCloud’s DNS servers, you’ll want to click the dropdown menu next to “Select your domain’s DNS Manager (DNS Hosting provider) from the list” and choose cPanel.
The verification area will expand and you will be given three options for verification:
- TXT Method
- CNAME Method
- HTML Method
They will also give you the values for each of the methods you need to enter.
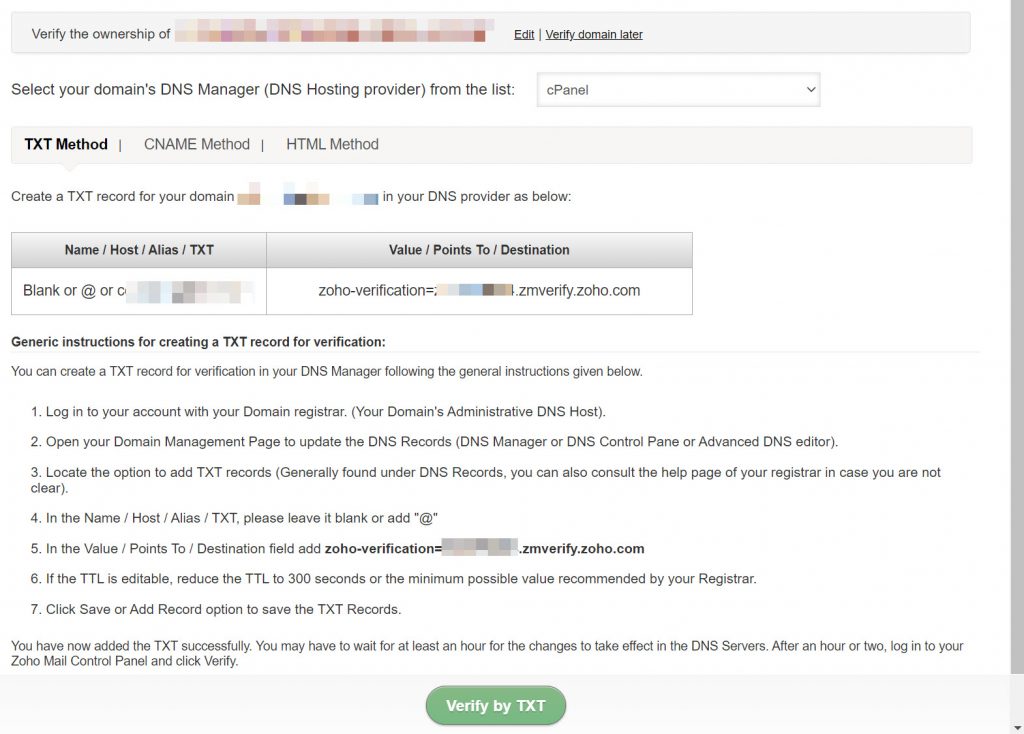
For this KB article, we are going with the TXT method.
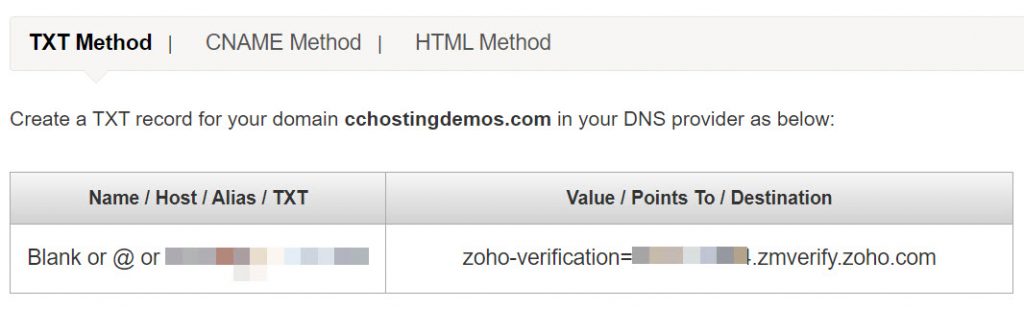
The values on this page which we need to pay attention to are the ones below:
Step 3: To insert this TXT record into your DNS settings, you’ll need to open your Lab and then open your cPanel.
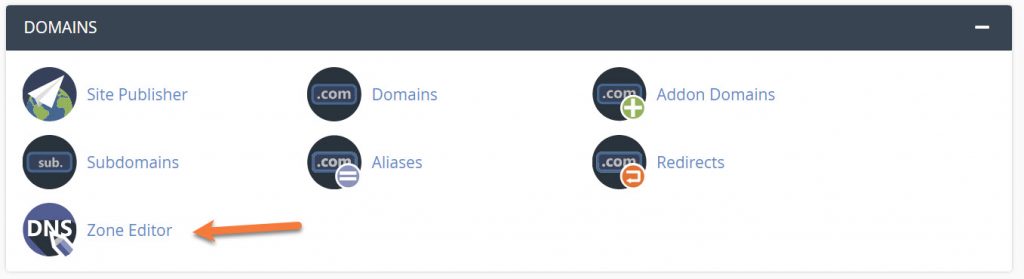
Once your cPanel is open, scroll down to the Domains section and click the Zone Editor.
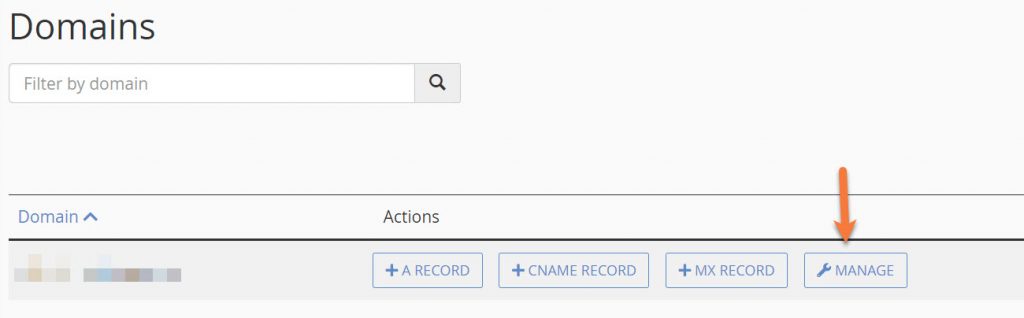
Next, choose the domain name you’re adding to Zoho from the list and click Manage.
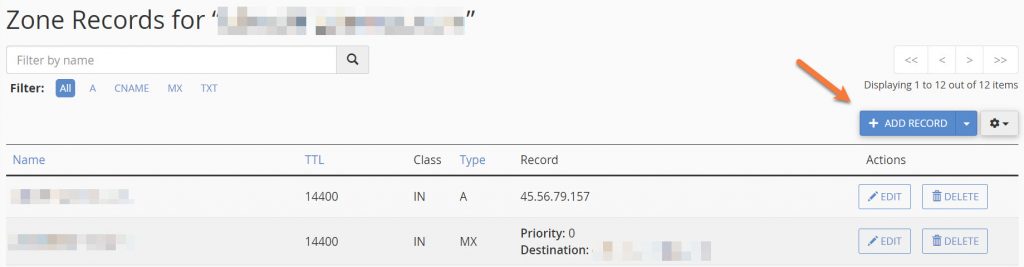
On the Zone Records screen, click the blue Add Record button located in the mid top right.
You will see the DNS records expand and a new row will be added.
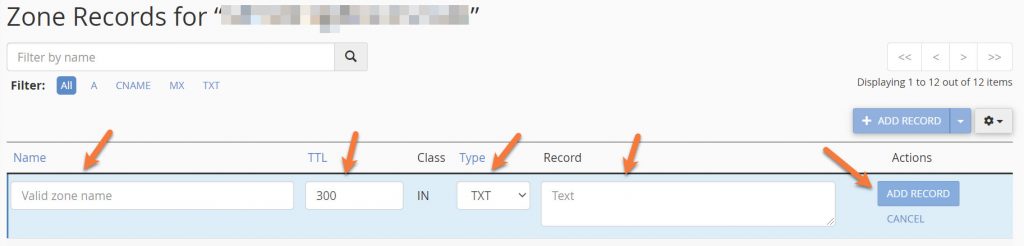
In the TTL box, enter 300.
In the Type drop down, choose TXT.
Under Name, enter yourdomain.
Under Record, enter zoho-verification=<yourcode>.zmverify.zoho.com where “yourcode” is the random code assigned to your record by Zoho.
Then click the blue Add Record button on the right-hand side.
Step 4: Return to the Zoho page in your browser and click the blue Verify TXT button at the bottom.
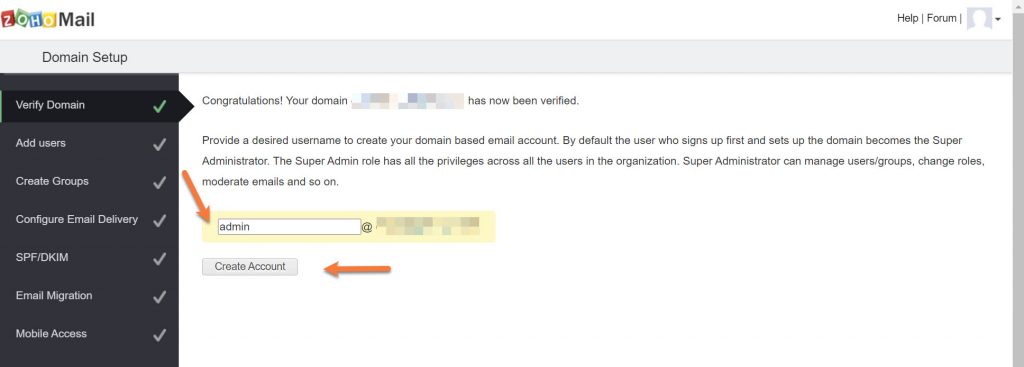
If you entered your records correctly, you will see a success screen and be given the option to create your first email account. The first user created is given the Super Administrator role. This role has all the privileges and is able to administer all users within the organization/account.
Enter your desired username and click Create Account.
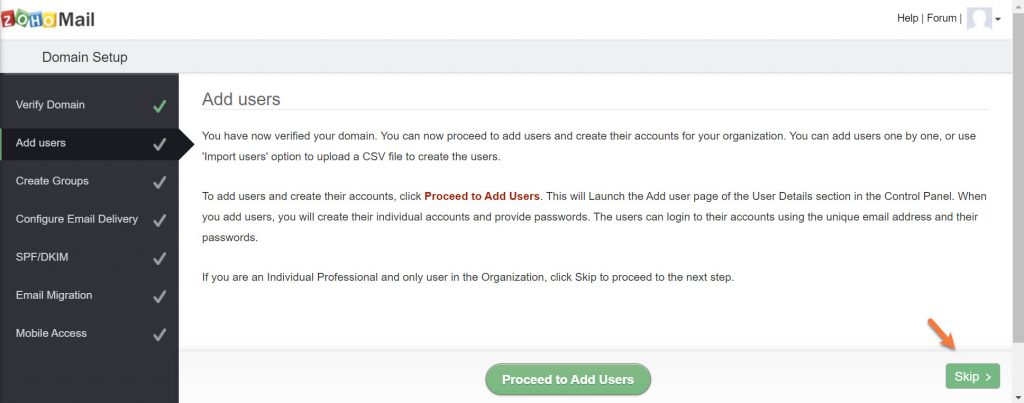
Step 5: Next you will have the option to add additional users. You can add them one at a time, or by importing them from a CSV file.
Since we are using the Free Forever plan and setting up one user, I will skip this option.
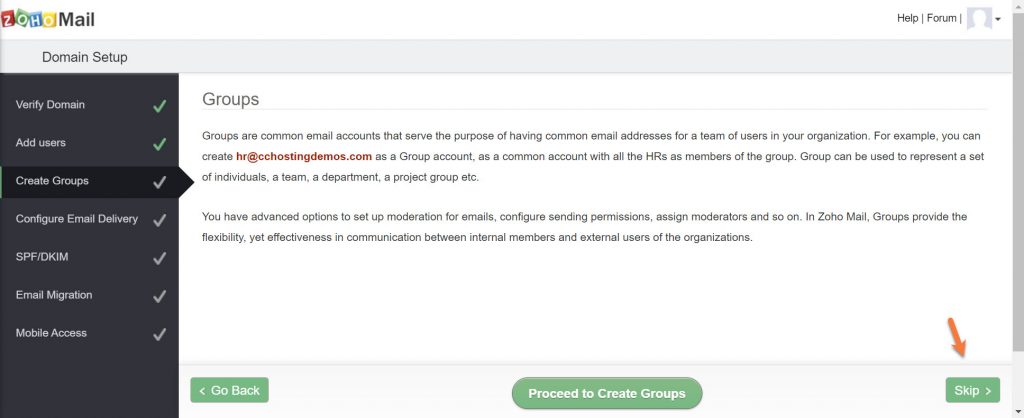
Step 6: Next, you will be given the option to create groups. This is handy if you have catch-all email addresses for common use by your team, such as sales@ or support@.
I don’t need to create any groups, so I’m going to skip this option.
Step 7: Next, you need to configure your MX Records. MX Records (Mail eXchange) are the special entries in DNS that designate the email-receiving server of your domain. Ensure that you have created the required user accounts and group accounts, before changing the MX.
Looking for a Zoho alternative? 👀 Join the growing club of happy customers who made the switch to better, reliable email hosting.
Zoho’s MX Records are not specific to any one account, they are the same for all Zoho users. Their MX Records are as follows:
| Host Name | MX Record Address | Priority |
|---|---|---|
| @ | mx.zoho.com | 10 |
| @ | mx2.zoho.com | 20 |
| @ | mx3.zoho.com | 50 |
To add Zoho’s MX records to your DNS Configuration, navigate back to your cPanel > DNS > Zone Editor and click the blue + Add Record button in the mid-top right.
You will see the DNS records expand and a new row will be added.
Choose MX from the dropdown menu beneath type.
In the Priority field, enter the 10.
Enter mx.zoho.com and click the blue Add Record button in the Destination field.
Your first record will look like the one below:

Repeat this process for the remaining 2 Zoho MX Records.
After you have finished entering them, they should look like the one below.

Step 8: After you have entered your MX Records, return to the Zoho Mail setup screen and click MX Lookup at the bottom to confirm the MX Record Updates are correctly detected by Zoho.
Click Okay, then in the bottom right corner of the Zoho Setup screen, click Next.
Next, you need to set up your SPF and DKIM records. This is to help with email delivery and prevent email forging. Email spoofing is forging an email so that the email appears to be sent by someone, whereas the actual source might be someone else. To ensure that valid emails from your domain get delivered to your users, and spoofed emails from other spammers are identified by the other email services, we recommend you to add SPF records and DKIM records for your domain.
| TXT - Host/Name | TXT Value |
|---|---|
| Blank or @ or yourdomain.tld | v=spf1 include:zoho.com ~all |
Adding these records is very easy. To do this, return to the zone editor and click the blue Add record button.
In the Name field, enter yourdomain.tld.
From the record type dropdown, choose TXT.
In the Record field, copy the SPF record in the table above and paste it into the text box.
Click the blue Add Record button.
Your completed record entry should look like the one below:
![]()
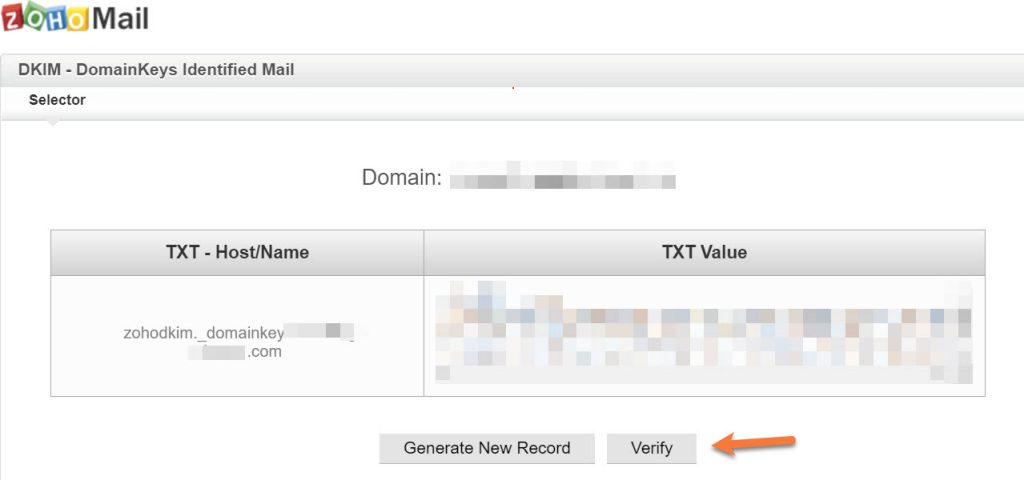
Step 9: Kudos for hanging in there, we’re almost done! In this step, you’ll need to configure your DKIM records to ensure that valid emails sent from your domain using Zoho are not classified as spam at the receiver’s end. To configure this, click Proceed to Configure DKIM on the Zoho Setup Screen.
You will be transferred to the Zoho Mail DKIM – DomainKeys Identified Mail panel where you will see your domain listed, along with a circle icon and a pencil icon. Like below:
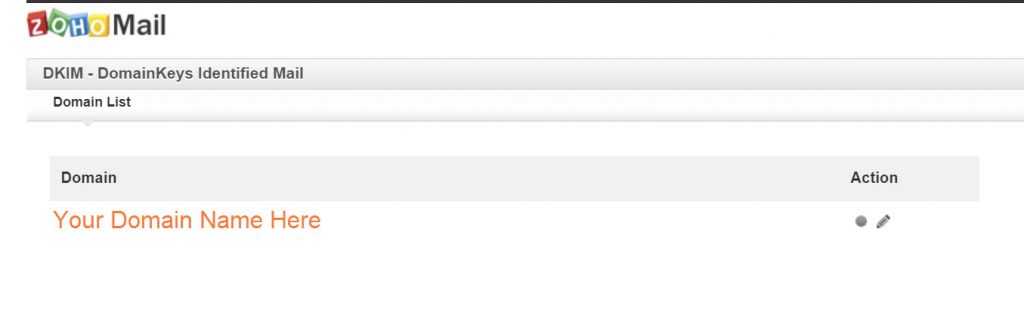
To use DKIM, you need to create a selector. To do this click the pencil icon.
You’ll be taken to the selector list. Click Add Selector.
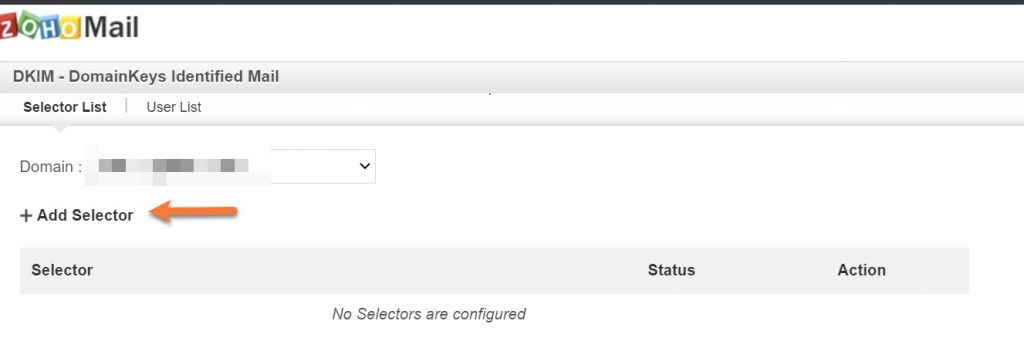
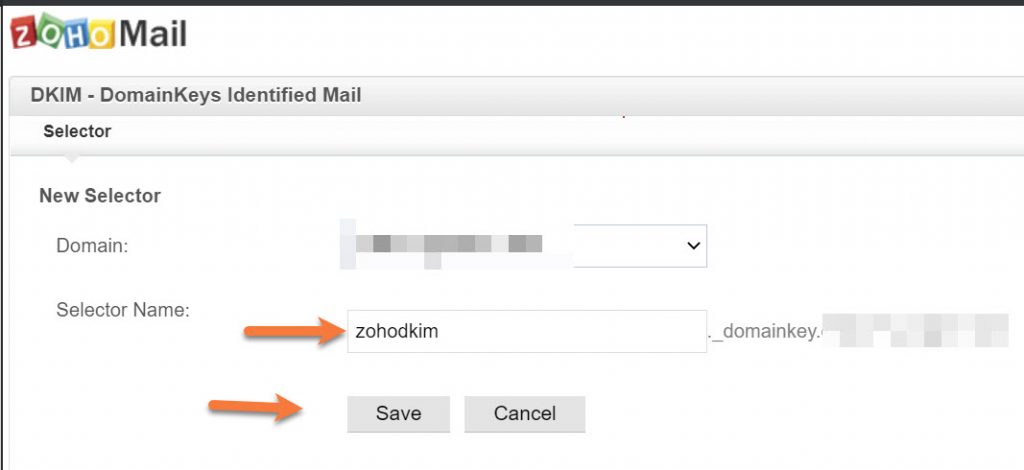
Next, you’ll be asked to give your selector a name. This name can be anything. For example, I’m going to use zohodkim. After you’ve named your selector, click save.
After you click save, you will be given your TXT record hostname and the TXT record value.
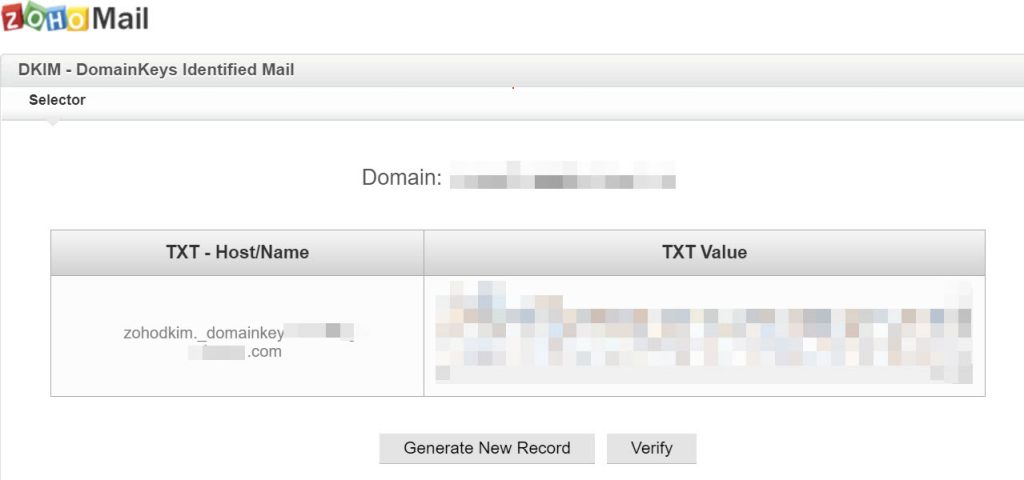
The TXT record hostname is mostly the same for each Zoho Mail customer, except your domain name is part of the record. In this case, the record is zohodkim._domainkey.yourdomain.tld
The TXT record value is randomly generated and will be unique to each DKIM selector you create.
First, copy the TXT hostname record to your clipboard and return to the Zone Editor in cPanel. Click Add Record.
In the name field, enter zohodkim._domainkey.yourdomain.tld where ‘yourdomain.tld’ is your domain name.
In the Type dropdown, choose TXT.
For the Record Value, copy the TXT value from the Zoho Mail Setup DKIM Txt Value area and and paste it into the Record Value box in the Zone Editor.
Your completed TXT record should look similar to the one below:

Click the blue Add Record button to add the DKIM record and return to the Zoho Mail Setup screen. Click Verify beneath the DKIM record to verify the DKIM record has been properly configured.
Once the record has been verified, click the Back to setup button at the bottom of the page.
Step 10: Zoho will prompt you for Email Migration, if you are migrating from ChemiCloud email servers, this is a convenient option to use as their service will automatically import your emails for you.
You can click Proceed to Migrate, if you wish. You will need the information below to do this:
Enter the IMAP server as mail.yourdomain.tld
Select SSL as the Security type
Enter 993 for Port
Your username should be formatted as ‘[email protected]’, not simply ‘yourusername’ in your email client to send and receive email.
For this article, we are going to click Skip.
Step 11: Next, Zoho Mail Setup will prompt you to download their apps. Zoho has three apps that you may find helpful.
First, the Zoho Mail Admin app is designed to help administrators manage their admin tasks from anywhere. You can manage users, reset user passwords, manage group membership and much more from this mobile app.
Second, the Inbox Insight app helps you to setup and get notified specific emails based on senders or folders, so that you do not miss out important emails, in the midst of the other notifications.
Third, the Zoho Mail App is designed to check your emails on the go, in the same way you check your email from your webmail. You can create or accept events, set up reminders, browse through your attachments with this app.
Step 12: After you’ve setup your apps, you can click the skip button. This is the final step in Zoho Setup. After skipping the mobile apps, your basic setup is complete.
Click the Green go to Zoho Workplace button to complete setup.
Next, there is one final change you must make in your cPanel for the e-mail at Zoho to properly work.
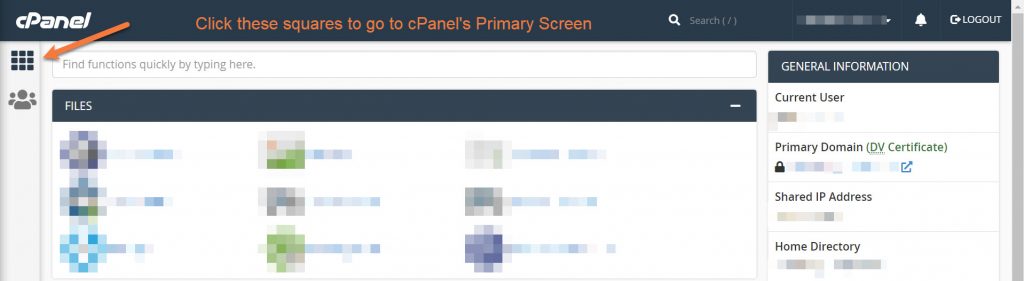
Navigate back to the main cPanel page by clicking the square box with 6 inner squares in the top left corner of cPanel.
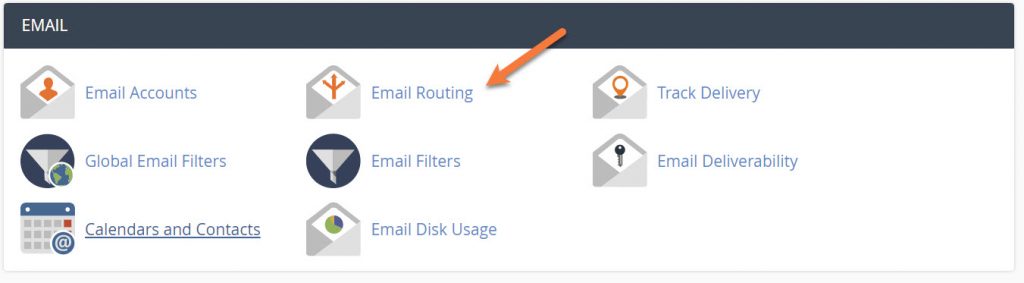
Scroll down and in Email section, look for Email Routing.
In the Email Routing Setup screen, you want to choose Remote Mail Exchanger. This instructs cPanel that you use an external mail service to send/receive email.
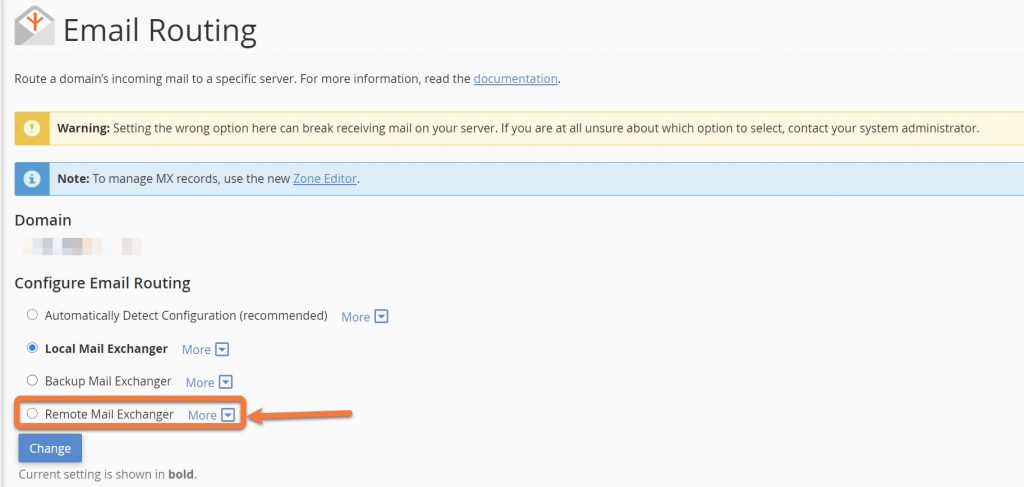
After you click Remote Mail Exchanger, click the blue Change button.
That’s it!
You have configured your Hosting account to use Zoho’s Free Forever Email plan!
We hope you enjoyed this knowledgebase article.
I used this document to setup Zoho email. The interface of Zoho mail setup has changed since this guide was written. Also, depending on zoho geography the MX records URLs vary. Instead of mx.zoho.com, they could even be mx.zoho.in depending user location.
Also, there were conflict issues with TXT records which already existed in cPanel -> Zone Editor.
I took help of chemicloud support (very helpful person named Dorian) who I chatted with and took his live help resolve these issues.
He said he’ll let the kb team to update these changes to help other users in future.