This Knowledge Base article covers how to use the LiteSpeed Web Cache Manager in cPanel to clear your LiteSpeed Cache.
How to use the LiteSpeed Web Cache Manager in cPanel
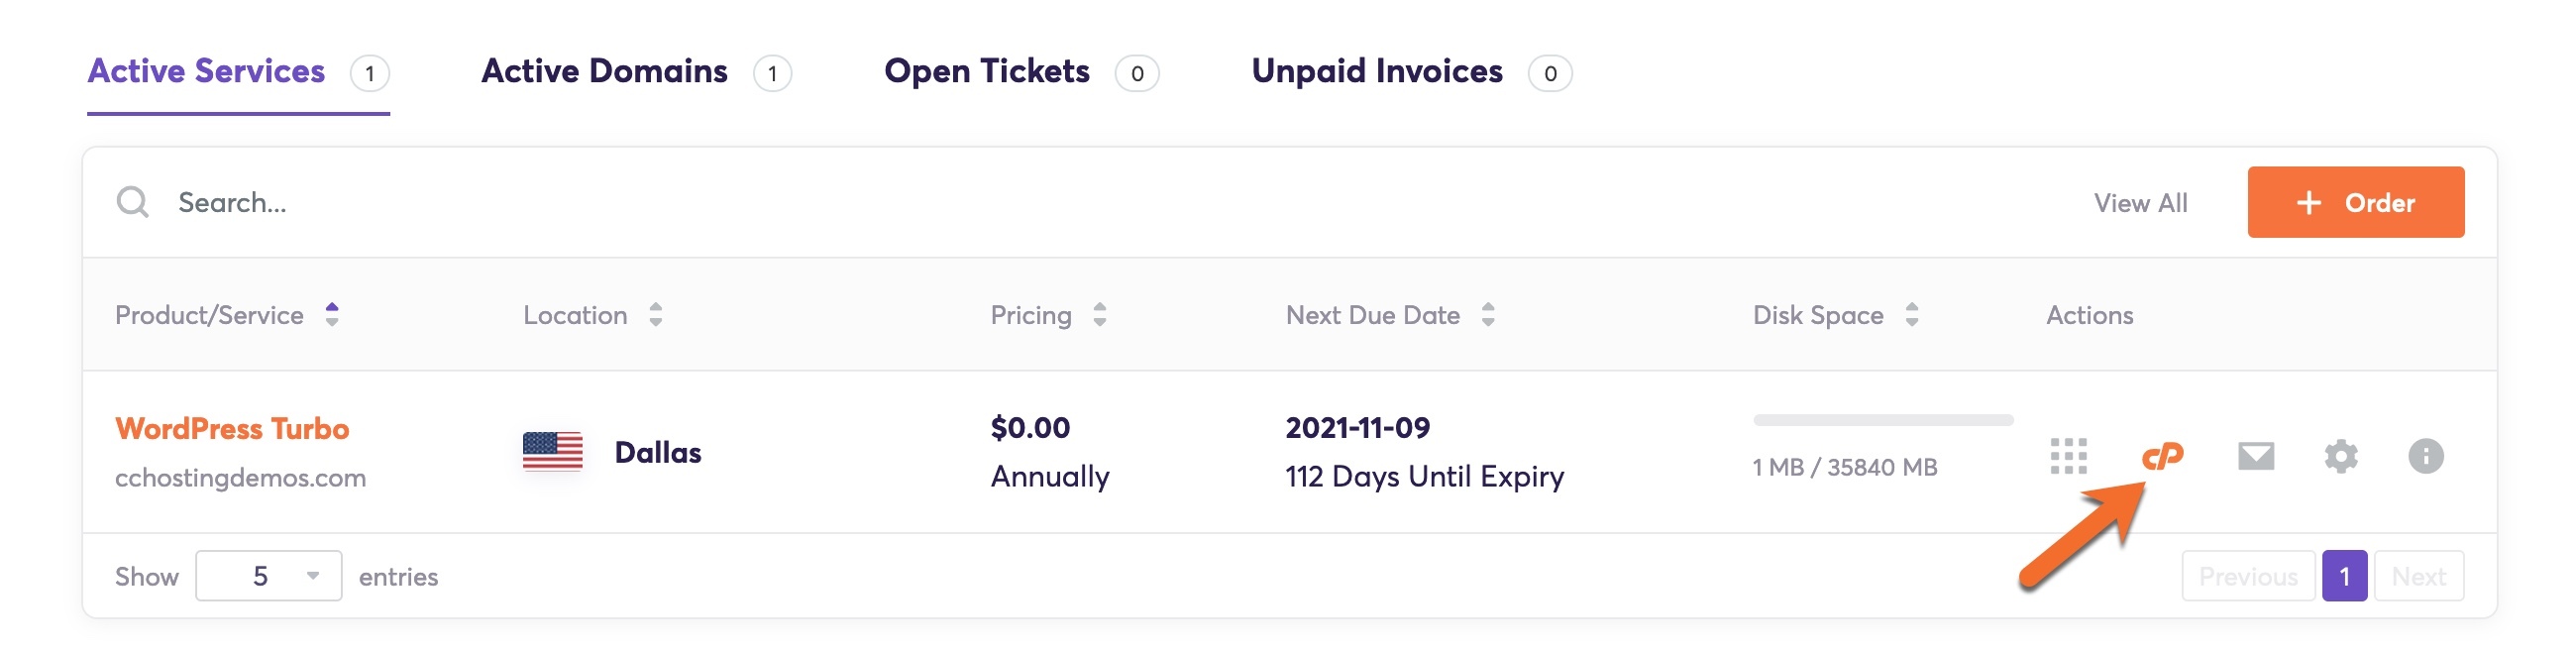
Step 1: Log in to your cPanel. There’s a lot of ways to do this, but the sure-fire easiest way is to log in to your Client Area, then open your cPanel.
Step 2: Once your cPanel is open, scroll down to the Advanced section and open the LiteSpeed Web Cache Manager:

Step 3: On the LiteSpeed Web Cache Manager page, click the orange “Flush All” to empty the cache for all sites under your cPanel using LiteSpeed Caching.

Are you tired of slow WordPress hosting? We use LiteSpeed caching to deliver content to your visitors almost instantly. ⚡ Check out our WordPress Hosting plans!
A confirmation message will appear at the top of your browser asking you to confirm the action:

Step 4: You’ll be returned to the LiteSpeed Web Cache Manager screen and will see a green message “Cache Files Successfully Flushed”.

And that’s it! Now you know how to use the LiteSpeed Web Cache Manager in cPanel to clear your LiteSpeed Cache.