You can use Custom HTML with the website builder to insert elements that are not a native part of the builder. This is a great way to insert things like iFrames, for example.
This Knowledgebase Article will guide you through how use Custom HTML with the Website Builder.
How to use Custom HTML with the Website Builder
Using Custom HTML with the Website Builder is easy!
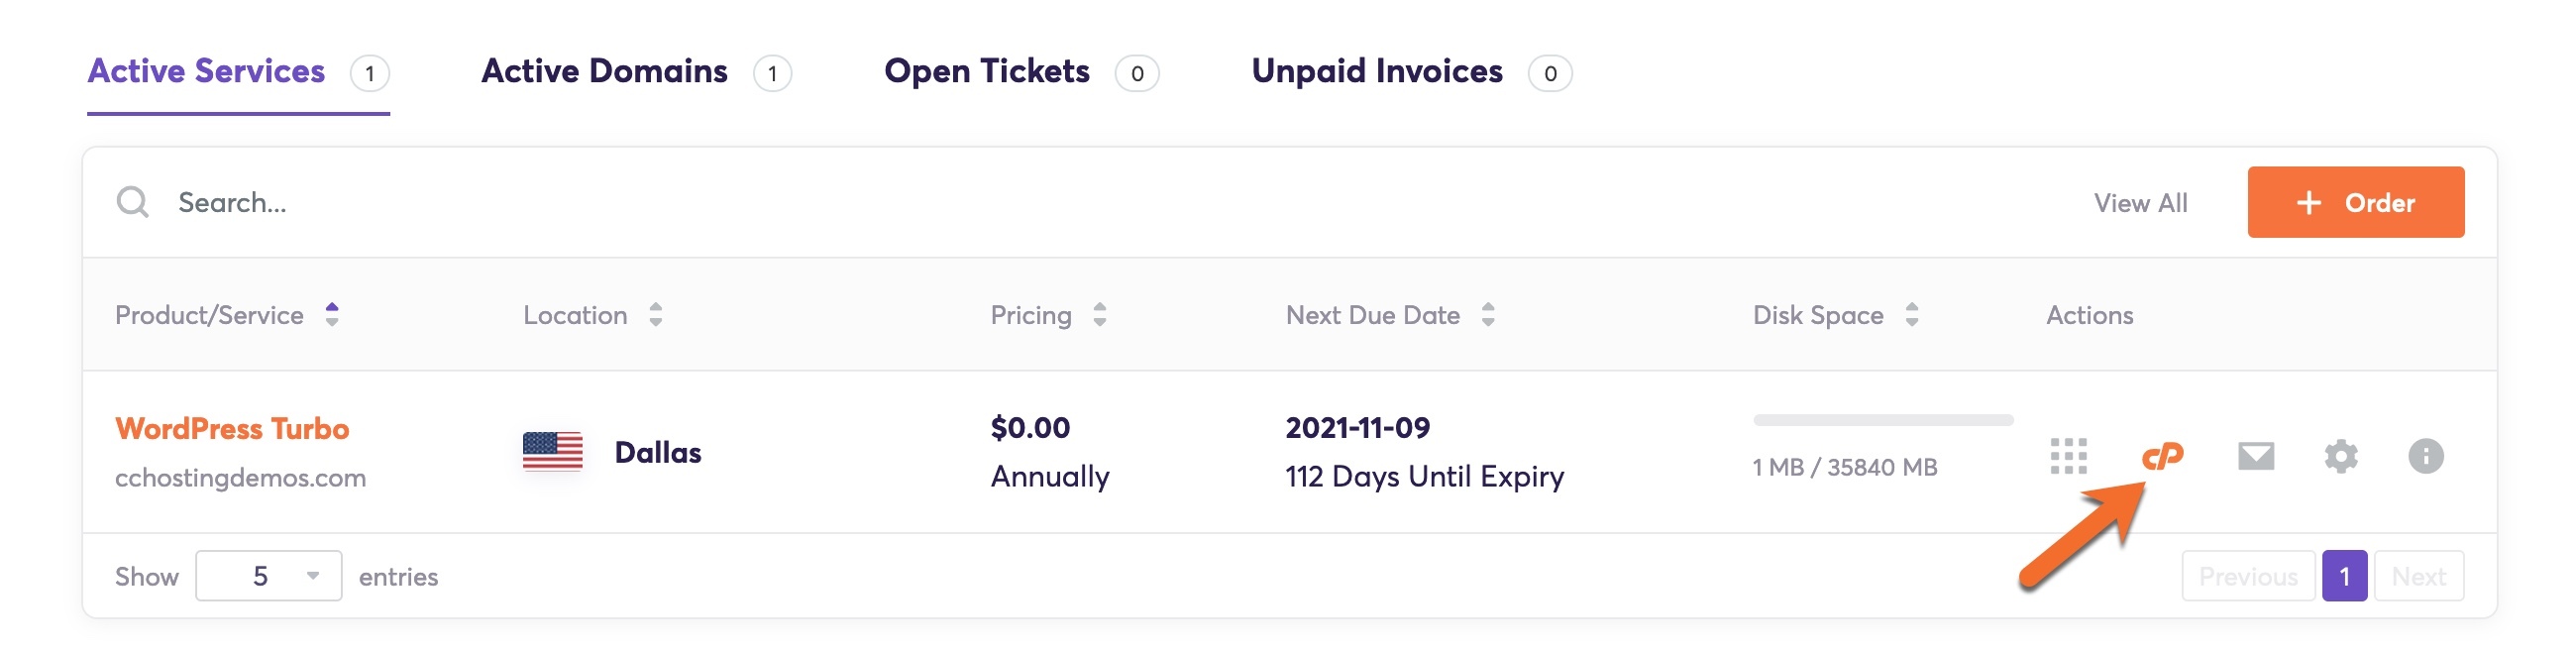
Step 1: Login to your cPanel. There’s a lot of ways to do this, but the sure fire easiest way is to login to your Client Area, then open your cPanel.
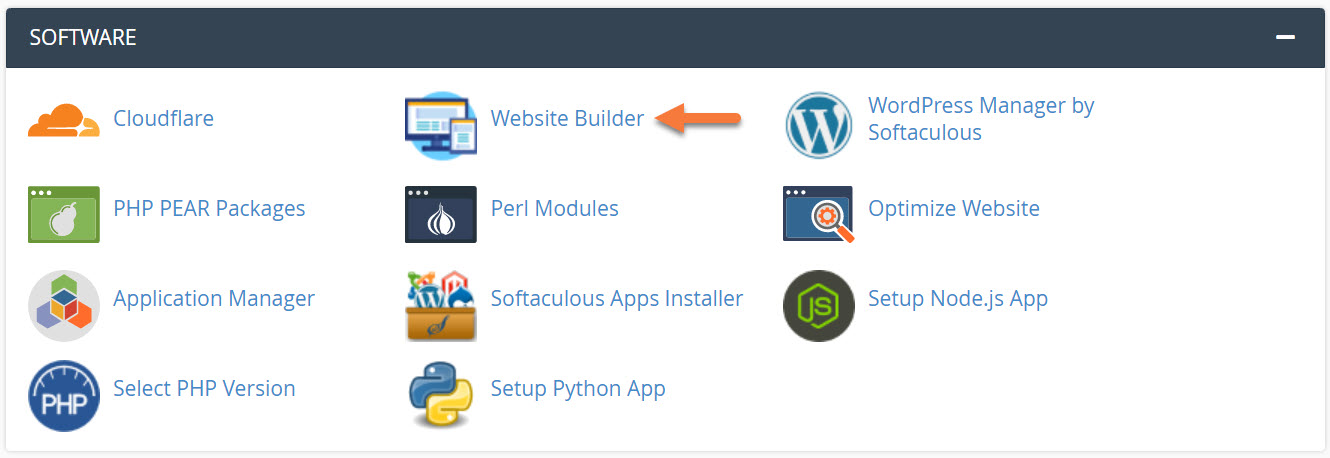
Step 2: Scroll down to the Software section and open the Website Builder:
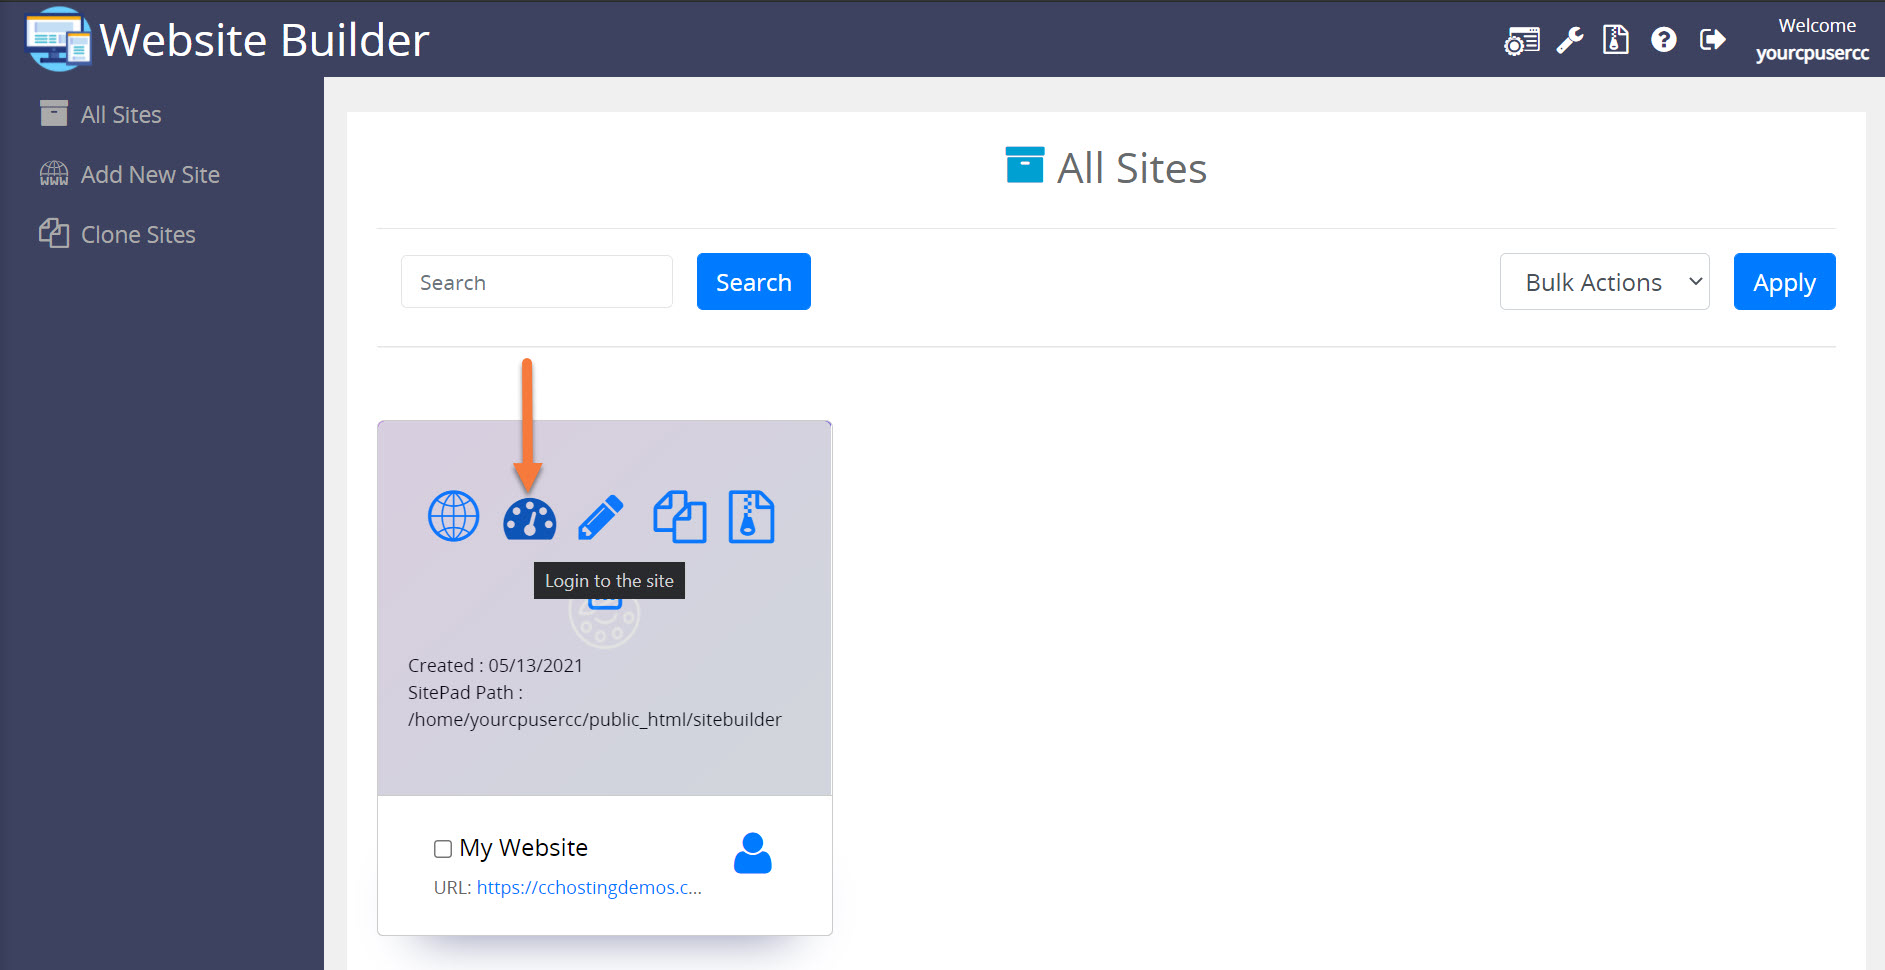
Step 3: Your list of sites will load. Locate the site edit, then hover over that site and click the speedometer icon to login to the site.
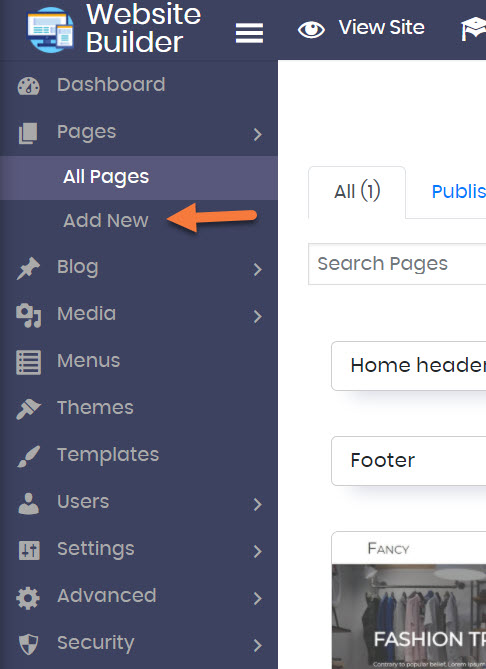
 Step 4: Click Pages, then All Pages.
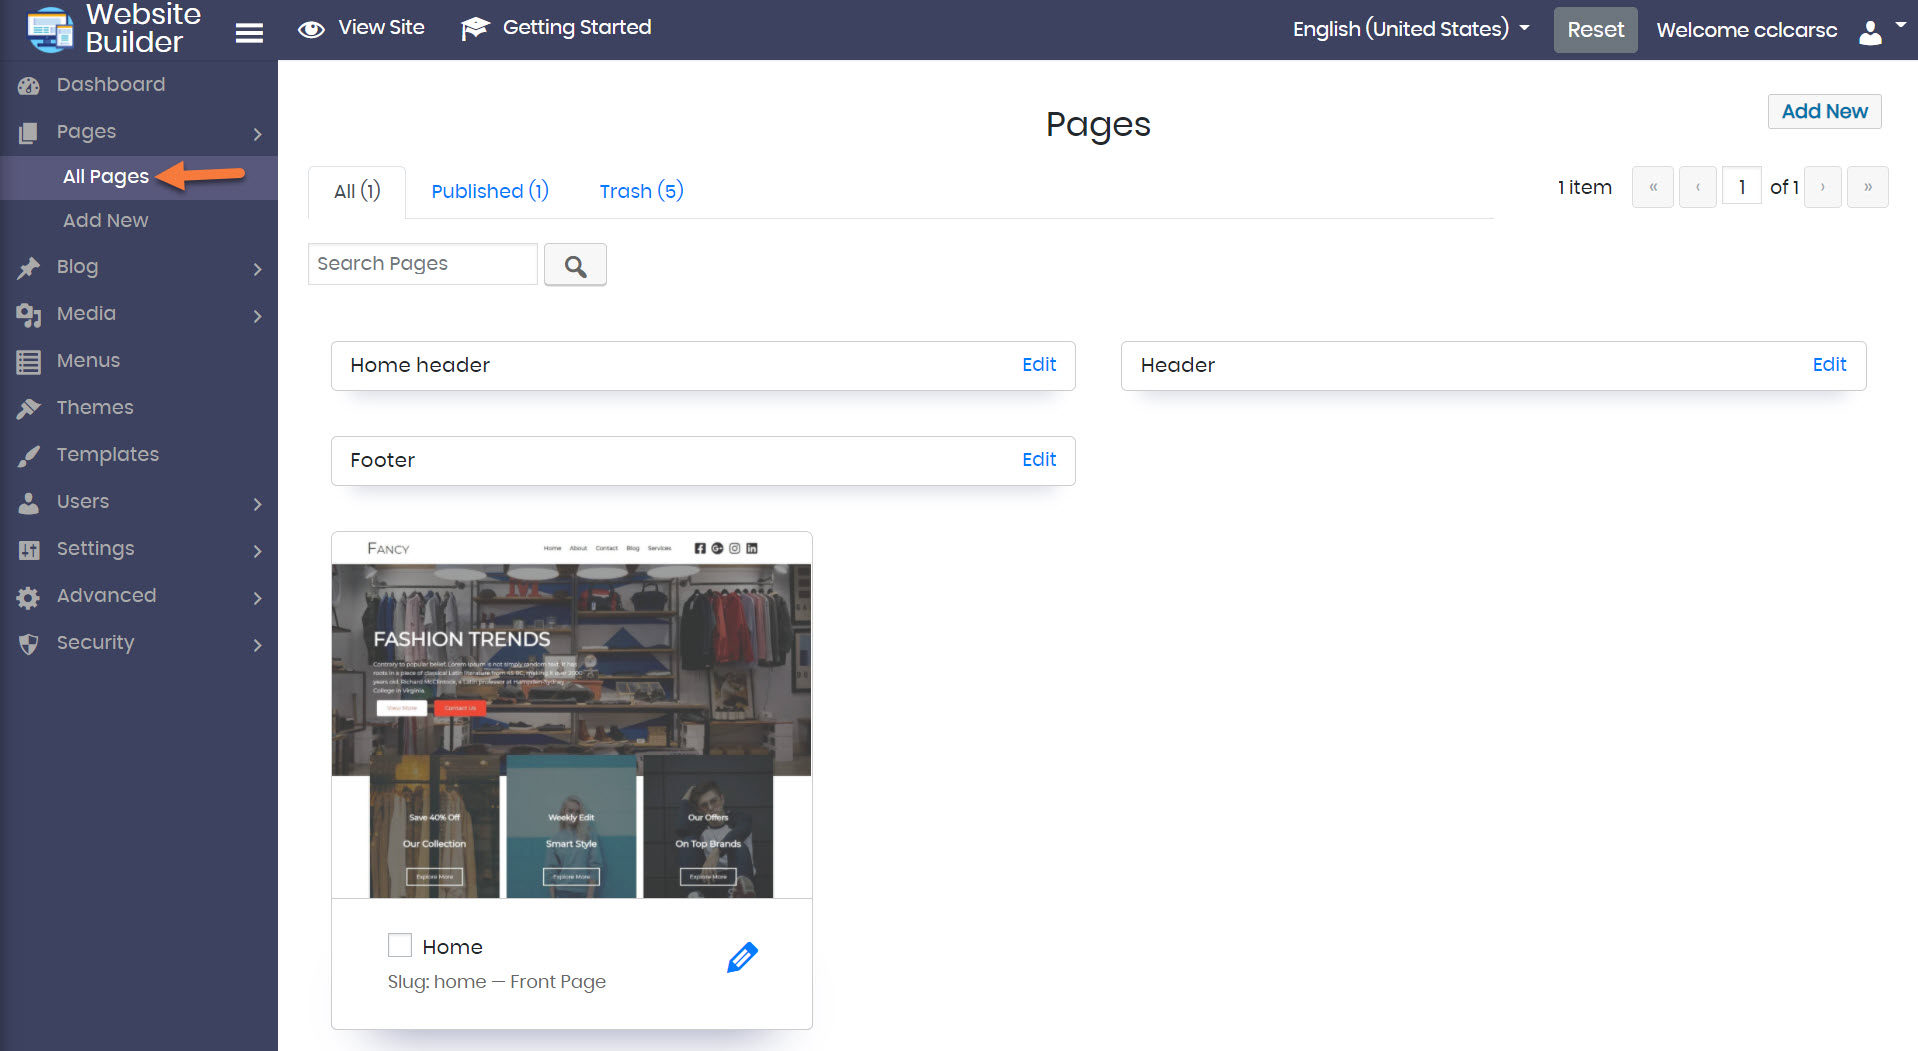 Now, if you are going to insert a Custom HTML widget on a page that already exists, you would select that page and edit it. Since I’m going to do this on a new page, I’m going to click the Add New button, which is located just beneath “All Pages”.
 Step 5: Once the Page Editor opens, click the X next to “Edit Page Settings”, which is in the top left corner. This will reveal the widget menu. See he GIF below:
Step 6: Scroll through the widgets in the panel on the left side until you come to the Website Builder Widgets area.
Look for the Custom HTML Widget, and drag it onto the page in the area which says “Empty column please Drag Widgets”.
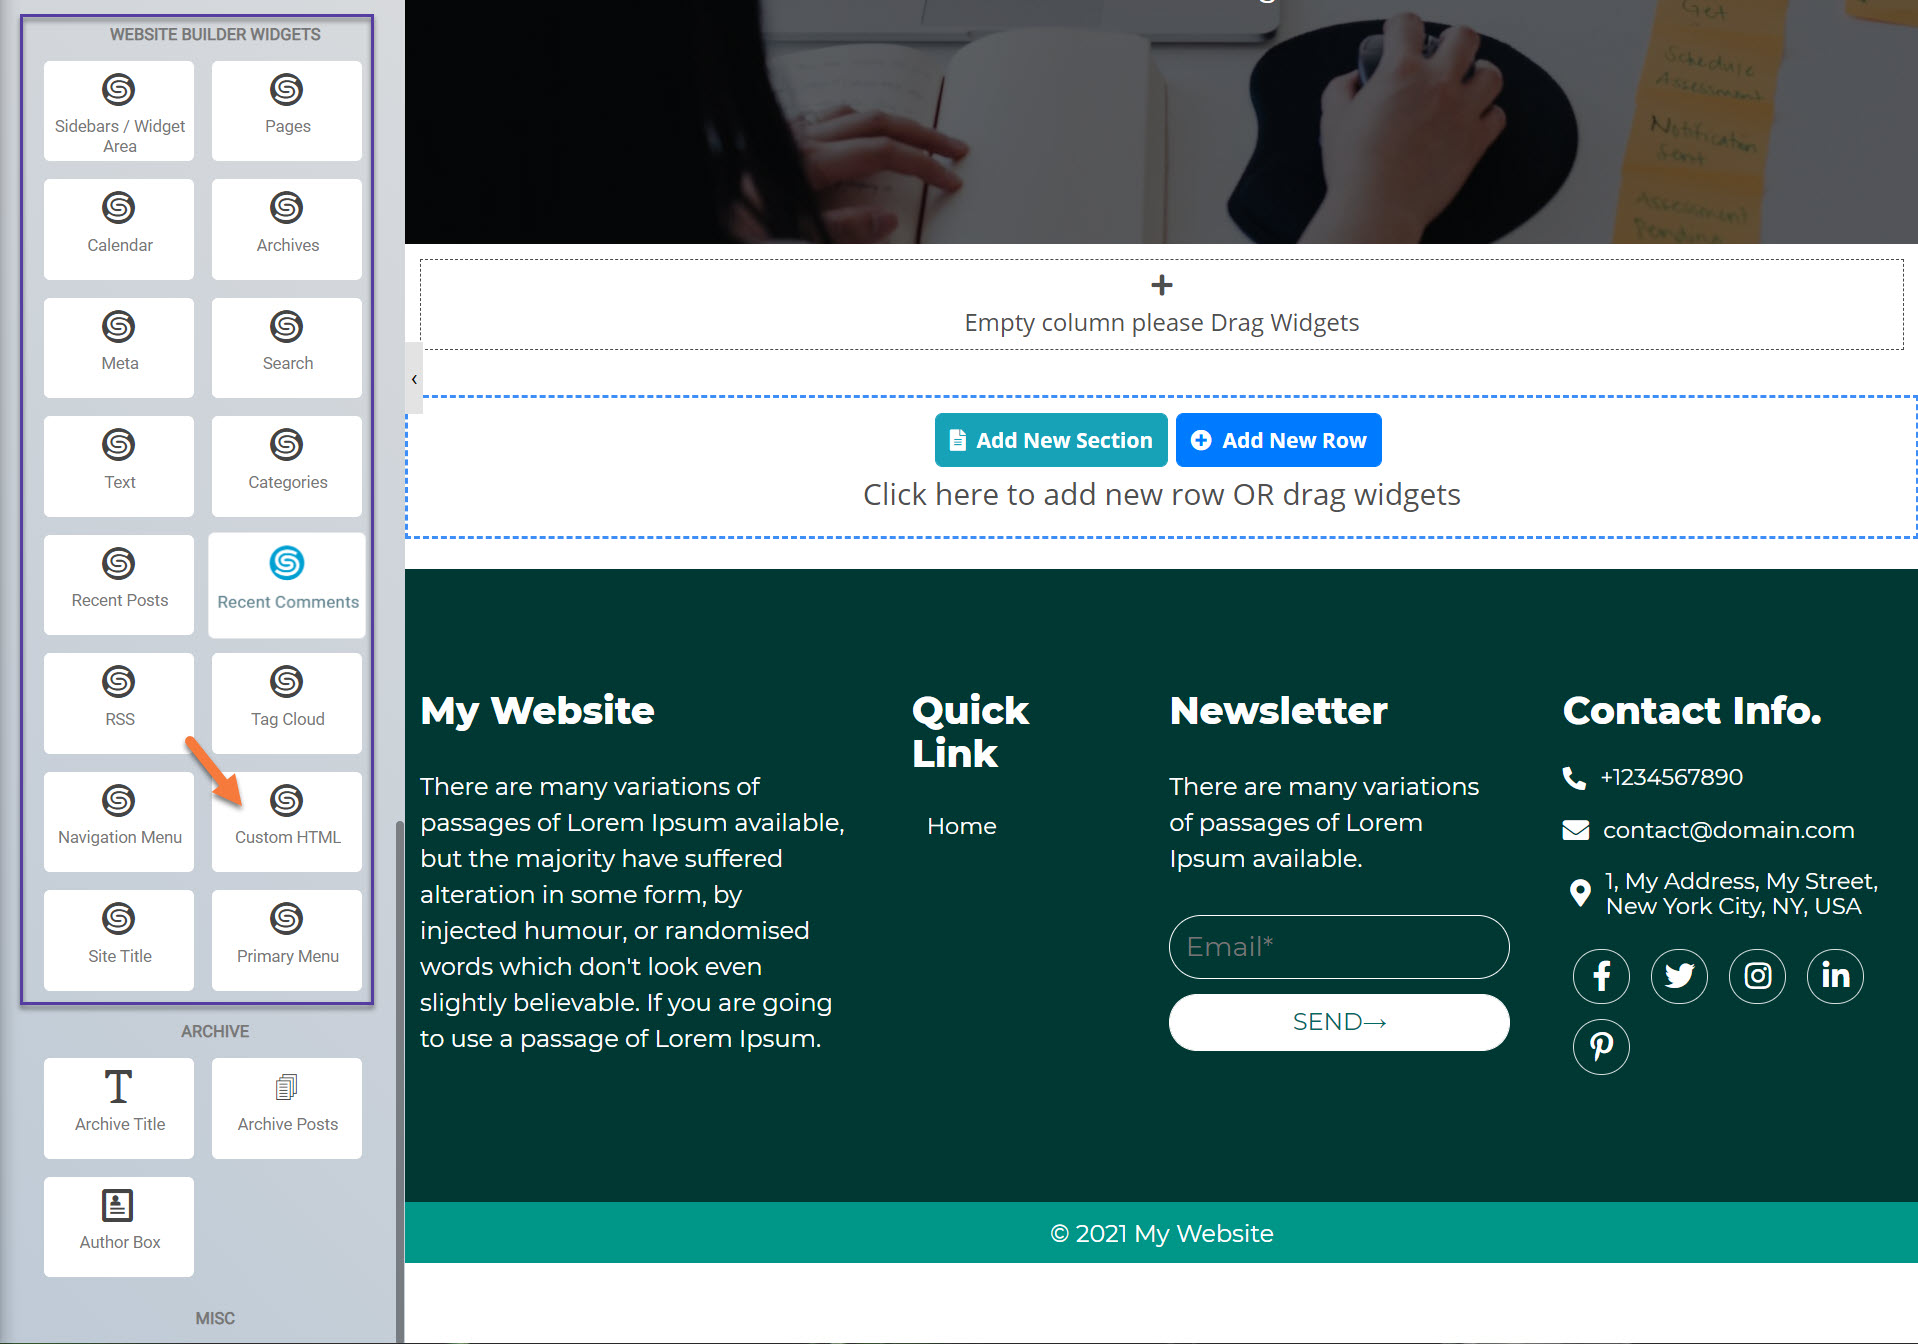
Because the widget has no content when first added, the page won’t look much different after adding the widget. You will, however, notice the text “Empty column please Drag Widgets” has disappeared” and on the left side, the Edit Custom HTML tool has opened.
Let’s take a look at the different options we have for the Custom HTML tool.
Beneath the Options section, you have these options when it comes to customizing your Custom HTML Widget:
- Background Style
- This is a setting that is specific to the page layout. You can change the whether the background appears as a normal background or if you want the background to change when you hover over it.
- Background Type – This setting allows you to choose from the following settings:
- None – There will not be a background. This means the background of the page will be white, unless otherwise stated in Custom CSS.
- Color – You can specify a custom color for the background.
- Gradient – You can specify a custom gradient. A gradient is a smooth transition between 2 or more colors, which can give a cool effect.
- Image – You can upload a custom image to use as your background.
- Box Style – This setting allows you to adjust the padding and margin for the box that contains your blog post.
- Border Style – This setting allows you to control the following settings:
- Normal – You can have a normal border which is always there.
- Hover – You can have a border that only appears when the area it contains is hovered over.
- Border Type – You can choose from the following border types:
- Solid
- Double
- Dotted
- Dashed
- Grooved
- Border Radius – You can adjust the radius of the border around the box it contains to give it rounder or sharper corners.
- Font Style – This setting allows you to control the following settings:
- Font Family – This setting will allow you to change the font used on the entire page.
- Font Size – This setting allows you to change the size of the text used on the page.
- Font Style – This setting allows you to choose from the following font styles:
- Normal
- Italic
- Oblique
- What is Oblique? Oblique type is a form of a type which slants slightly to the right. It is similar to Italic, but it does not use different glyph (individual letter) shapes.
- Position Styles – By enabling this feature, you can control the fixed positioning of the box containing the Custom HTML widget.
- Animation – This is a neat feature that lets you give some character and flair to your Custom HTML widget. You can configure various animations such as:
- Animation:
- Fading:
- Fade In
- Fade In Down
- Fade In Up
- Fade In Left
- Fade In Right
- Zooming:
- Zoom In
- Zoom In Down
- Zoom In Up
- Zoom In Left
- Zoom In Right
- Bouncing:
- Bouncing In
- Bouncing In Down
- Bouncing In Up
- Bouncing In Left
- Bouncing In Right
- Sliding:
- Sliding In
- Sliding In Down
- Sliding In Up
- Sliding In Left
- Sliding In Right
- Rotating:
- Rotating In
- Rotating In Down
- Rotating In Up
- Rotating In Left
- Rotating In Right
- Effects:
- Light speed in
- Bounce
- Pulse
- Rubber band
- Flash
- Swing
- Jello
- Tada
- Wobble
- Rollin
- Head shake
- Shake
- Fading:
- Hover Animation – These animations happen when the cursor hovers over the Custom HTML widget and includes the following styles:
- Grow
- Shrink
- Pulse
- Pulse Grow
- Pulse Shrink
- Push
- Pop
- Buzz
- Buzz Out
- Float
- Sink
- Bob
- Hang
- Bounce In
- Bounce Out
- Rotate
- Grow Rotate
- Skew Forward
- Skew Backward
- Wobble Vertical
- Wobble Horizontal
- Wobble Bottom to Right
- Wobble Top to Right
- Wobble Top
- Wobble Bottom
- Wobble Skew
- Scrolling Sticky
- Top
- Bottom
- None
- Animation:
- Motion Effects – these are effects to give the text in the Custom HTML widget a little bit of jazz. You can choose from:
- Scrolling – so the text is always moving.
- Mouse – the text only moves when the cursor hovers over it.
- Responsive – This setting allows you to hide this page on certain devices, such as desktops, tablets, or mobiles.
- Attributes – With this setting, you can apply custom attributes using code.
- Custom CSS – if you want to change certain elements on the page using CSS, you can paste in the code to do that here.
Beneath the Settings tab of the “Edit Custom HTML” Widget, you have the following settings:
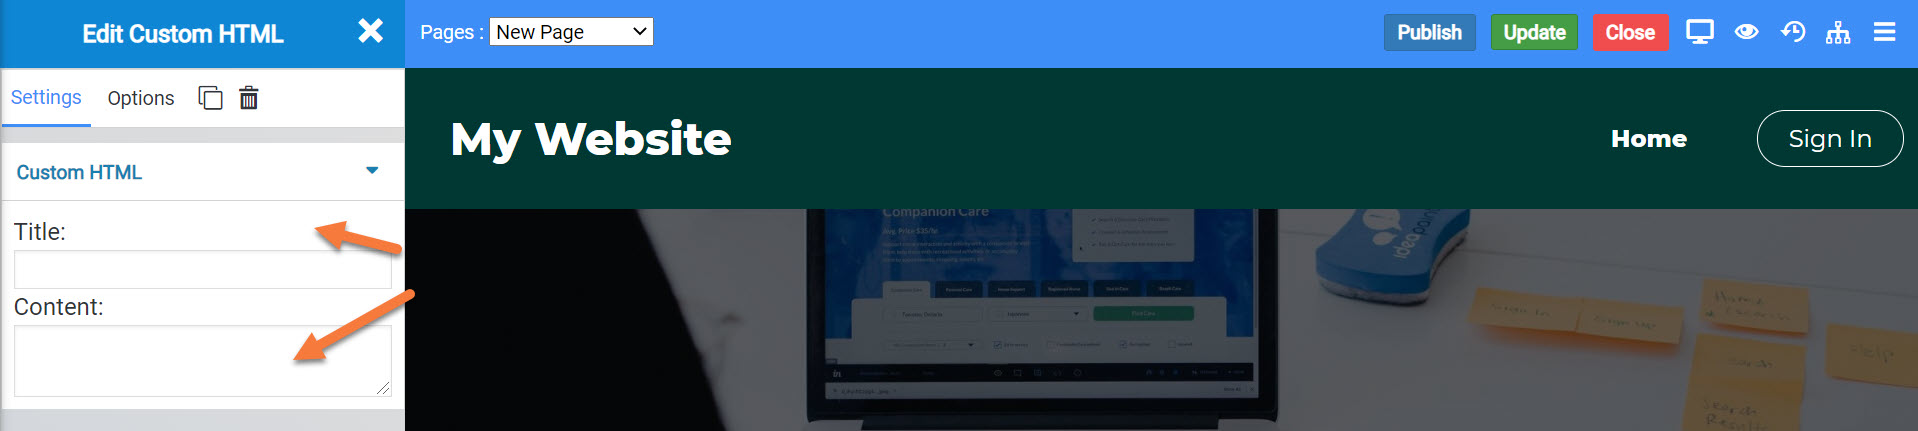 The Title is where you would enter the title or heading text for the HTML widget.
The content box is where you would paste your Custom HTML code. After pasting it, the page will automatically update to and render the code you have pasted so you can see it in preview.
You can also paste custom CSS code here to change the way the box contains the HTML content to make the page look more fancy, if you wish.
When you’ve finished and are ready to publish, be sure to click the Publish button in the top right corner.
Otherwise, if you want to safe a draft, just click the Update button in the top right corner to save.
And that’s how you insert and use the Custom HTML Widget in the Website Builder!