The Website Builder includes powerful blogging functionality and is one of the best use cases for the builder, actually. But as with any blog, you want to make sure that your readers can find you! This is where SEO comes in handy, as well as categorization of your blog. The Website Builder lets you add categories and sub categories to your Blog posts, which are very helpful for organization, especially as your Blog grows to include a lot of posts and content. You’ll definitely want to make sure to use Categories to help your readers quickly find specific things.
This Knowledgebase Article will show you how to add Categories to your Blogs!
How to Manage Blog Categories in the Website Builder
How to Add New Categories to Your Blog
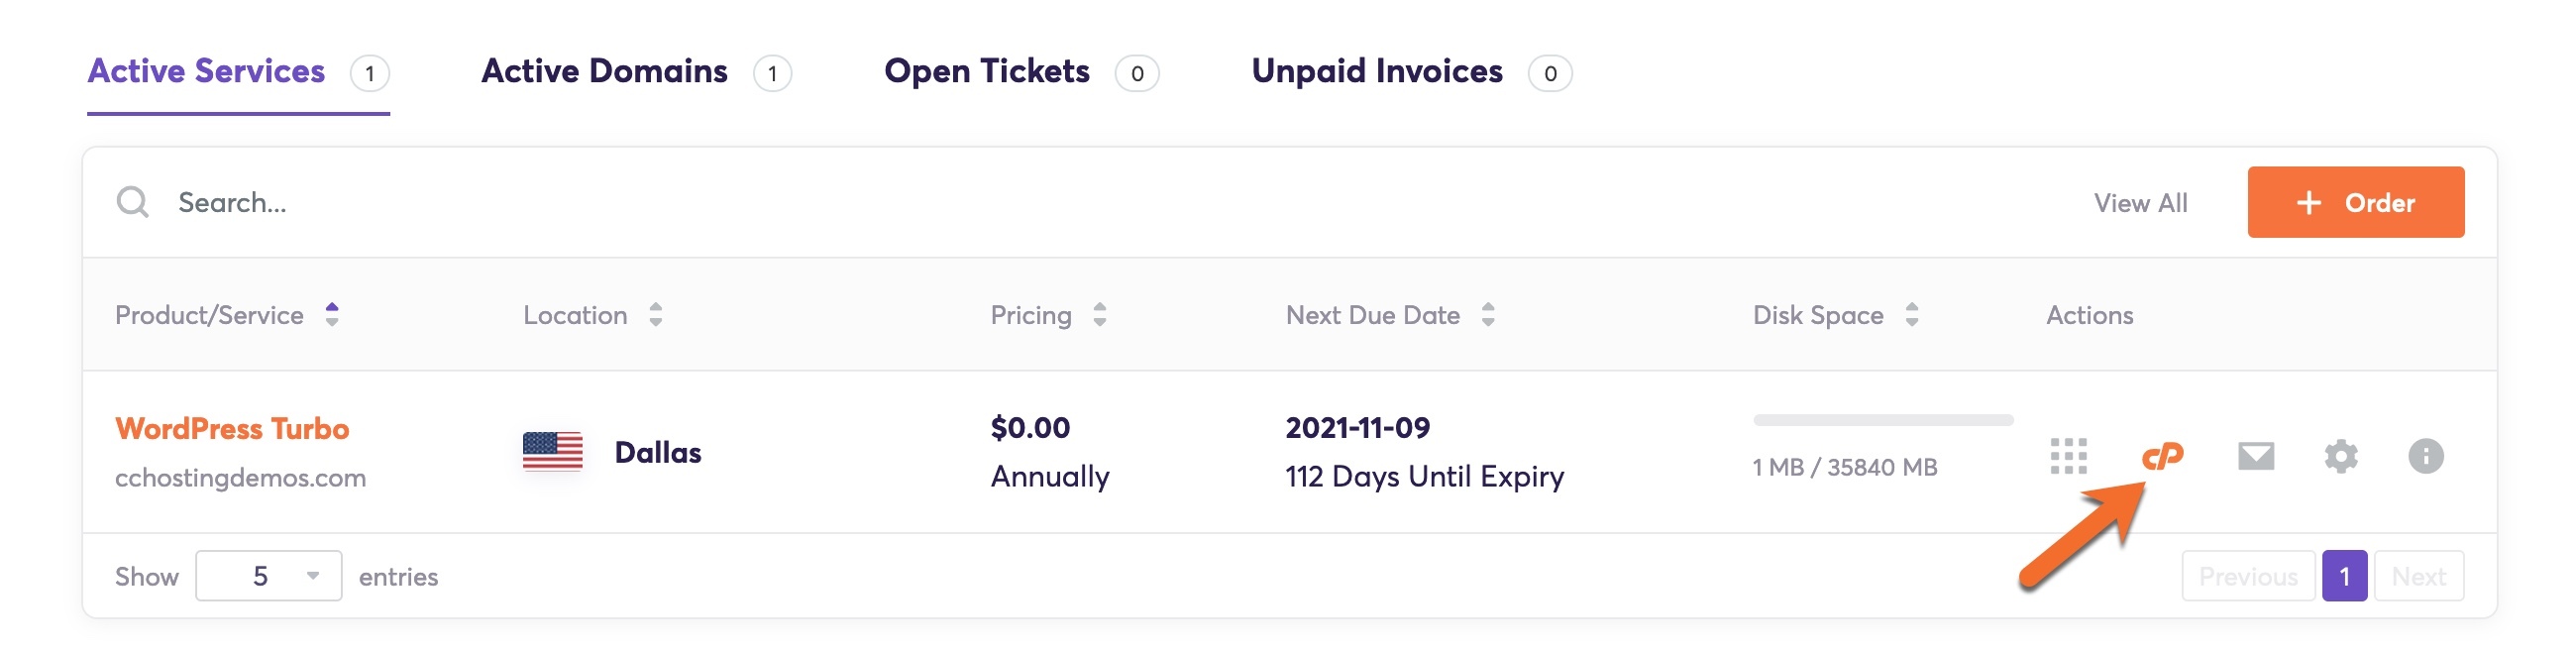
Step 1: Login to your cPanel. There’s a lot of ways to do this, but the sure fire easiest way is to login to your Client Area, then open your cPanel.
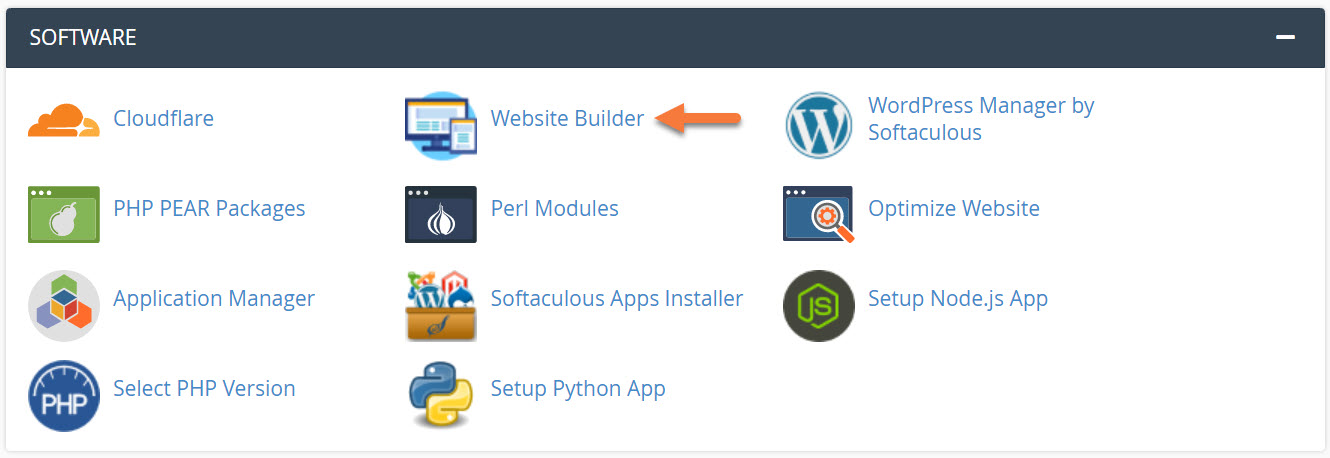
Step 2: Scroll down to the Software section and open the Website Builder:
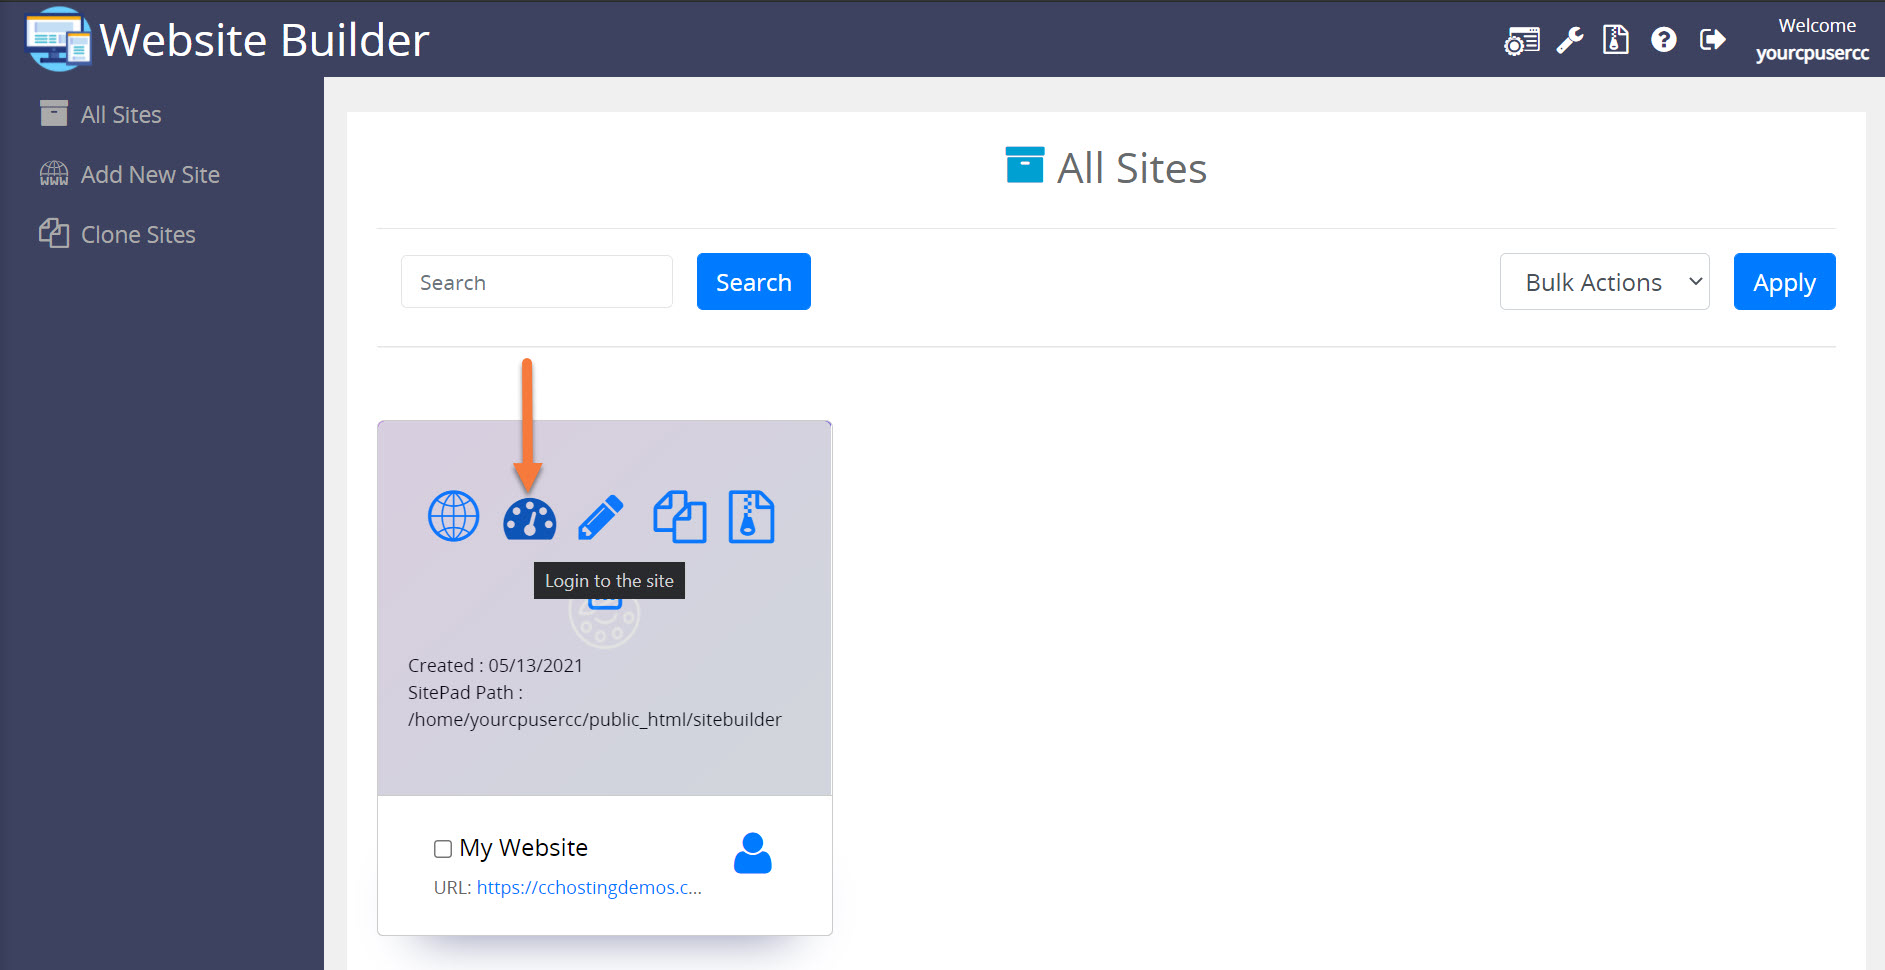
Step 3: Your list of sites will load. Locate the site edit, then hover over that site and click the speedometer icon to login to the site.
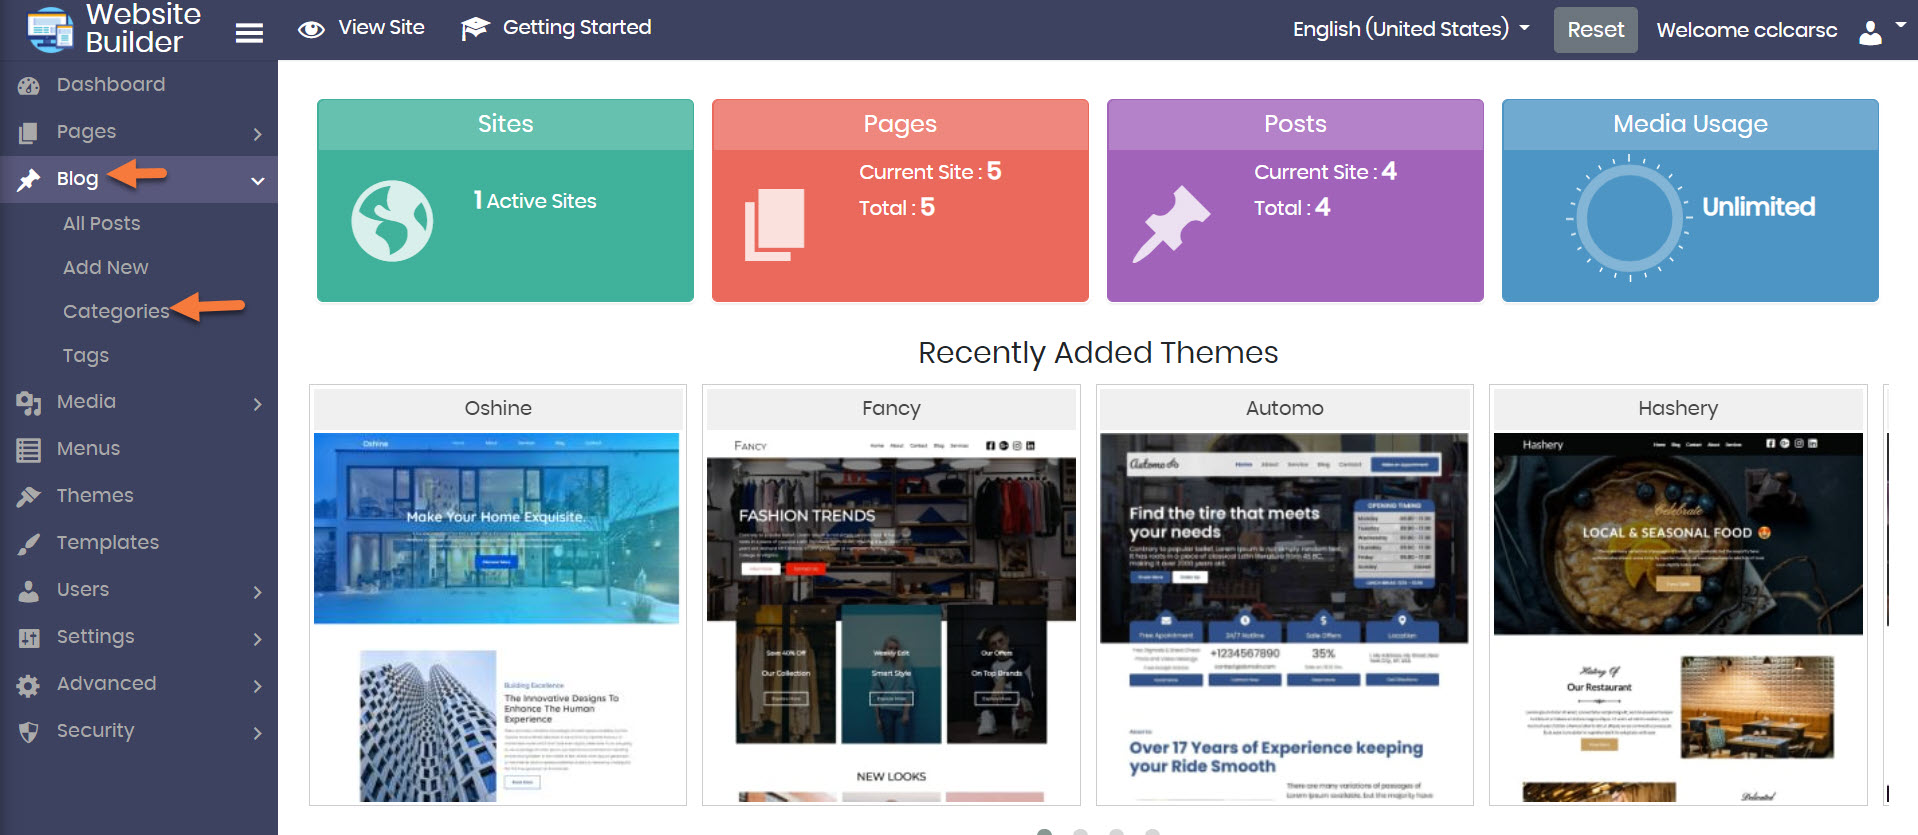
 Step 4: Navigate to your Blog area by clicking Blog to expand the menu. Once the menu expands, click Categories.
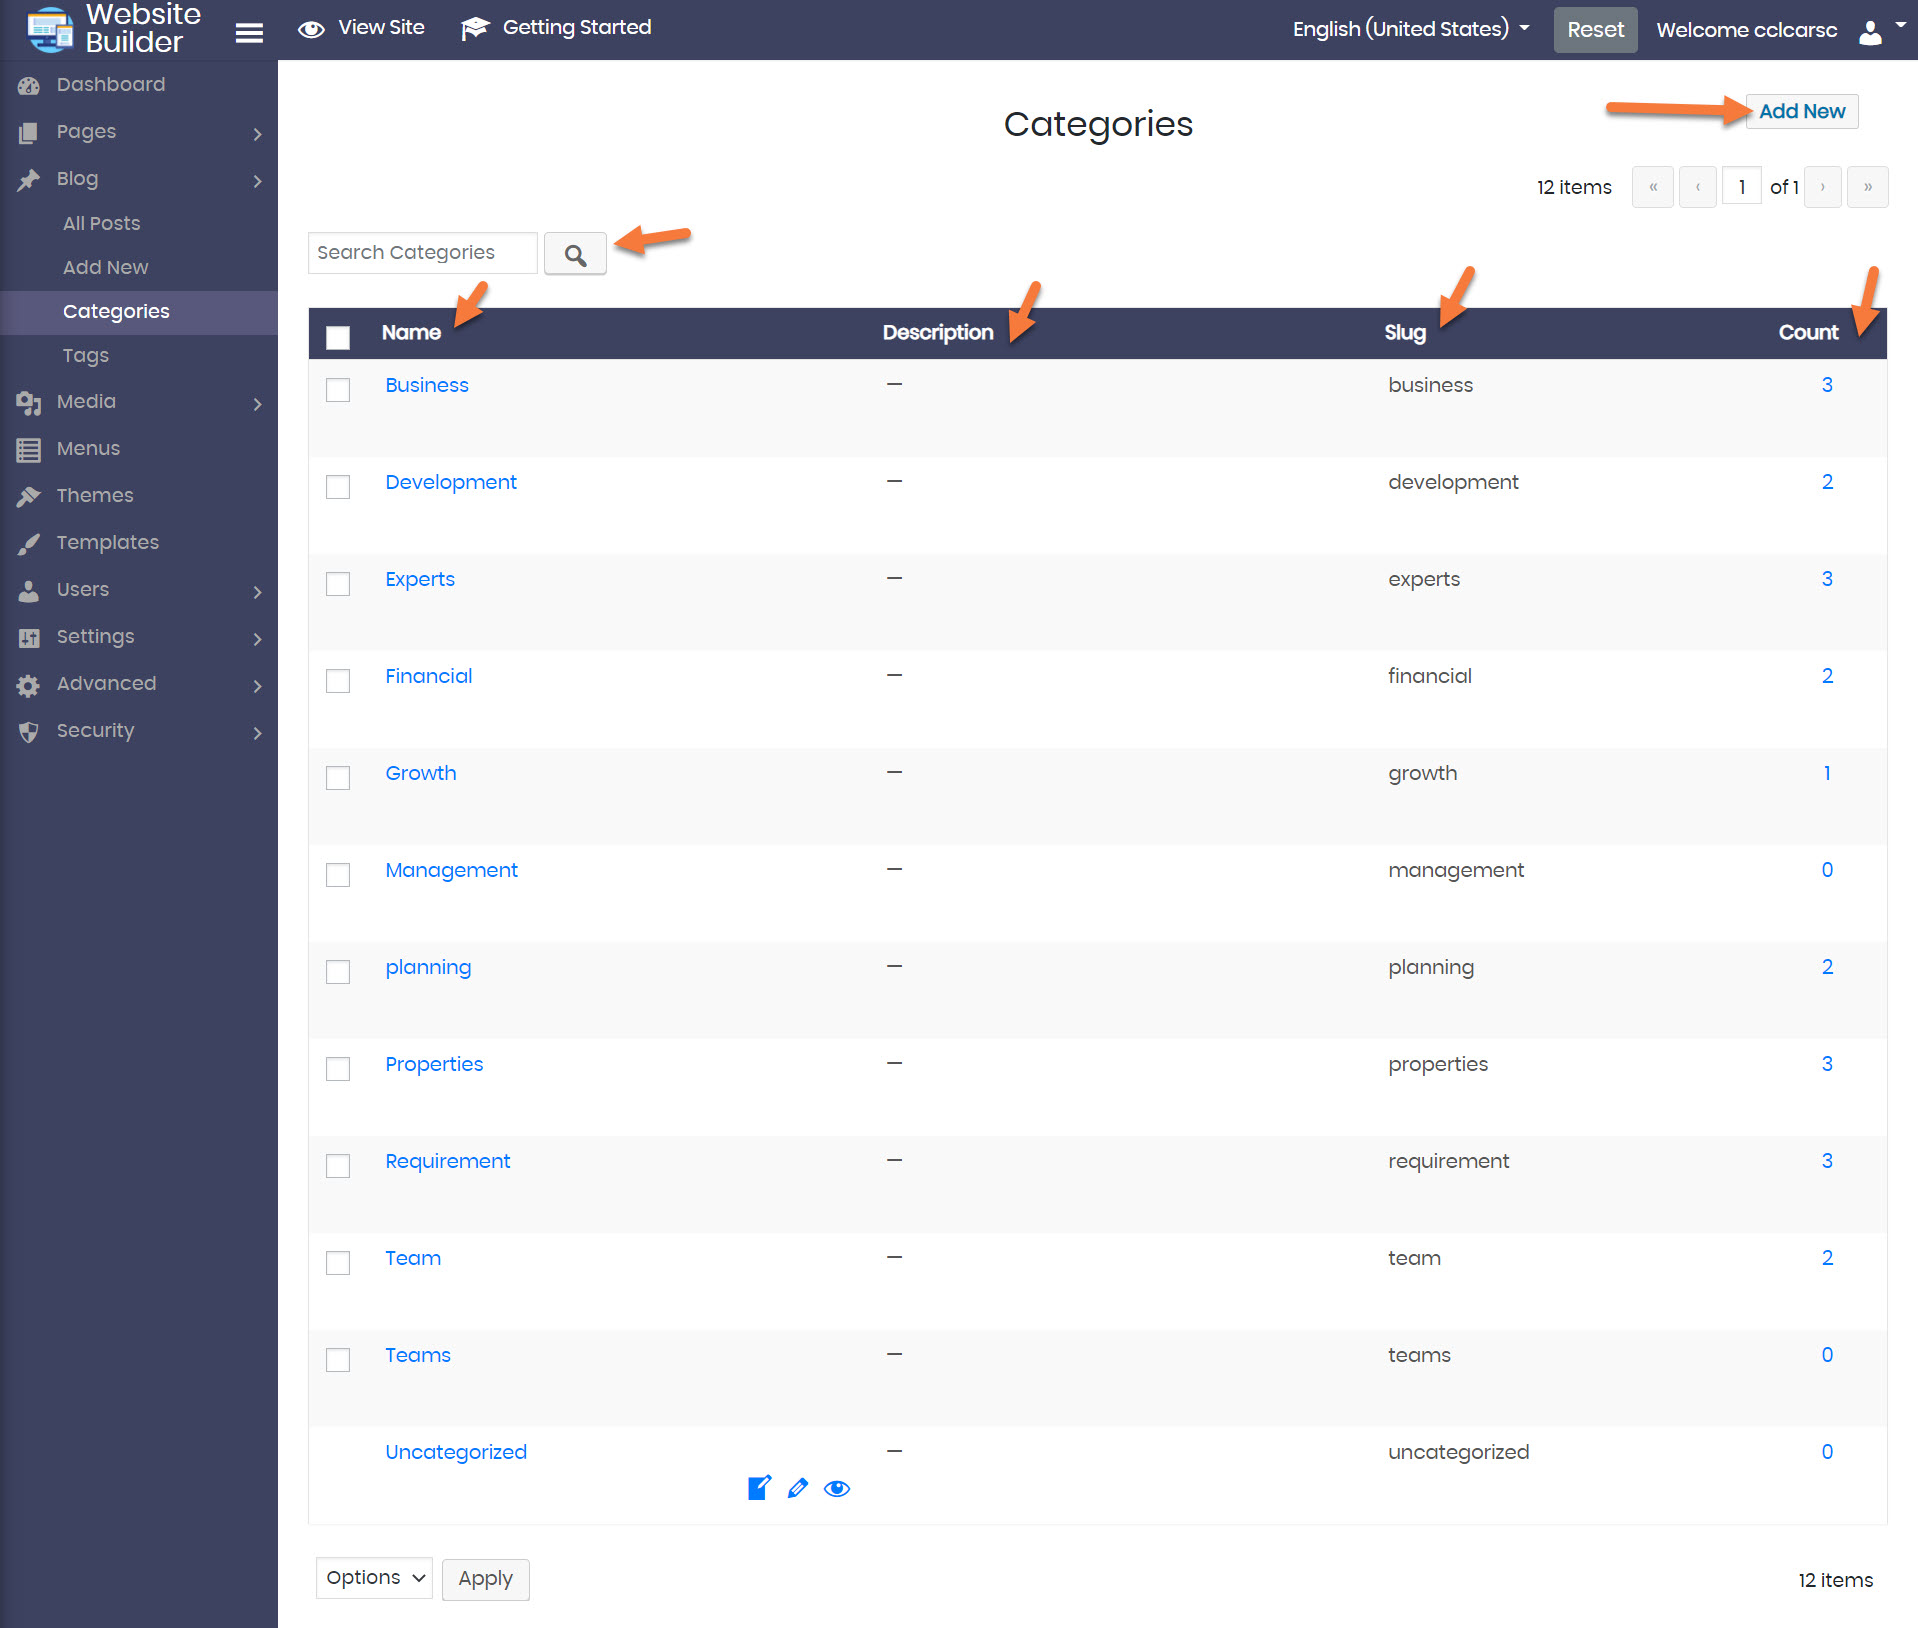
 Step 5: Once the Categories page opens, you will be presented with a list of the existing categories for your site, along with the description of the category, if you’ve set one, plus the category slug (or short name) and a count of how many Blogs are using that category.
There is also a search if you find that you have so many categories, they can’t be displayed on a single page, or you just need a faster way to find the one you’re looking for.
How to Change the Details of an Existing Category
If you click on an existing Category, you are presented with the following options:
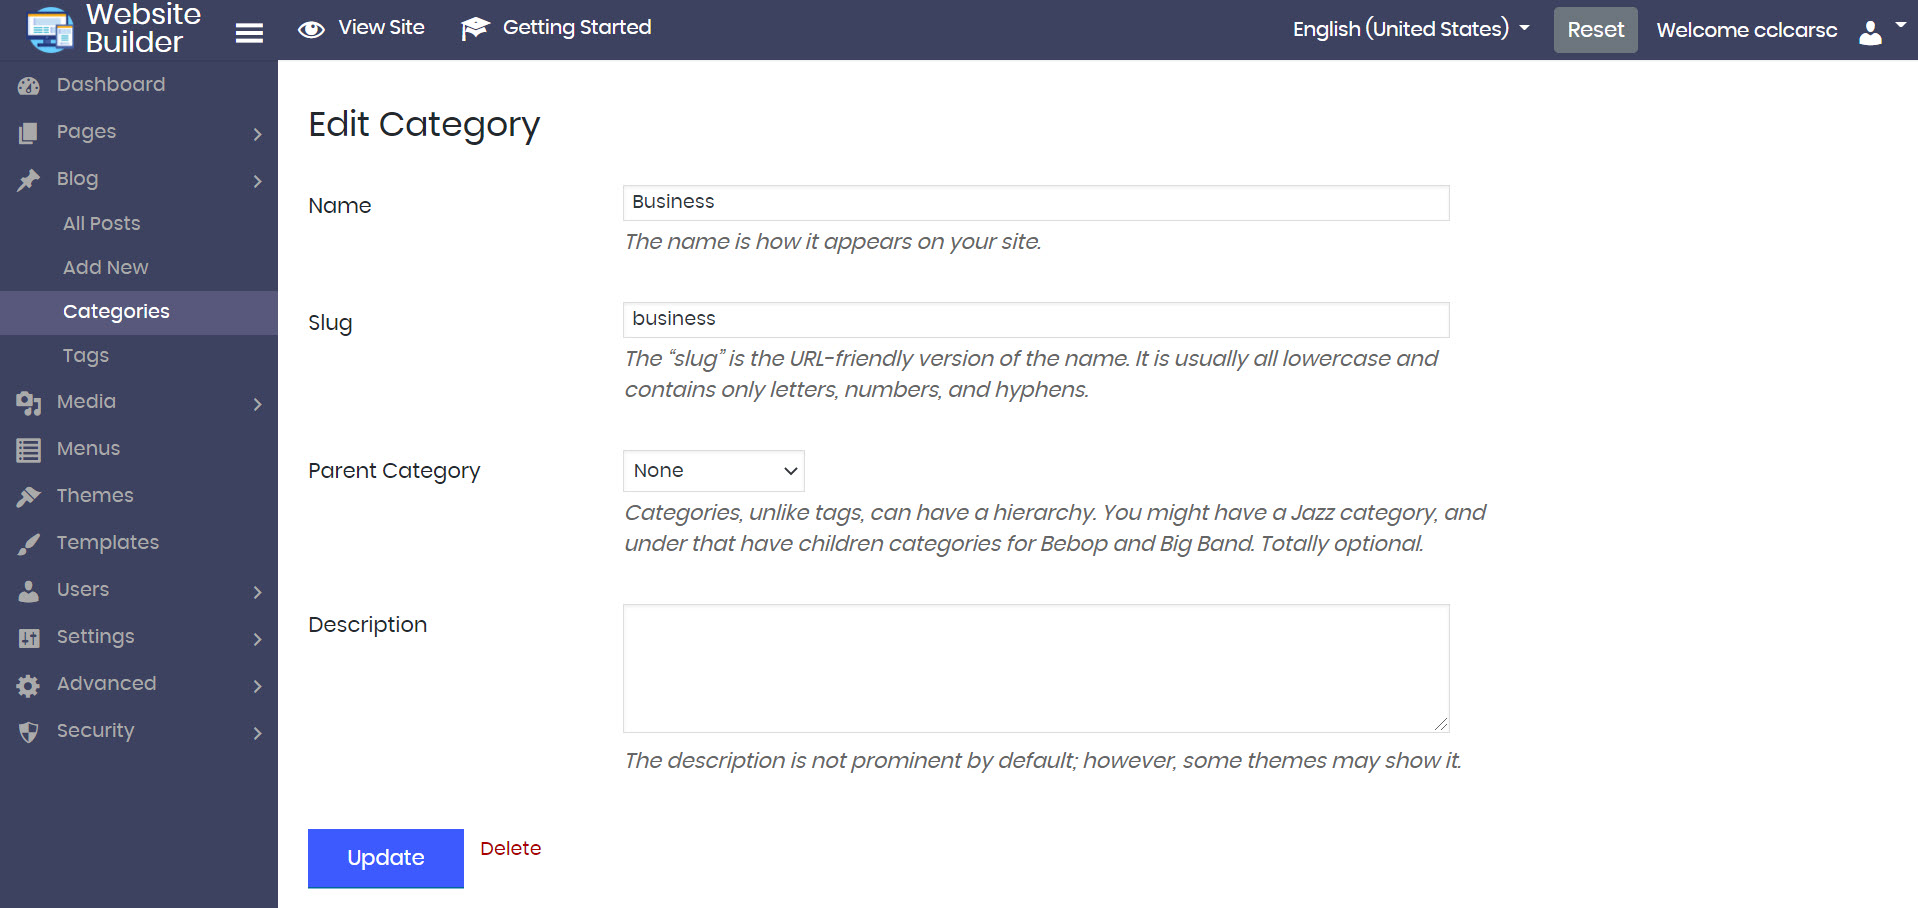
- Name – You can change the name of the Category.
- Slug – This is the URL friendly version of the category name and usually contains all lowercase characters, which are letters, numbers, and hyphens.
- Parent Category – if you have multiple categories, you can Sub Categorize them further to enhance and bolster organization.
- Description – Not all themes will show a description, but if you have one for your category, you can enter it here.
If you change any items on this page, be sure to click the blue Update button to save your changes.
How to View Blogs Assigned to an Existing Category
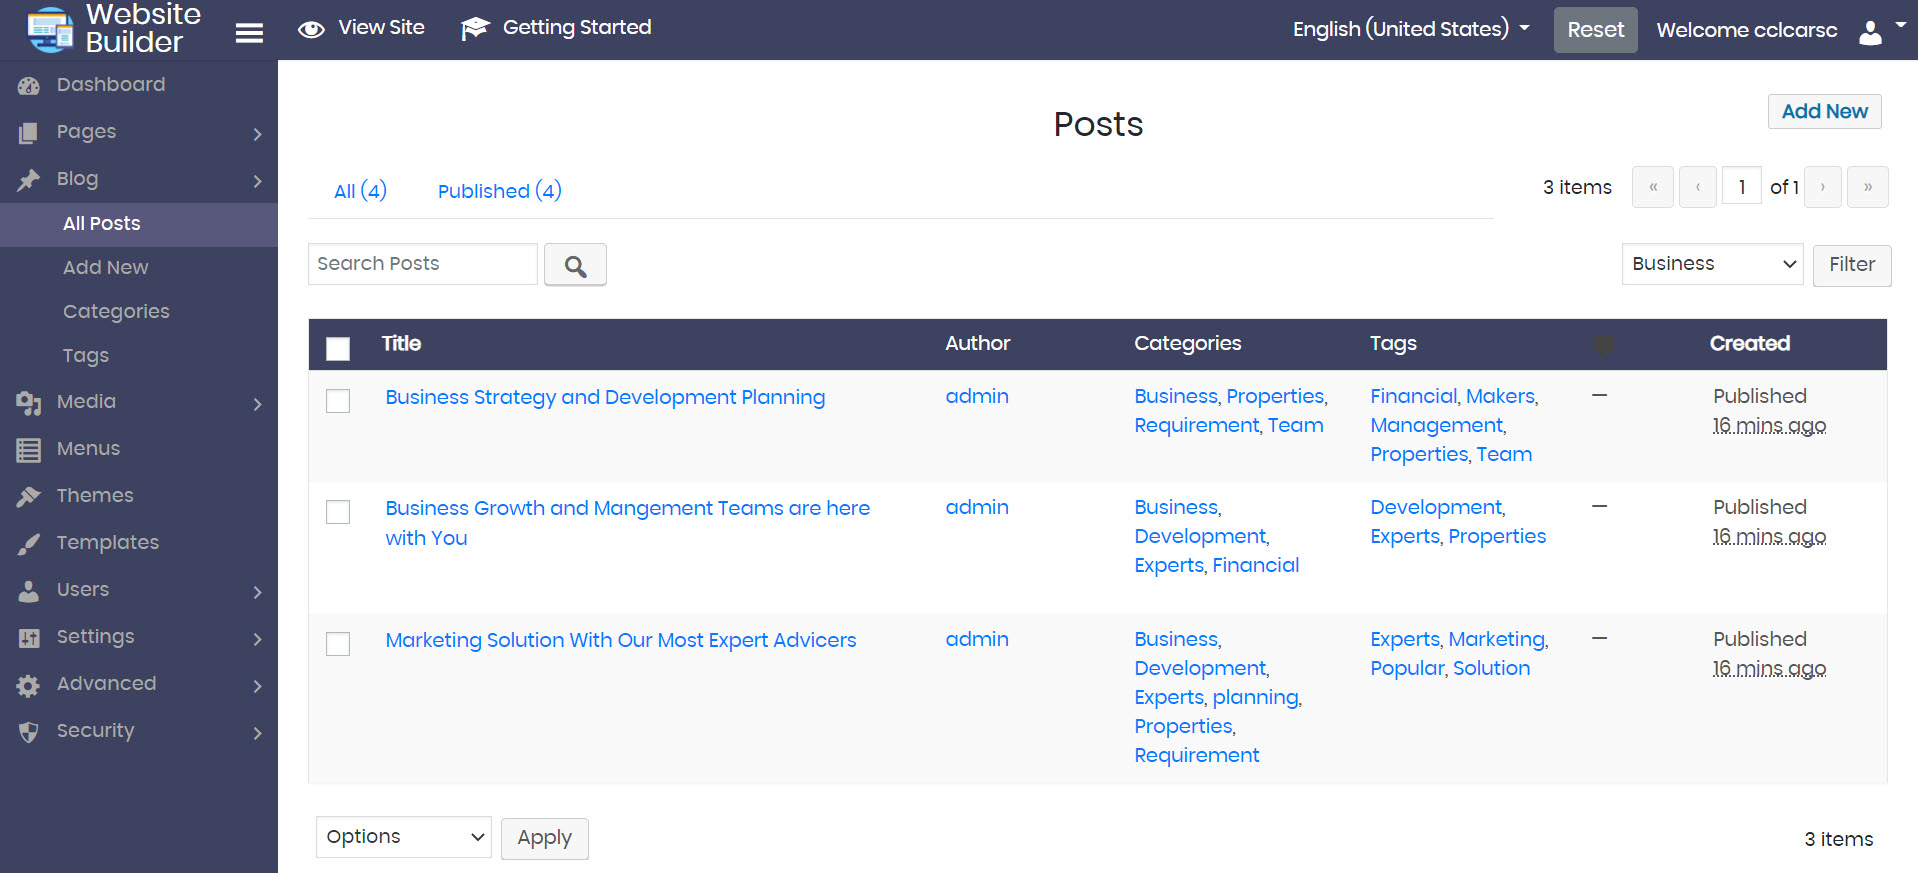
If you click on the numerical value in the Count column, you will be taken to a list of the Blog posts using that Category:
How to Create a New Category
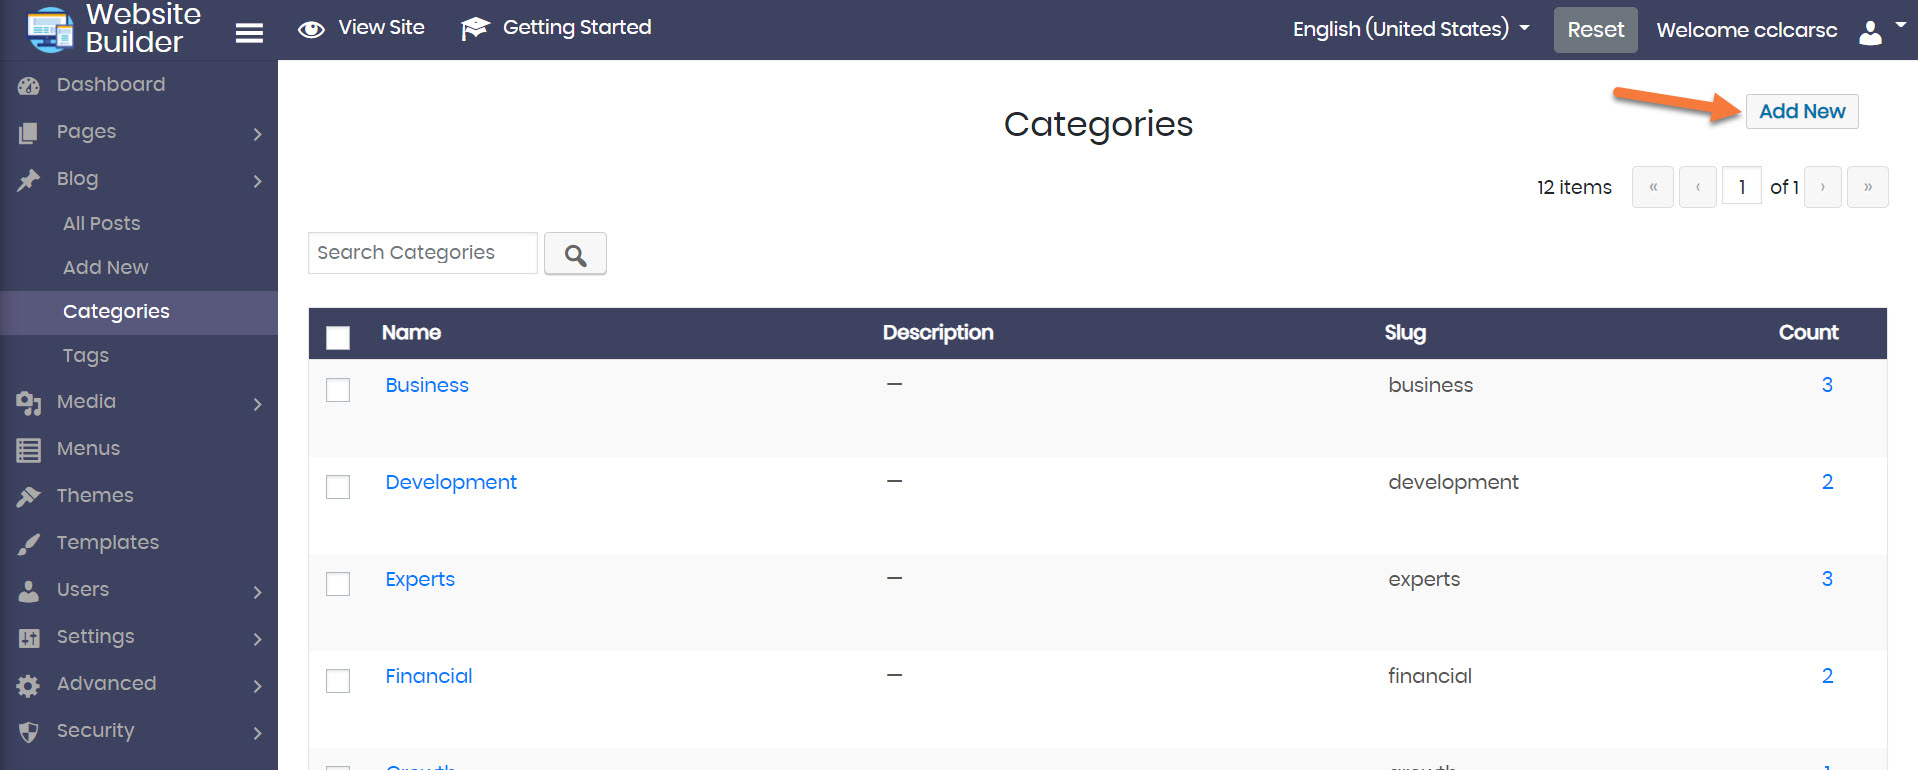
From the Categories page, you can create a new Category by clicking Add New in the top right corner.
After clicking Add New Category, a modal will appear, like the one below:
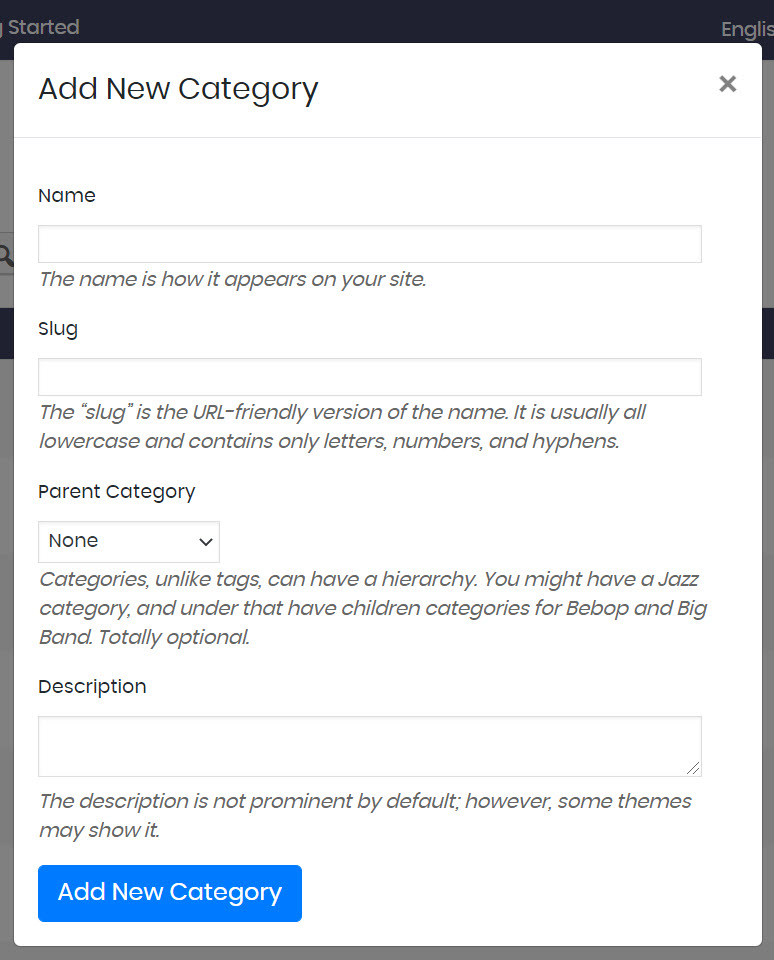
Give your Category a name, as well as a slug. If you want to sub categorize this new category, you can choose a parent category from the drop down menu.
If you wish, you can also enter a description.
When you’re ready to add the new Category, click the blue Add New Category button.
How to Delete a Category
Spring Cleaning? You can easily delete a category by checking the tick-box next to the category name, then from the Options menu, choose Delete, then click Apply. See the GIF below:
And that’s how you manage Categories in the Website Builder!
Great guide on managing blog categories! It’s so important to stay organized as your content grows, and categorization really helps improve both user experience and SEO. I appreciate the step-by-step breakdown, especially the tips for sub-categorizing and adding descriptions. This will definitely make blogging easier!