Once of the key components of SEO is tagging, especially when it comes to blogs. If you have been using the Website Builder to create your blog and are curious about how to manage tags, you’re in the right place!
This Knowledgebase Article covers how to manage tags in the Website Builder.
Managing Tags in the Website Builder
Managing tags in the Website Builder is super easy!
How to Add a New Tag in the Website Builder
Step 1: Login to your cPanel. There’s a lot of ways to do this, but the sure fire easiest way is to login to your Client Area, then open your cPanel.

Step 2: Scroll down to the Software section and open the Website Builder:

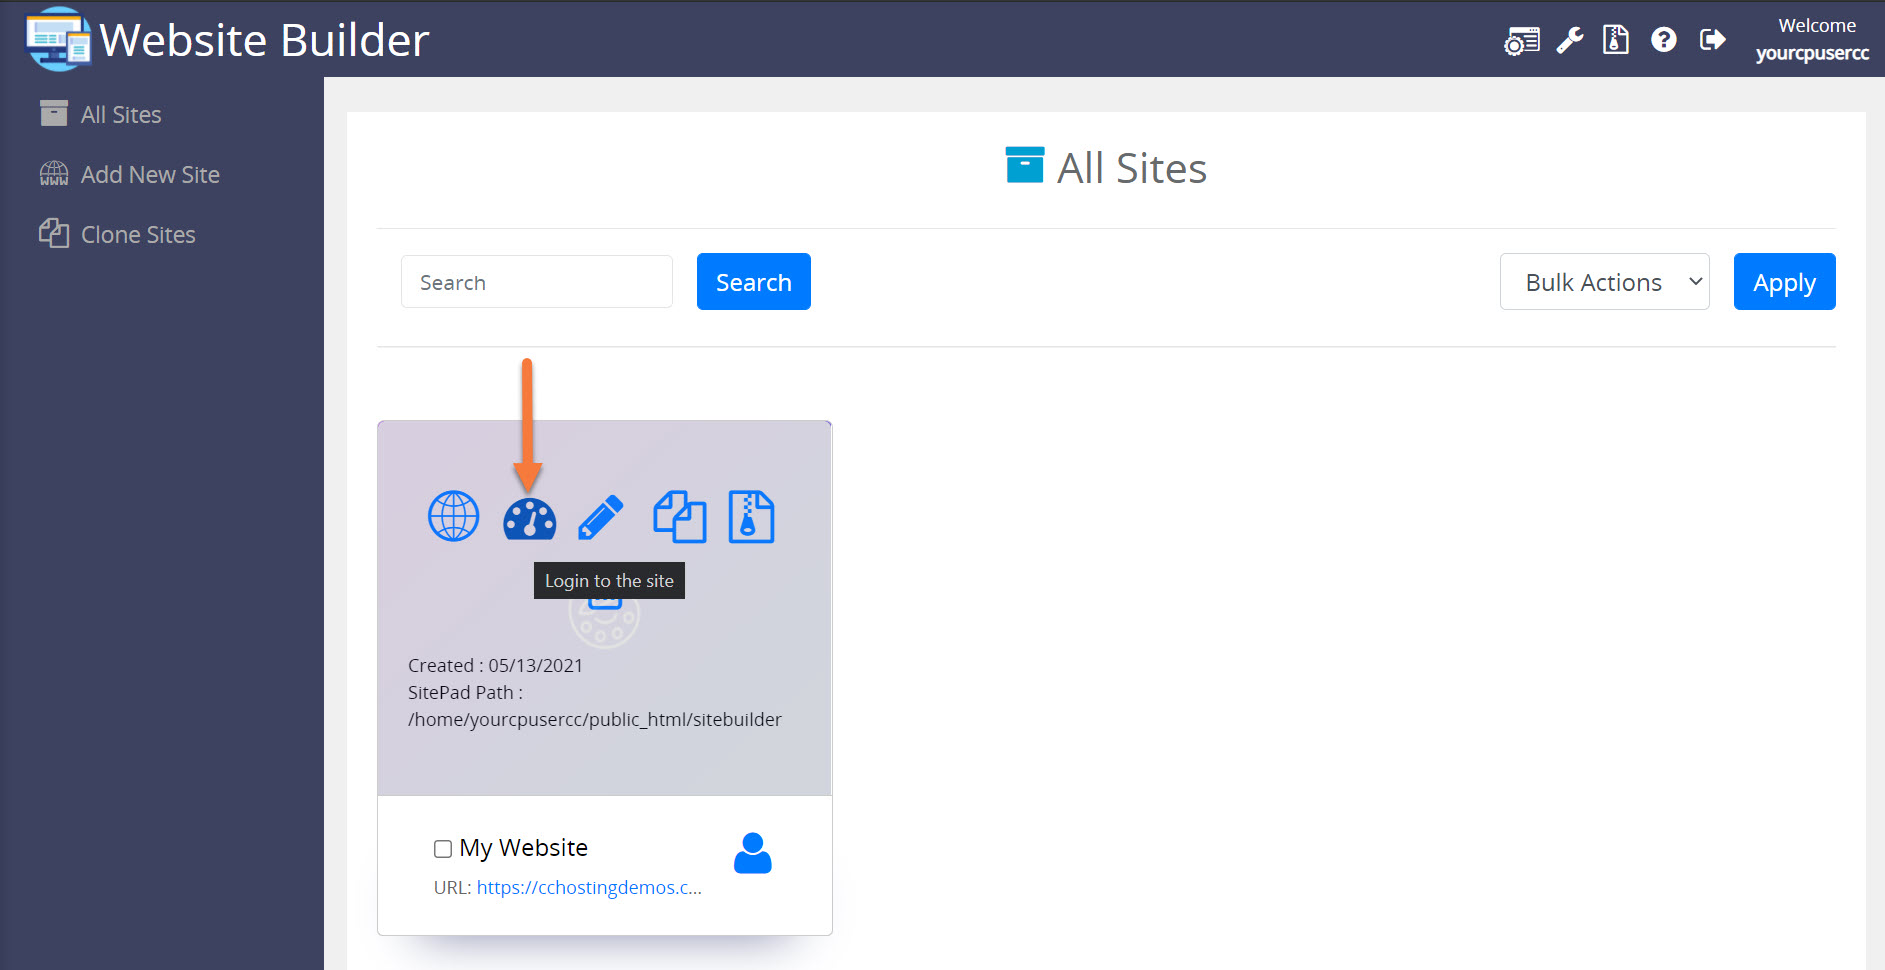
Step 3: Your list of sites will load. Locate the site edit, then hover over that site and click the speedometer icon to login to the site.
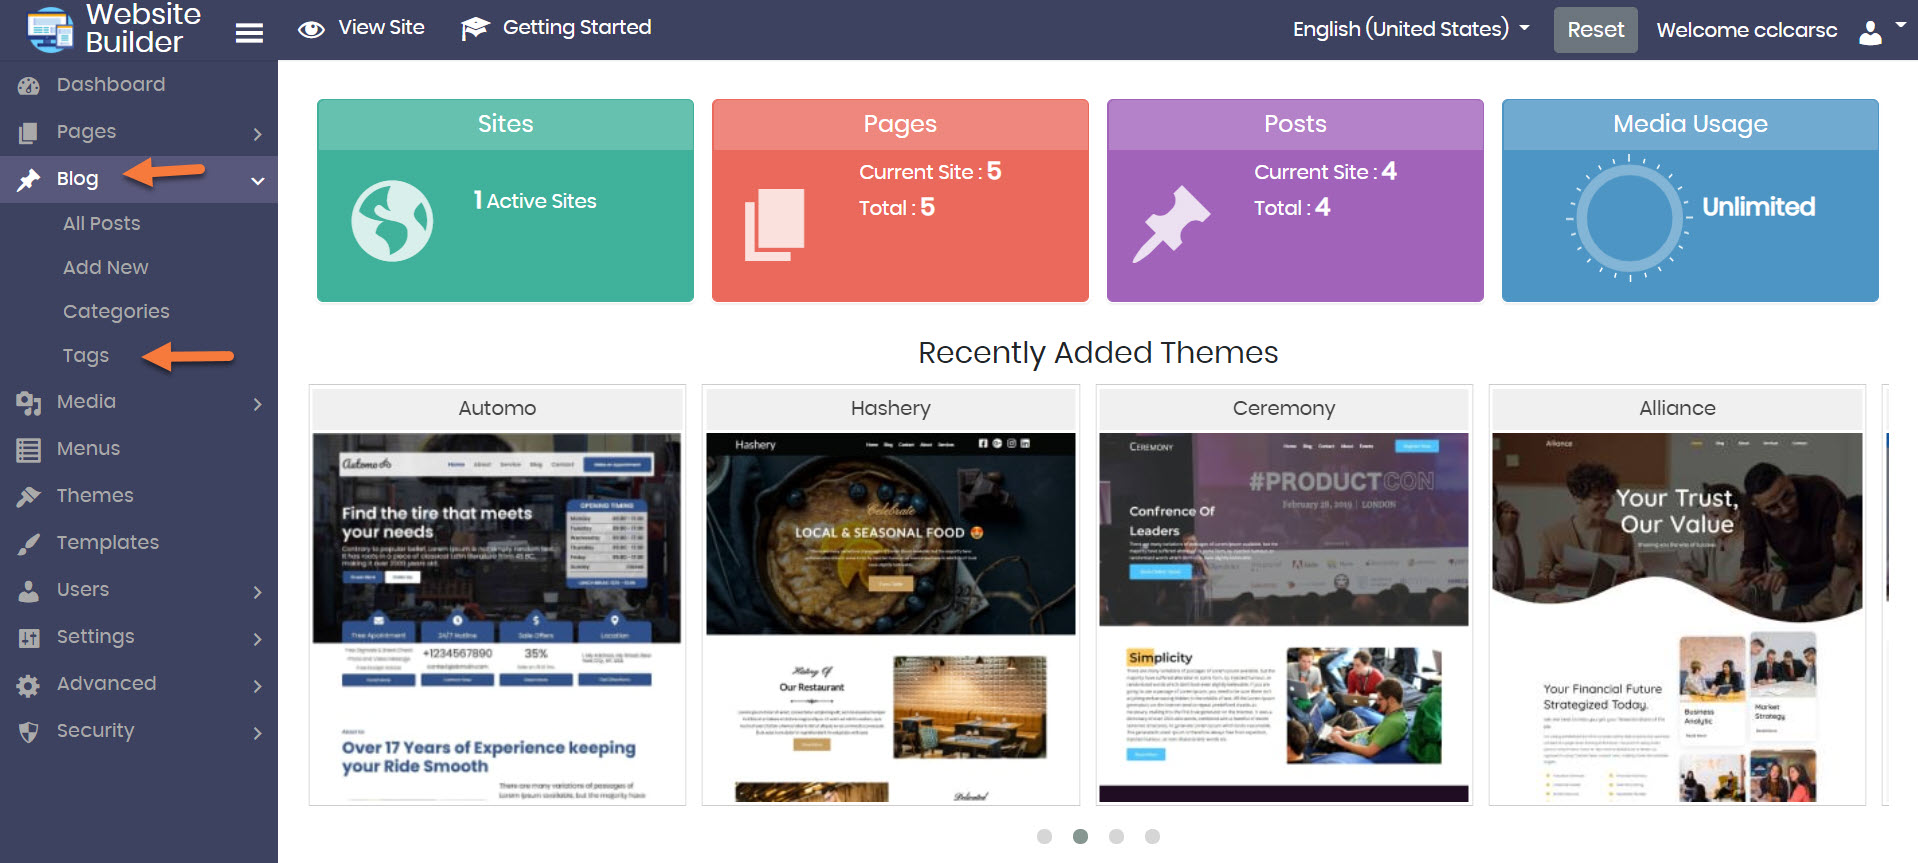
Step 4: Once the Site Admin opens, click Blog from the menu on the left, then click Tags.
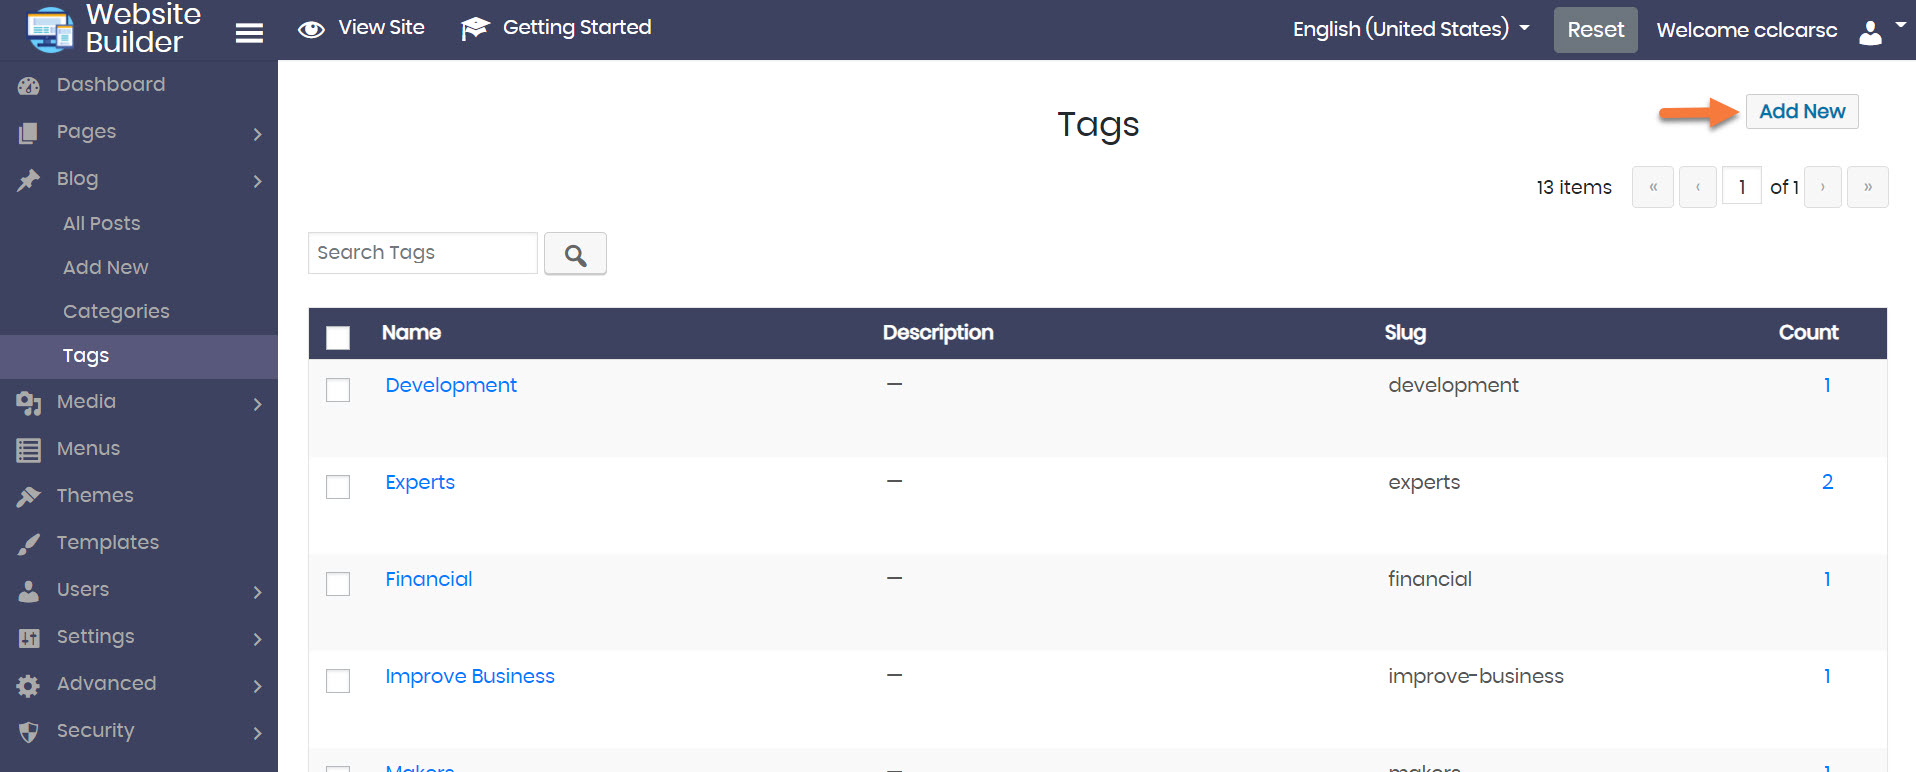
Step 5: You will be presented with a list of your current tags. To add a new tag, click Add New in the top right corner.
Step 6: A modal will appear with a few options:
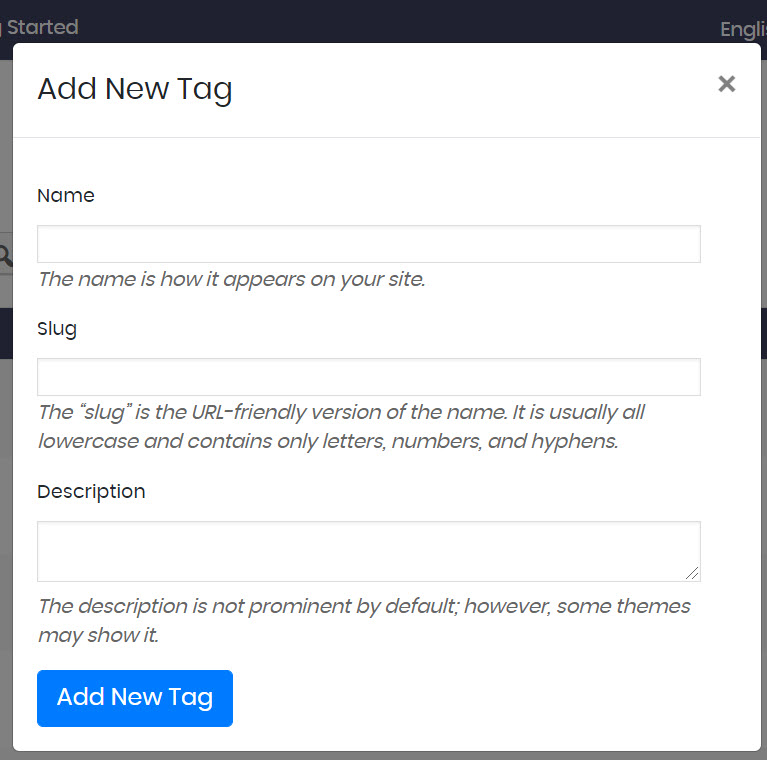
Enter the name of the Tag, as well as the slug or URL friendly version, and you can give the new tag a description, if you like.
To add the new tag, click the blue Add New Tag button.
How to Change the Details of an Existing Tag
If you click on an existing tag, you are presented with the following options:
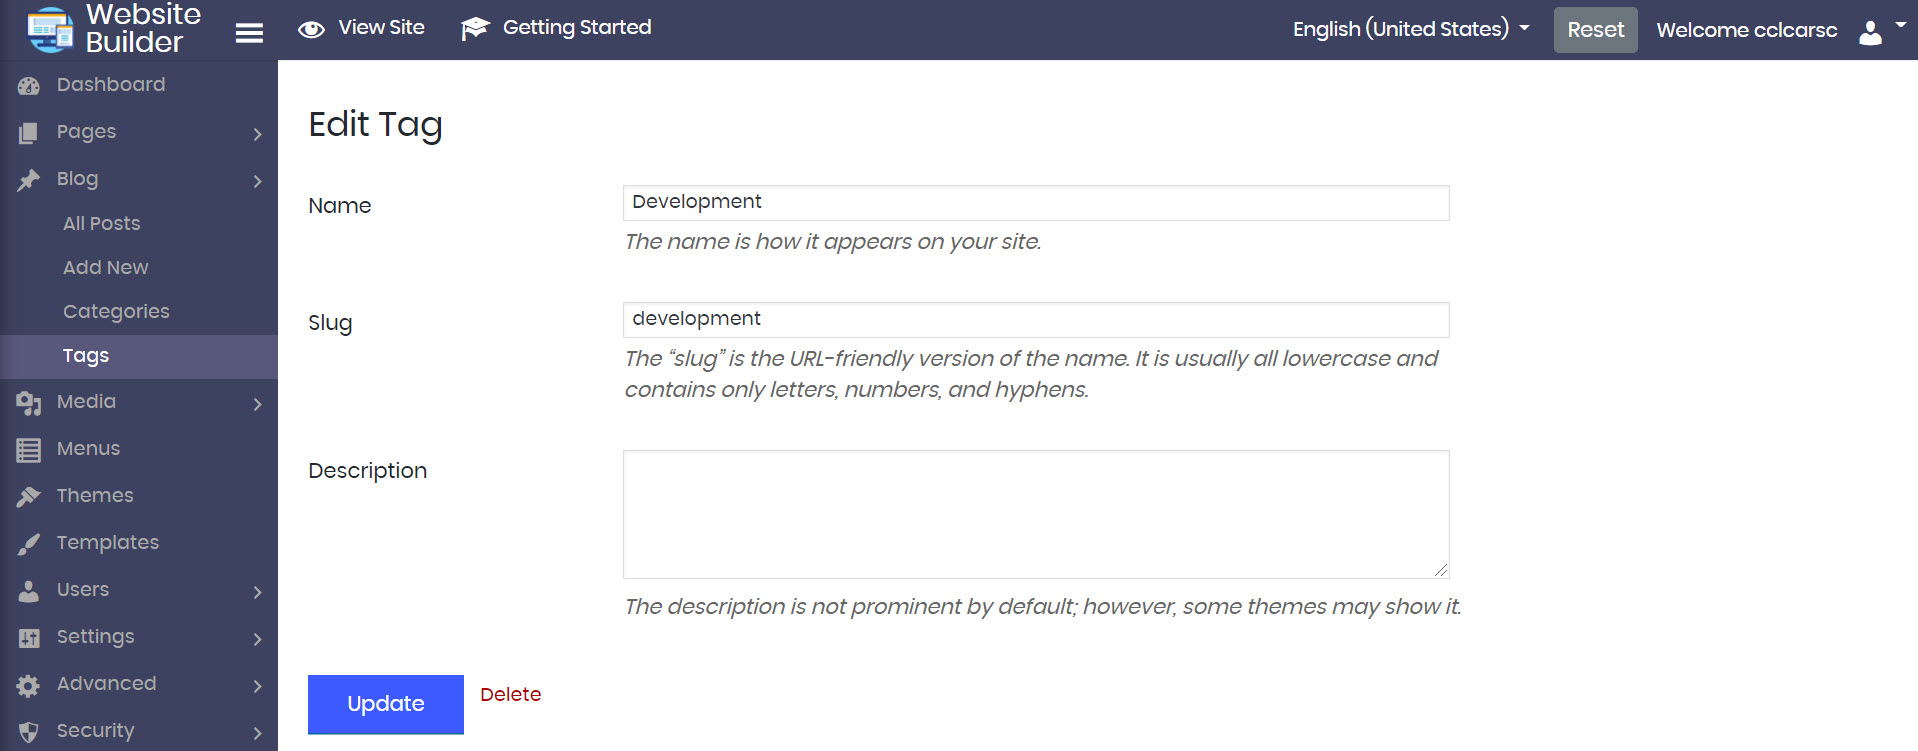
On this page you have the following options:
- Name – You can edit the name of the Tag.
- Slug – You can change the slug of the Tag.
- Description – You can edit/insert a description for the Tag.
Be sure to click the blue Update button after making any changes to save!
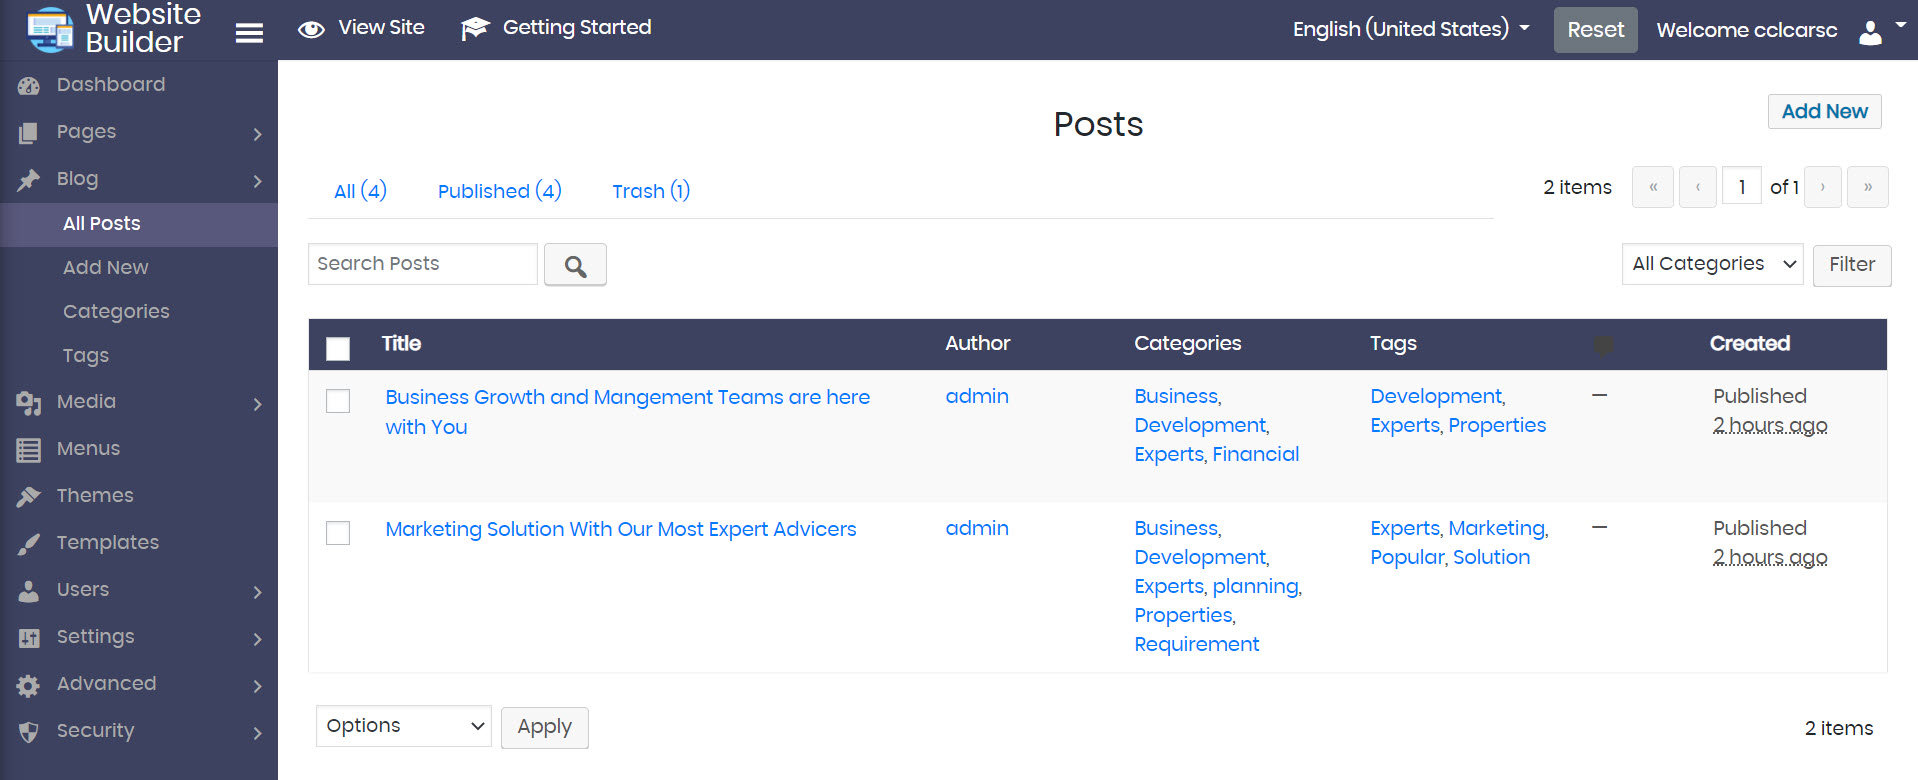
How to View Blogs Assigned to an Existing Tag
If you click on the numerical value in the Count column, you will be taken to a list of the Blog posts using that Tag:
How to Delete a Category
Spring Cleaning? You can easily delete a category by checking the tick-box next to the category name, then from the Options menu, choose Delete, then click Apply. See the GIF below:
And that’s how you manage Tags in the Website Builder!