Sometimes you may be working on content for yourself that you don’t want public quite yet, perhaps it’s a website redesign, or you’re working on a client’s website in the Website Builder. Whatever the case may be, the ability to Password Protect pages is something that you can definitely do with the Website Builder app!
Let’s take a look at how in this Knowledge Base article!
How to Password Protect Pages in the Website Builder
Step 1: Login to your cPanel. There’s a lot of ways to do this, but the sure fire easiest way is to login to your Client Area, then open your cPanel.

Step 2: Scroll down to the Software section and open the Website Builder:

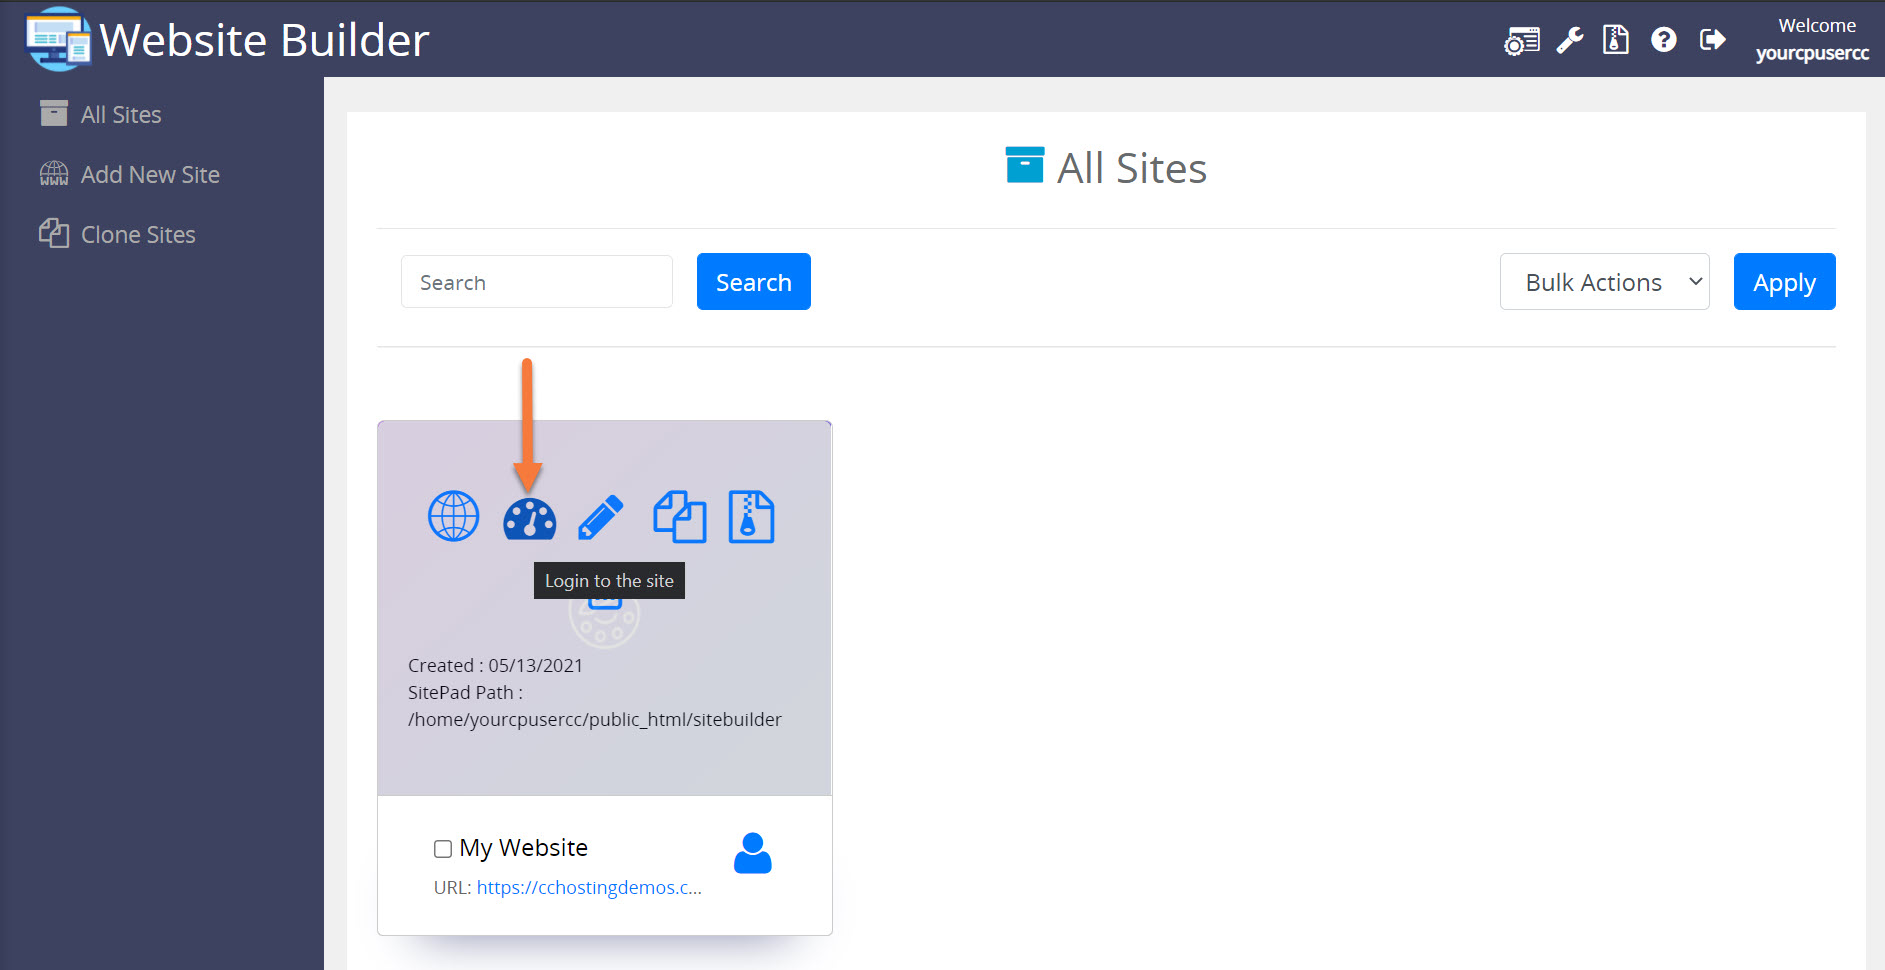
Step 3: Your list of sites will load. Locate the site edit, then hover over that site and click the speedometer icon to login to the site.
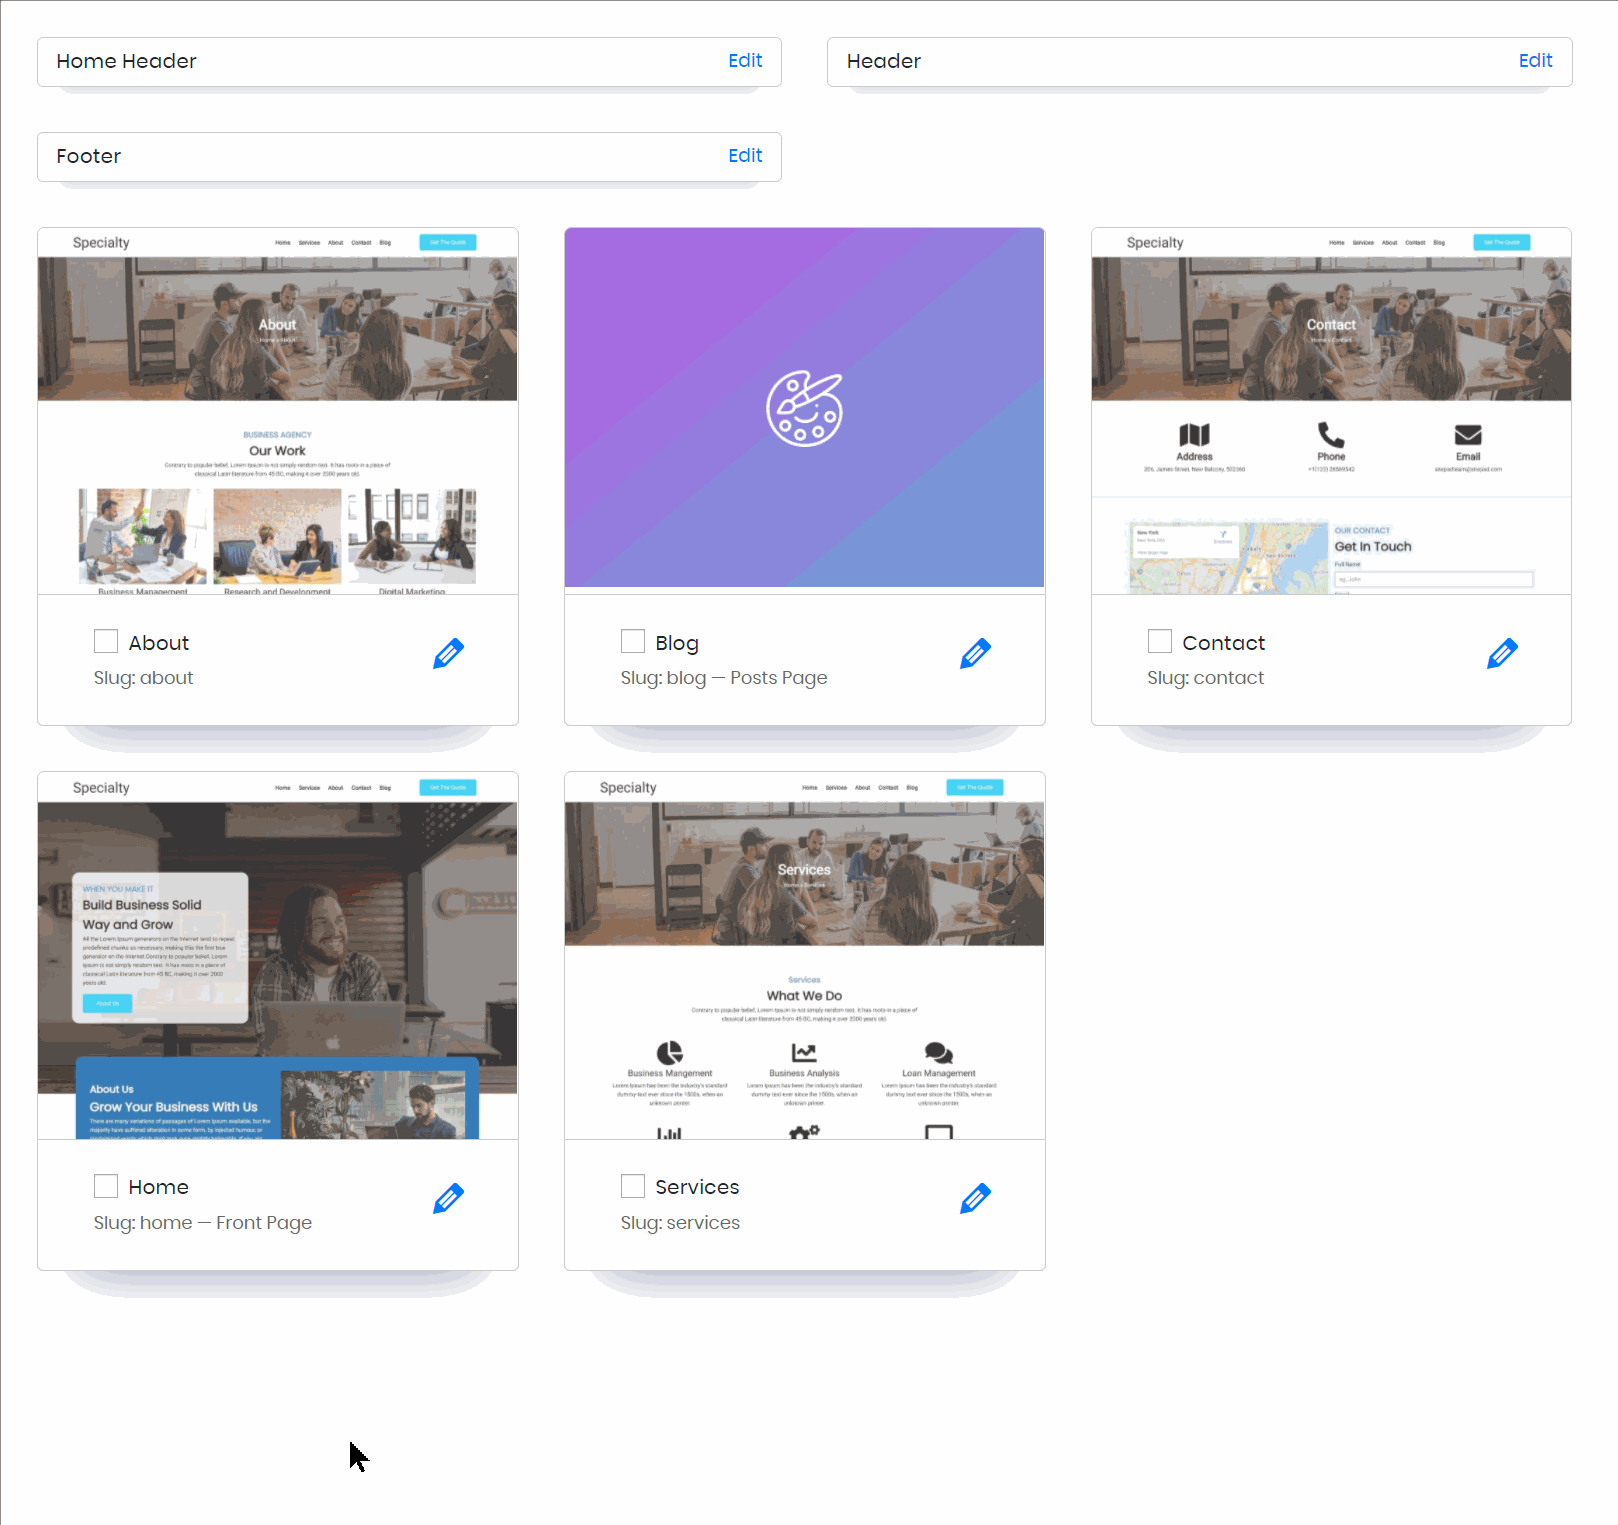
Step 4: Once the Site Admin area opens, click Pages from the menu on the left, then click All Pages.
You will be presented with thumbnail previews of each page in your Site.
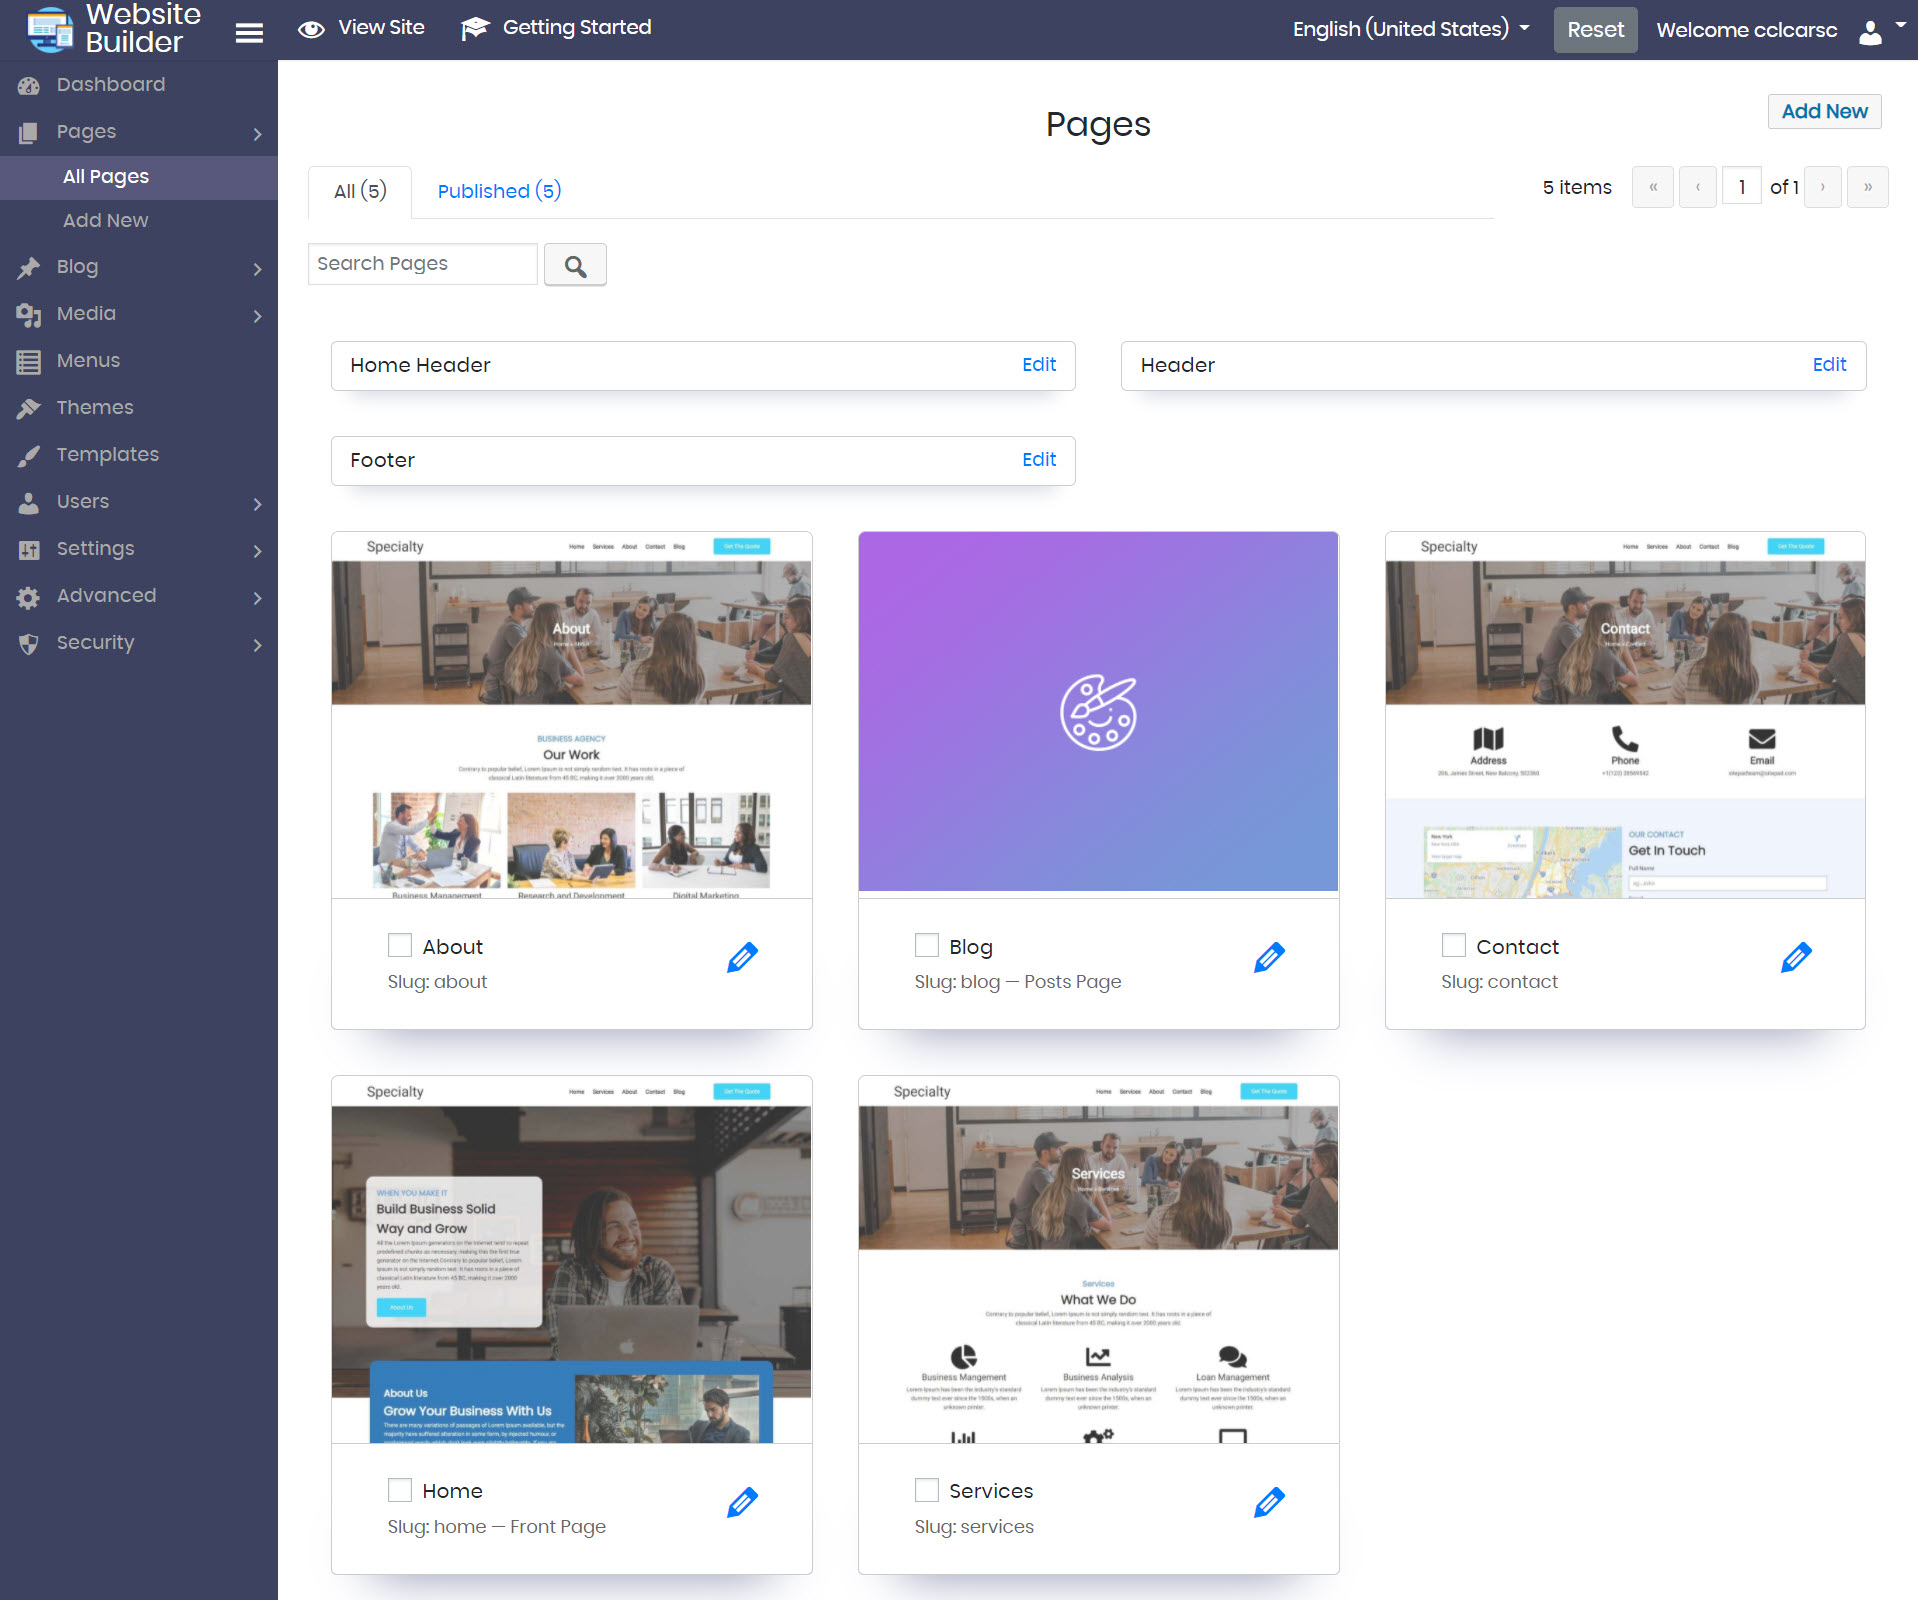
Choose the page you want to password protect, then hover over the page and click the pencil icon to open the page editor.
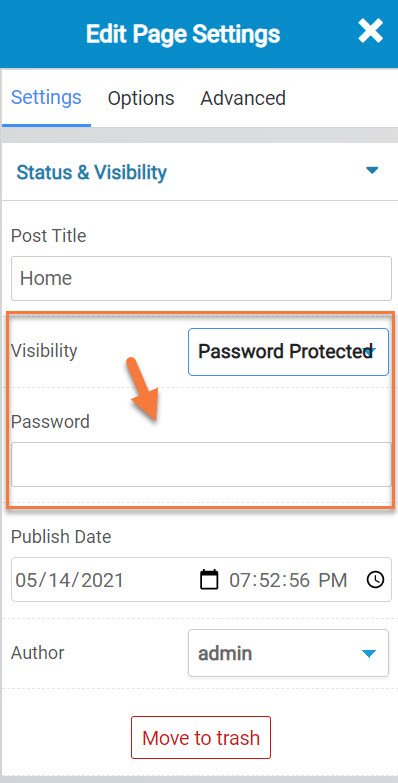
Step 5: Once the page is open, look on the left side in the “Edit Page Settings” tool and find the Visibility options.
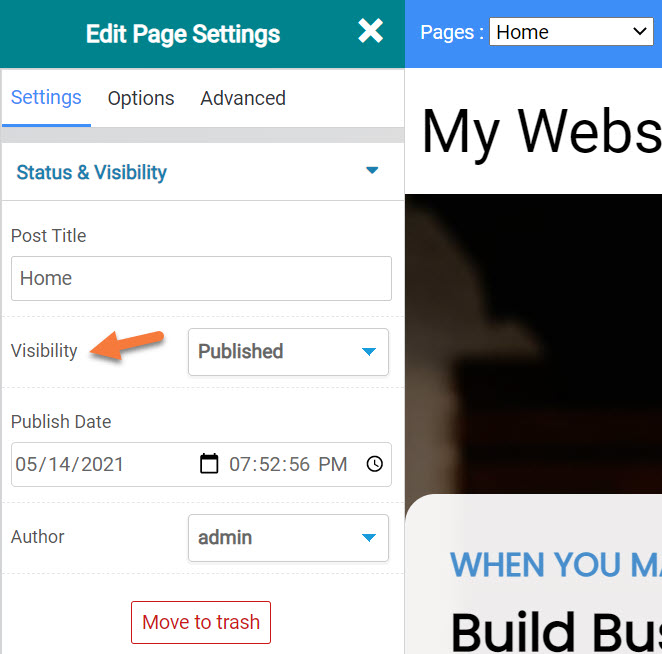
From the drop down menu next to Visibility, choose Password Protected. Once you select Password Protected, you will see the option to enter a password appear:
Enter the password you want to use, then click the Update button in the top right corner to save your changes.
Now when you or someone else visits that page, they’ll need to enter the password to access the content on the page.