In this article, we will show you how to a new cPanel account in WHM.
2) In the Account Functions section, click Create a New Account:
3) Enter a domain name for the account to use. The username will be created and filled in automatically based on the domain name. You can change it if you’d like. Enter or generate a strong password. And lastly, enter an e-mail address that should be used as this account’s main point of contact:

4) Next, we need to specify the limits (disk space, bandwidth) to apply to this account. Choose a package that is already created from the drop-down menu. If you are adding your first account, check Select Options Manually.

If you check Select Options Manually. Click Save Manual Settings as a Package to save our manual settings as a new package.
5) Enter a Name for the package.
6) Set account’s resource limits under Manual Resource Options. This section allows you to specify the limits (disk space, bandwidth) for the account you are creating.
7) For this tutorial, let’s give this account (and package) a reasonable limit of 5 GB for disk space and 10 GB for bandwidth specified in megabytes (MB):
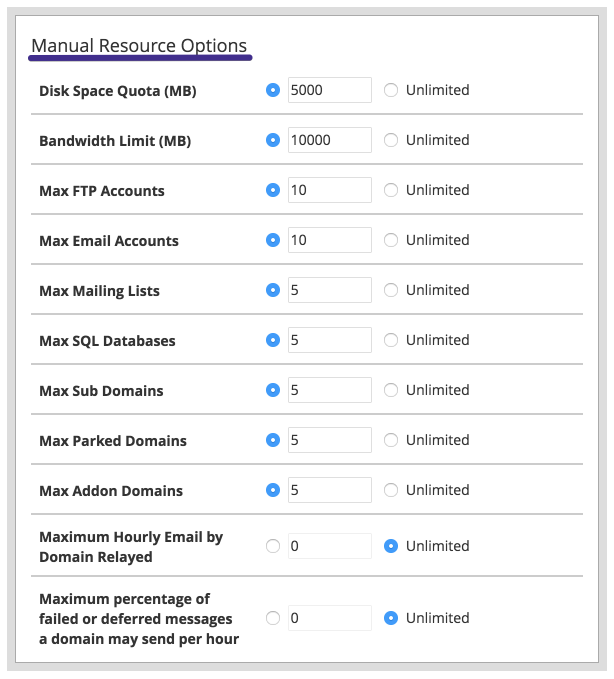
Next, you may restrict the number of FTP accounts the user can create if you desire. Repeat with E-mail Accounts, Mailing Lists, Max SQL Databases, at your discretion.
8) Settings
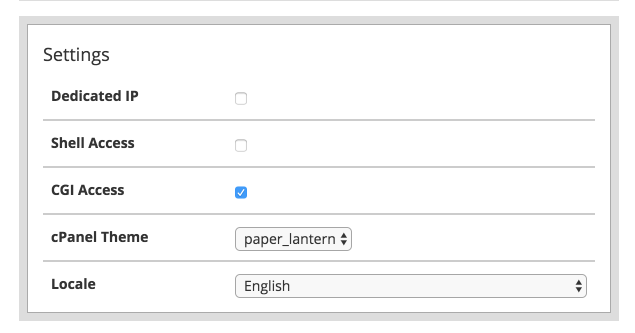
It is recommended that leave Dedicated IP unchecked.
CGI Access can and should be left enabled, in most cases.
9) DNS settings
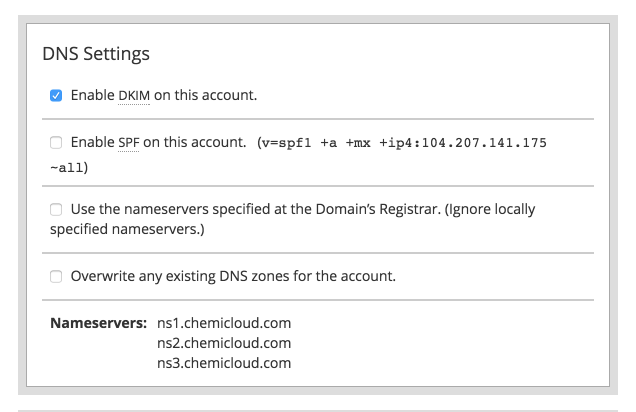
If a DNS zone already exists for the domain name you chose, click Overwrite any existing DNS zones for the account to overwrite it.
10) We’re finished here. Click the Create button.
You’ll see a progress bar notifying you of the status of the creation process. It might take several minutes for the process to complete.
Congratulations! You’ve successfully created your first cPanel account in WHM. You now know how to create a new cPanel account in WHM.