XML-RPC for WordPress was designed to enable remote connections between your website and external applications, like WordPress for iOS or Android. This was useful in the early days of the internet when a person would choose to edit content offline, then connect to their blog later to publish, but now with the way Drafts work, typically this is no longer needed.
This KB Article will instruct you on 2 methods of disabling XML-RPC.
Why should I disable XML-RPC?
As this feature is needed less and less, security risks are associated with leaving it enabled. These can include, but are not limited to in scope:
- Brute Force Attacks – Where an attacker can use xml-rpc to test hundreds of username and password combinations until they are eventually able to gain access to your site. This occurs because xml-rpc does not have the same login attempt limit when you normally log into WordPress.
- DDoS Attack – Where an attacker can use xml-rpc to pingback thousands of IPs. This allows them to send a flood of data and traffic which can cause overages and even have networks paralyzed and shutdown.
How to Disable XML-RPC Using a Plugin
The easiest way to disable XML-RPC is to use a plugin.
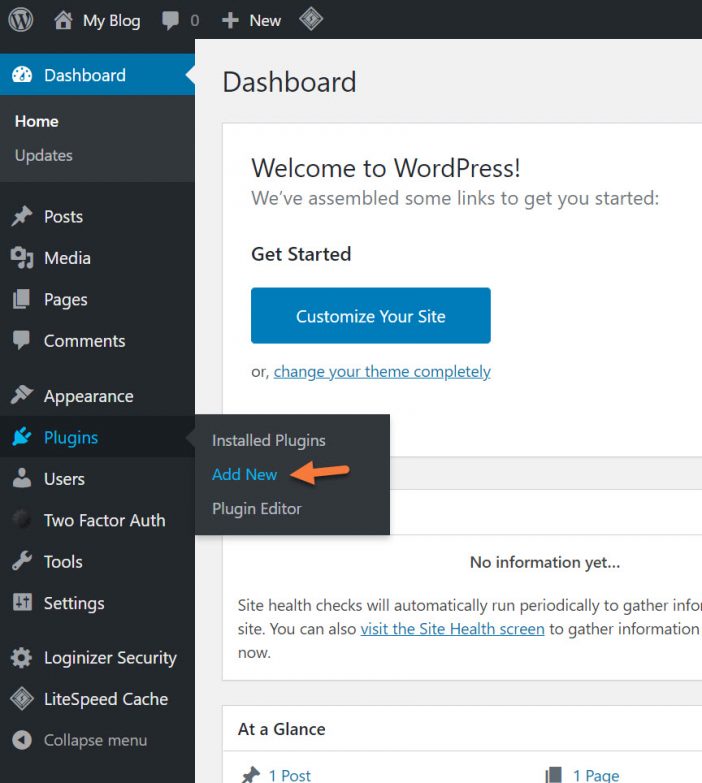
Step 1: Login to your /wp-admin and hover over Plugins from the menu on the left side. In the little menu that appears, click Add New:
Step 2: Use the search box in the top right corner and search for “Disable XML-RPC” (without the quotes). Find the Disable XML-RPC-API plugin by Neatmarketing and click the Install Now button in the search results.

Once the plugin is installed, click the Blue activate button:
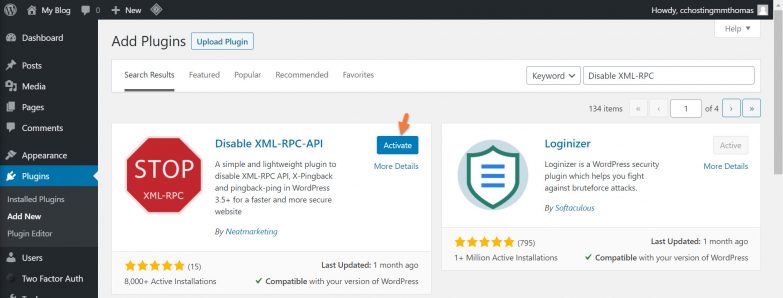
By clicking activate, your site will be protected from XML-RPC attacks, and XML-RPC will be disabled.
Exciting News: Introducing Our fastest WordPress Hosting stack 🚀 Ready for speed? Try it for just $1!
How to Disable XML-RPC Using .htaccess
Suppose you’d prefer not to increase the memory footprint of your WordPress installation or worry about managing another plugin. In that case, you can use the .htaccess to disable XML-RPC on your WordPress site.
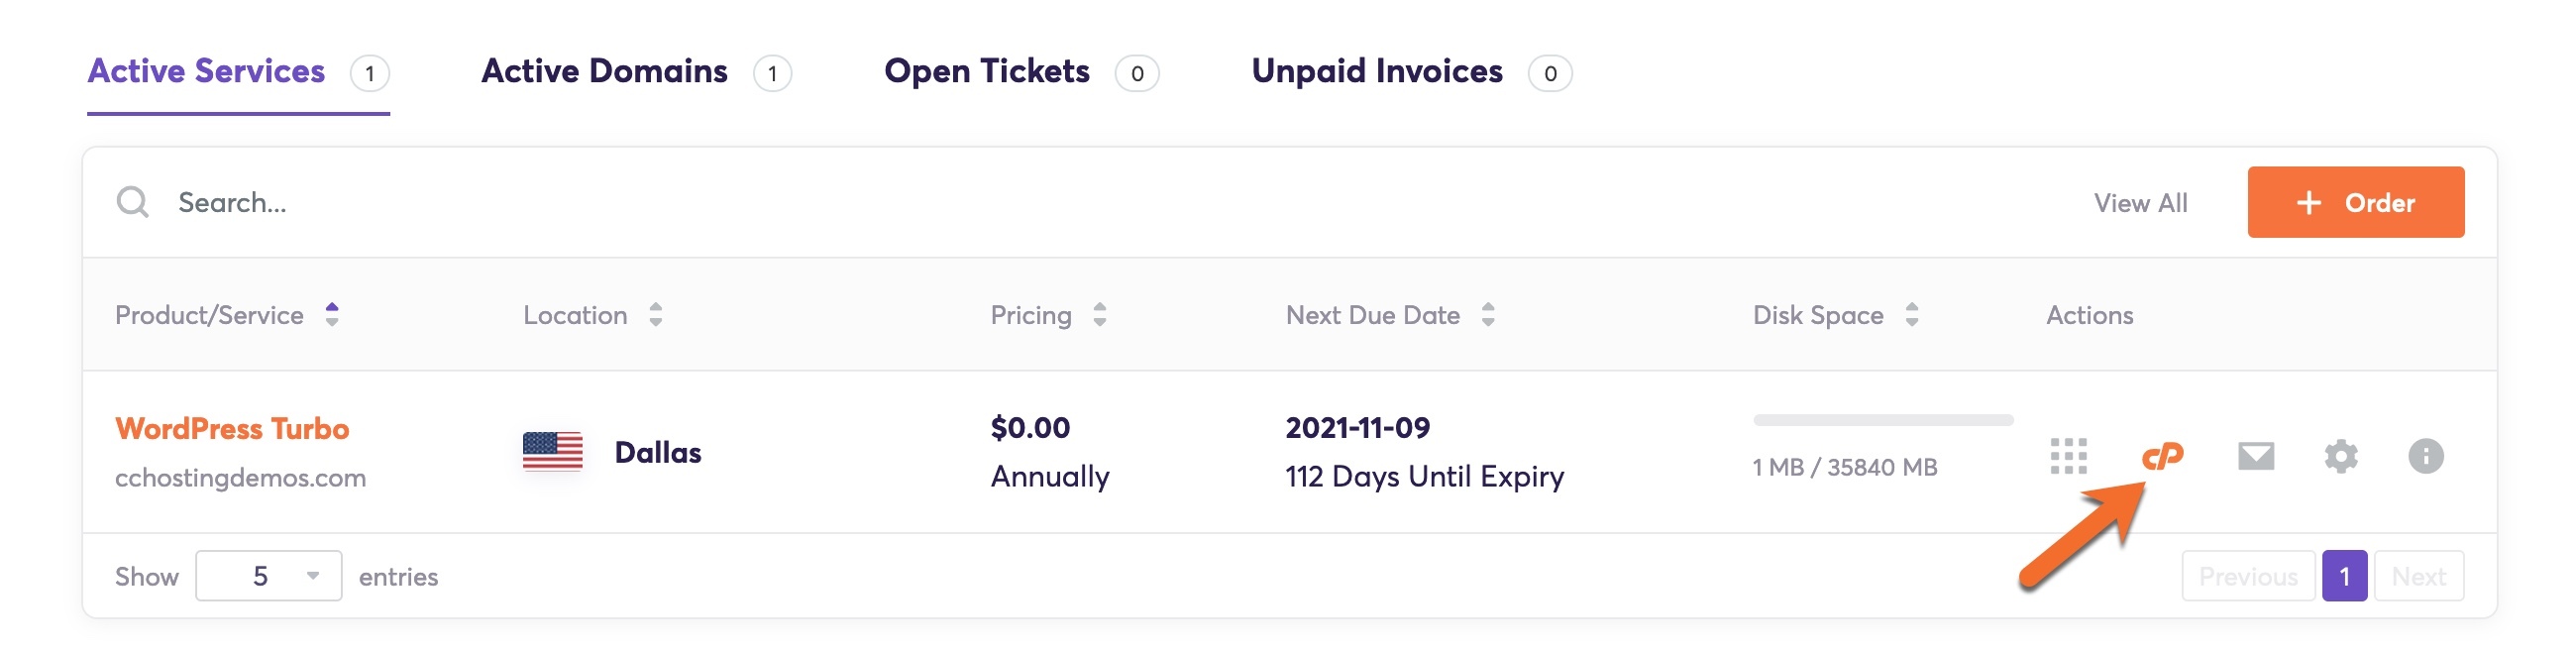
Step 1: Login to your cPanel. There are a lot of ways to do this, but the sure-fire easiest way is to log in to your Client Area, then open your cPanel.
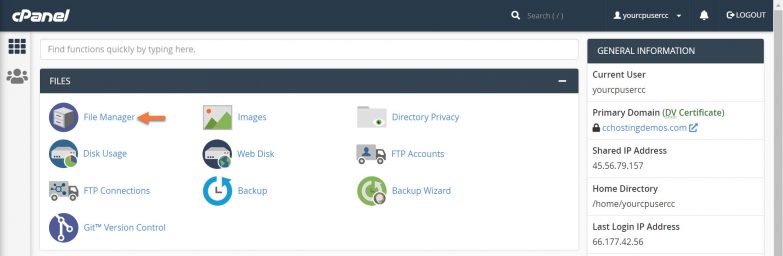
Step 2: Look in the Files section (1st section from the top) and click to open the File Manager.
Step 3: Once the file manager is open, double click the globe icon to the left of your public_html folder.
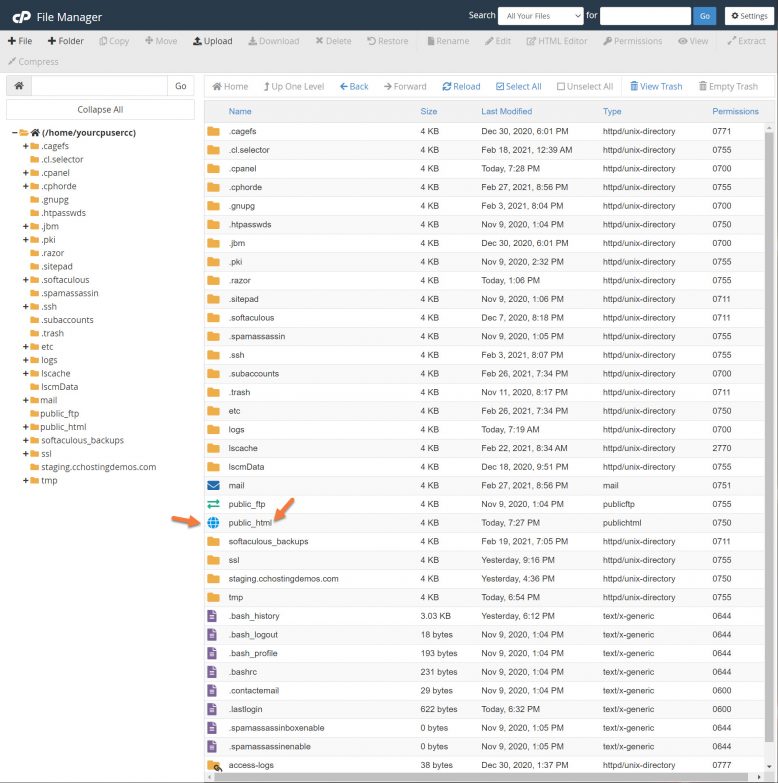
Step 4: Once your public_html folder is open, look for your .htaccess file:
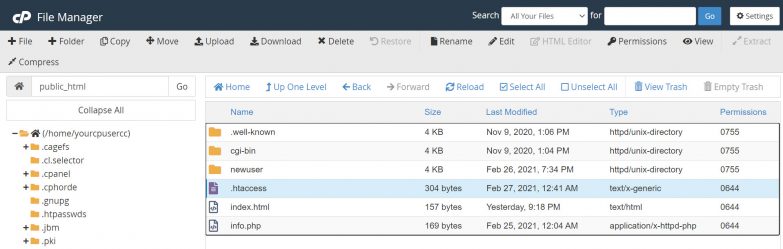
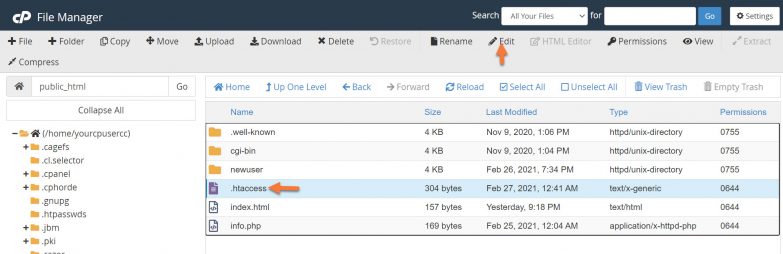
Click the file name once to highlight it. Then in the menu bar at the top, click Edit:
In the editor modal that appears, click the Edit button in the lower right corner:
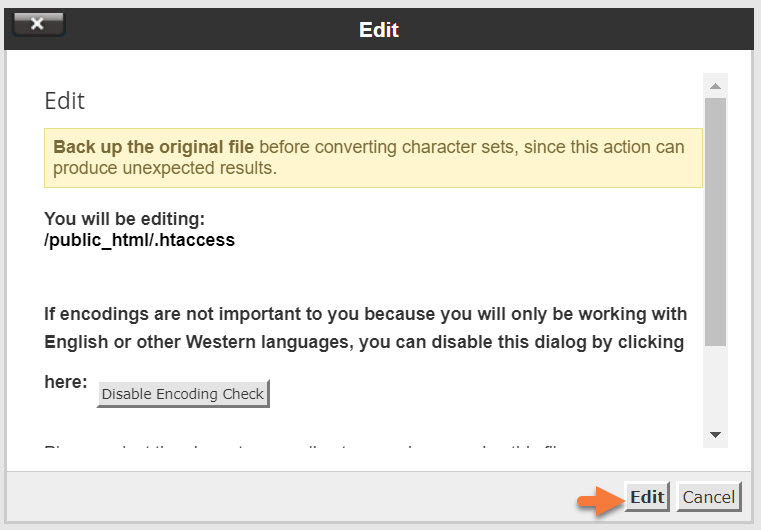
Step 5: A new window will open with the context/text of your .htaccess file.
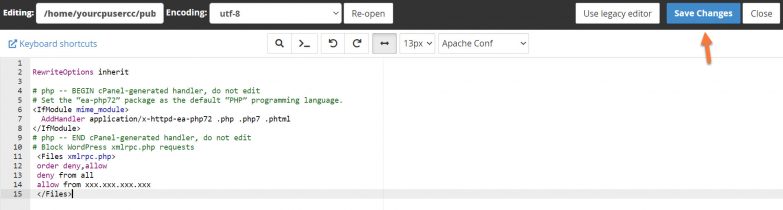
Paste the below text at the end of your .htaccess file, then click Save Changes in the top right.
# BEGIN Block WordPress xmlrpc.php requests
 <Files xmlrpc.php>
 order deny,allow
 deny from all
 allow from xxx.xxx.xxx.xxx
 </Files>
# END WordPress xmlrpc.php requests
You can close the editor tab after clicking Save Changes.
Congrats! This will disable the XML-RPC features of your WordPress installation and you can rest easy!
If you enjoyed this tutorial, then you’ll love our support! All ChemiCloud’s hosting plans include 24/7 support from our amazing support team. Check out our Managed WordPress hosting plans and have your website migrated today!