Having an email signature is really handy. Not only are they useful for sharing your contact details with others, but they can also be used to promote your social media, or include other information you deem important. In fact, you may be one of many who have a pre-set signature, something they’ve totally customized and use in Mac Mail or Microsoft Outlook. Having that signature automatically inserted at the end of each message you send in Webmail would be super handy for those times you check your mail in a browser, wouldn’t it?
This KB article will guide you through the setup of a Email Signature in Roundcube webmail.
How to Create an Email Signature in Webmail using Roundcube
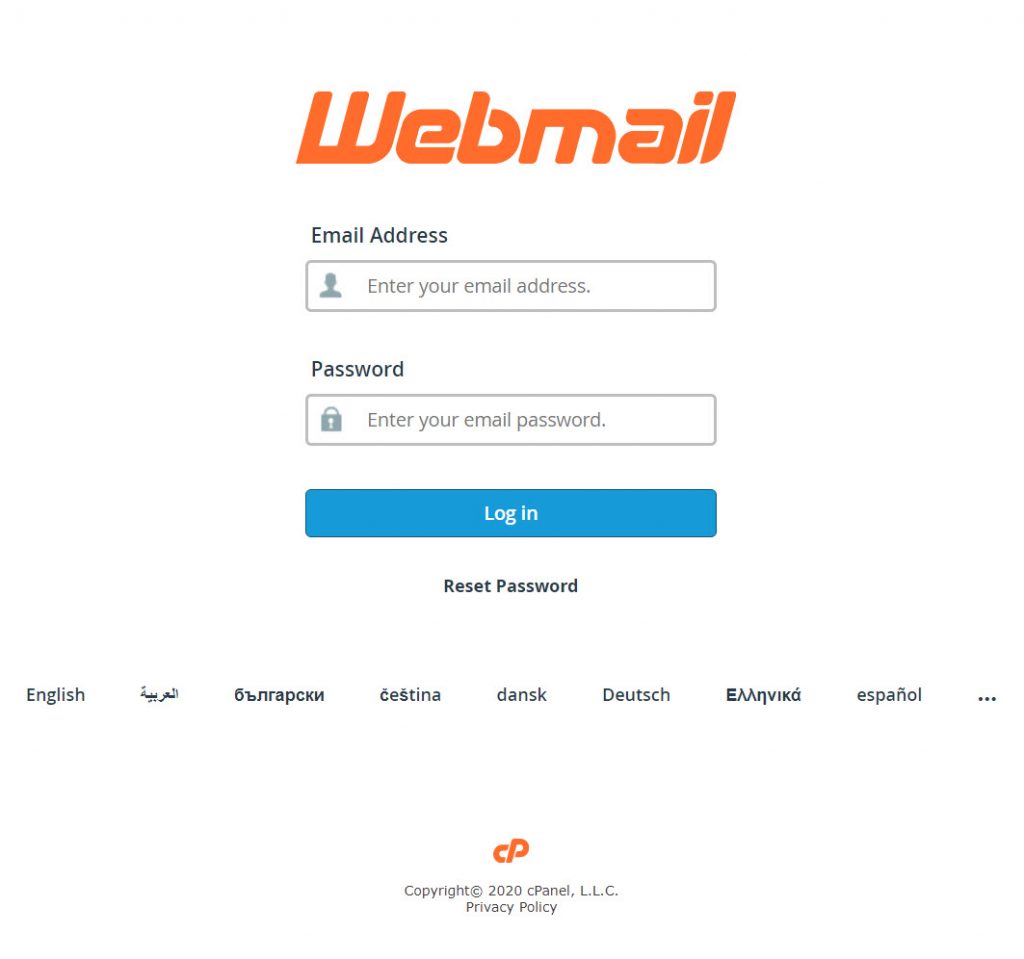
Step 1: Login to your Webmail. There’s a number of ways to do this, but for me, the easiest way is to go to https://webmail.mydomain.tld, where “mydomain.tld” is your domain name.
If your web host uses cPanel, your webmail login may look like this:
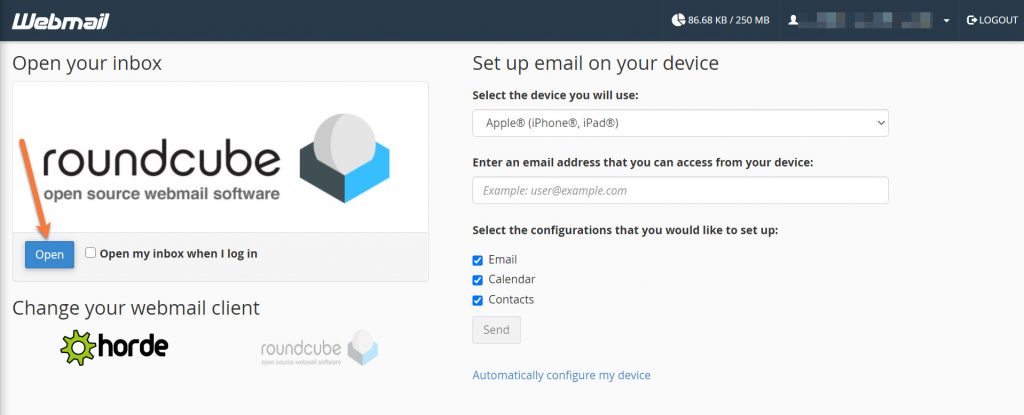
Step 2: Open Your Inbox. When logging into Webmail on a system that runs cPanel for the first time, you are presented with the option to choose your Webmail Client Application, among other features.
To open Roundcube, click the blue open button.
Step 3: On the left side of Roundcube, click Settings.
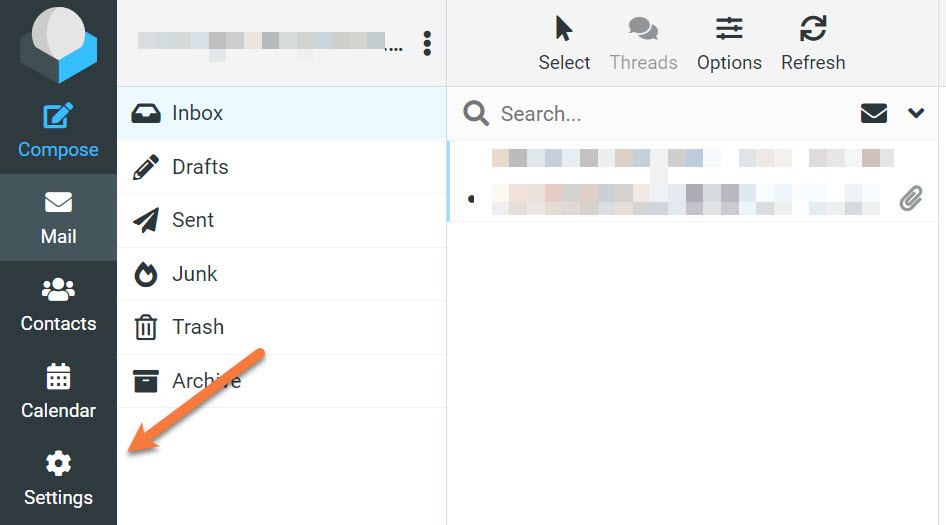
Then click Identities.
Roundcube gives you the option to have multiple identities for sending / receiving mail. For this KB article, we are only working with the default identity that comes with Roundcube, which is the one that is created with your email account.

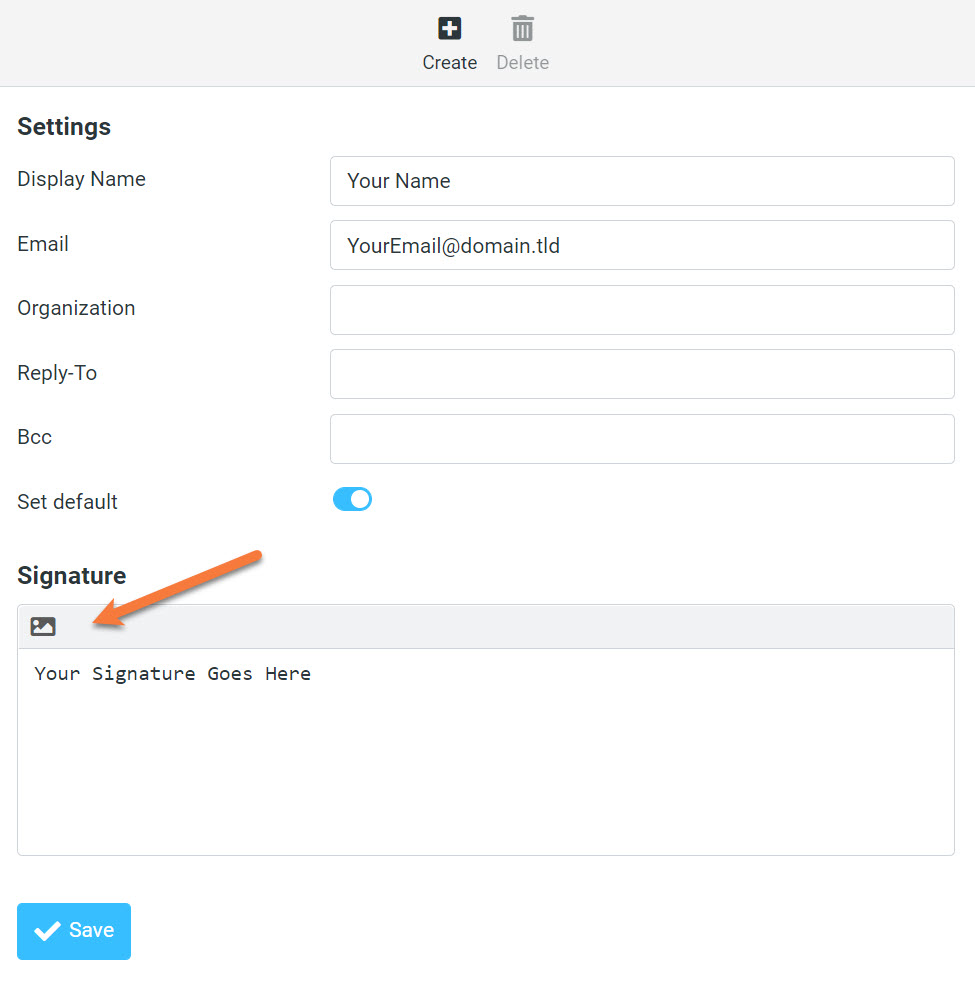
Step 4: You’ll have the option to edit a few options in this area.
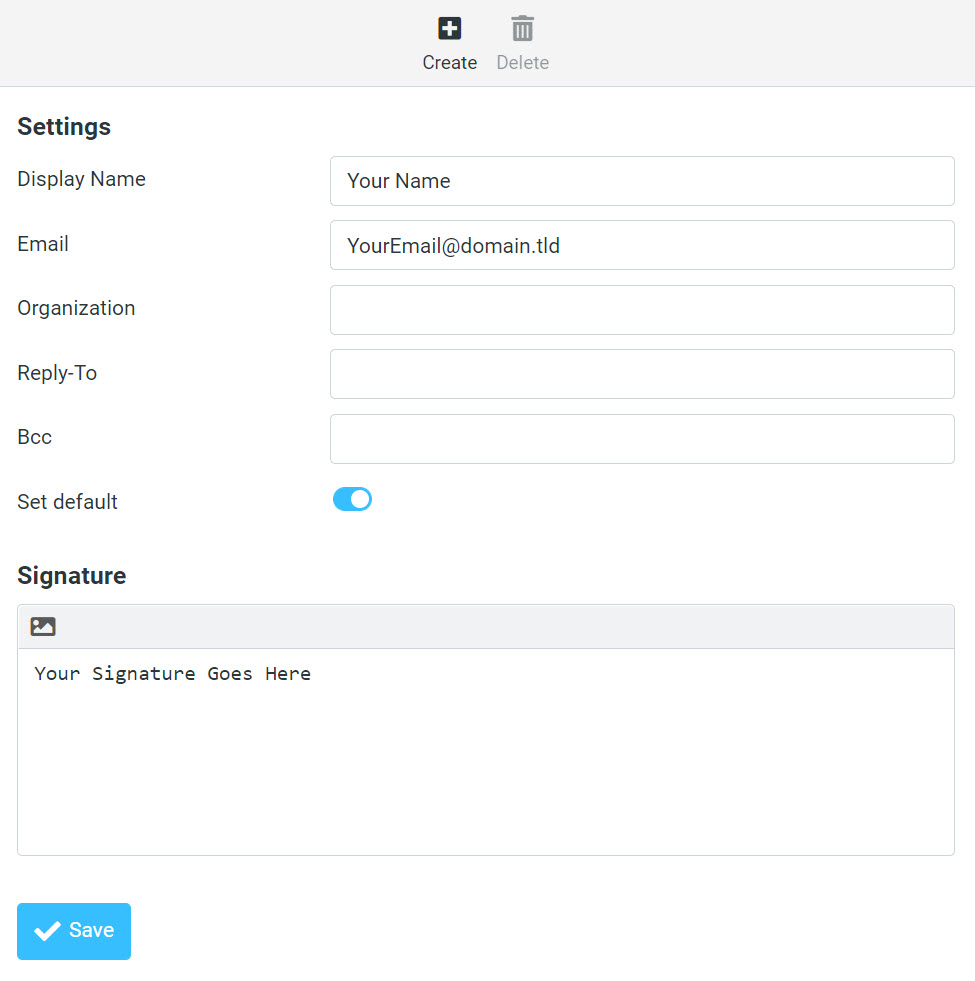
Display Name is the name other people will see when they receive email from you.
Email should be your email address. It is advised not to change this text.
Organization is optional field that you can use if you work for a business and want to include their name.
Reply-To is an optional field you can use if you want replies to email messages sent from this account to go somewhere else.
BCC is a useful option if you have an assistant or archive email and want to Blind Carbon Copy a message to that account each time you send an email from this account.
Set default should be enabled if this is the default signature you want to use.
The final option is the Signature field. By default, Roundcube is setup to use Plain Text Signatures. This type of signature doesn’t support making links, inserting images, or making text colored, bolded, or italicized.
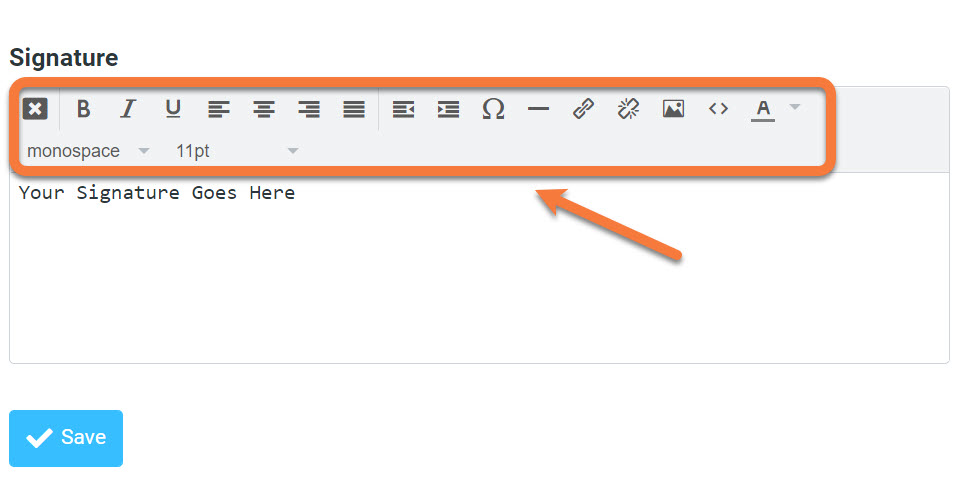
If you want those options, you’ll need to switch to the HTML Editor.
After switching to the HTML Editor, you will see a row of icons have appeared giving you a set of formatting controls for your signature:
If it helps, you can try out the free email signature template generator by HubSpot.
Step 5: After creating your signature, be sure to click the blue Save button to save changes.
Now, the next time you compose an email in Roundcube Webmail, you will automatically see the signature is included.
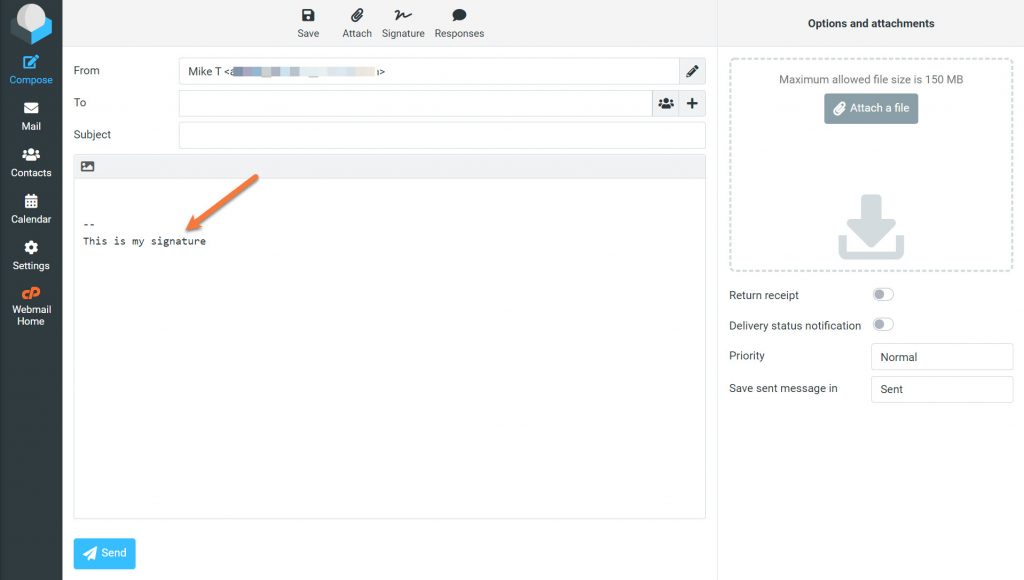
That’s it! Now you know how to configure your signature in Roundcube Webmail.
If it helps, you can try out the free email signature template generator by HubSpot.
That’s it! Now you’ve configured your signature in Roundube!
We hope you find this Knowledgebase article helpful! You’ll find our Hosting to be just as good!
I have never found it so difficult to carry out a simple task in my 40 years of using computers. 4 hours now simply trying to insert a signature in a new email address that comes out in boring badly formatted text when I hit Compose.
Same here. It shows in the creation box but not on the emails. I also can’t figure out how to remove the double space feature on mine. It is a mile long on the emails. I tried to create one off site like you can in google and import it but it didn’t show up either. Logo is definitely needed for branding. It basically looks like I just typed it at the end… no style whatsoever.
I’ve created a signature, but, it doesn’t seem to support graphics/jpeg in the signature block. Lets me insert in when creating, but, the graphic doesn’t appear when I go and do an email