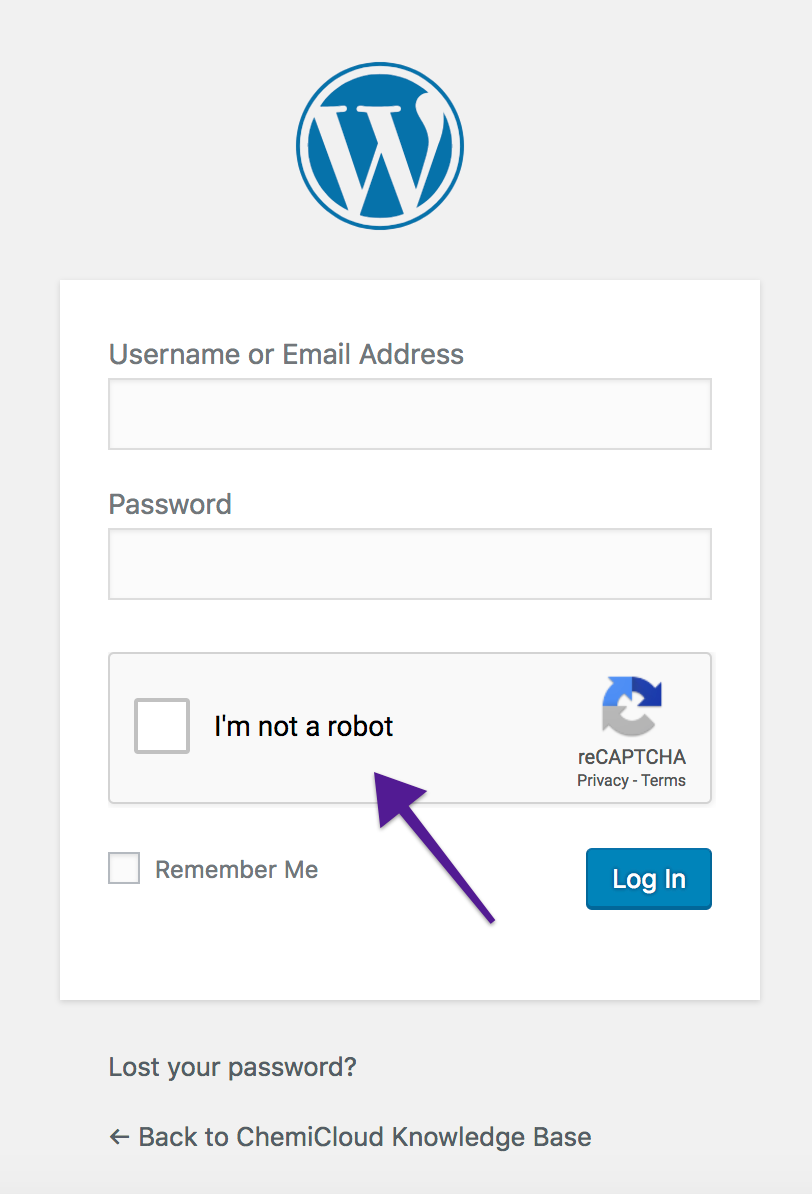
With Google’s Captcha (reCAPTCHA) enabled, on your login page, you will be asked to confirm that you are not a robot after you provide your username and password. It is an effective way to prevent brute force attacks on your WordPress admin panel.
How to enable Google Captcha (reCAPTCHA) in WordPress
We prefer using the free Google Captcha (reCAPTCHA) by BestWebSoft.
- Go to Plugins area of your WordPress admin panel, and search for
Google Captcha (reCAPTCHA)
- Install then Activate Google Captcha (reCAPTCHA).
- Go to Google Captcha Settings
- Register your website with Google to get required API keys and enter them in the ‘Authentication’ area.

5. Save changes.
Once the API Keys are set and changes are saved, you can do a test for Google Captcha authentication settings.
Now you can log out from your WordPress admin panel, and access again the login URL. You will see the Google Captcha (reCAPTCHA) in action:
 That’s a wrap!