Search Engine Optimization is really important when it comes to getting your site to the top of Google, or other search engines. Fortunately, the Website Builder includes two ways for you to boost your SEO tools!
This Knowledgebase Article will show you how to use the meta tags feature of the SEO toolkit in the Website Builder.
How to Add Meta Tags to your Site in the Website Builder
How to edit Site-Wide Meta Settings
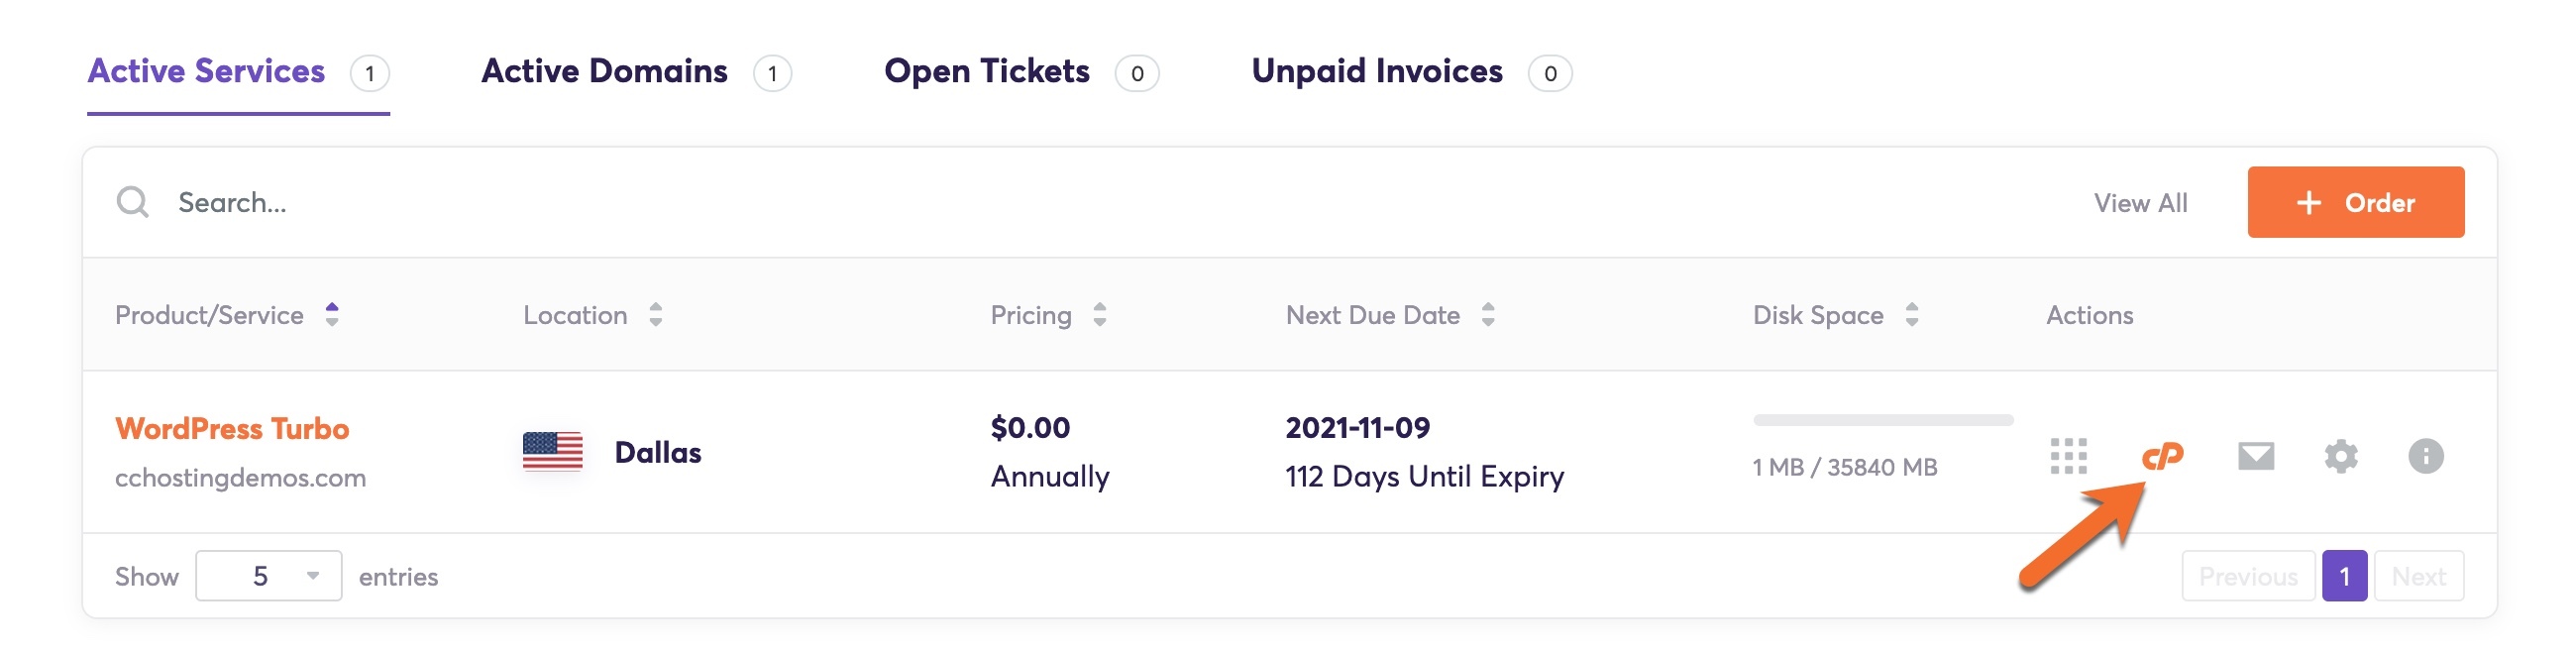
Step 1: Login to your cPanel. There’s a lot of ways to do this, but the sure fire easiest way is to login to your Client Area, then open your cPanel.
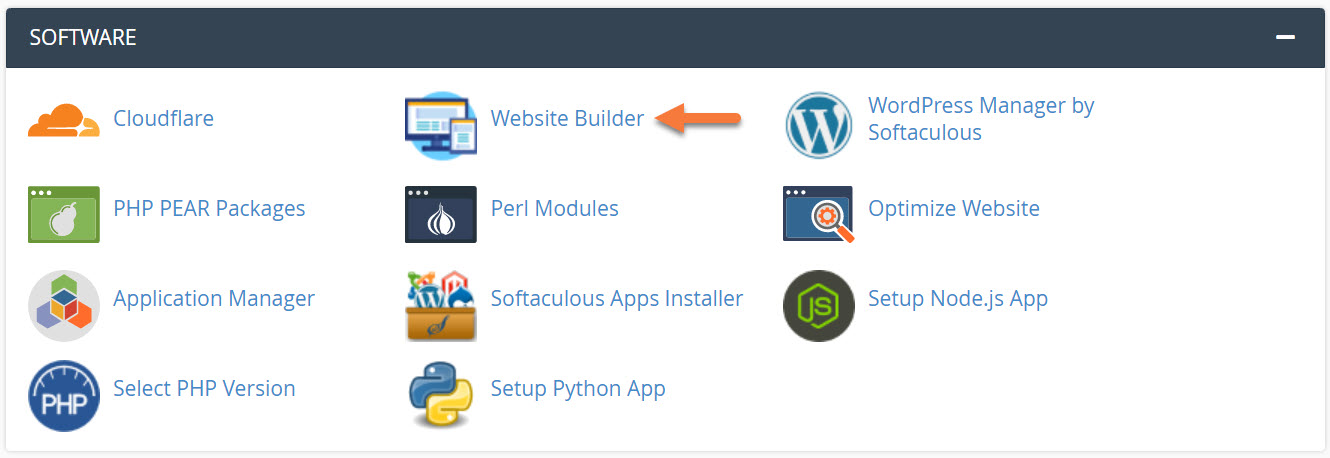
Step 2: Scroll down to the Software section and open the Website Builder:
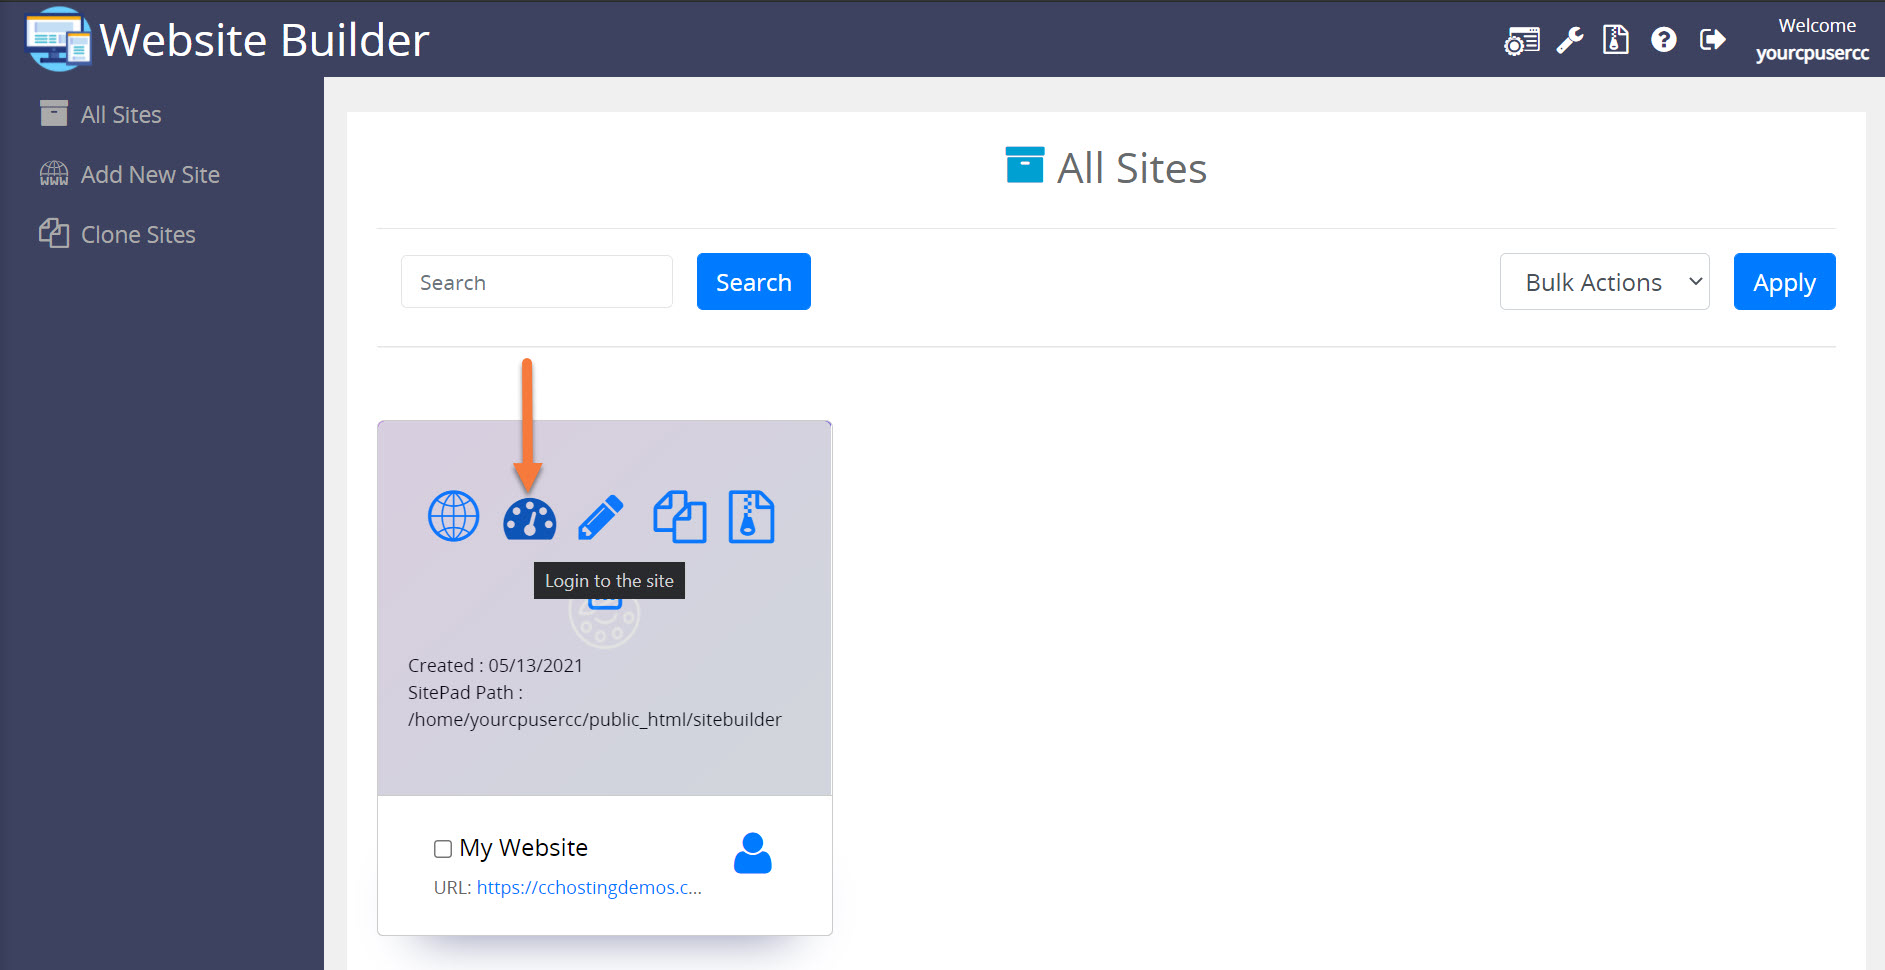
Step 3: Your list of sites will load. Locate the site edit, then hover over that site and click the speedometer icon to login to the site.
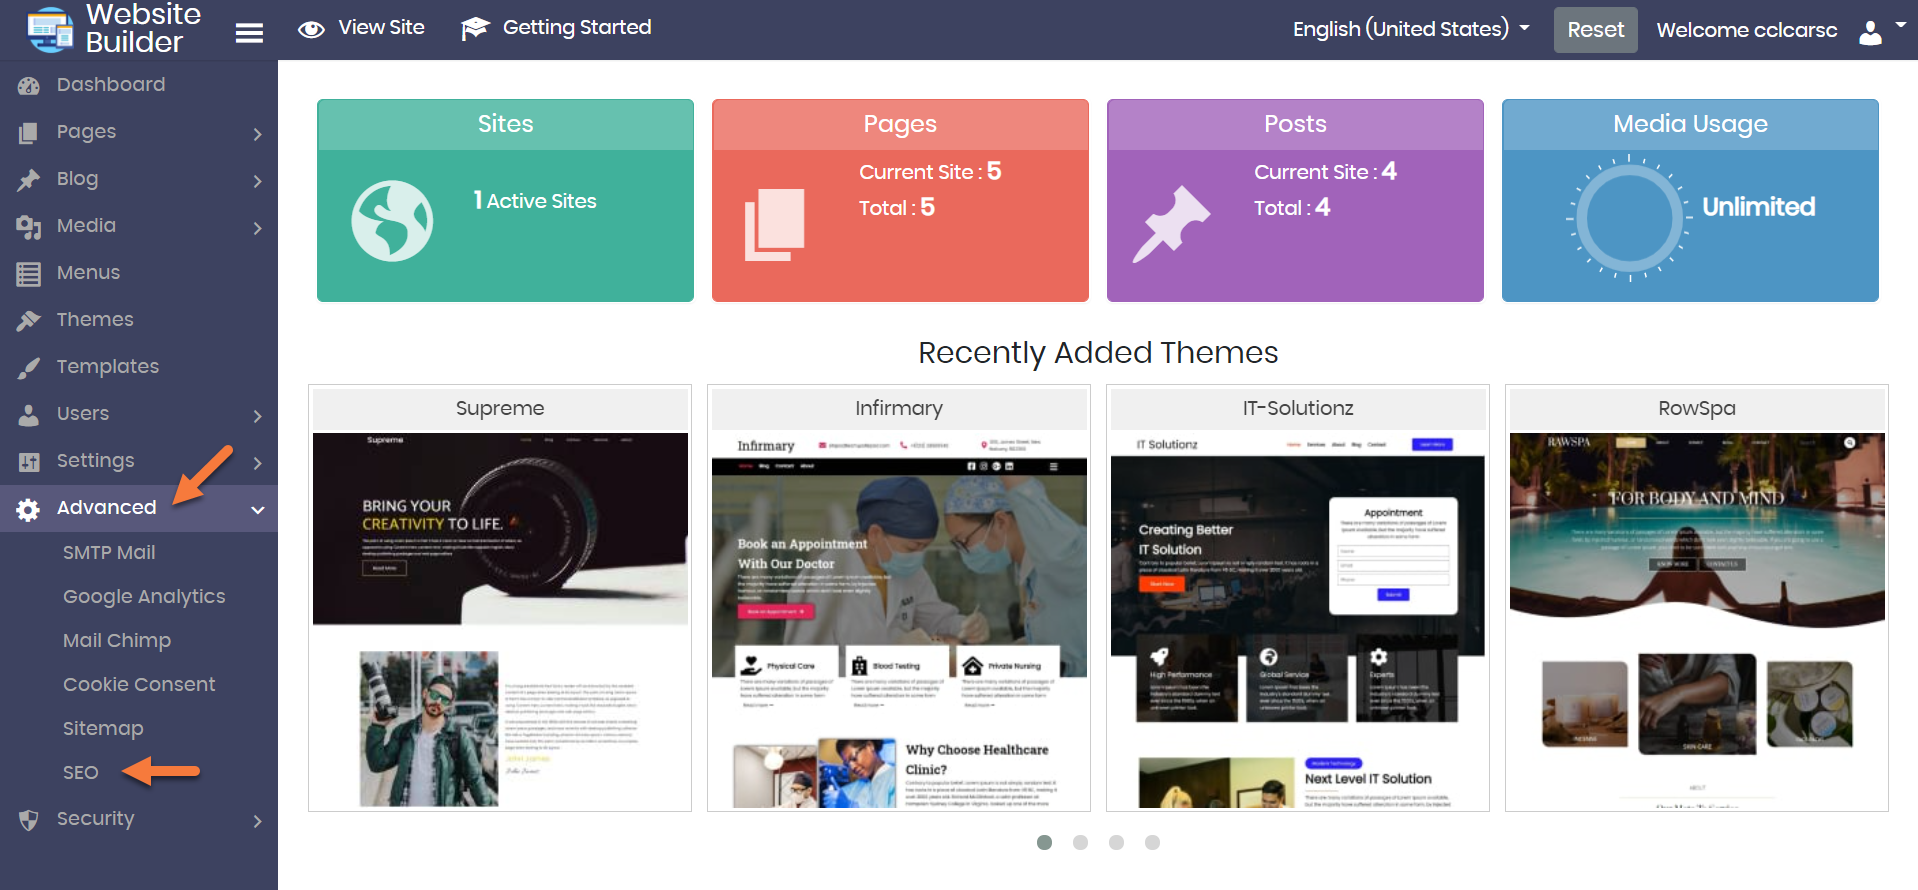
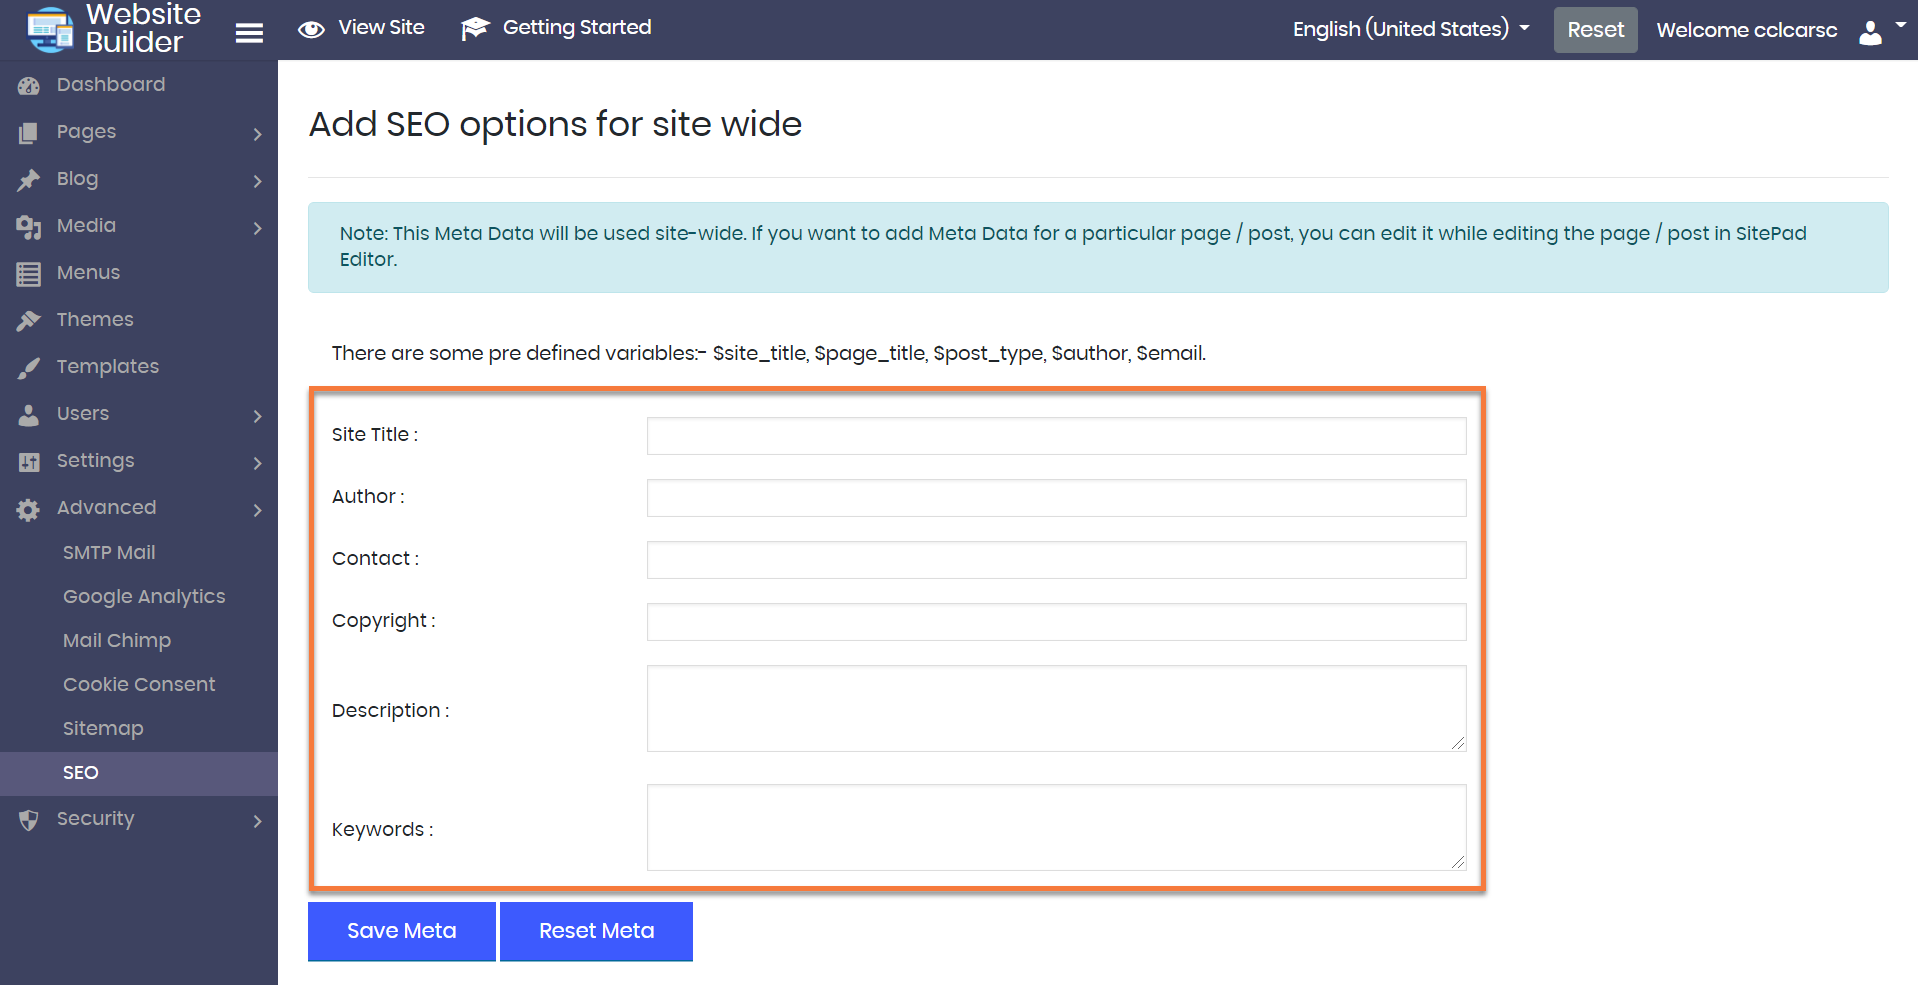
Step 4: When the Website Builder Admin comes up, click Advanced from the menu on the left, then click SEO.
Step 5: The Site-Wide SEO Settings page will appear and you’ll have the option to enter information such as:
- Site Title
- Author
- Contact
- Copyright
- Description
- Keywords
How to edit Per-Page Meta Settings
In addition to site-wide settings, you can also edit per-page Meta settings.
Step 1: Login to your cPanel. There’s a lot of ways to do this, but the sure fire easiest way is to login to your Client Area, then open your cPanel.
Step 2: Scroll down to the Software section and open the Website Builder:
Step 3: Your list of sites will load. Locate the site edit, then hover over that site and click the speedometer icon to login to the site.
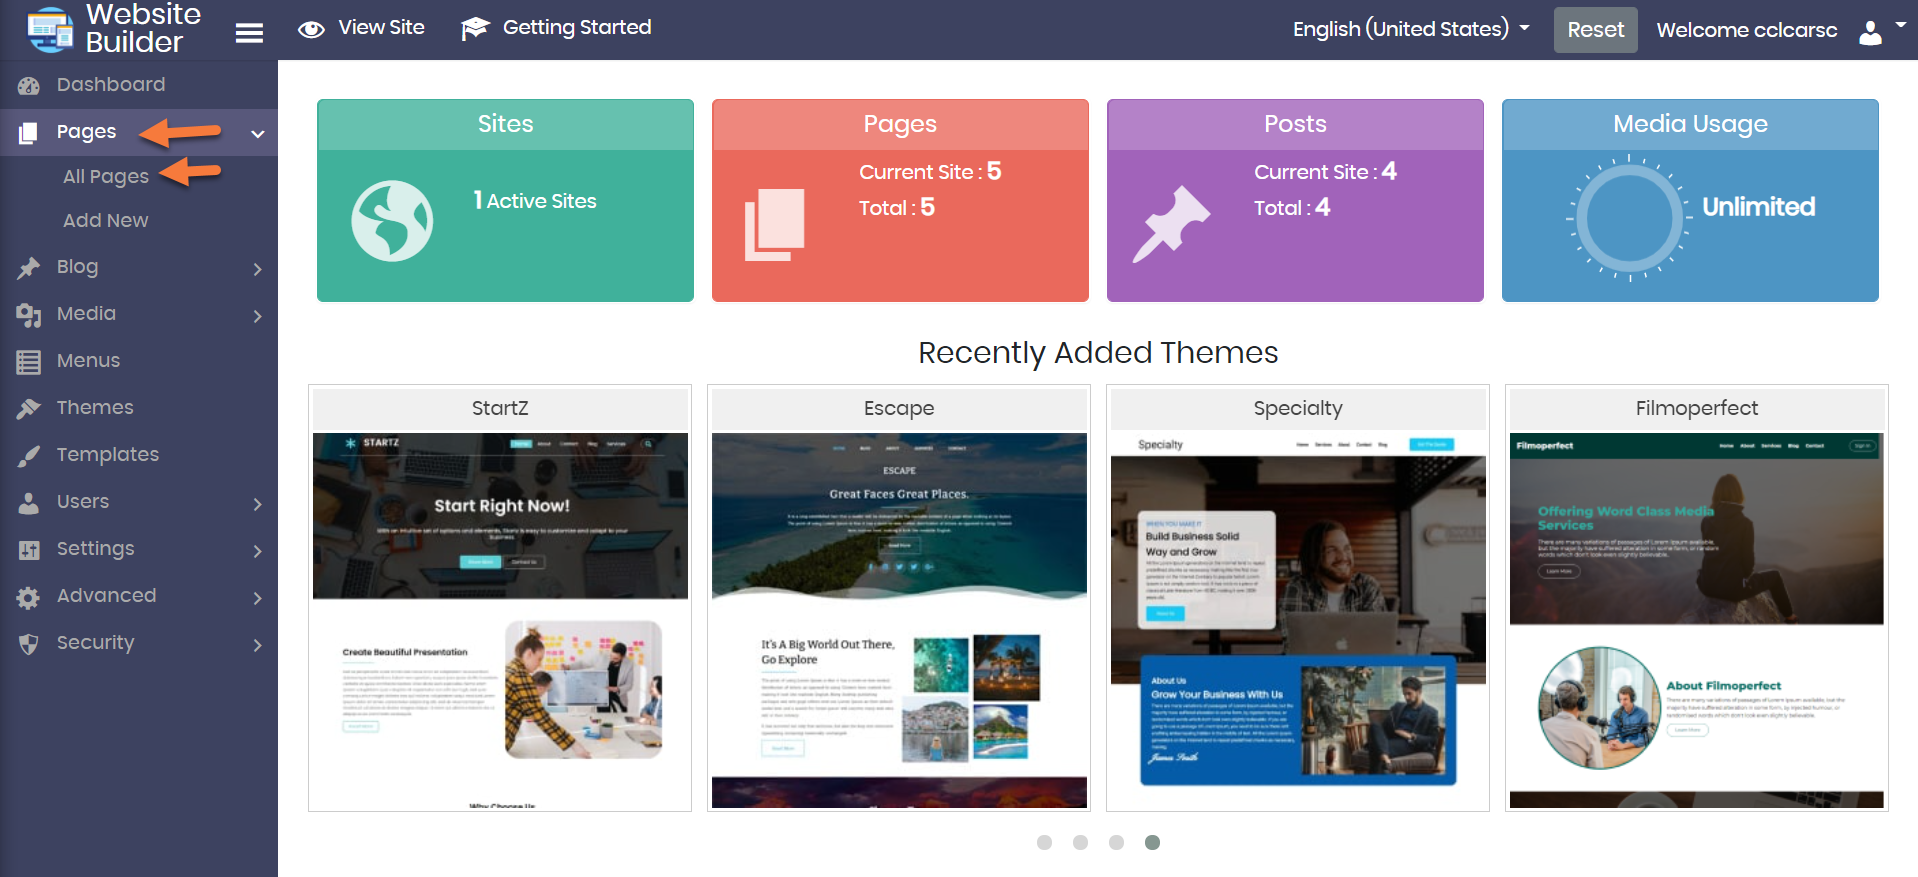
Step 4: When the Website Builder Admin comes up, click Pages, then All Pages from the menu on the left to show all of your pages.
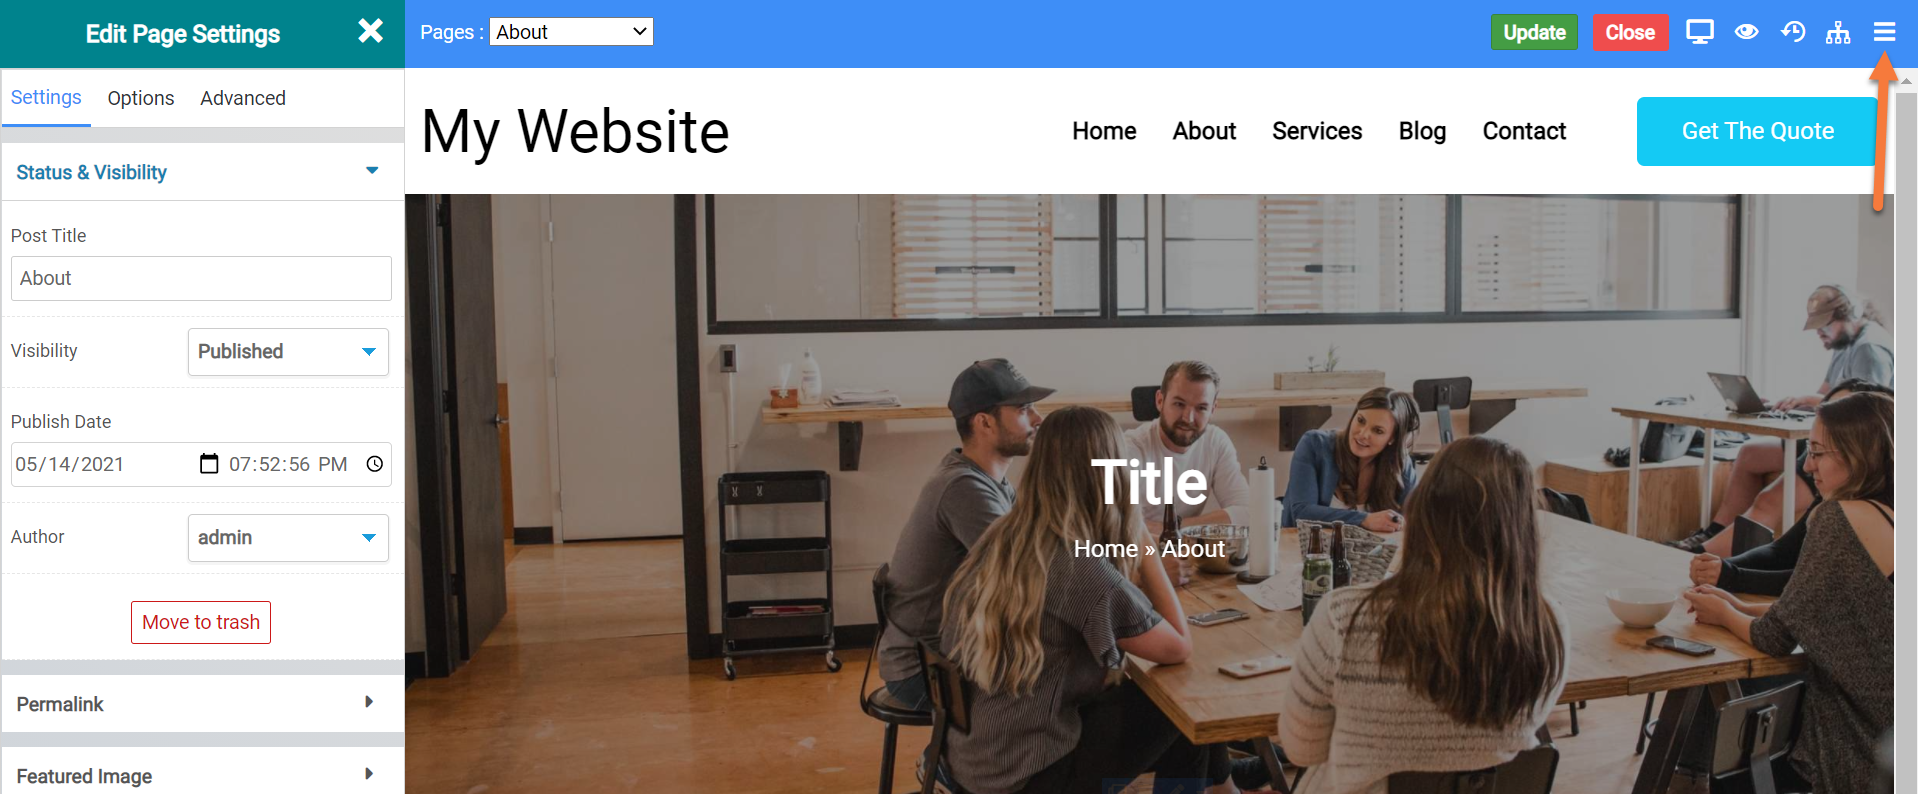
Step 5: Choose the page on which you want to edit the Meta tags. Hover over that page and click the pencil icon to open the Website Editor.

Step 6: When the editor opens, click the hamburger menu in the top right corner to open the MetaTags Editor.
Step 7: The MetaTags modal will open and you have the option to enter meta information for this page specifically, such as the following:
- Site TItle
- Author
- Contact
- Copyright
- Description
- Keywords
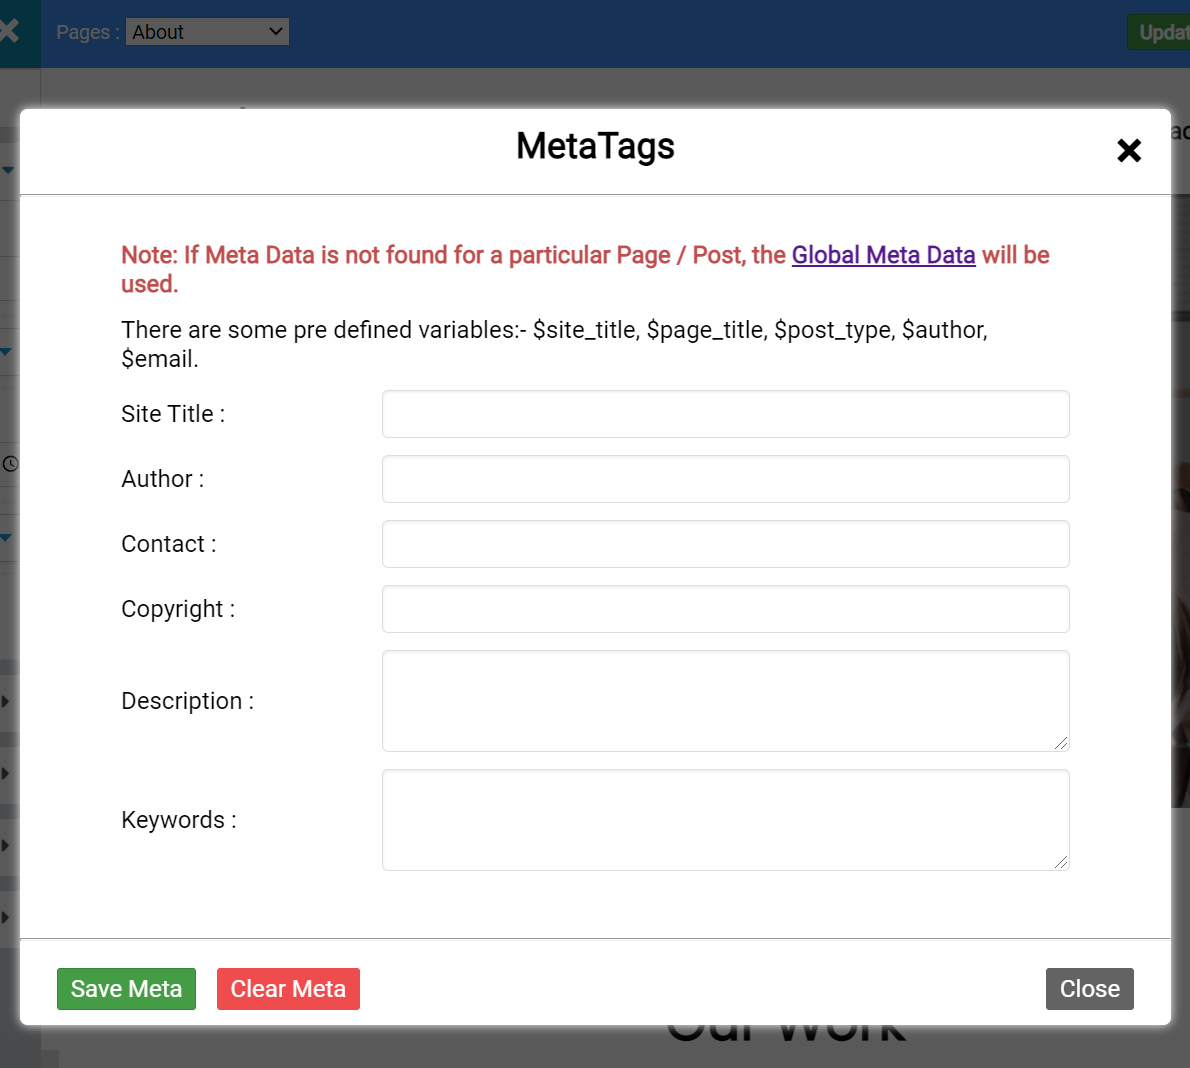
Once you’ve entered the meta information, be sure to click Save Meta in the lower left corner.
And that’s how you edit the meta information for your website and help improve your SEO!