The latest release of WordPress (as of this writing) is WordPress 5.5, “Eckstine” and includes a long-awaited set of features that allow you to enable automatic updates for your themes and plugins.

By the end of this knowledgebase article, you will know how to enable automatic updates for your WordPress Plugins and Themes.
How to Enable Auto-Updates for Plugins
Enabling automatic updates for plugins couldn’t be easier!
Step 1: Log in to your wp-admin. By default, wp-admin can be accessed by entering https://www.yourdomain.tld/wp-admin into your browser, where “yourdomain.tld” would be replaced by your actual domain name. However, there are some plugins that let you change the login URL for security reasons, namely WPS Hide Login, so be sure to log in to your wp-admin using that URL if you’ve customized it.

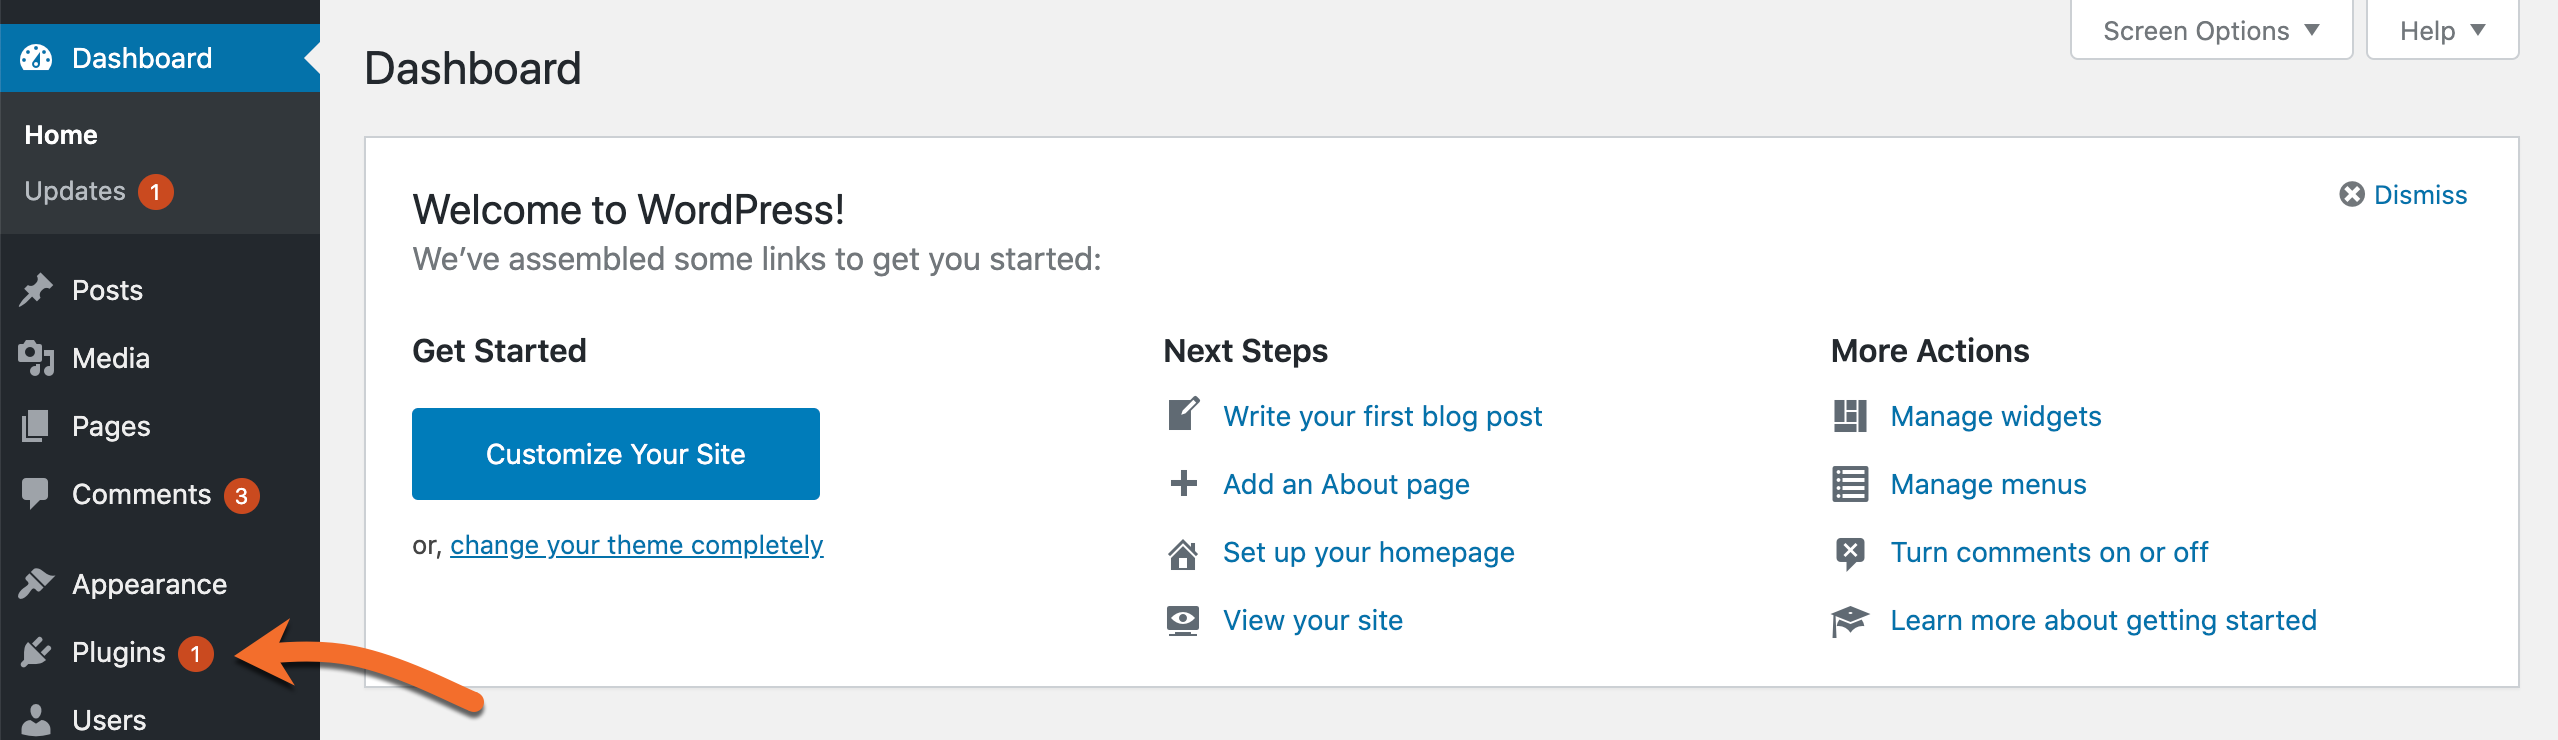
Step 2: Locate the Plugins option on the left.
Step 3: In the far right column, click “Enable Automatic Updates” for each plugin you want to be able to update itself automatically.

That’s all you have to do! Your plugins will automatically update themselves when the developer publishes a new version.
Struggling with WordPress management? ChemiCloud is the hosting solution designed to save you time and money! 🤓 Try our Managed WordPress Hosting plans for just $1!
How to Enable Auto-Updates Updates for Themes
Step 1: Log in to your wp-admin. By default, wp-admin can be accessed by entering https://www.yourdomain.tld/wp-admin into your browser, where “yourdomain.tld” would be replaced by your actual domain name. However, there are some plugins that let you change the login URL for security reasons, namely WPS Hide Login, so be sure to log in to your wp-admin using that URL if you’ve customized it.
Step 2: On the left side of your WordPress Admin Dashboard, click Appearance in the menu.
Step 3: Select Enable auto-updates for your theme.

Note: You will need to do this for each of your themes. Also, as of this writing, not all WordPress themes have been updated to support this feature, and as such, you may not see the option to enable auto-updates for your theme until the developer provides an update.
If you’re more of a hand-on type and don’t trust automation, no worries, this release hasn’t forgotten about you! Feel free to turn off those automatic updates and when you’re ready to update a theme or plugin, simply upload it in the form of a ZIP file, and voila! It’s updated!👍
We hope this was helpful! If you have any questions, feel free to leave a comment, open a ticket from your Client Area, or hit us up on Live Chat 24×7.