Blesta is fairly easy to use, however, there are some common Blesta settings you need to configure to be sure your setup is 100%, well, setup.
Let’s get going!
How to Configure the General Settings in Blesta
To access the Company Specific Settings, use the steps below:
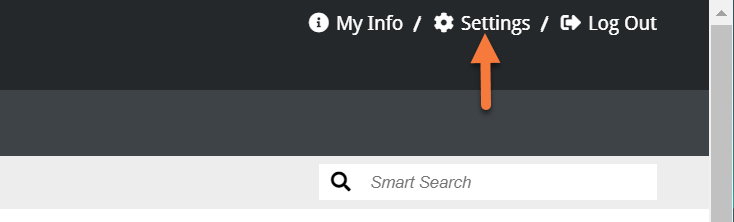
Step 1: Login to your Blesta. Once logged in, click Settings in the top right corner .
 Step 2: Once the System Settings opens, click General.
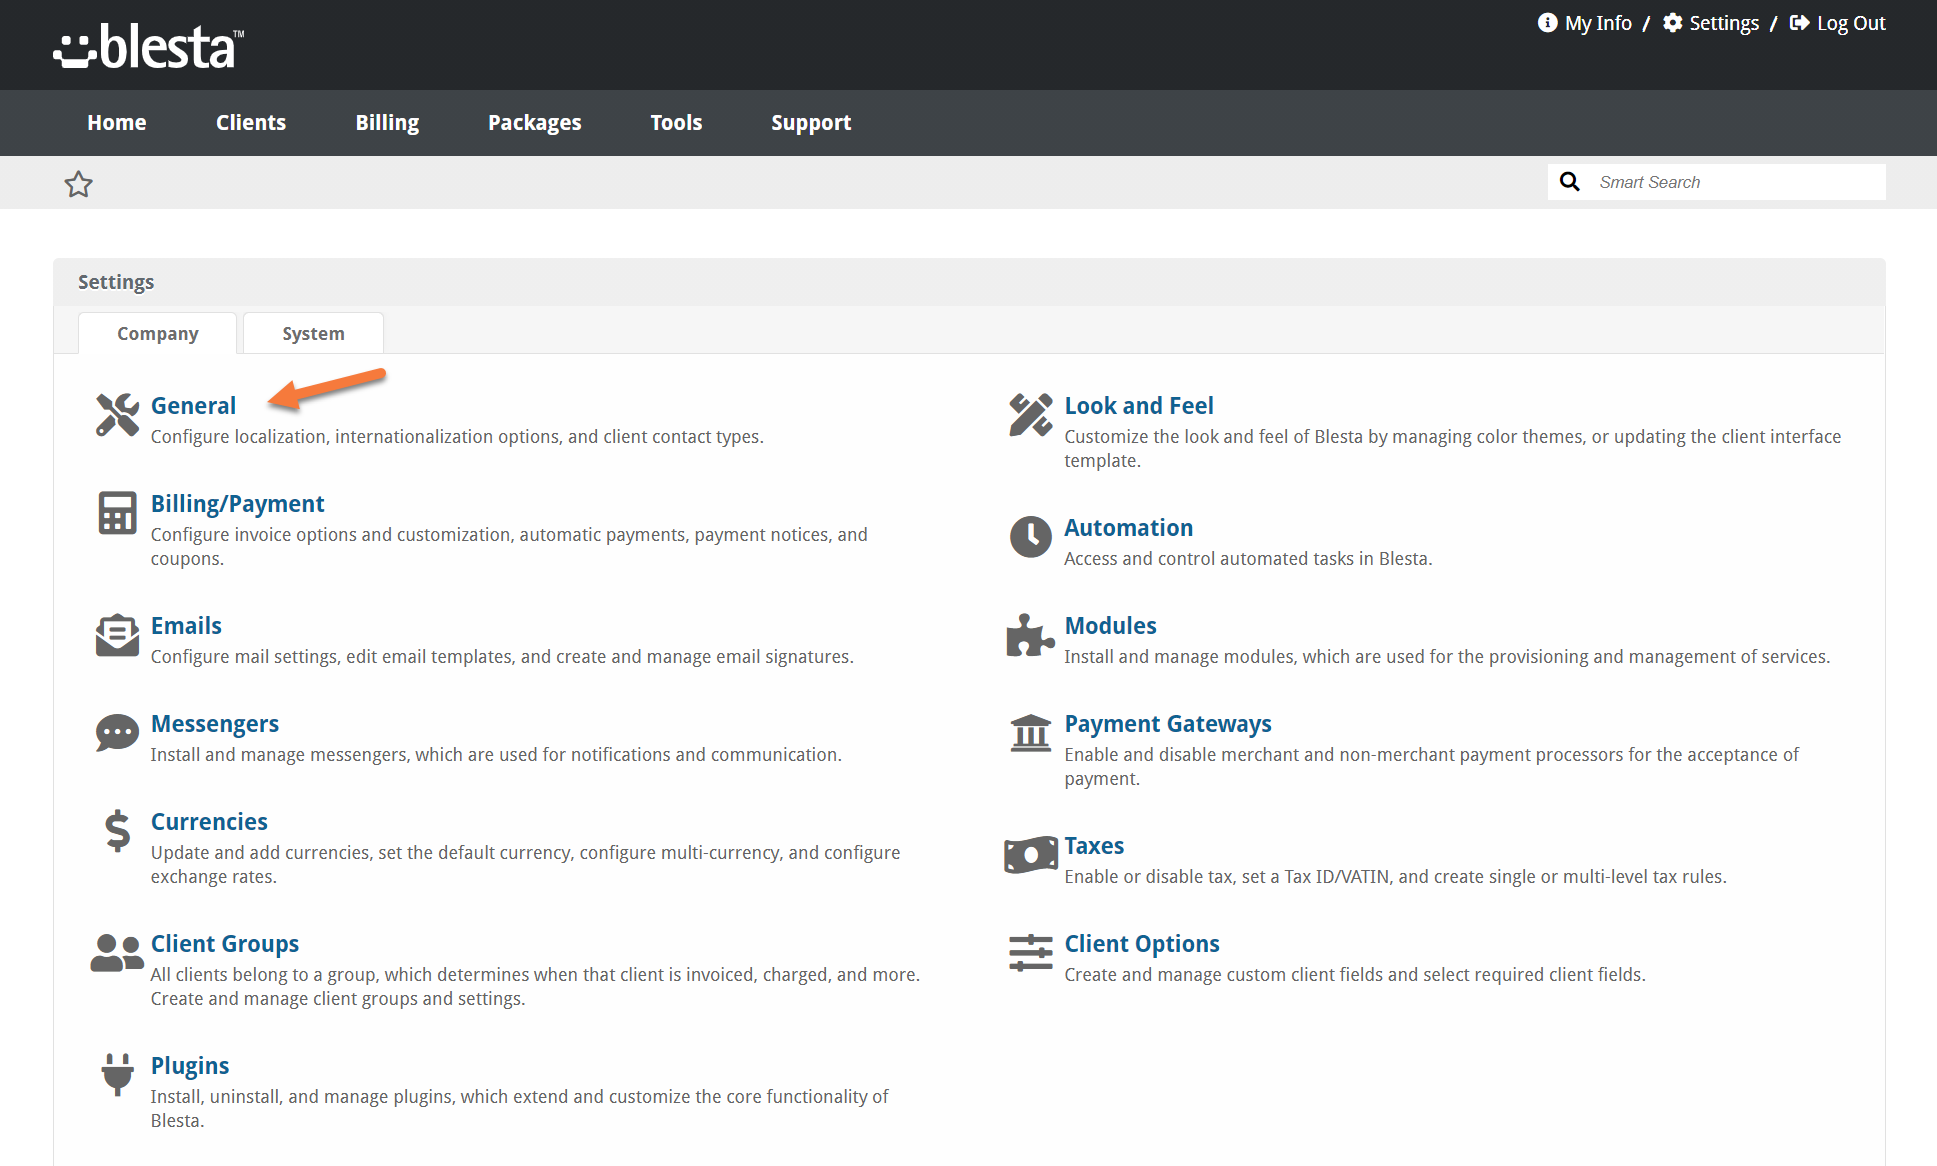 Step 3: Once the General Settings are open, you’ll see a list of options in the column on the left. First, let’s tackle the few General Settings.
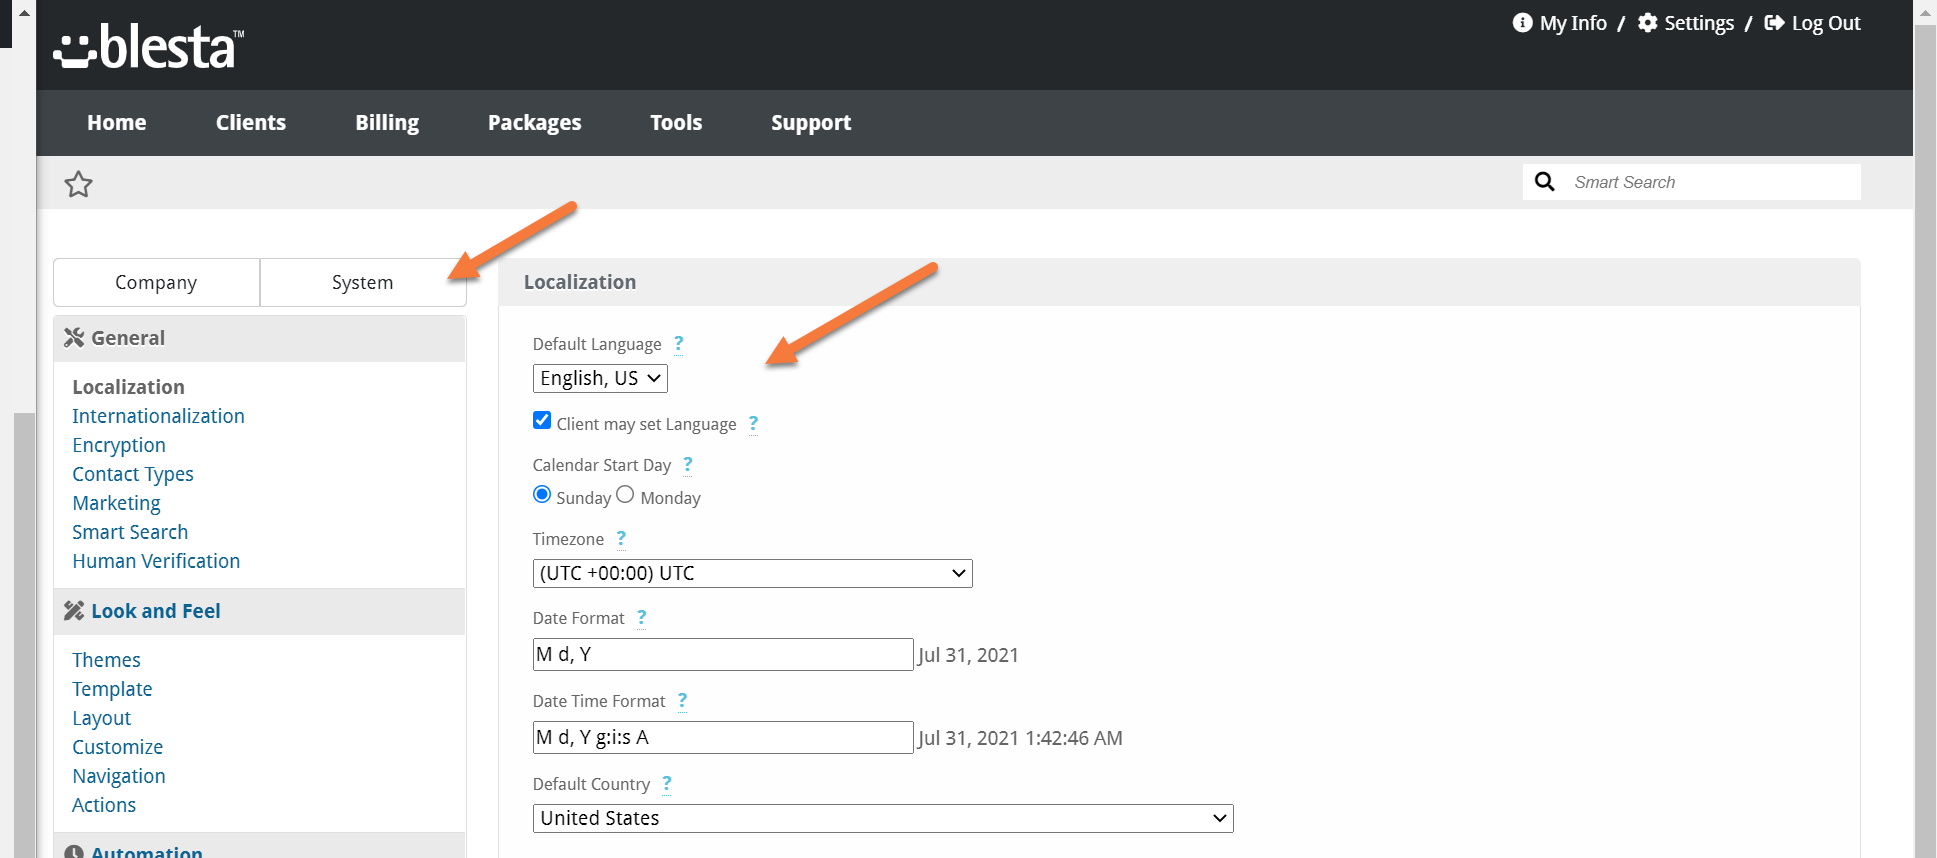
Under General > Localization Settings, you can set the following settings:
- Default Language
- Calendar Start Date
- Time Zone
- Default Country
If you make any changes, be sure to click Update Settings to save your changes. \
Step 4: Next, look at the row of options on the left side and beneath Billing/Payment, click Invoice and Charge Options.
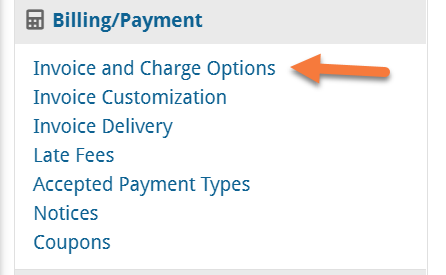
Once the Invoice & Charge options load, you have many options to review:
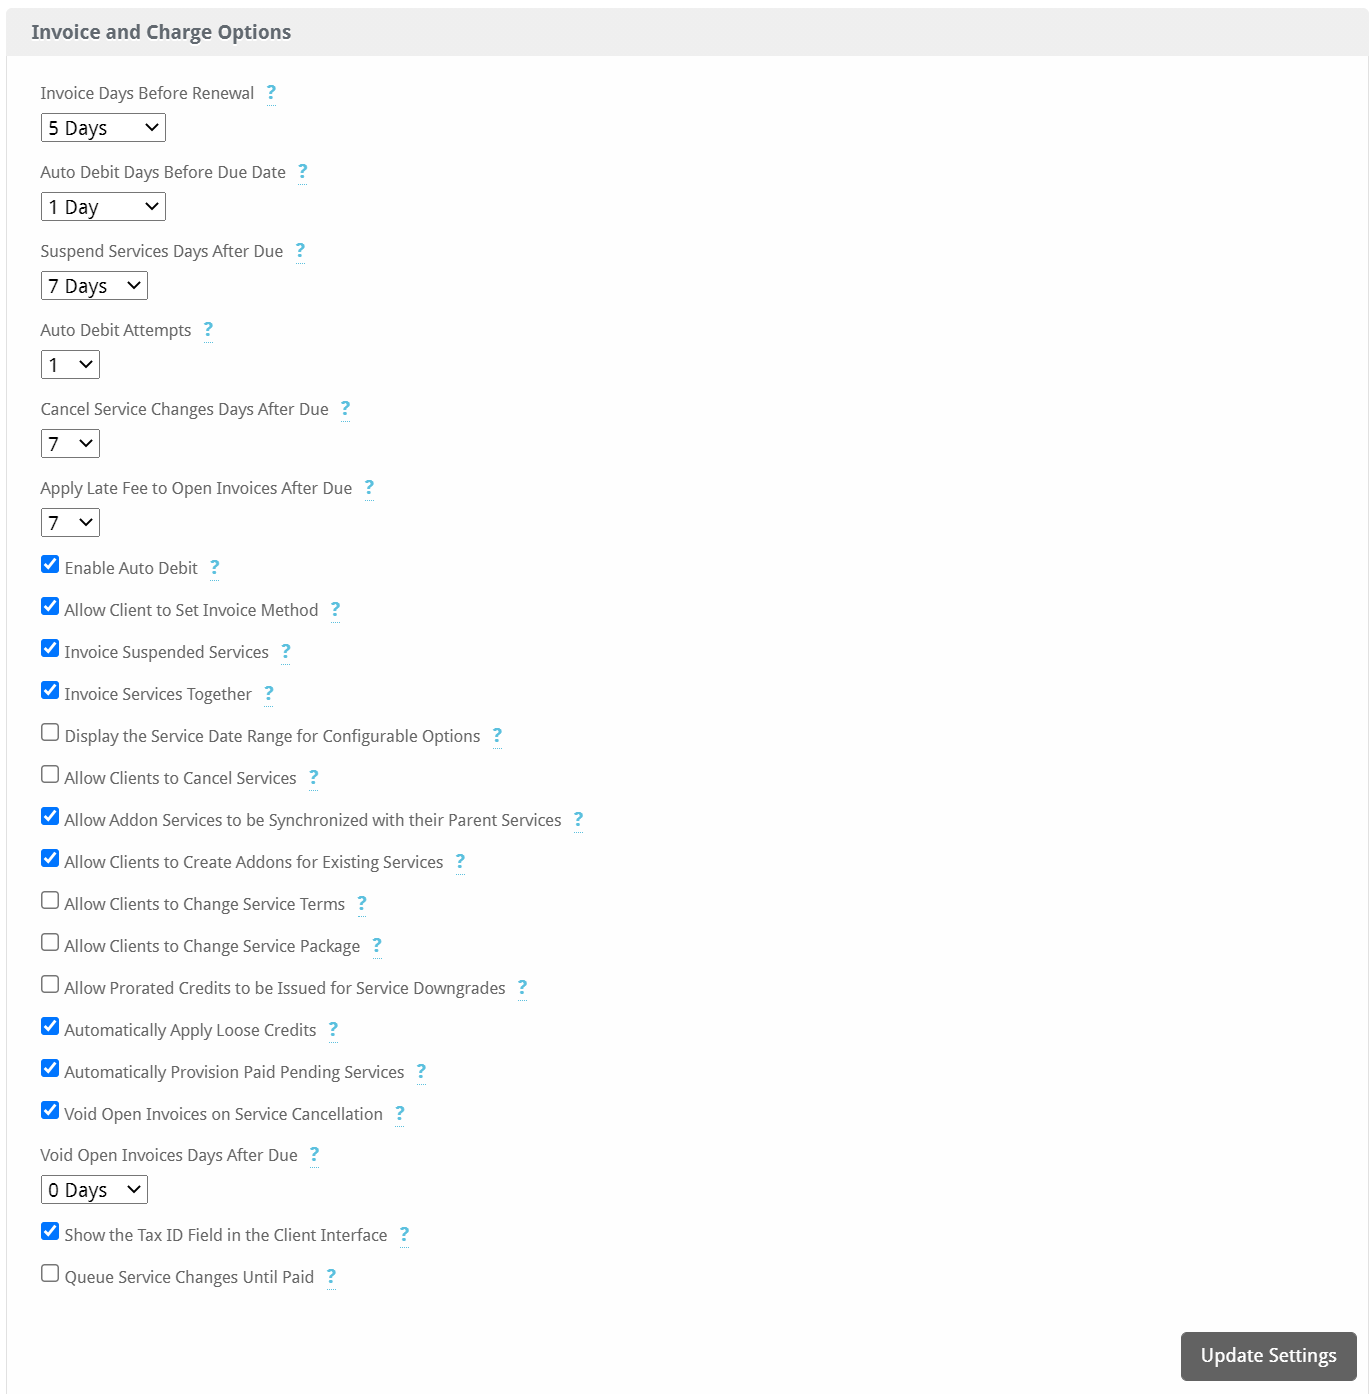
With these options, you can update the following:
- Set the number of days in advance invoices are created.
- Set when to process automatic payments.
- Set how many days past due before a service is suspended.
If you make any changes, be sure to click Update Settings to save your changes.
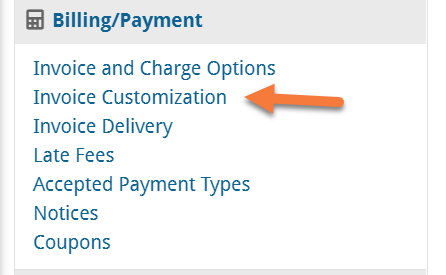
Step 5: Once you’ve finished reviewing the Invoice and Charge settings, return to the menu on the left and beneath Billing/Payment, click Invoice Customization.
Once the Invoice Customization options open, you have many settings to review & customize:

With these options, you can update the following:
- Set invoice formats, start value, increment value, and padding.
- Add a logo, and/or background images to invoices.
- Set the terms.
- Set the paper size.
- Set the invoice template… fyi Blesta ships with two different templates – Default and Quickbooks.
- Set whether the Logo, Company Name and Address, or PAID watermark appears on invoices.
If you make any changes, be sure to click Update Settings to save your changes.
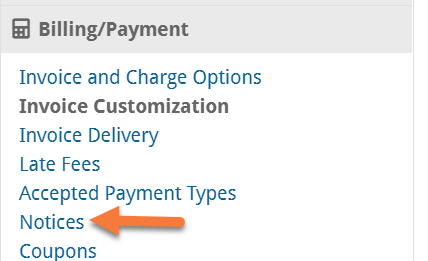
Step 6: Next, return to the tools on the left side and beneath Billing/Payment settings, click Notices.
Once the Notices options open, you have many settings to review & customize:
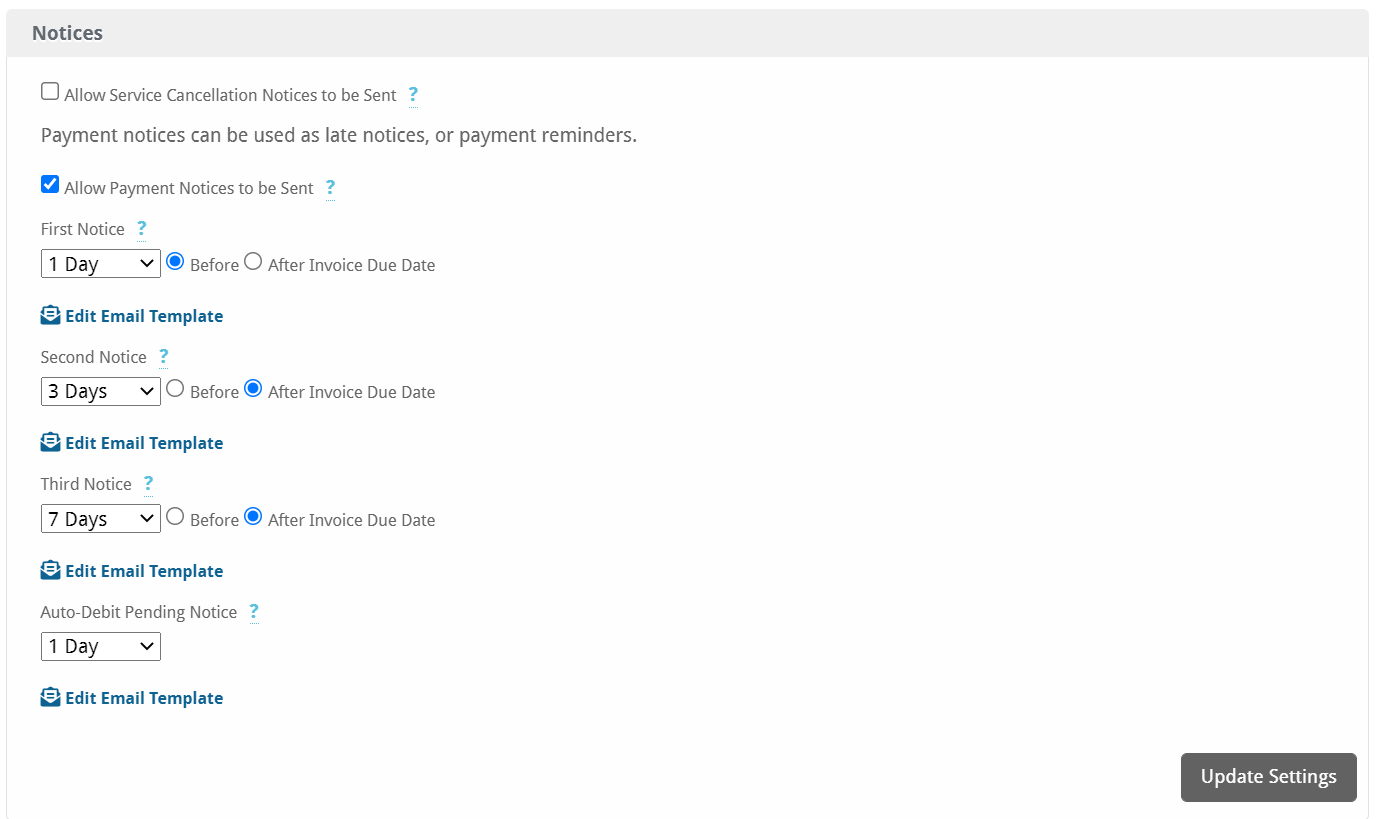
The settings for Notices let you adjust the following:
- Up to three notices can be sent and used as payment reminders (before) or late notices (after), in relation to the invoice due date.
Be sure to click Update Settings if you make any changes.
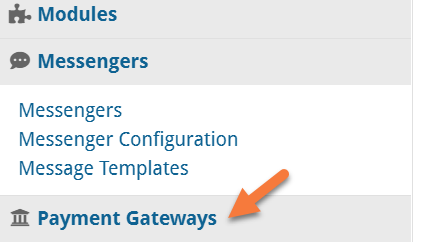
Step 7: Next, return to the tools on the left and click Payment Gateways. The option is located in between Messengers and Taxes.
Payment Gateways are how Blesta communicates with credit card or other payment processors to process payments from customers.
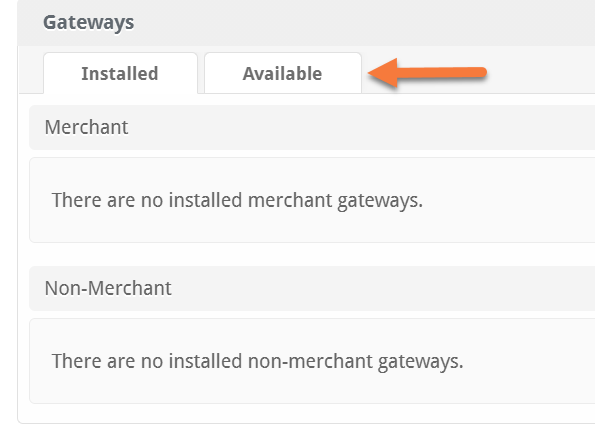
 Once the Payment Gateways section loads, you will be presented with a list of the Installed Payment Gateways.
If this is a new installation, there will be none. To install a gateway, click the Available tab.
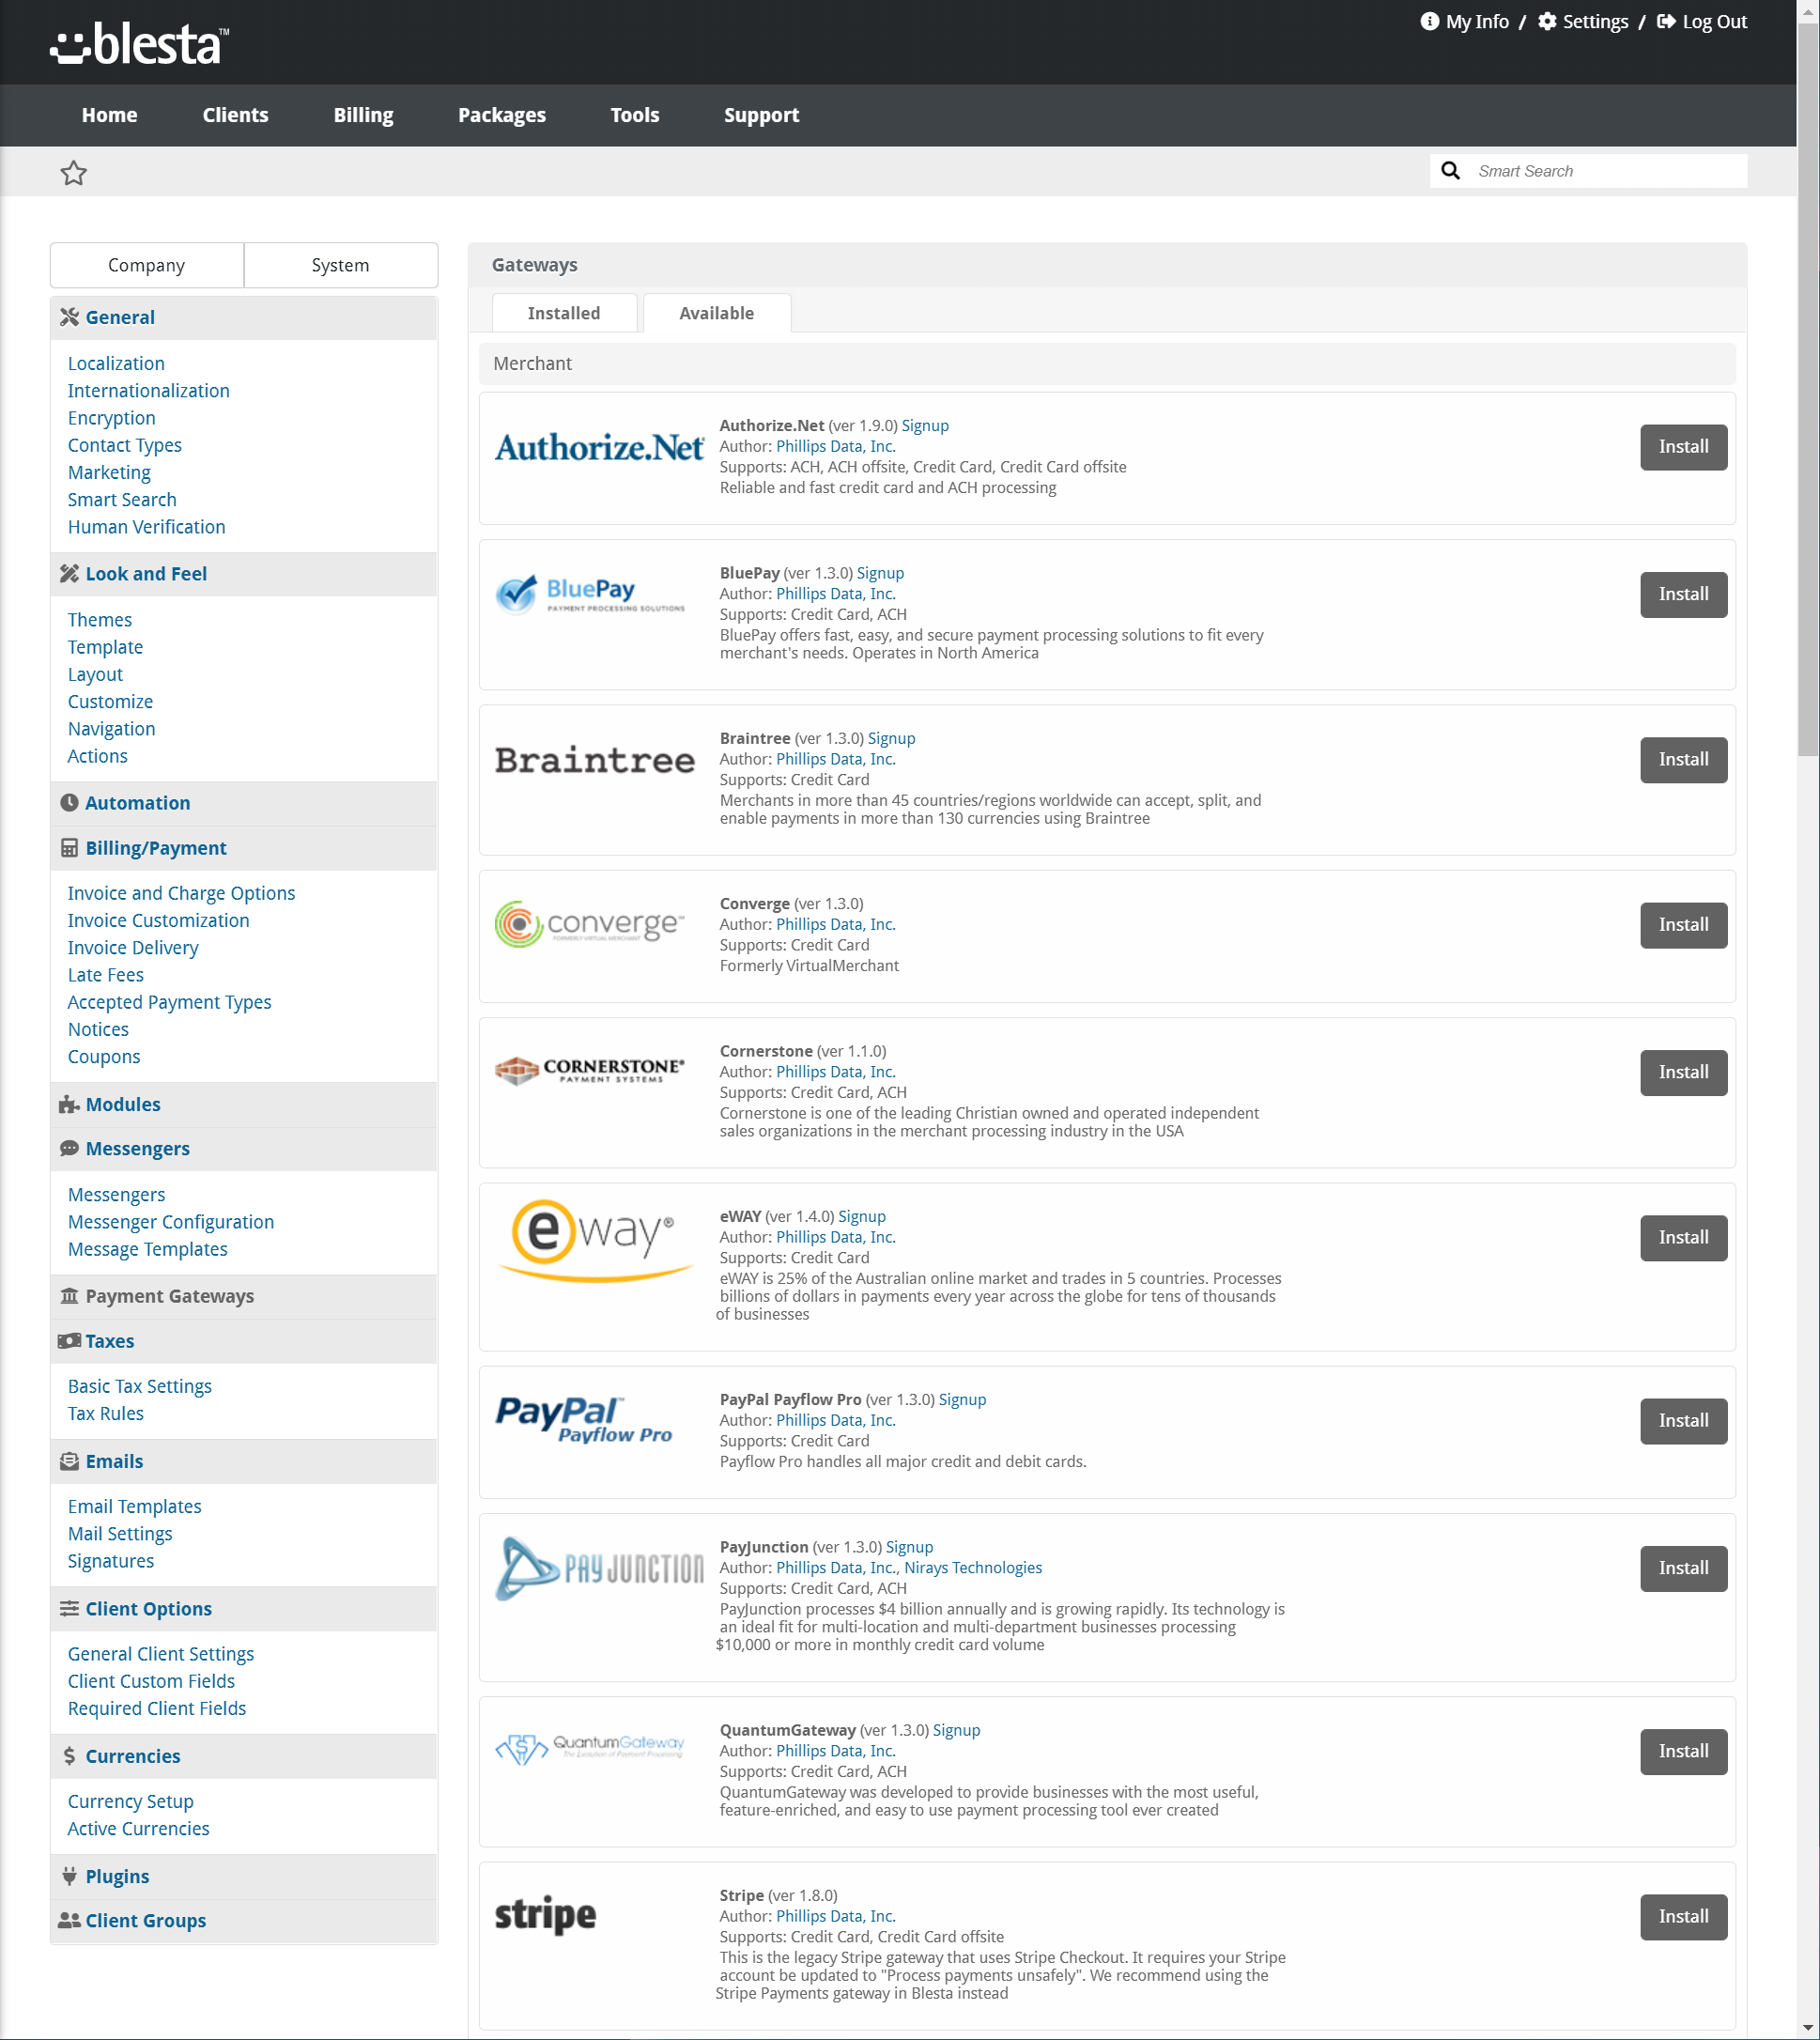
 You will be presented with a list of Payment Gateways:
 Once a Payment Gateway is installed, it will disappear from the Available tab and appear in the Installed tab.
Common Payment Gateways are:
- Authorize.net
- Stripe
- Braintree
- PayPal
Step 8: Once you’ve configured your Payment Gateway(s), return to the tools on the left side and click Email Templates beneath Emails.
A list of Email Templates will appear:
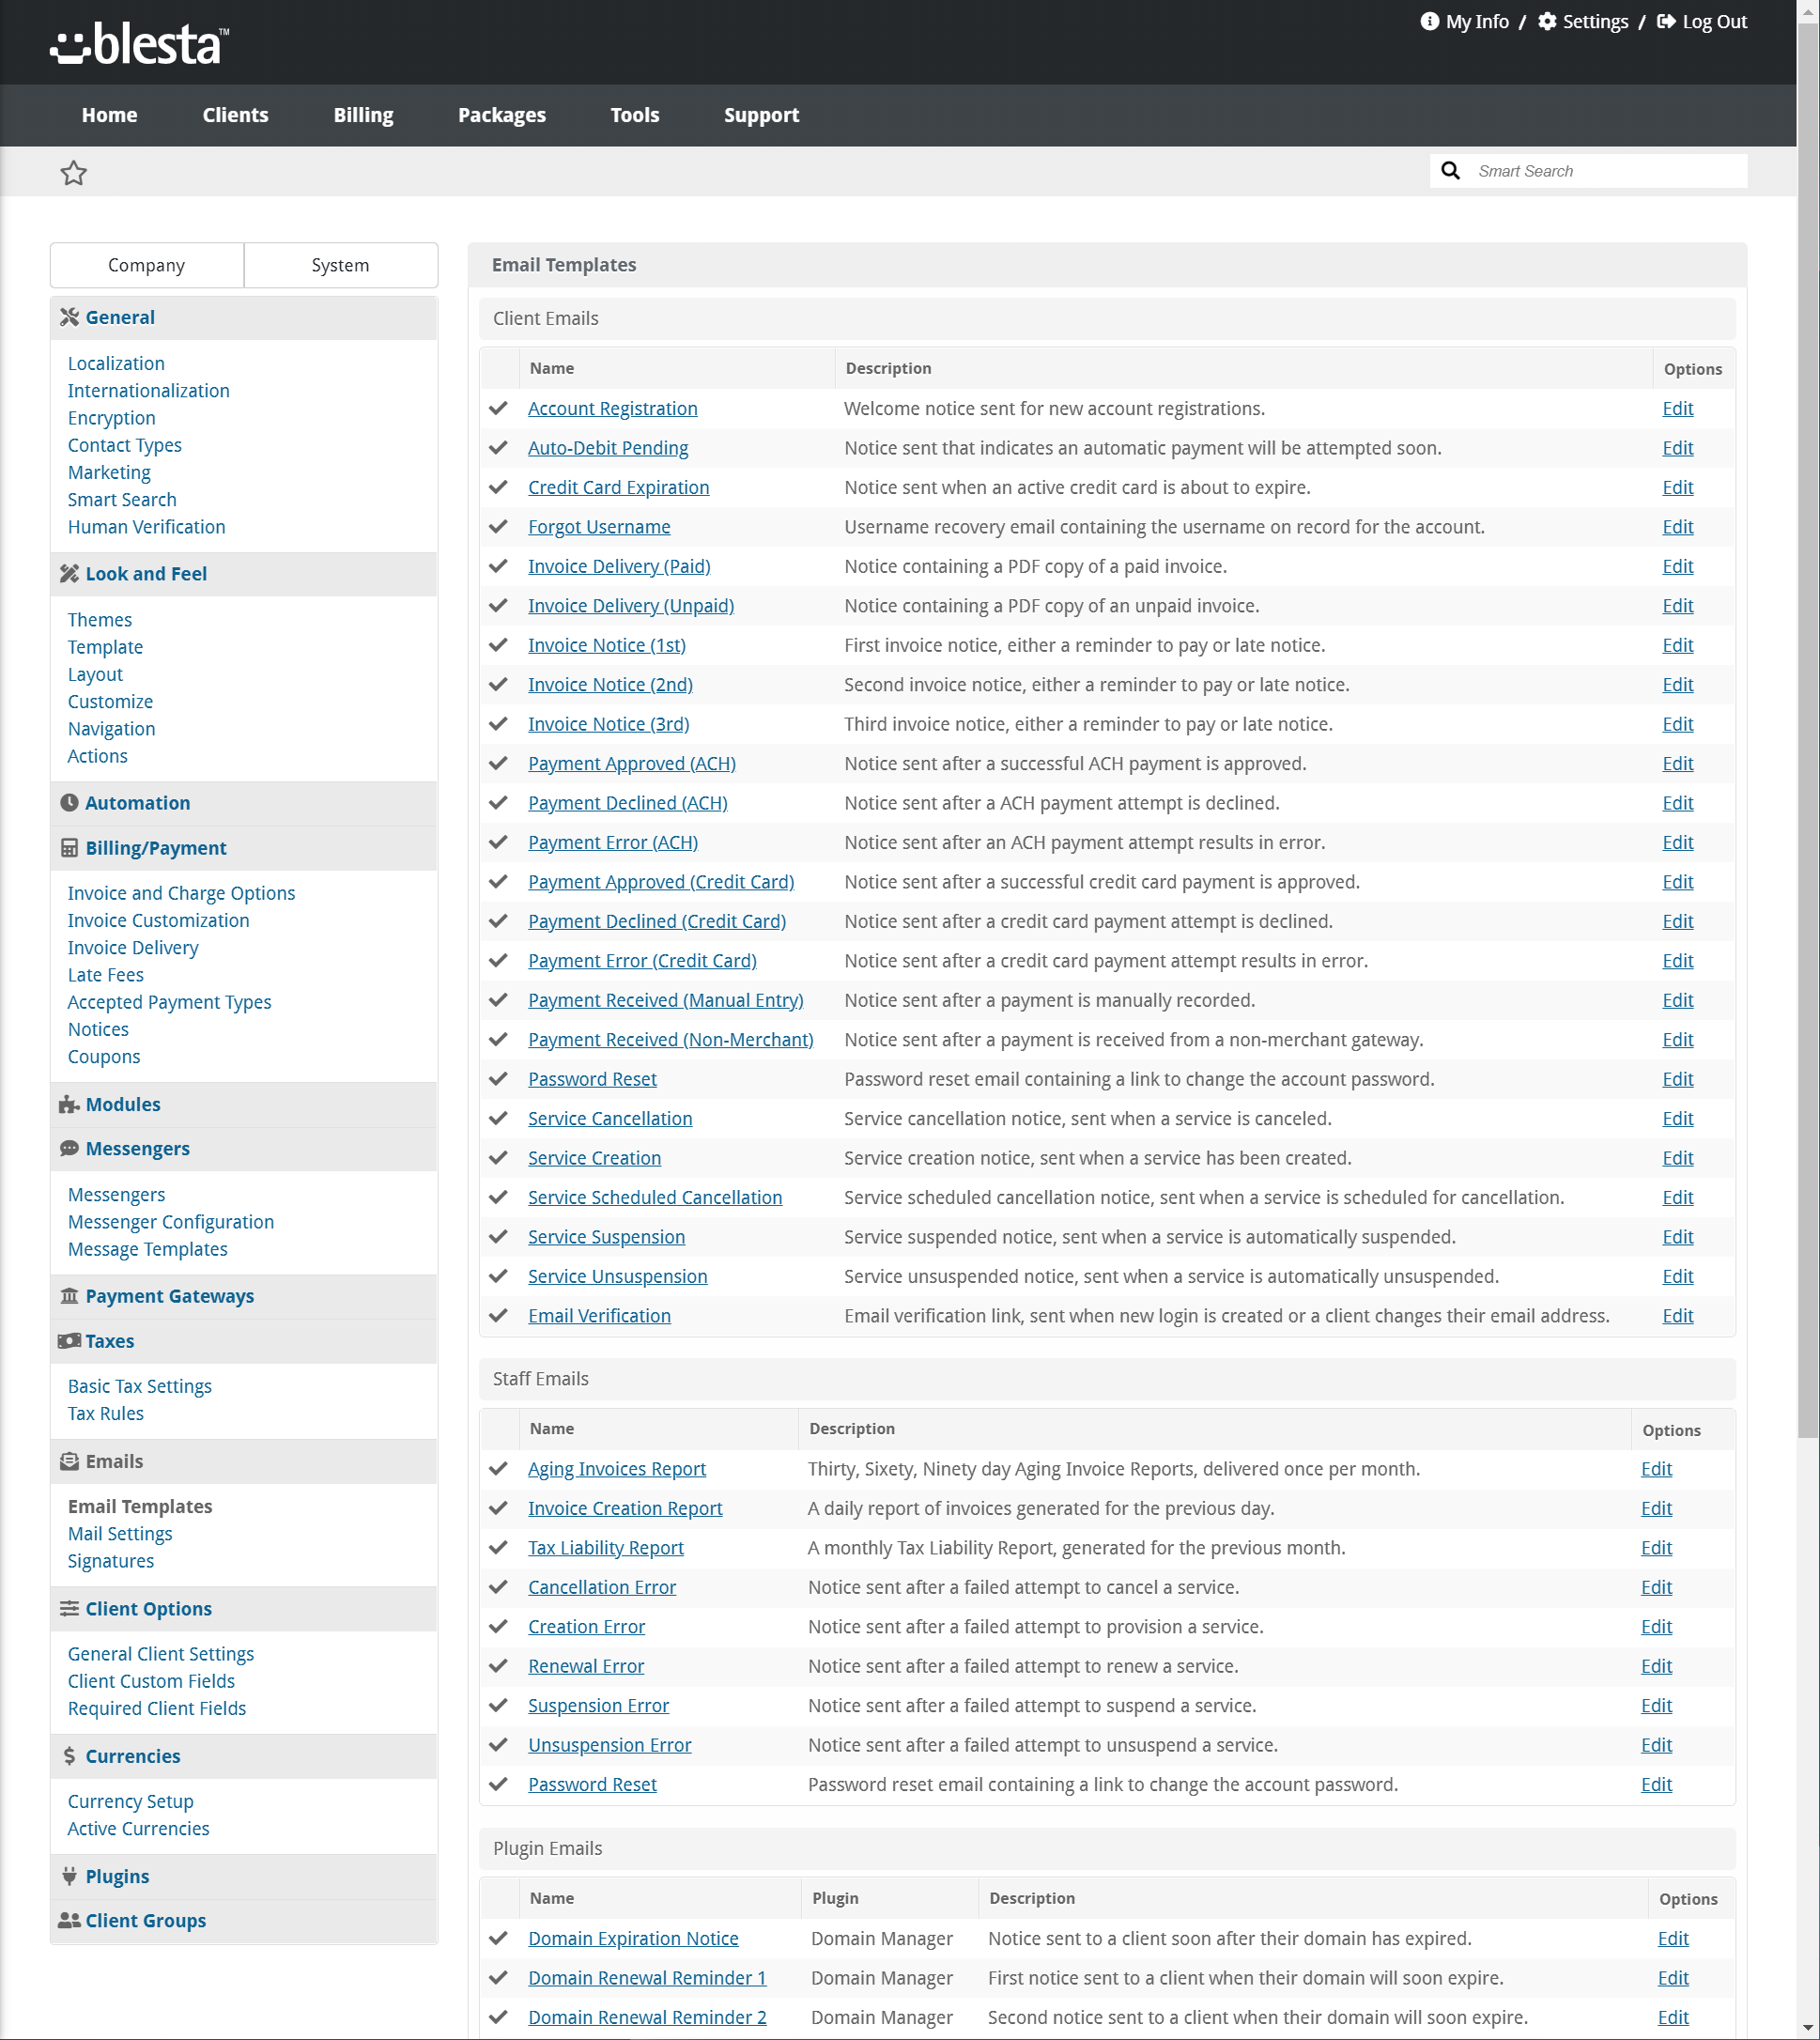
There are a lot of email templates that are used for a number of different customer notifications. If you plan to have extensive branding for your business, you’ll definitely want to edit each of these templates and brand them according to your needs.
You can edit the templates by clicking Edit.
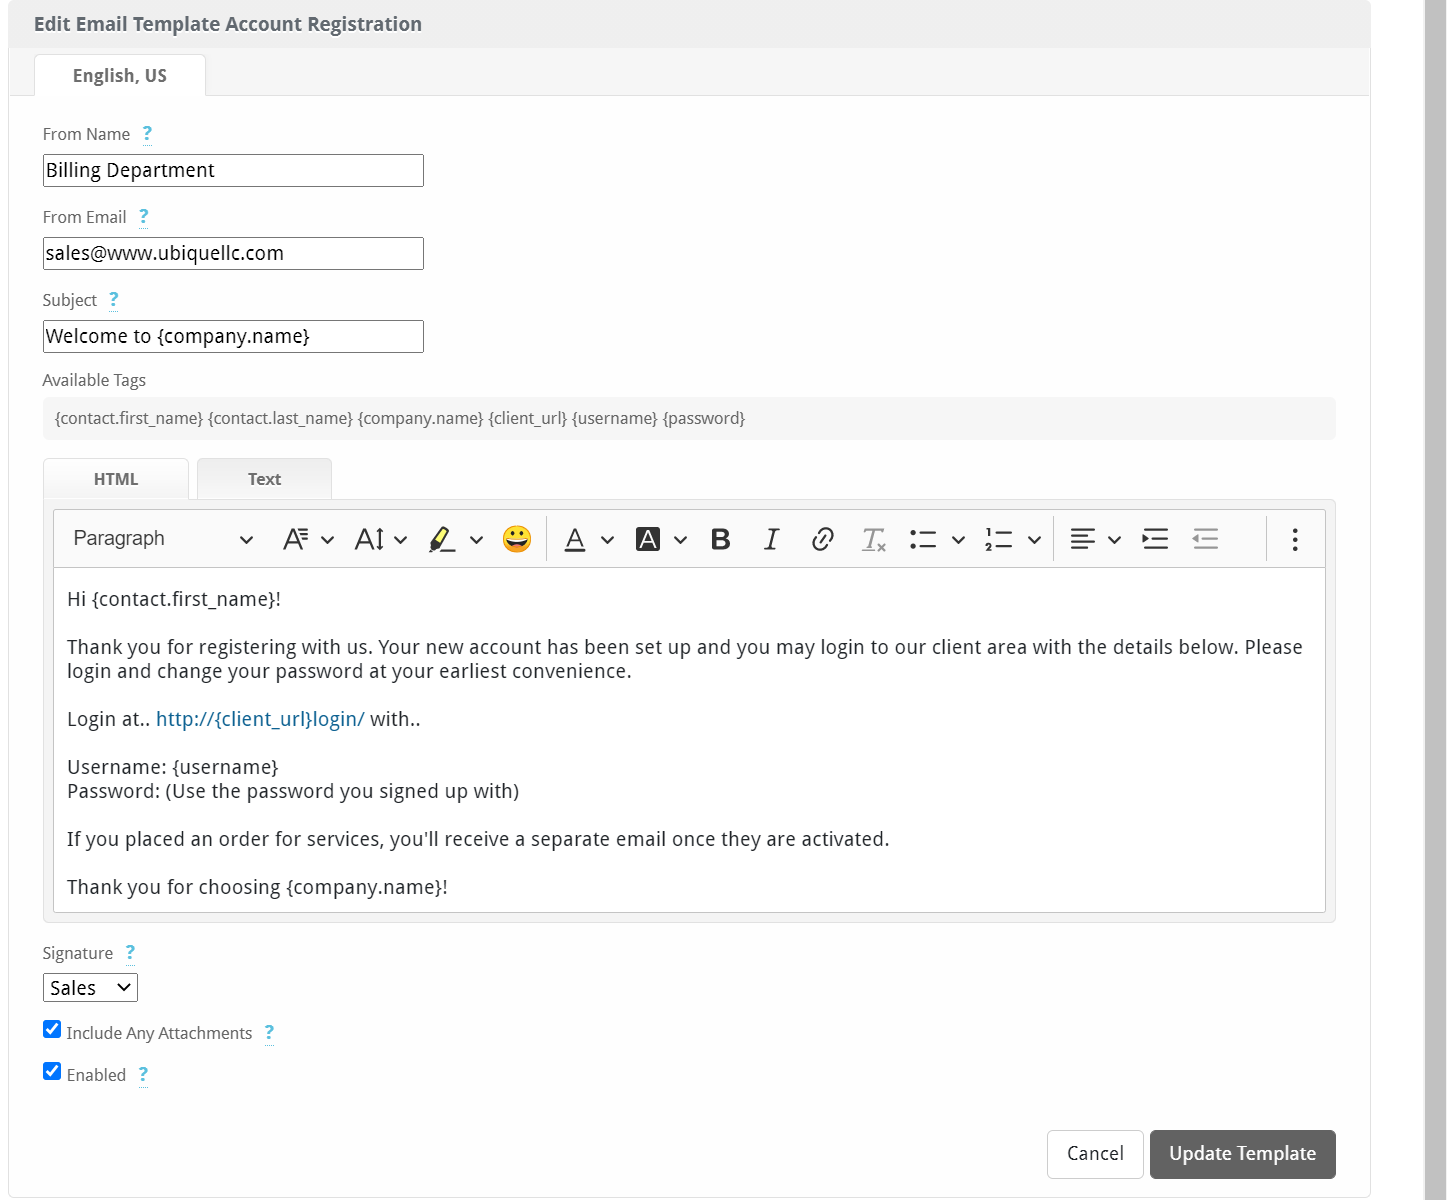
After clicking Edit, you’ll have a few options, including:
- The Name that appears when the email is sent.
- The email address that is used. Be sure this is a real email address in case customers reply to the email they receive.
- The Subject line that is used.
- And you have a rich text editor which displays the content of the message. You can use this to easily edit and brand each message without having to know any HTML or CSS code. Blesta makes it very easy to do this, which is another reason Blesta is a pretty cool app for Resellers!
When you’ve finished, be sure to click Update Template.
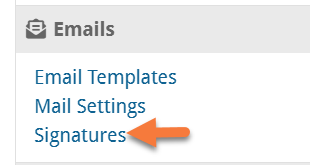
Step 9: Lastly, return to the list of tools on the left side and beneath Emails, click Signatures.
There are 3 Signatures by default:
- Admin
- Billing
- Sales
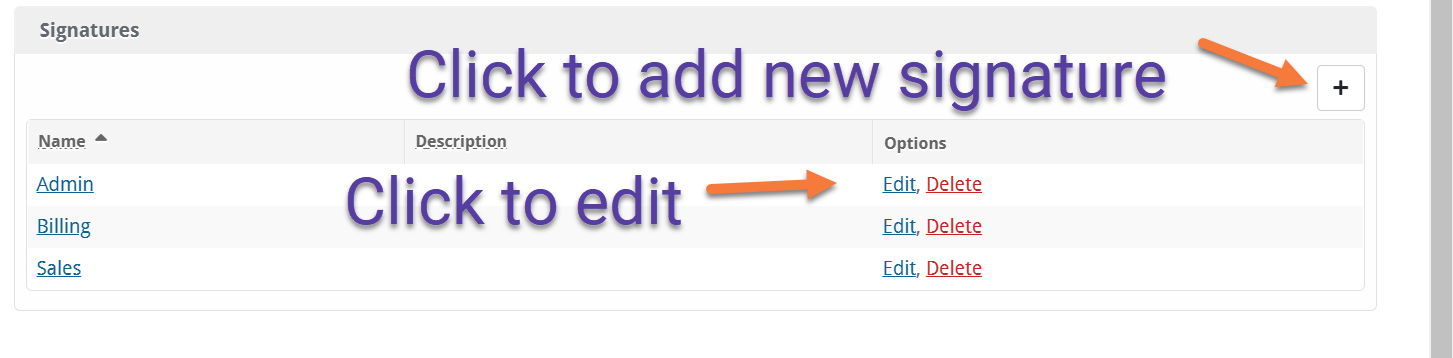
You can click the + button to add a new signature if you wish.
Alternatively, to edit an existing signature, click Edit.
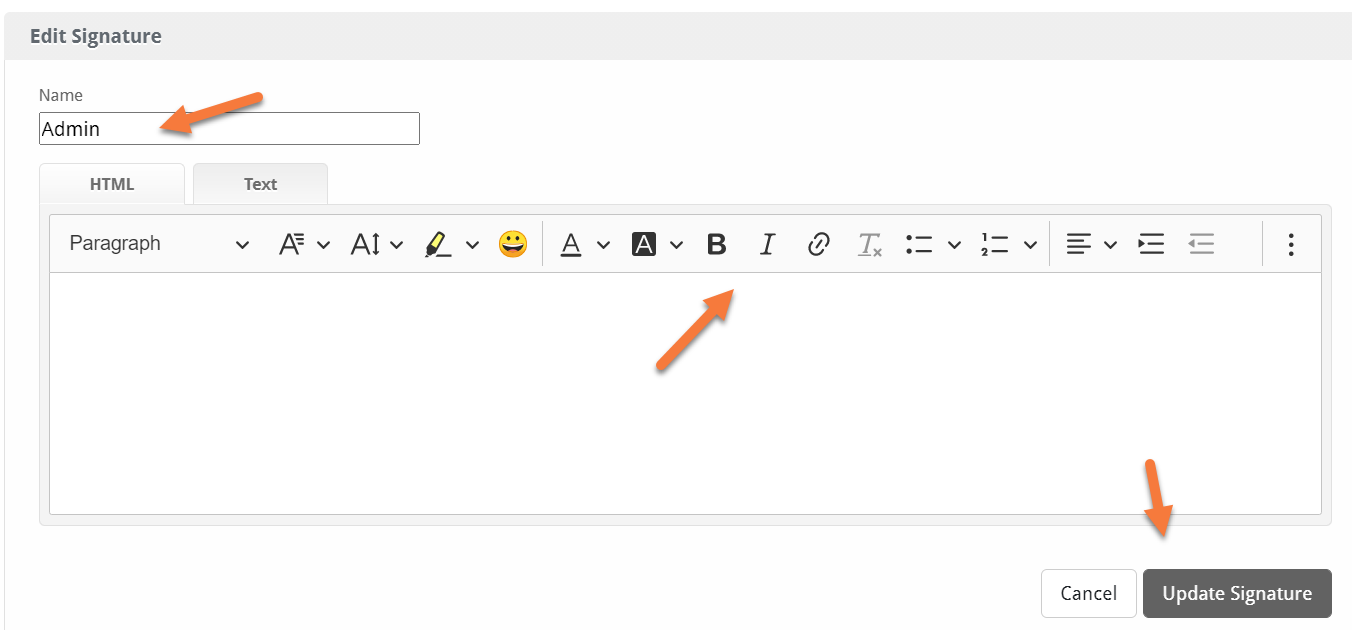
On the Edit screen, you have the option to edit the name of the signature.
You also have a rich text editor which you can use to create your email signature to be displayed when Bletsa dispatches automated emails.
Once you’ve created your signature, be sure to click Update Signature to save your changes.
And that’s how you Get Started with Blesta! We hope you enjoyed this article. Let us know your thoughts in the comments!
▶️ Please join us in the next tutorial where we will walk you through How to Add a cPanel Server and New Packages in Blesta