One of the hallmark features of Blesta is its ability to automate and provision services your customers purchase from your store. Blesta can integrate with many different providers and automate tasks to provide these services. This is done by using Modules in Blesta.
This Knowledge Base article will instruct you on how to configure a cPanel server in Blesta as well as your first package so you can resell Shared Hosting.
Let’s Begin!
How to Configure a cPanel server in Blesta
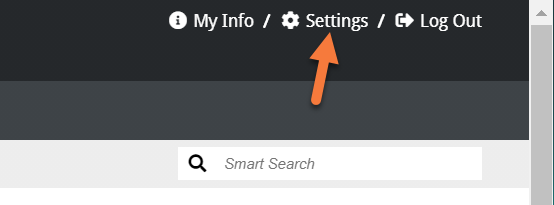
Step 1: Login to your Blesta Admin. Once you’ve logged in, click Settings in the top right corner.
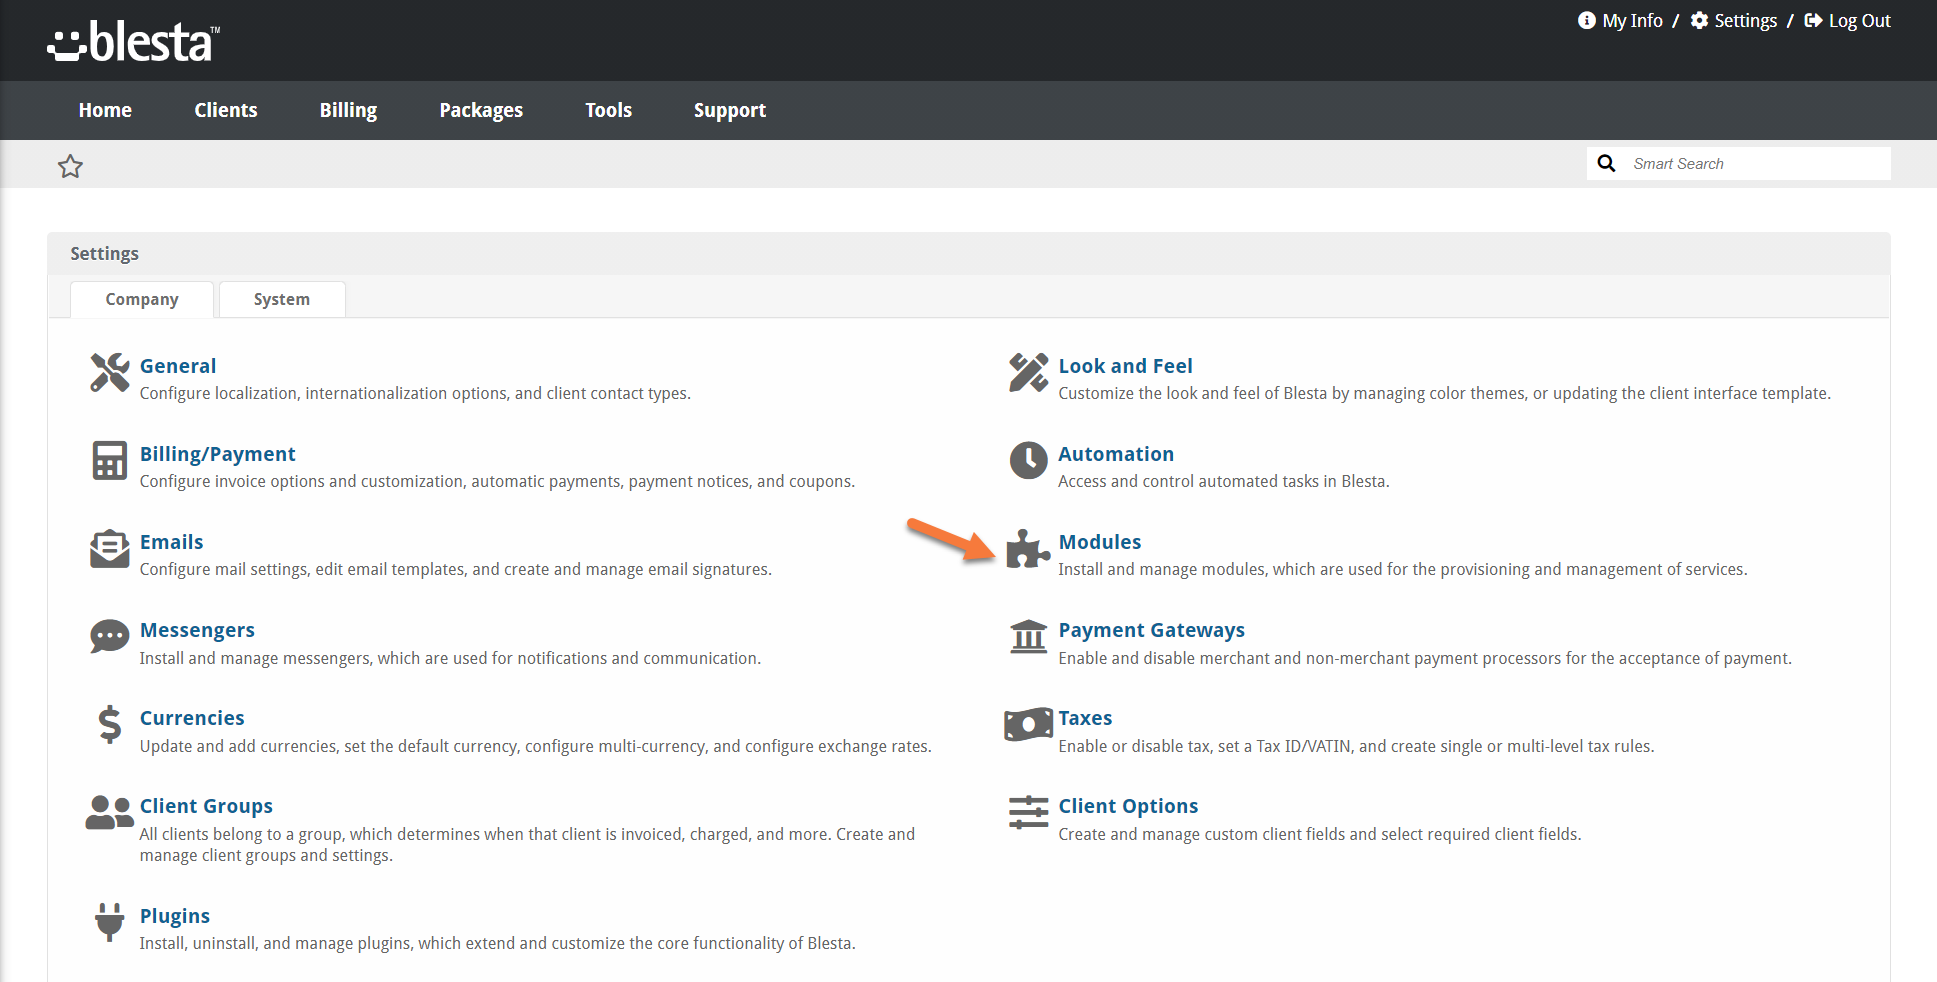
Step 2: From the list of settings, click the Modules option.
Step 3: When the Modules page loads, click the Available tab. This will show all available Modules.
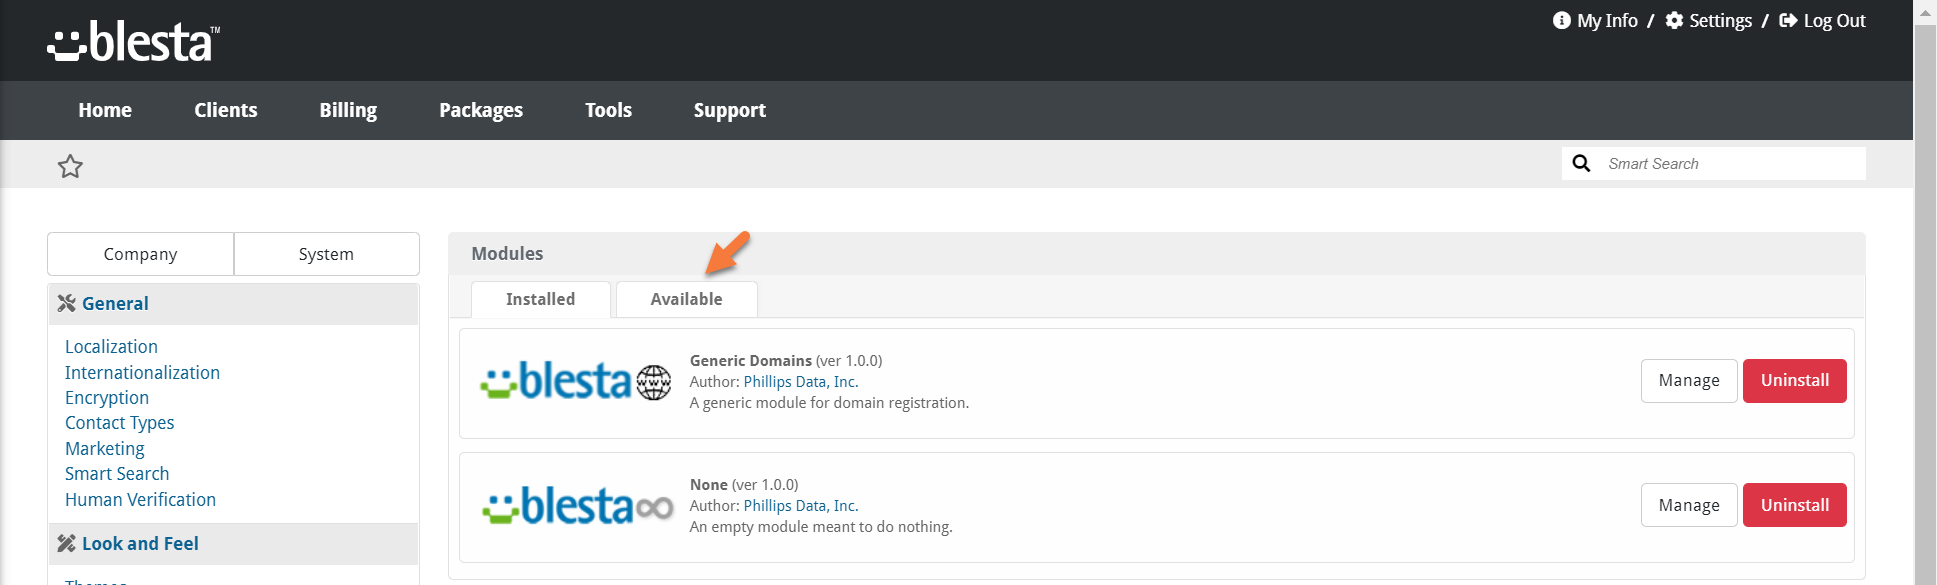
Step 4: Scroll down through the modules until you find the cPanel module. Then click Install.

The module will be installed and you will see a successful result message like the one below. You’ll also be taken to the Manage cPanel Module area.
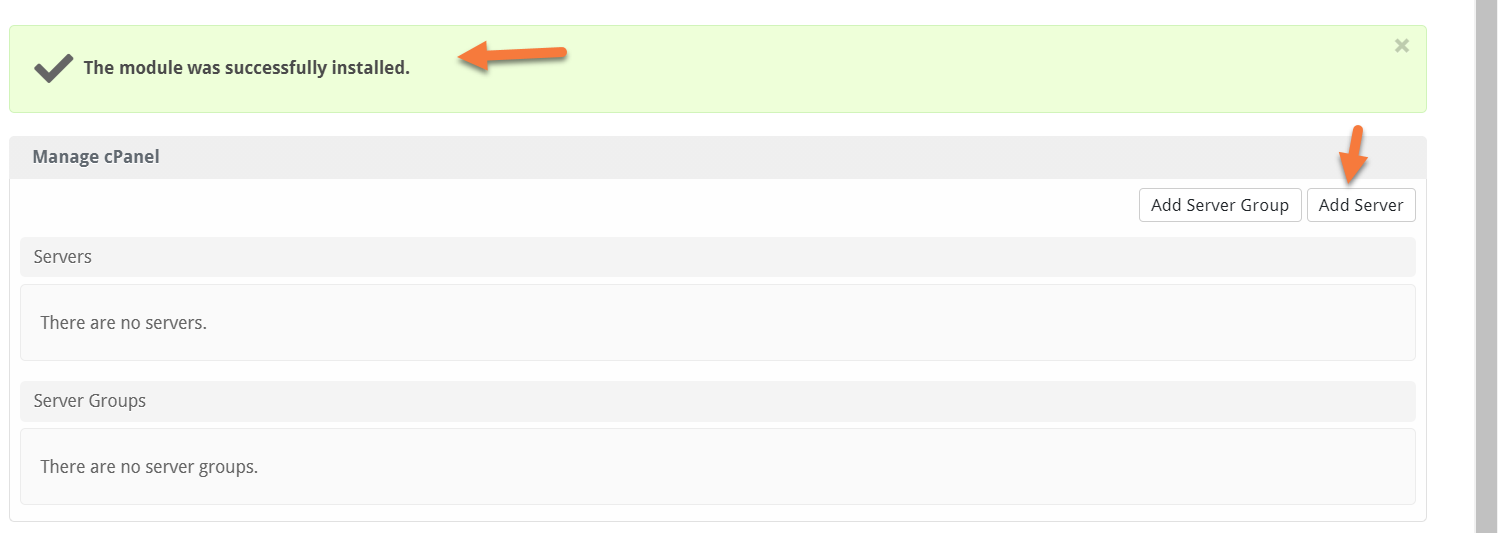
In the top right corner, click Add Server.
Step 5: You’ll be taken to the Add cPanel Server page. There’s a few options on this screen, let’s examine them one at a time.
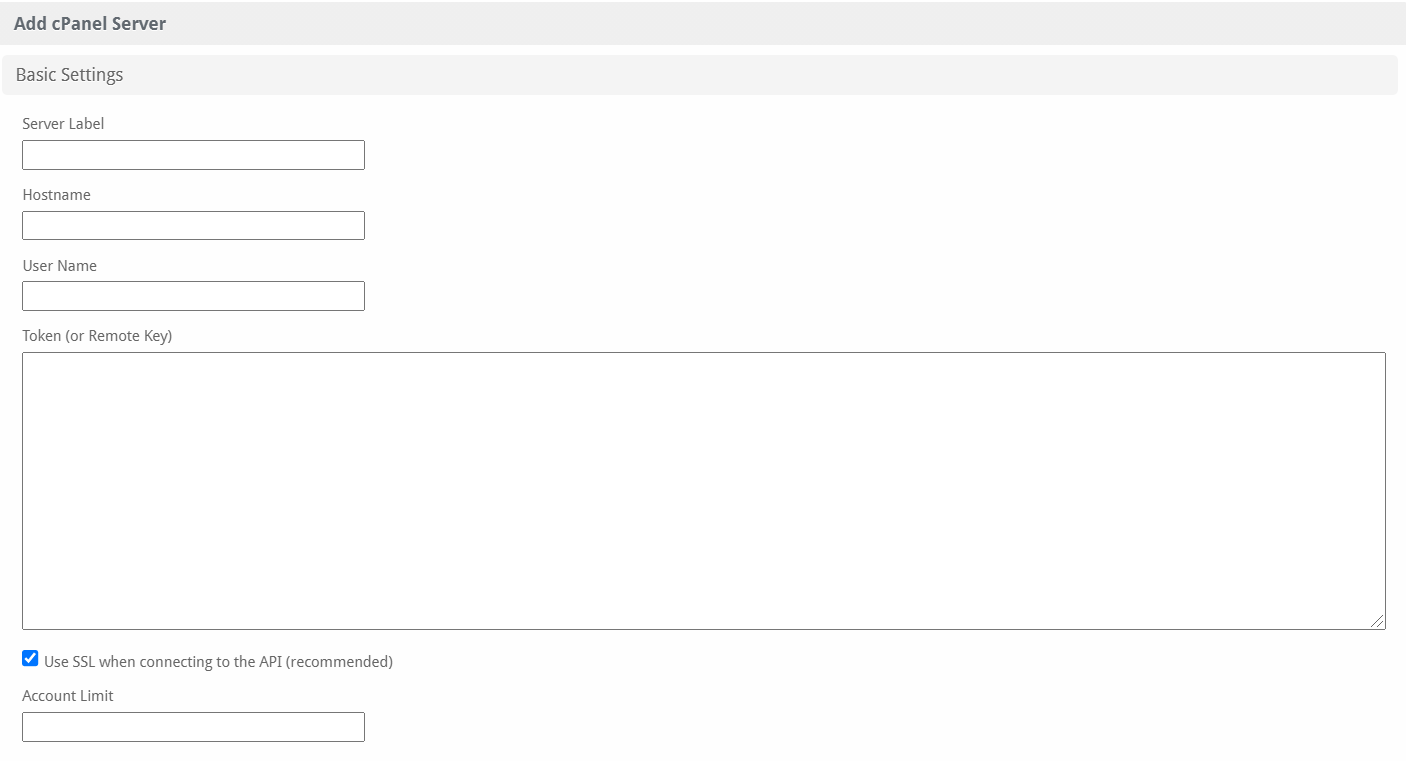
- Server Label is how the server will appear in your Modules > Server Listings.
- Hostname will be the FQDN (fully qualified domain name) of the server, such as yourserver.serverhostgroup.com.
- Username will be the admin username for the cPanel Reseller account.
- Token (or Remote Key) will be the remote token you get from WHM.
- Use SSL while connecting to the API should be checked.
- Account Limit should match the number of cPanel accounts your reseller account at ChemiCloud supports.
Next, let’s look at the Nameservers Section:

At ChemiCloud, we use 3 nameservers. Be sure to click the “Add Additional Name Server” button to add a new Nameserver so a box for the 3rd nameserver appears..
If you have created custom nameservers, you can enter them here. Otherwise, you should enter our nameservers.
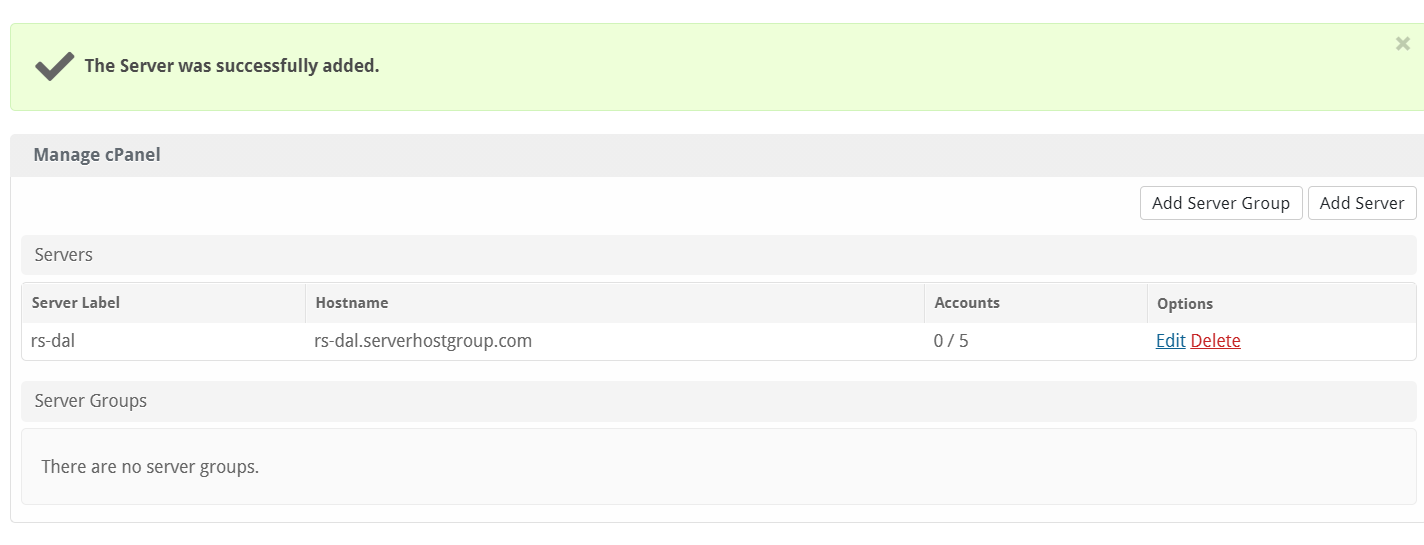
When you’ve finished, click Add Server to add the server into Blesta.
You will be presented with Server Added success message and you’ll be taken back to the Manage cPanel Module area.
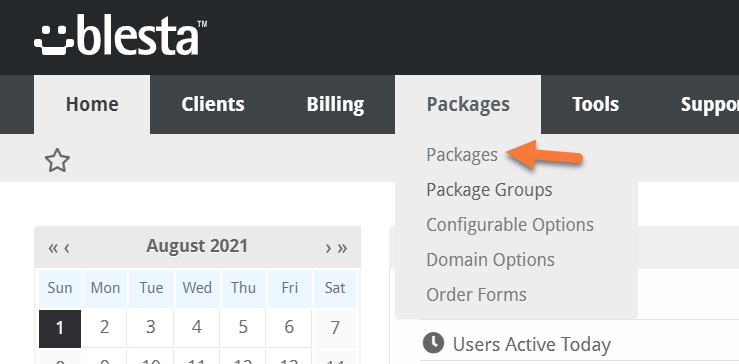
Step 6: Next you need to create some packages. These will be the packages you will sell as individual Hosting Shared Hosting Plans.
To do this, click the Packages option in the top menu then click Packages.
You will be taken to the Packages screen. By default, there are no packages.
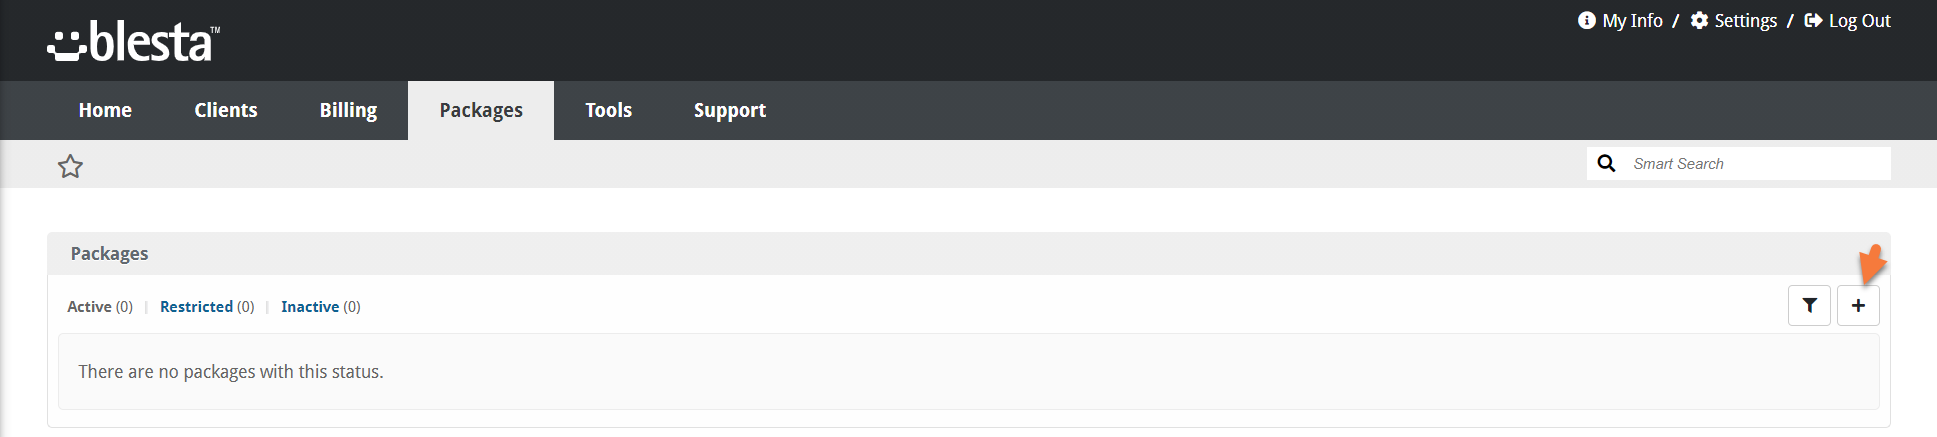
To create a new package, click the + icon in the top right corner. You will be taken to the New Package screen.
Step 7: There are a lot of options on the New Package screen, let’s review them in sections below.
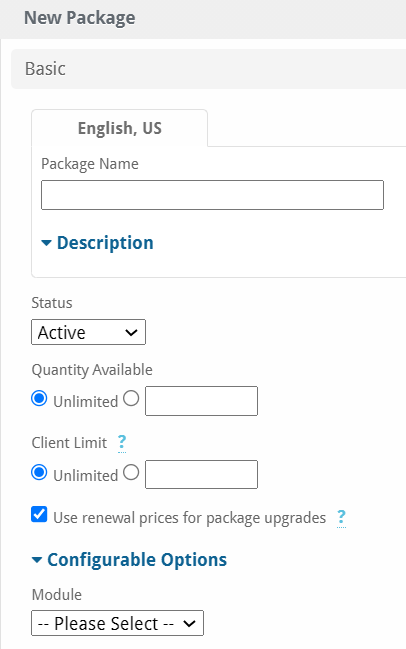
- Enter the Package Name which will be displayed to your customers.
- If you choose to expand the Description field, you will be presented with a HTML Rich Text editor where you can enter a description of the package. Here you would enter the type of information that goes with the hosting plan, such as disk space, bandwidth, and other features.
- The Status option lets you choose whether this package is available or discontinued.
- With Quantity Available, this should represent the max number of accounts that can be created with this package on the reseller plan that goes with it.
- It is up to you to do the math to be sure you have allocated enough packages to the max resources that go with your Reseller account. Otherwise, you will experience errors in auto account provisioning.
- The client limit is the maximum number of services (of any status) each client can create through this package.
- You can opt whether to use renewal prices for package upgrades, if you choose.
- In module, choose cPanel.
After selecting cPanel as your module, you will see the Module Options section update. Let’s review that section:

- For Group, I have left this as the default because I haven’t created any server groups. You can choose to create server groups, if you have multiple Reseller servers. This can be used to help you organize which packages go to which group of servers.
- The Server drop-down lets you choose on which server to provision the package for new accounts.
- The cPanel Package dropdown lets you choose the corresponding package in WHM that this Package in Blesta goes with.
- Keep in mind, whatever Packages exist in Blesta must also exist in WHM. 😉
- Enable Selling Sub-Domains allows the customer to create additional subdomains, or not, if you choose.
- You can opt to define how many subdomains they can create if you wish, or it can be set to Unlimited.
- With Dedicated IP, you can opt to give customers a Dedicated IP on this package.
Next, let’s look at Pricing:

- Set the Term and Length with the Term/Period options.
- Currency lets you define in which currency to offer the plan.
- The Price column allows you to set the price of the package.
- With renewal price, you can set a different renewal price if the initial price is offered on a special.
- If you choose to offer a setup or cancellation fee, you can set that price here.
- The three checkboxes let you decide:
- Whether the package is taxable.
- Will auto cancel at the end of the term.
- And is Pro Rata.
Next, let’s look at the email section:
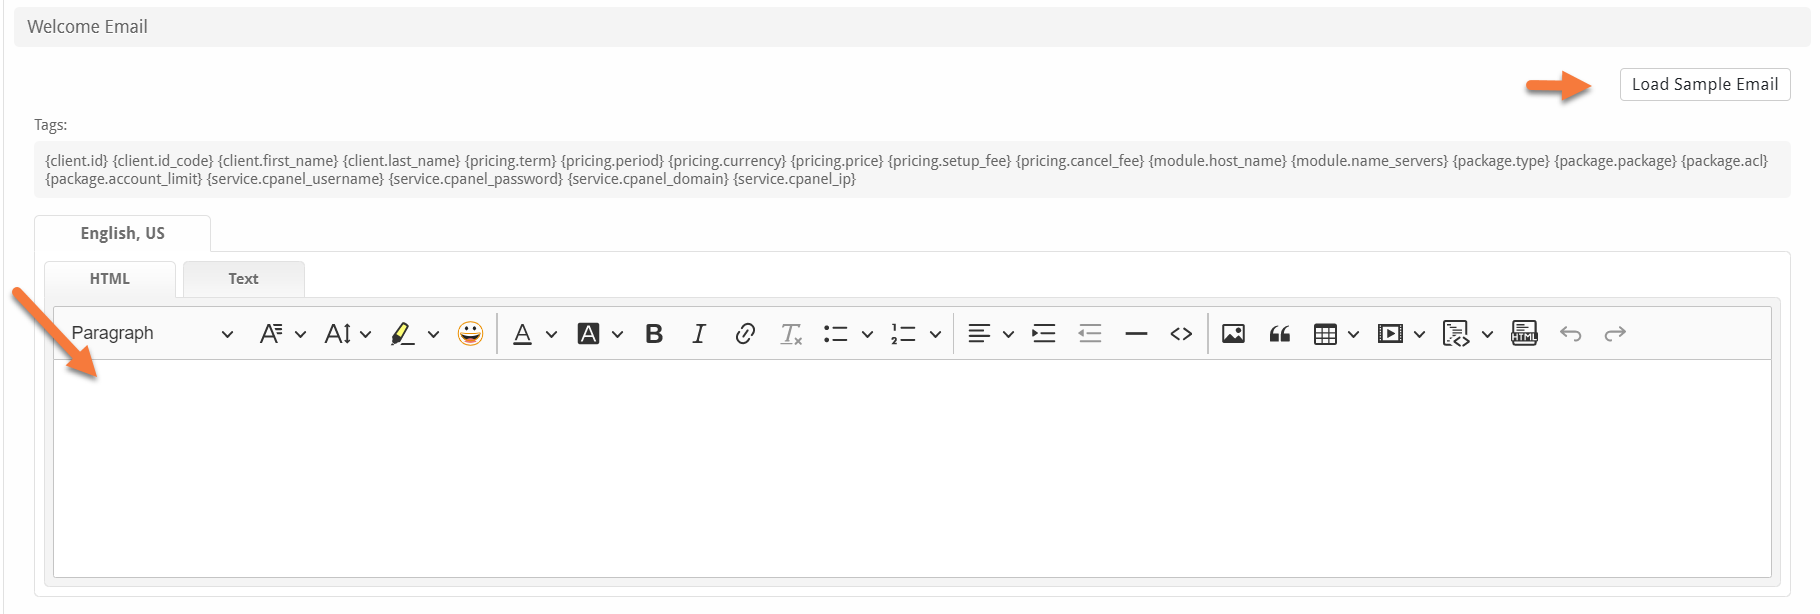
- The Welcome Email section let’s you edit what is sent to your customers who purchase this package. The welcome email typically contains information such as their cPanel account username, password, and nameserver information.
- Blesta comes with a Sample email from which you can draw inspiration by clicking the Load Sample email button in the top right corner of the text editor.
- You are also given a rich text editor into which you can setup the welcome email anyway you like.
Finally, let’s look at the Group Membership option:
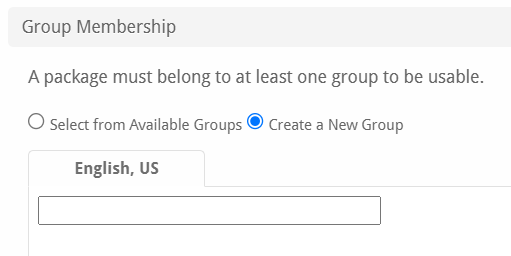
Here you must create a group for this package. You can think of groups as ways to organize your hosting packages. For this, I am calling my package Shared Hosting.
When you’ve finished, click the Create Package button in the bottom right corner.
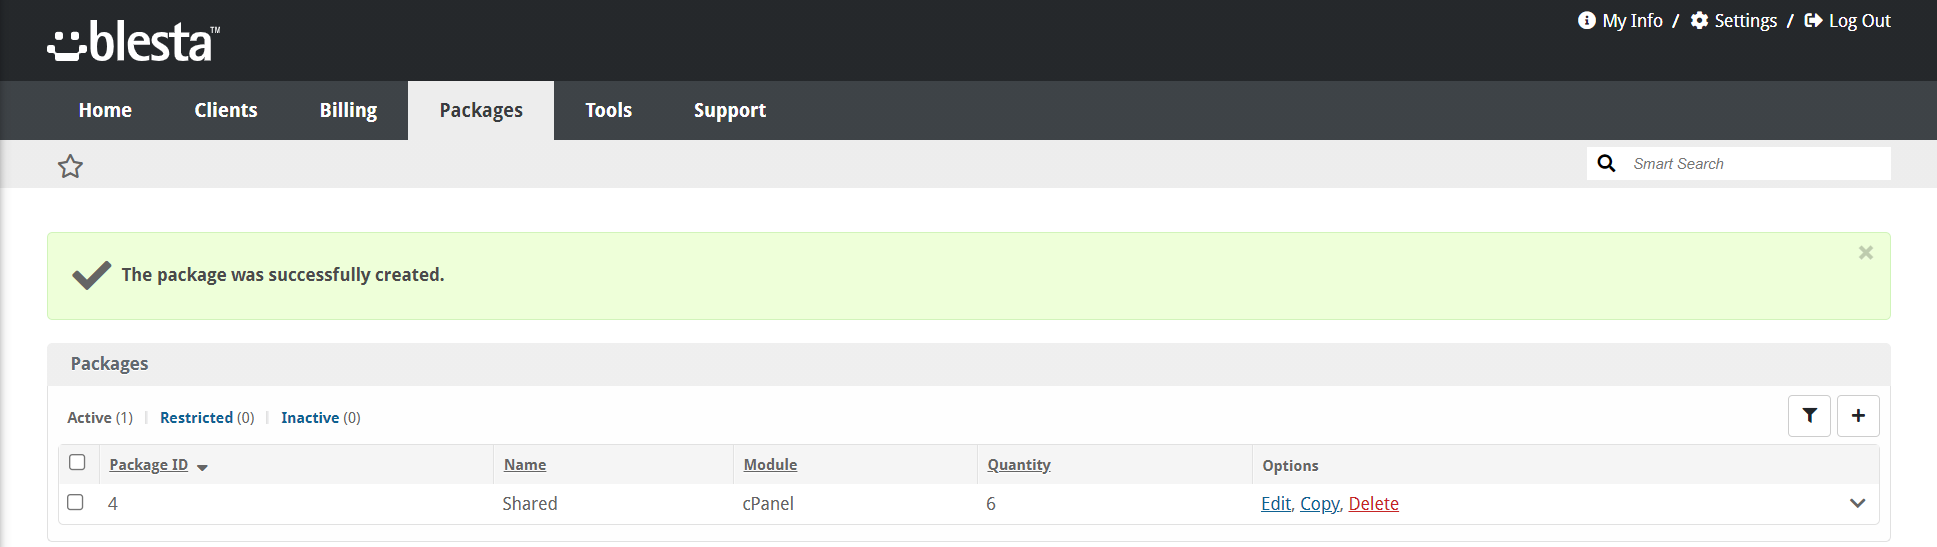
Step 8: You will be returned to the Packages screen where a list of your Packages will be displayed, along with a success message.
Congrats! You’ve linked your Blesta installation with a cPanel server and you’ve configured your first package!