Suppose you originally signed up for a reseller hosting service (not limited to) with a monthly billing cycle and later decide to switch to a longer billing cycle (such as 12 months), this guide will show you how to do it—without needing help from our support team.
Switching from a monthly billing cycle to a longer billing cycle can offer several advantages:
- Lower Monthly Costs: By switching to a 12-month plan, you could save a substantial amount compared to paying monthly.
- Avoid Price Increases: Locking in a longer-term plan protects you from potential price hikes during the contract period.
- Predictable Costs: A fixed annual payment allows you to plan your finances more effectively, as you know exactly how much you’ll be paying for hosting each year.
- Focus on Growth: With fewer renewals to worry about, you can dedicate more time and resources to growing your reseller business and serving your clients.
Who Can Use This Guide?
This tutorial applies to the following hosting services:
Need assistance? Our 24/7 Support Team is always here to help if you have any questions along the way.
Step-by-Step Guide to Changing Your Billing Cycle
Step 1: Log into Your ChemiCloud Account
- Open your browser and go to chemicloud.com/login.
- Enter your email address and password, then click Log In.
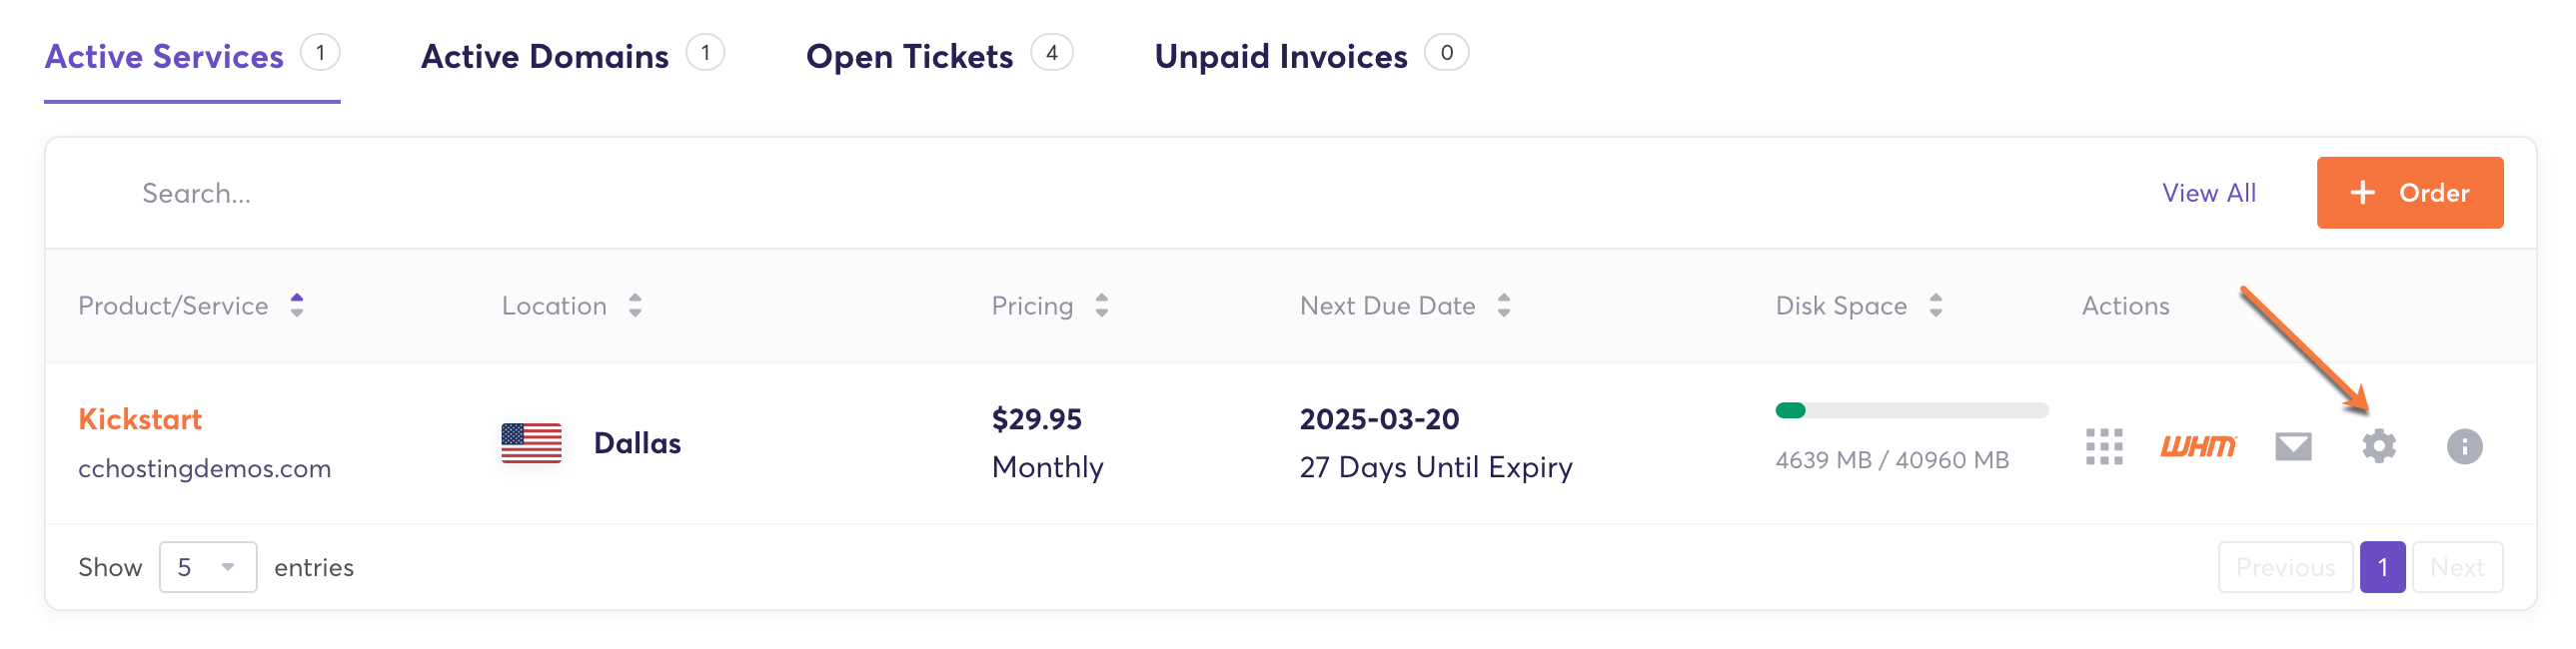
Step 2: Navigate to Your Active Services
- Once logged in, you’ll be in your Client Area Dashboard.
- Look up after the “Active Services” to view your current hosting services.
- Locate the service you want to update and click the gear icon (⚙️ “Manage Product”) on the right side.
Step 3: Access the Billing Cycle Change Option
- On the Product Details page, look for the “Change Billing Cycle” button.

Product Details > Change Billing Cycle - Click on it to proceed.

Step 4: Choose a New Billing Cycle
- A pop-up window (modal) will appear.
- In this window, you’ll see a drop-down menu that allows you to select a new billing cycle.

Step 5: Review Billing Details
After selecting your desired billing cycle, you’ll see important details about the change:

- Next Due Date → The current expiration date of your service.
- New Next Due Date → The updated expiration date after the billing cycle switch.
- Total Amount → The total cost for switching to the new billing cycle.
For example:
- Suppose your current due date is March 1, 2025, and you request a switch to a 12-month billing cycle 10 days before your due date.
- Once the invoice is generated, your service will be extended by 12 months.
- Your new expiration date will be March 1, 2026.
Step 6: Confirm and Pay
- Click the “Confirm” button to finalize your billing cycle change.
- The pop-up window will close, and you will see an invoice for the new billing period.

- Under the Invoice Items section, you can verify the period covered by your payment.
- Choose your preferred Payment Method and click “Pay Now” to complete the process.

🎉 That’s it! You’ve successfully changed your billing cycle for your hosting service—no support ticket needed!
Wasn’t that simple?