Blesta is an excellent app for reselling web services, but without being able to accept payments via credit or debit cards, the app wouldn’t be of much use.
This Knowledge Base article will help you set up Payment Gateways in Blesta so you can capture payments from customers.
Let’s begin!
How to Configure Payment Gateways in Blesta
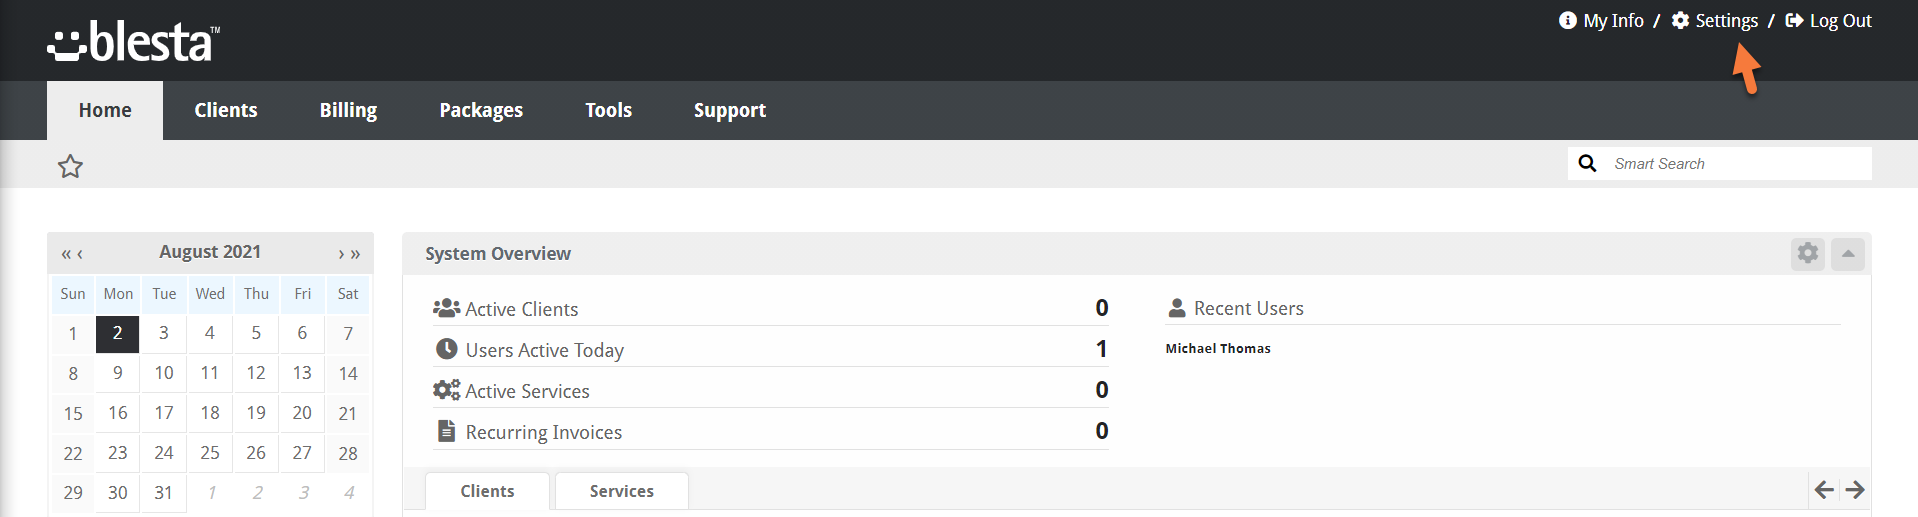
Step 1. Login to your Blesta admin. Once you’ve logged in, click Settings in the top right corner.
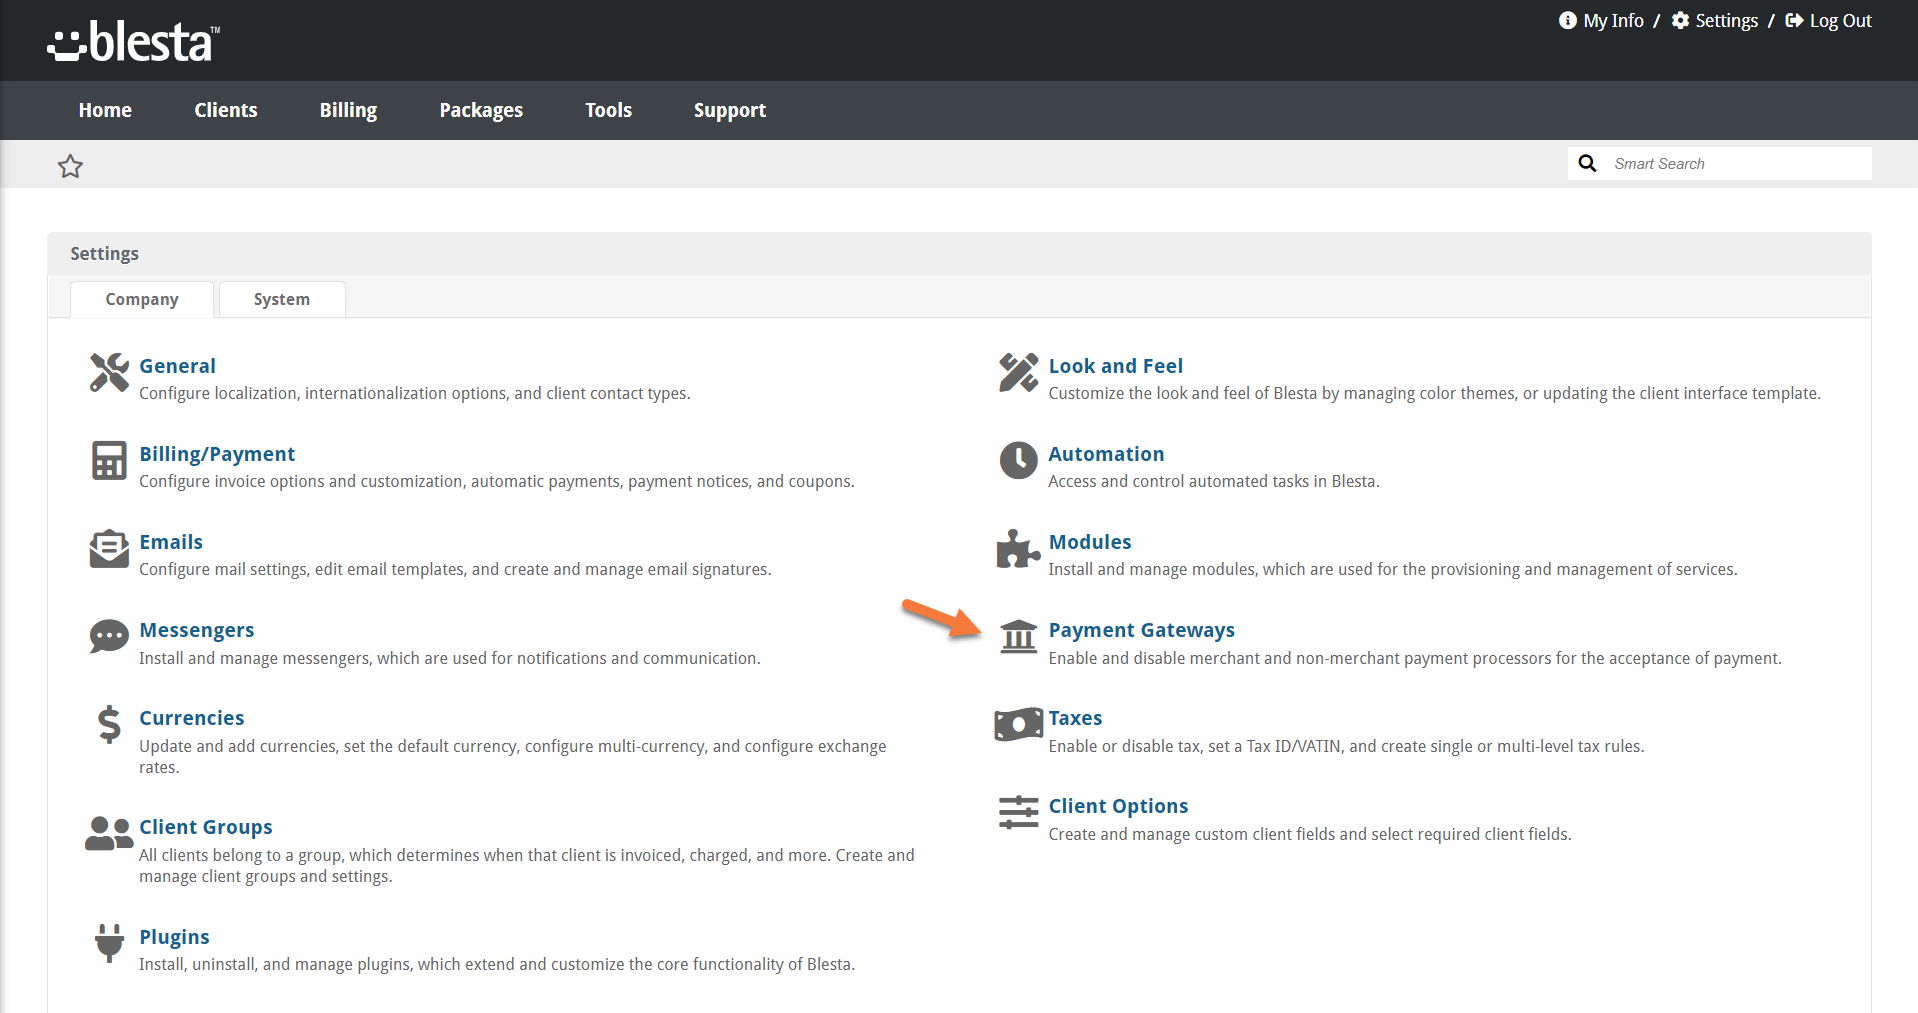
 Step 2: Once you’ve opened the Settings, click the Payment Gateways option.
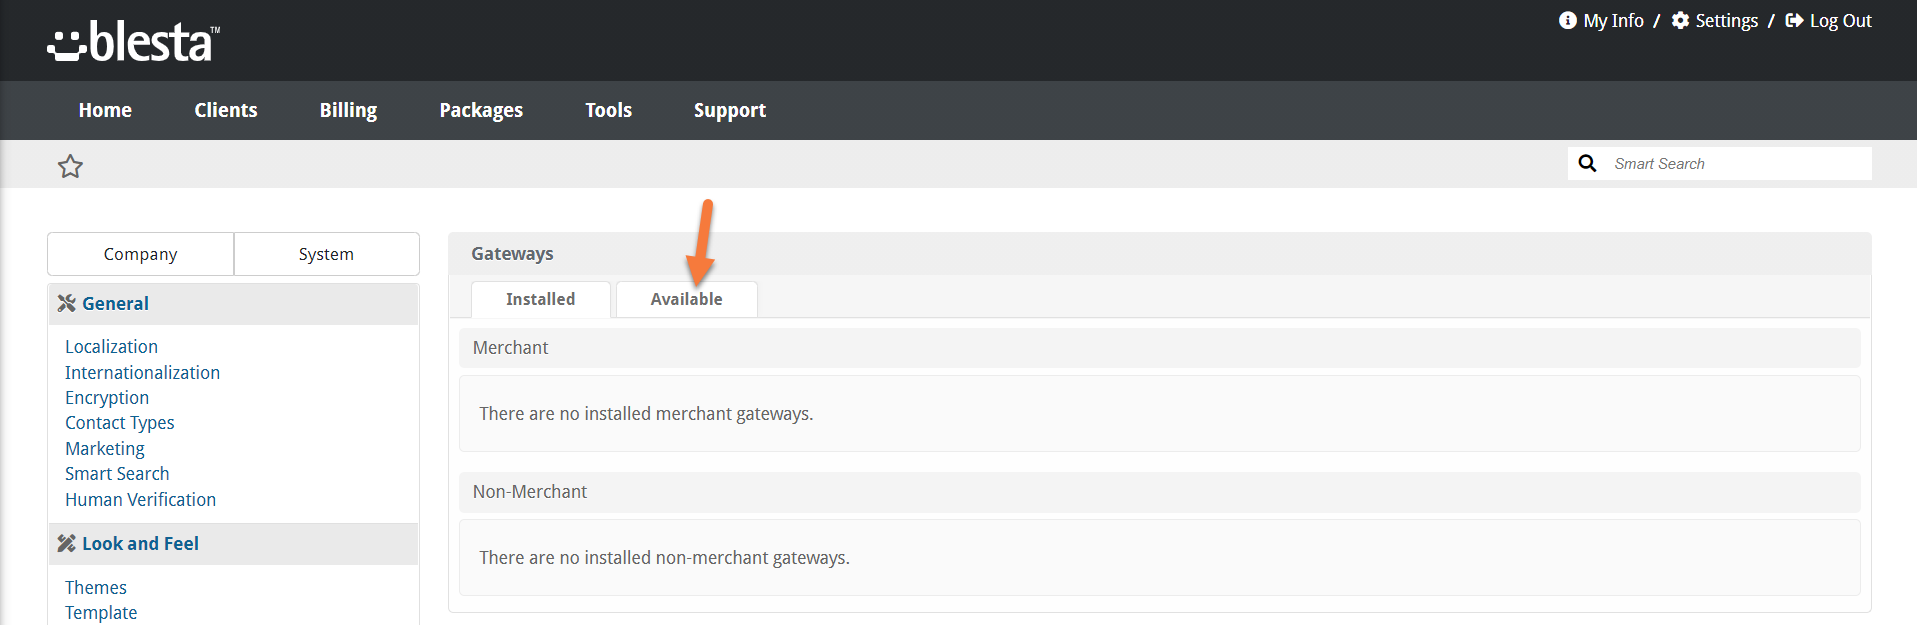
Step 3: The Payment Gateways page will load and you’ll be taken to the Installed screen, where if you had any payment gateways added, they would be listed.
Click the Available tab at the top to see a list of available payment gateways.
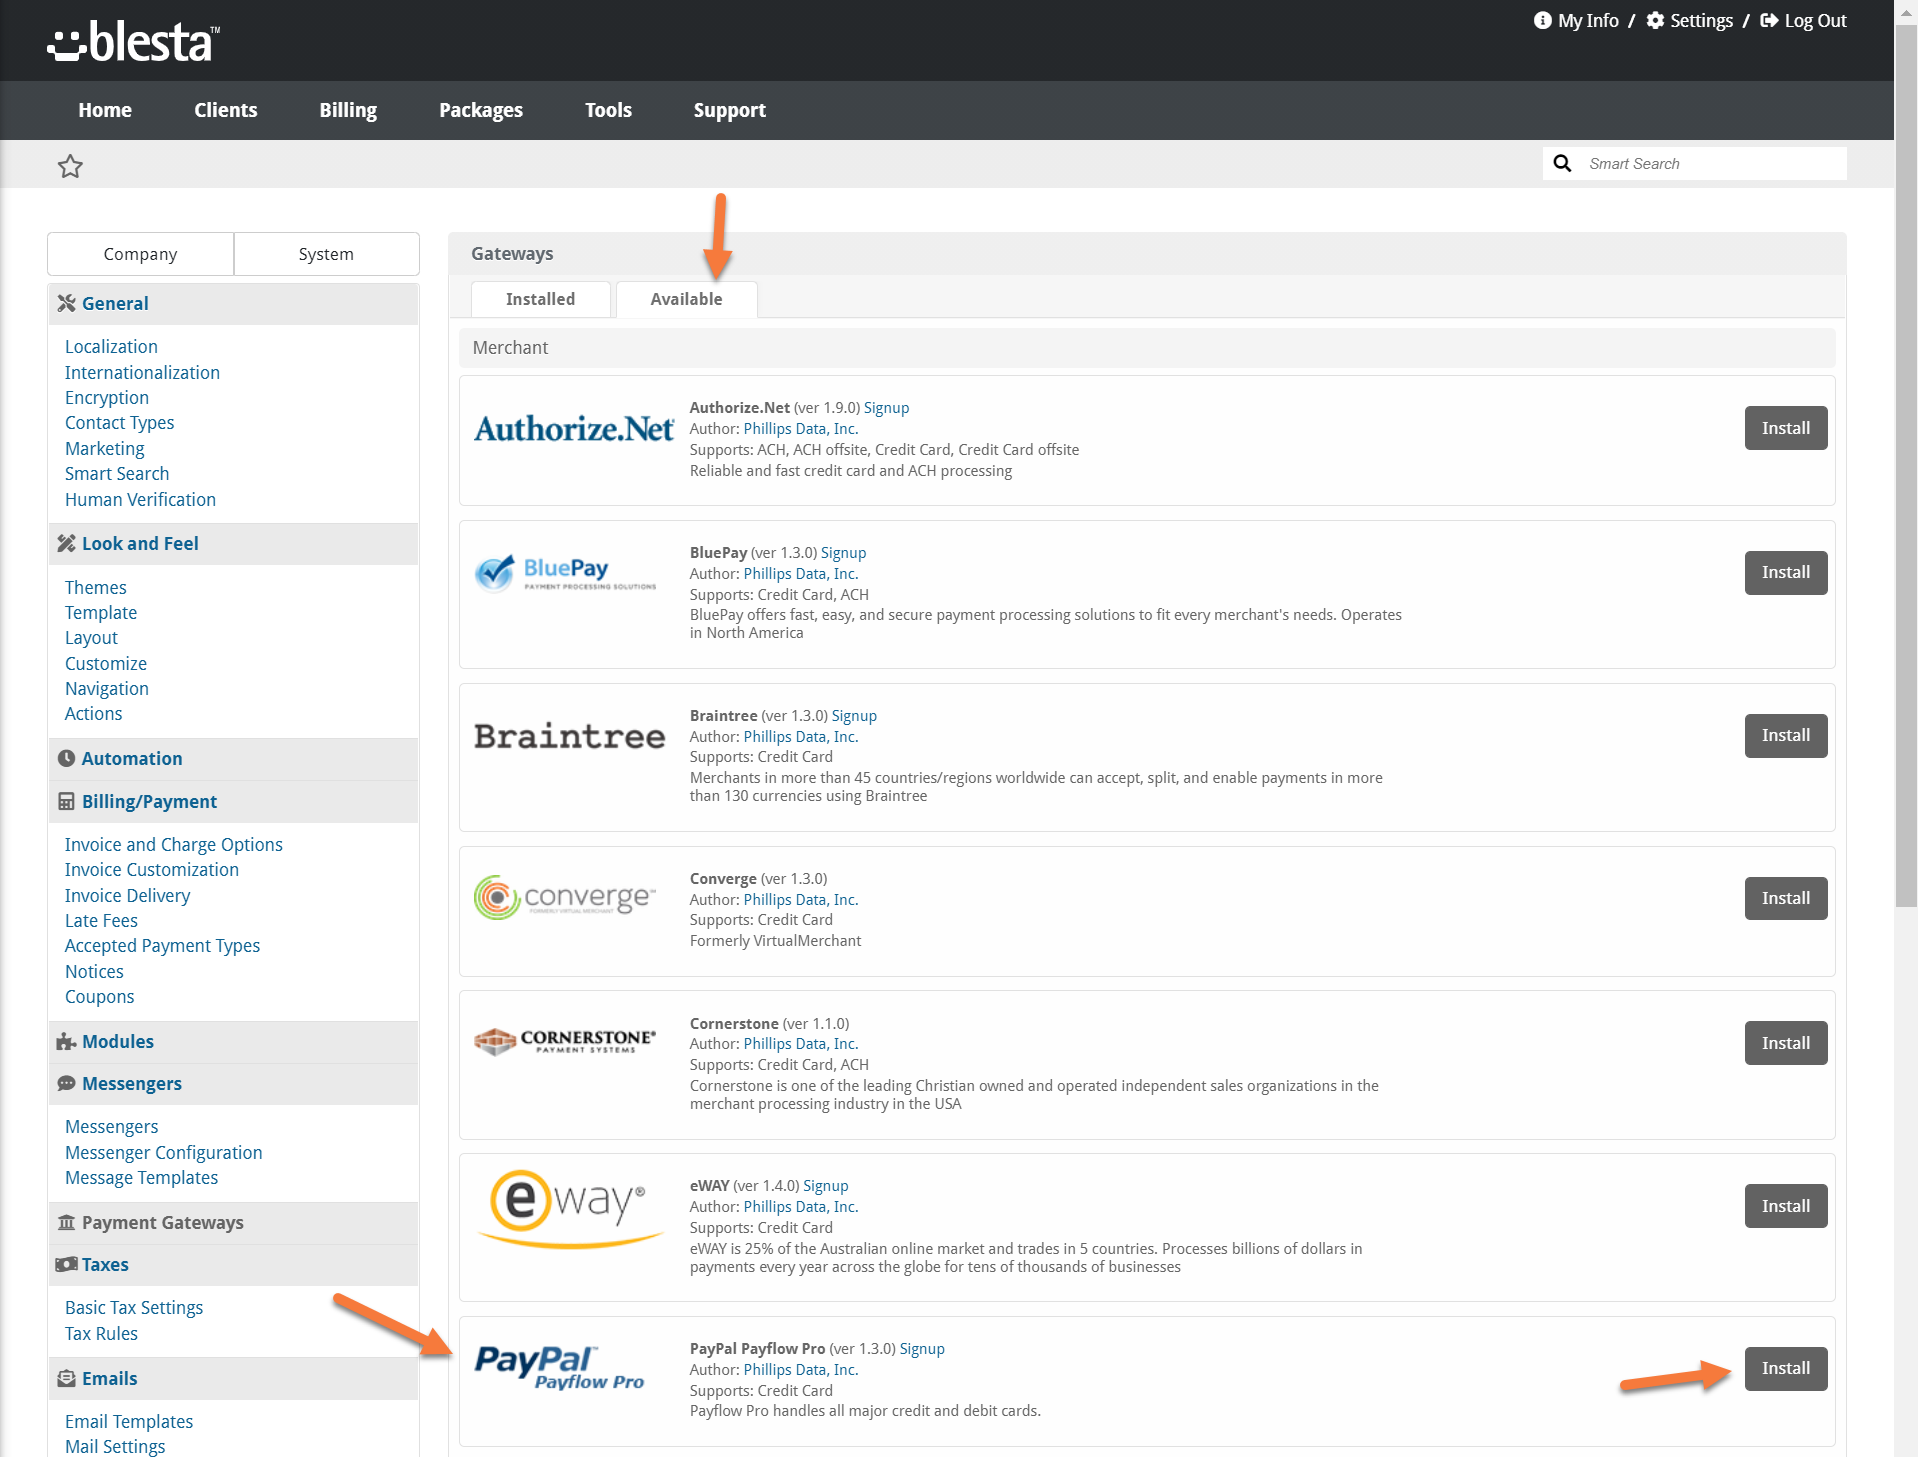
Step 4: Choose from the list of available payment gateways. Common payment gateways include:
- Authorize.net
- Braintree
- PayPal
- Stripe
- Skrill
- Square
For my store, I’m going to enable PayPal Payflow Pro to accept all major credit and debit cards.
Step 5: After clicking Install for PayPal Payflow Pro, you will be presented with a screen to enter your login credentials to your PayPal account as well as the option to accept currencies you want to accept on your store at payment.
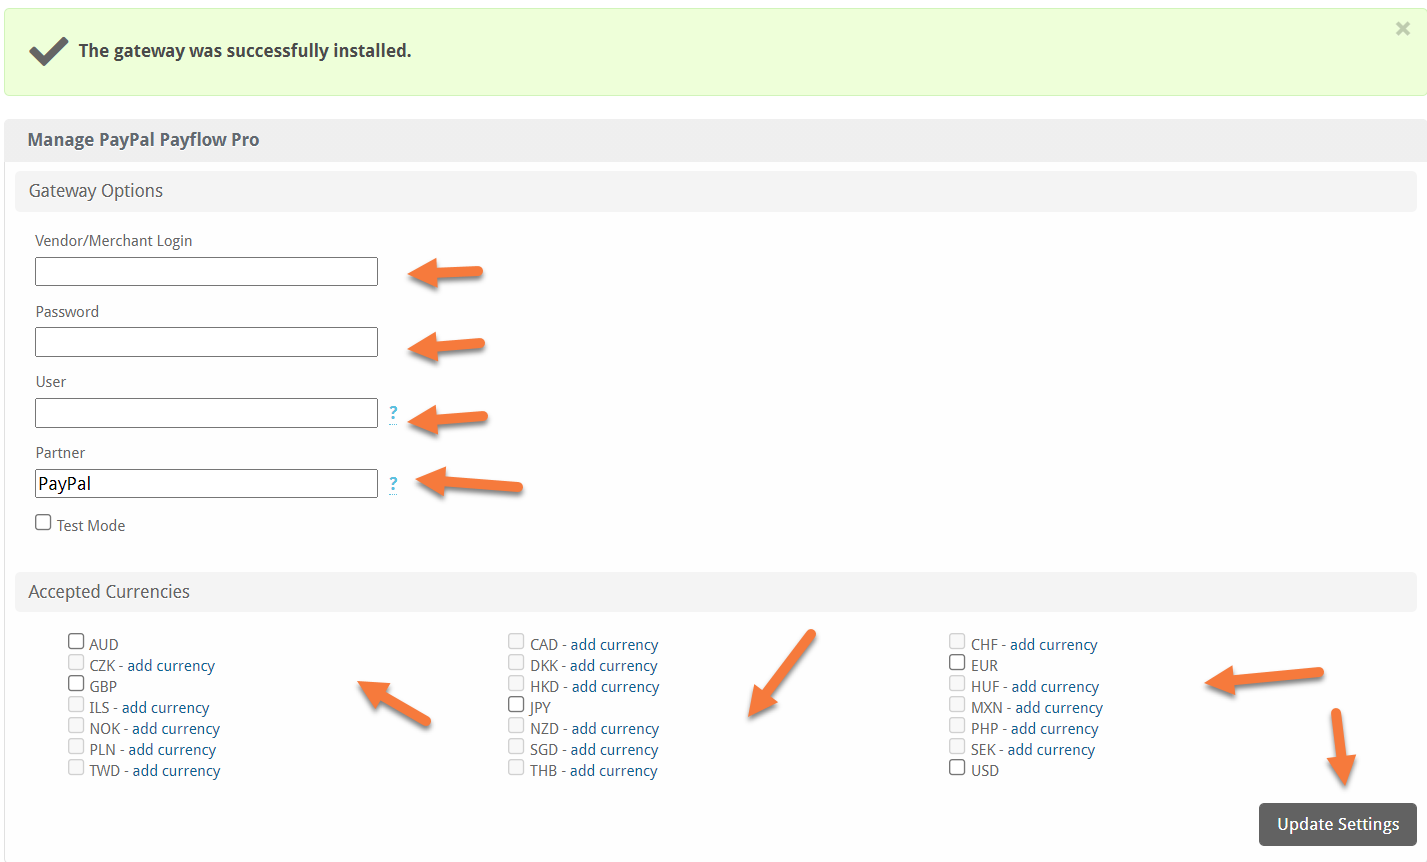
Enter your PayPal account information, then click Update settings.
You will be returned to the list of Payment Gateways where you will see the PayPal Payflow Pro module listed.
If you wish to add additional payment gateways, click the available tab and install additional gateways.
Congrats! Now you’ve added your first Payment Gateway and your Blesta shop is ready to take payments!
While we don’t have a tutorial on how to install non-merchant payment gateways in Blesta, you can refer to their documentation – https://docs.blesta.com/display/dev/Non-merchant+Gateways. Don’t forget that you can always reach out to their Support if you need further assistance. Hope it helps!
How about the way to install Non Merchant Payment Gateways in Blesta ?