Adding a team user in cPanel is a straightforward process that allows you to grant access to your cPanel account to other users, such as collaborators or team members. Follow these steps to add a team user using cPanel Team Manager :
1. Log in to your cPanel account
2. Go to the Preferences section and click on the Manage Team.

3. Create Team User: In the Manage Team interface, you’ll see an option to add a new user. Click on it to start the process.

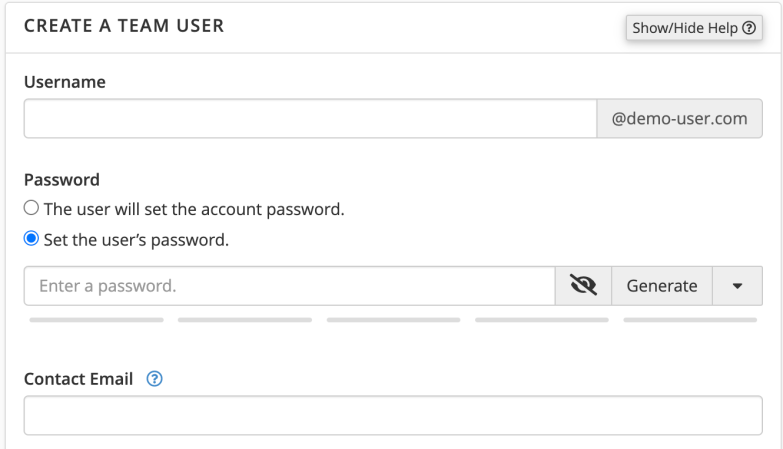
4. Fill in User Details: You’ll be prompted to provide details for the new team user. This includes:
Username: Choose a username for the new team user.
Email Address: Enter the email address associated with the new team user.
Password: Set a password for the new team user.
5. Assign Permissions(Roles): You can assign the appropriate permissions to the team user based on their role and responsibilities. You can choose from the following permission levels:
Administrator: Grants the team user complete control over your cPanel account.
Database: This role enables a team user to access tools and modify files related to database management for the team owner’s cPanel account, such as MySQL Manager.
Email: This role enables a team user to access tools and modify files related to email administration for the team owner’s cPanel account, such as email routing and mailing lists.
Web: This role enables a team user to access tools and modify files related to website functionality

6. Select the I have read and understood the security risk warning checkbox.
7. Save Changes: Once you’ve filled in the required details and selected the appropriate permissions, click on the “Create” button to add the new team user to your cPanel account.
That’s it! You’ve successfully added a team user to your cPanel account. The new team user can now log in using the provided credentials and access the specified features based on the permissions you’ve granted.