In this tutorial, you will learn how to install Let’s Encrypt SSL for one of your domains in a few clicks.
What is Let’s Encrypt?
Let’s Encrypt is a free, automated, and open certificate authority brought to you by the non-profit Internet Security Research Group (ISRG).
Let’s Encrypt SSL Install Requirements
1. The domain and its www subdomain should be pointed to your cPanel account’s IP address. Otherwise, the certificate cannot be verified and installed on your domain.
2. By default, when you initiate the installation of a Let’s Encrypt SSL on your primary domain, cPanel will include your parked domains as part of the SSL installation. The SSL installation will fail if you have a parked domain that is not pointed to your cPanel’s IP address. You should point these domains to your cPanel account or temporarily unpark them until the installation completes.
How to install Let’s Encrypt SSL on your domain
This tutorial assumes you’ve already logged in to cPanel.
1) Once you are logged in to cPanel, scroll down the page to the ‘SECURITY’ area. Then click on SSL/TLS Certificates icon.
2) While you are in the ‘Wizard‘ tab, the next step is to issue a new SSL certificate for the desired domain name.
Look up after the “Issue a certificate” section.
Select one or multiple domains/subdomains, then click ‘Continue‘ which will prompt you to the next step, where you should click on the ‘Let’s Encrypt Certificate‘ button.
It will take a few minutes for the SSL Certificate to be issued and installed.
If you see a green padlock next to the domain, it indicates that a valid SSL Certificate is already in place, preventing the issuance of another one.
3) Once you have installed the SSL Certificate, you should redirect visitors to the secure version of your website ( https:// ). Learn how to Redirect HTTP Requests to HTTPS
How to install a wildcard Let’s Encrypt SSL on your domain
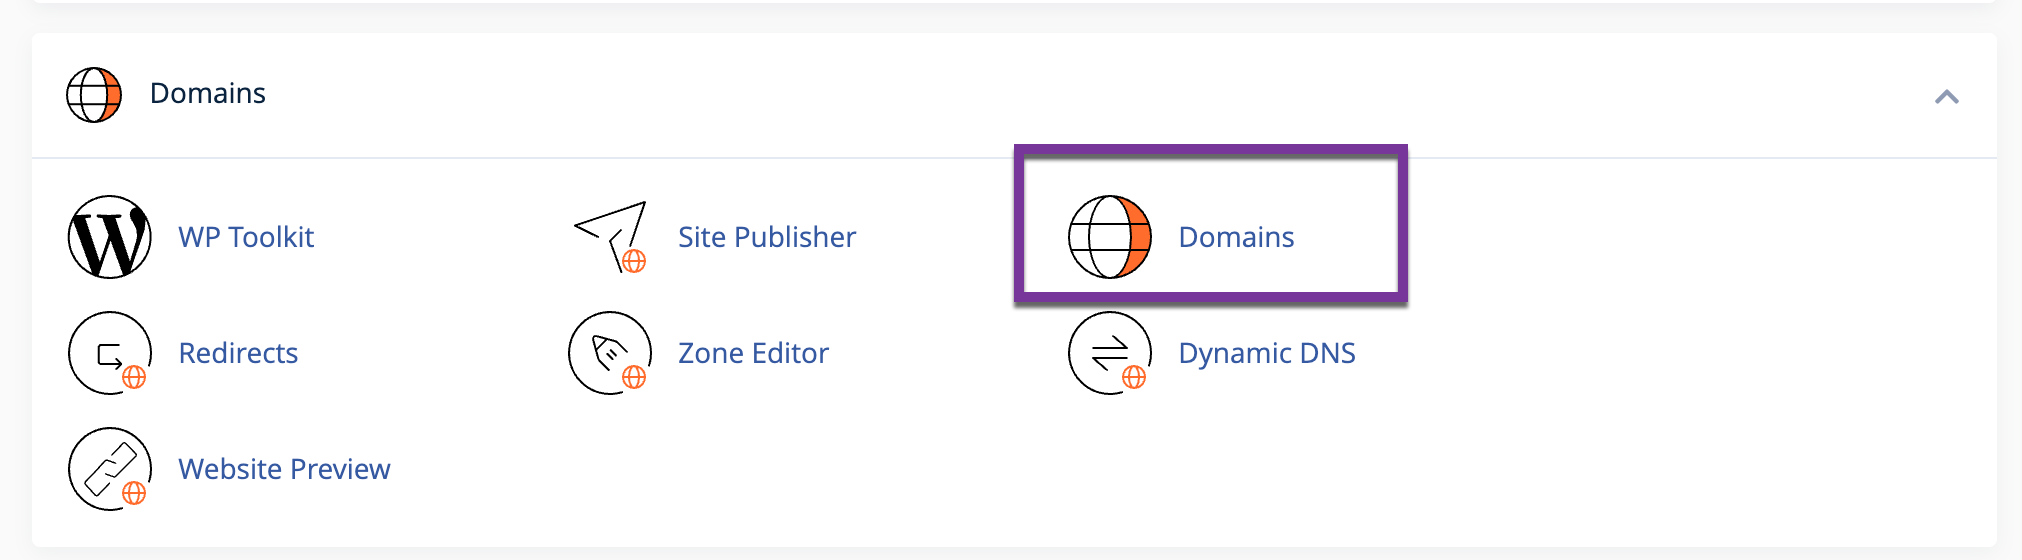
1) First you have to create a wildcard subdomain by going into cPanel -> Domains.
2) Create the subdomain by entering *.example.tld (replace example.tld with your domain name) in the domain box and clicking ‘Submit’.

3) Return to the main cPanel dashboard and scroll down to the ‘SECURITY‘ section. Click on the SSL/TLS Certificates icon.
2) While you are in the ‘Wizard‘ tab, the next step is to issue a new SSL certificate for the desired wildcard subdomain.
Look up after the “Issue a certificate” section.
Select one the wildcard subdomain, then click ‘Continue‘ which will prompt you to the next step, where you should click on the ‘Let’s Encrypt Certificate‘ button.
It will take a few minutes for the SSL Certificate to be issued and installed.
If you see a green padlock next to the domain, it indicates that a valid SSL Certificate is already in place, preventing the issuance of another one.
3) Once you have installed the SSL Certificate, you should redirect visitors to the secure version of your website ( https:// ). Learn how to Redirect HTTP Requests to HTTPS
Great article – this was helpful working in a reseller account where the domain wasn’t pointed prior to WordPress installation and then I had to manually install the SSL. It took a few steps, but the process was simple. Thanks!
Hey there Laura,
Thanks for your feedback. I have updated the article to reference the tutorial on redirecting traffic over HTTPS.
This article was helpful in installing the certificate but I struggled afterwards as my domain still wasn’t using the SSL certificate. I eventually found that I had to switch on ‘Force HTTPS Redirect’ in cPanel>Domains for it to take effect. It would be helpful to state this or provide a link to another article explaining this last step.