In this tutorial, we will show you how to easily register private nameservers for a domain name registered with Namecheap.
What are Private Nameservers?
Private nameservers allow you to set up nameservers for your domain of choice. Let’s say you are operating a web hosting business and don’t want people to Google our nameservers and find out you resell hosting thru us. Using private nameservers, you can avoid just this problem.
For example, having your own nameservers also gives you a more professional appearance than just plain nameservers. ns1.bobshostingshack.com is pretty professional compared to our default nameservers. 😏
How to Setup Private Nameservers at Namecheap
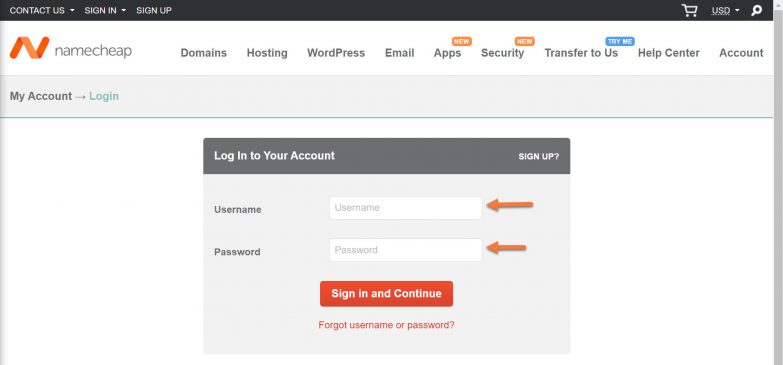
1) Login in to your Namecheap account.
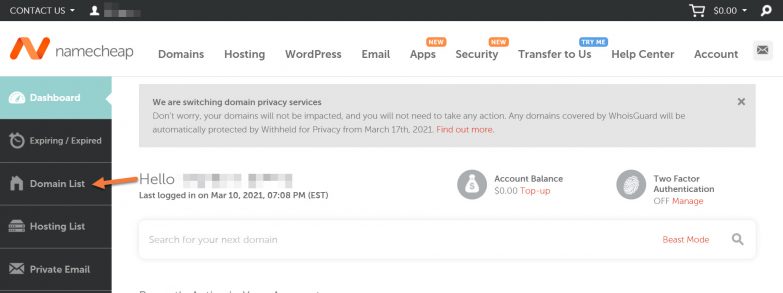
2) On your Namecheap Dashboard, look for the menu on the left and click Domains List.
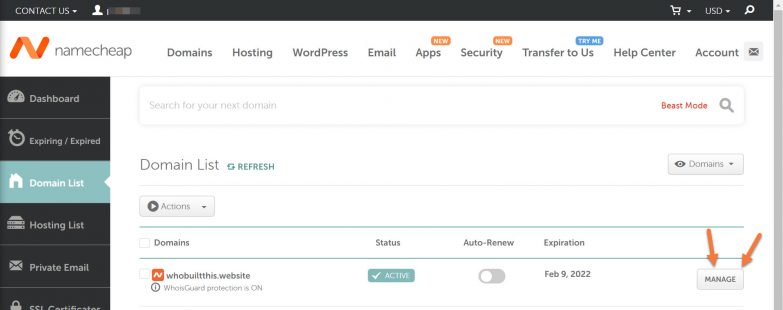
3) In your Domains List, find the domain for which you want to create private nameservers, then click the Manage button to the right of the domain list.
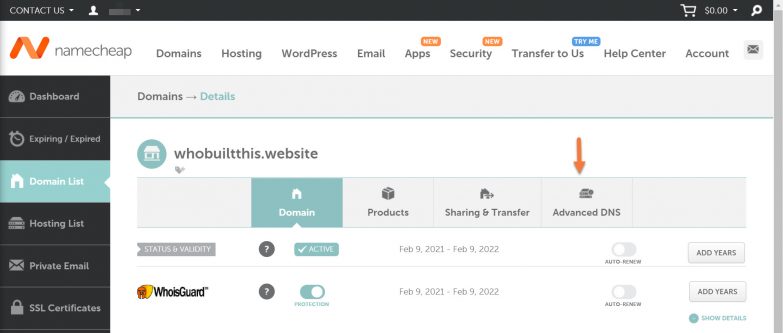
4) On the Domain Details page, look for Advanced DNS in the menu of options and click it to open that section.
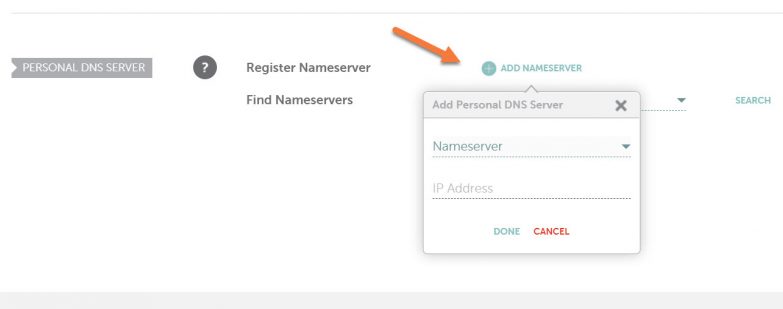
5) Look for the Personal DNS Server option at the bottom and click + Add Nameserver to open the add nameserver modal:
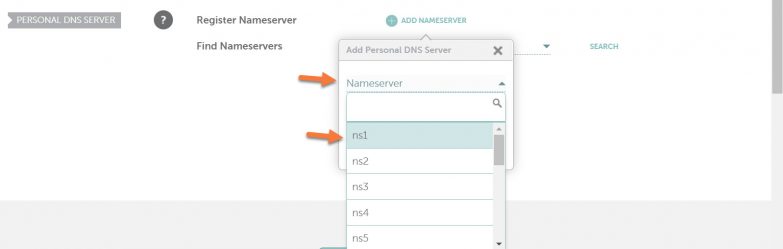
Click into the Nameserver drop-down menu to open the list of options. For the first one, select ns1.
In the IP address field, enter our primary nameserver IP address: 104.236.38.47.
Your settings should look similar to the image below:
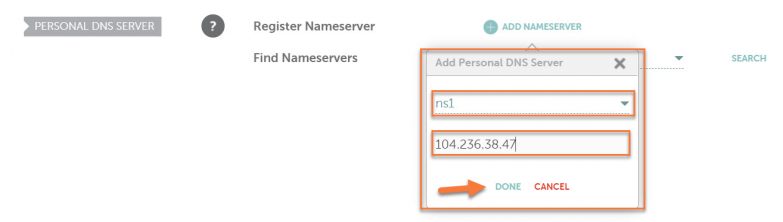
Click Done to save this first private nameserver.
Looking for a Namecheap alternative? 👀 Join the growing club of happy customers who made the switch to better, faster reseller hosting!
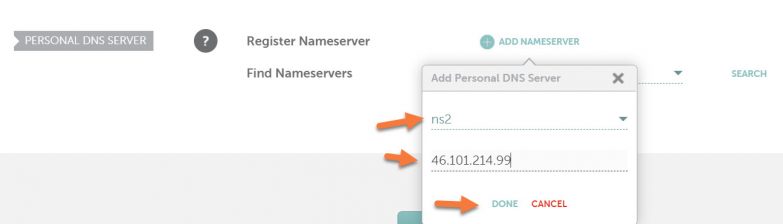
To register your second private nameserver, click the + Add Nameserver button again. In the drop-down menu, click ns2. Then enter the IP address for our secondary nameserver: 46.101.214.99.
The modal should look like this before the nameserver is saved:
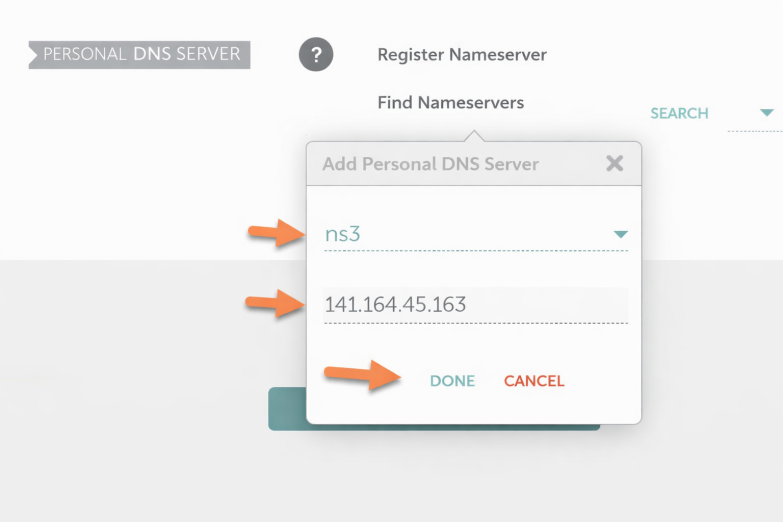
To register your third private nameserver, click the + Add Nameserver button once more. In the drop-down menu, click ns3. Then enter the IP address for our third nameserver: 141.164.45.163.
The modal should look like this before the nameserver is saved:
Once you’ve registered your nameservers, please do not forget to create the corresponding A records for them in your domain name zone file within cPanel.
That’s a wrap! Now you know how to Register Private Nameservers With Namecheap.