It this tutorial we will show you the steps on how to easily register private nameservers for a domain name registered with GoDaddy.
What are Private Nameservers?
Private nameservers allow you to setup nameservers for your own domain of choice. Let’s say you are operating a web hosting business and don’t want people to Google our nameservers and find out you really resell hosting thru us. Using private nameservers, you can avoid just this problem.
Having your own nameservers also gives you a more professional appearance than just plain nameservers, for example. ns1.bobshostingshack.com is pretty professional compared to our default nameservers. 😏
How to Setup Private Nameservers at GoDaddy
1) Login in to your GoDaddy account.

2) Beneath All Products and Services, look for your domain and click the DNS option.

3) On the DNS Management page, under the Advanced Features section, click Host names.

4) If there aren’t any hostnames registered, click ADD button

Next, you will be able to register your private nameservers as follows:
- For “Host Name:” you’ll input “ns1” (no quotes) in the box.
- For “Host IP 1:” you’ll input our primary nameserver IP address: 104.236.38.47
Click “Save” – Your first nameserver has been registered. Your NS1 configuration should look like the image below:

- For “Host Name:” you’ll input “ns2” (no quotes) in the box.
- For “Host IP 2:” you’ll input our secondary nameserver IP address: 46.101.214.99
Click “Save” – Your secondary nameserver has been registered. Your NS2 configuration should look like the image below.

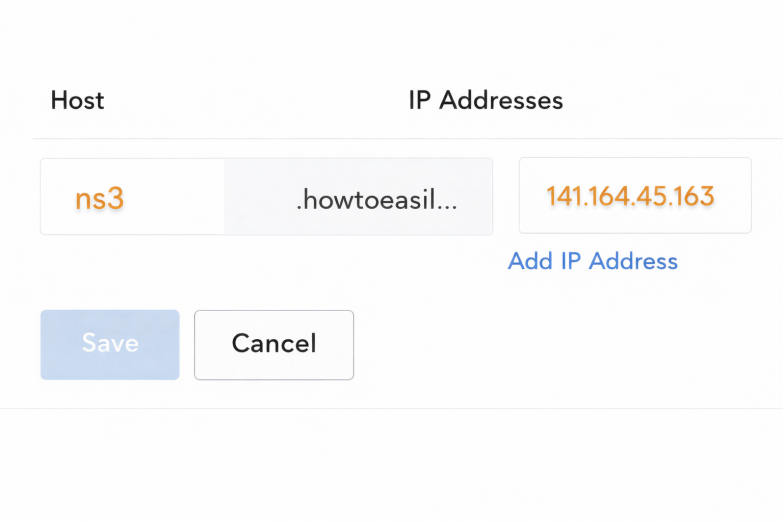
- For “Host Name:” you’ll input “ns3” (no quotes) in the box.
- For “Host IP 3:” you’ll input our 3rd nameserver IP address: 141.164.45.163
Click “Save” – Your 3rd nameserver has been registered. Your NS3 configuration should look like the image below:
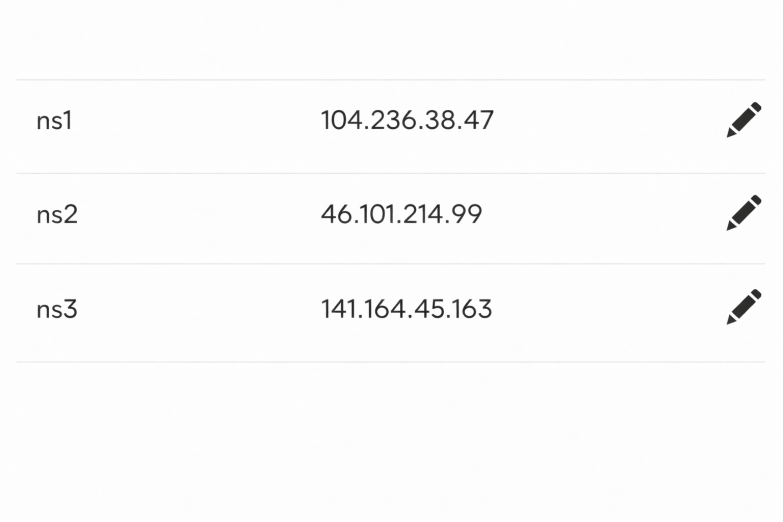
Once you’ve done registering the nameservers, you should see the records as in the following screenshot:
That’s a wrap! Now you know how to Register Private Nameservers With GoDaddy.