QUIC.Cloud CDN is an intelligent cache-based CDN that runs on top of the LiteSpeed Cache plugin in WordPress.
It’s the only CDN that can accurately cache dynamic pages or pages which feature content that quickly changes. LiteSpeed Cache for WordPress knows when it needs to automatically purge and sync data in the CDN, giving it the upper hand over other providers, like BunnyCDN and Cloudflare.
The QUIC.Cloud integration also has a few other super handy features, including:
- Image Optimization
- Critical CSS support
- and LQIP (low-quality image placeholder) support
This Knowledge Base article will cover how to set up QUIC.Cloud on WordPress. Follow the steps in this article or watch out our video tutorial.
How to Setup QUIC.cloud on WordPress
Prerequisites
This guide assumes the following:
- You have control over your domain’s DNS configuration.
- You are using LiteSpeed as the web server with your web host.
- You have installed and configured a WordPress Website.
- You have installed and configured the LiteSpeed Cache Plugin for WordPress.
Part 1: Pairing WordPress & QUIC.Cloud
Because of QUIC.Cloud is integrated into the LiteSpeed Cache Plugin for WordPress, you’ll need to pair your WordPress site with your QUIC.Cloud account. Don’t worry if you don’t have a QUIC.Cloud account right now, you’ll make one during these steps.
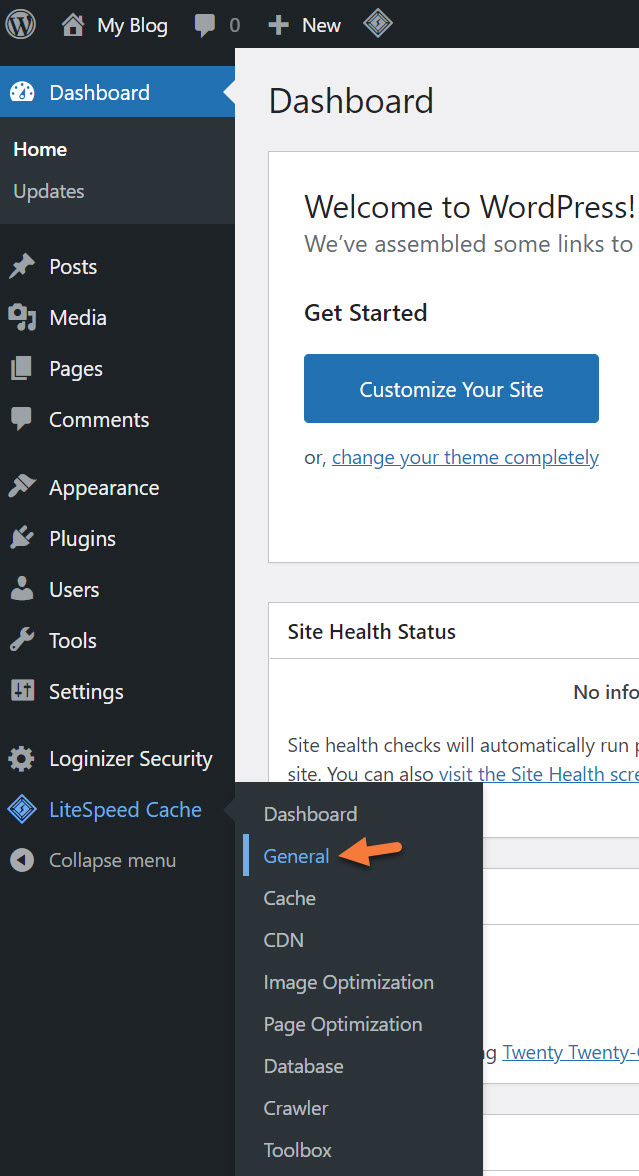
Step 1: Open your /wp-admin and open the “General” section of the LiteSpeed Cache plugin.
Step 2: Before you can pair your WordPress site with a QUIC.Cloud account, you need a Domain Key. To request one, click the button called “Request Domain Key”.
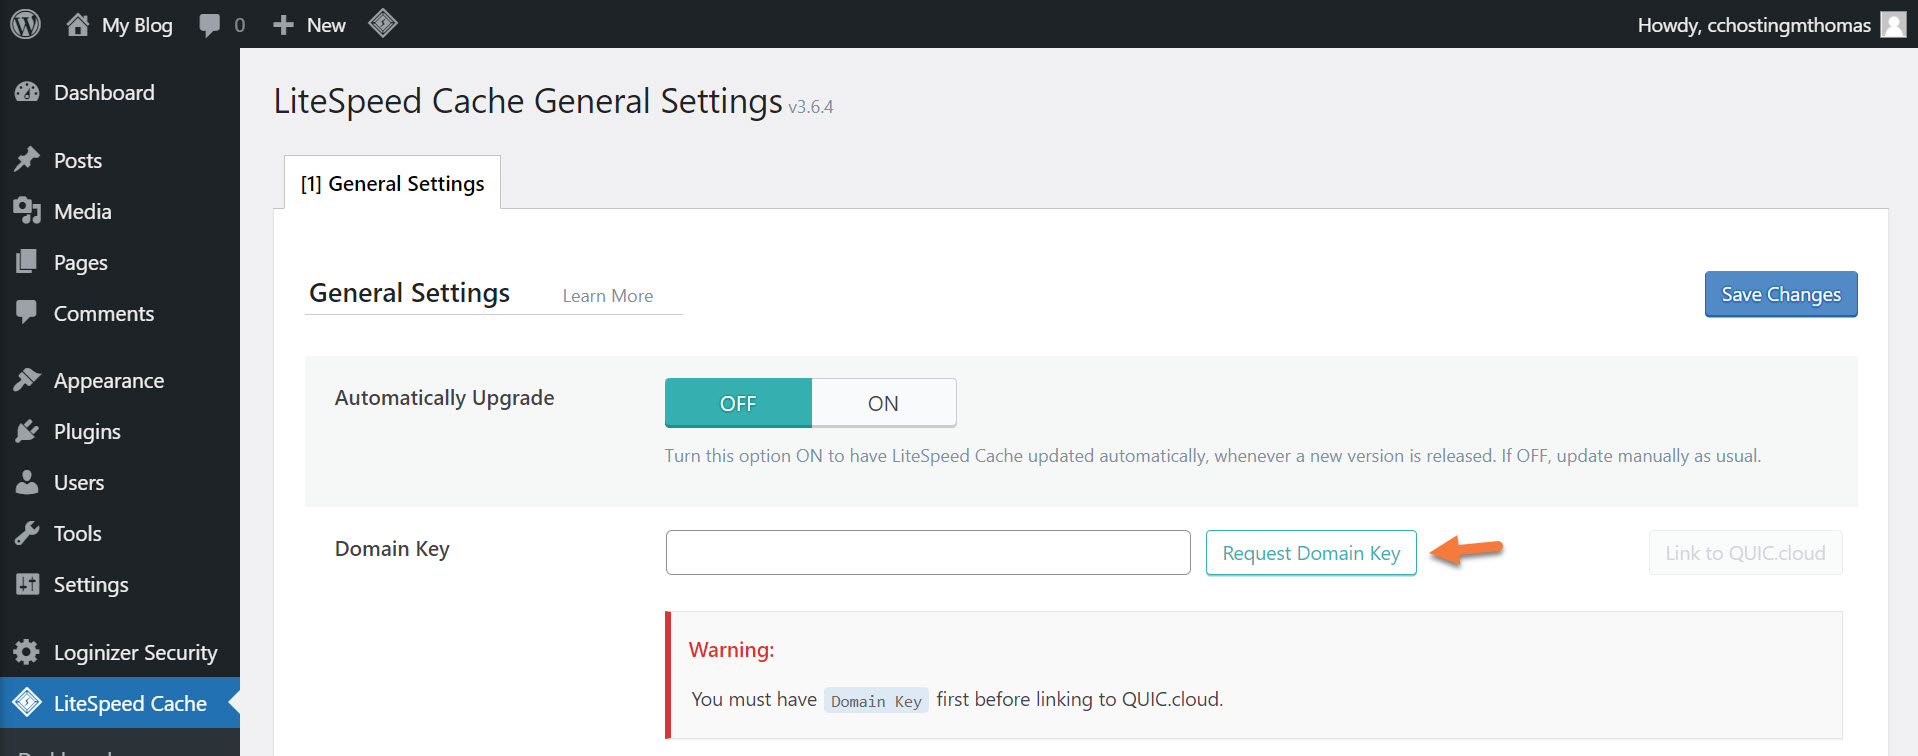
After clicking the Request Domain Key button, you will see this notice:

You’ll need to wait a minute or two, then refresh the page. After the key is issued, you will see a congratulatory notice at the top of the page and you’ll see a bunch of *** in the key field.
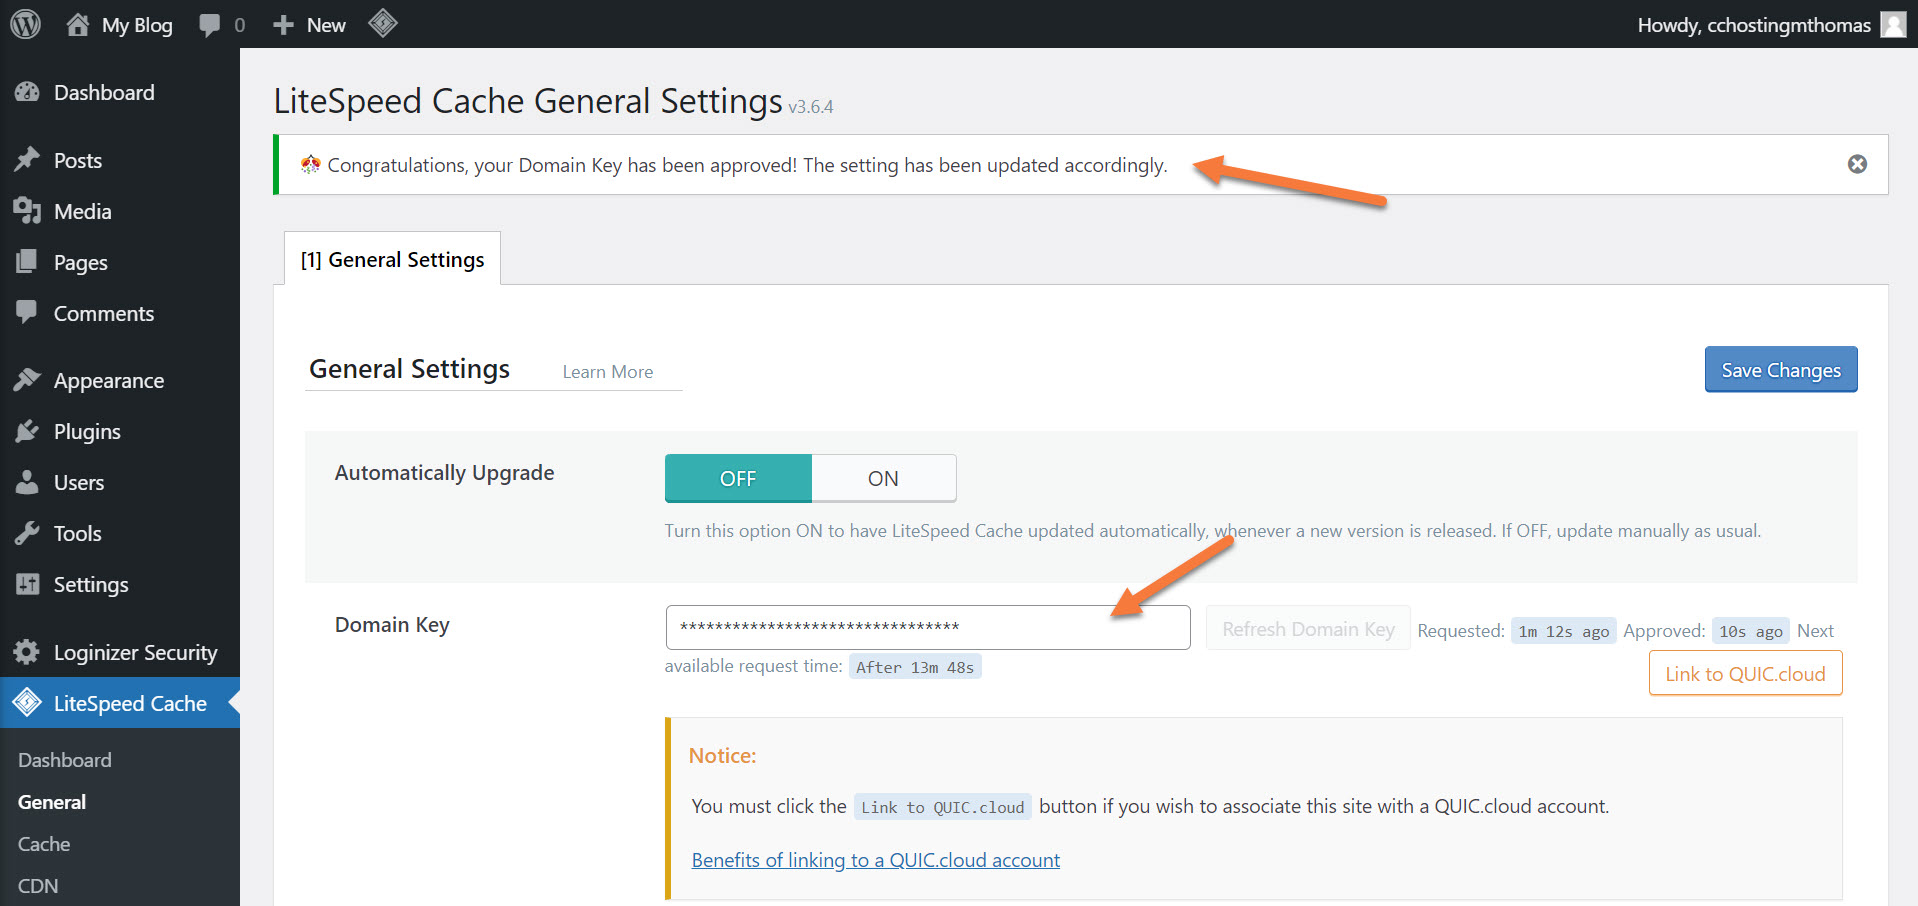
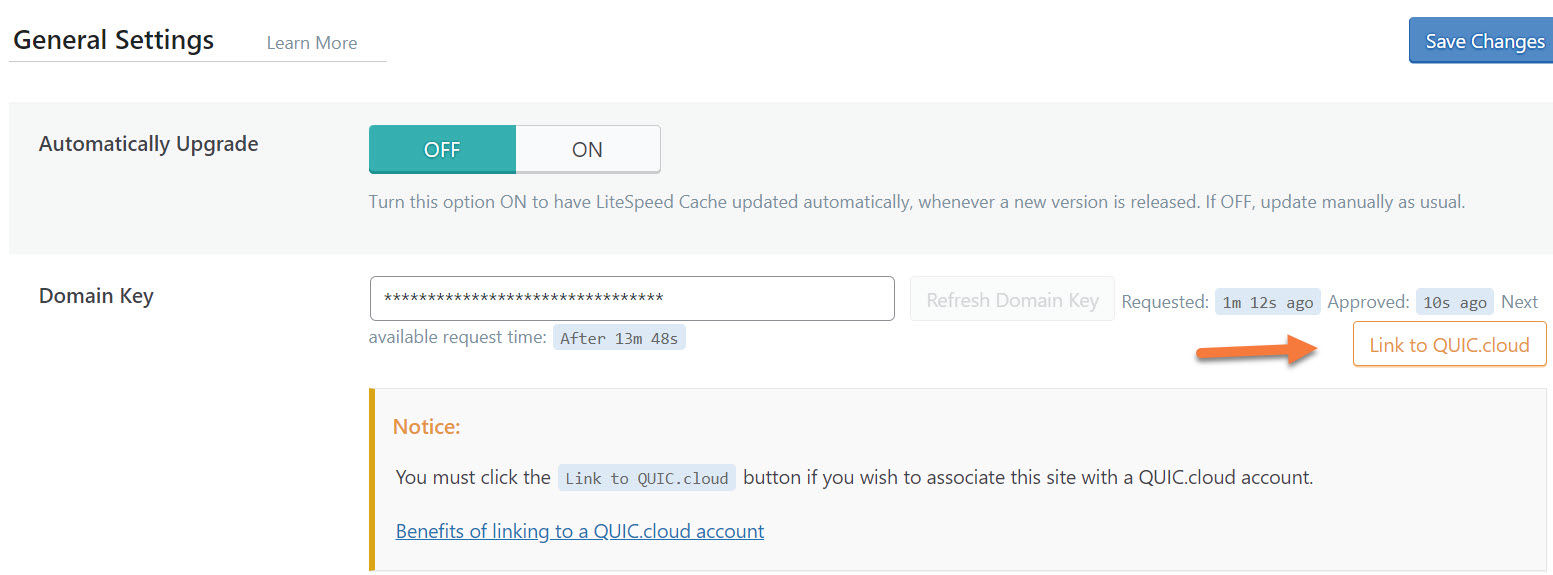
To associate your site with a QUIC.Cloud account, click the Link to QUIC.Cloud button.
Step 3: After clicking the Link to QUIC.Cloud button, a new tab will open and you’ll be prompted to log in or sign up for a QUIC.Cloud account.
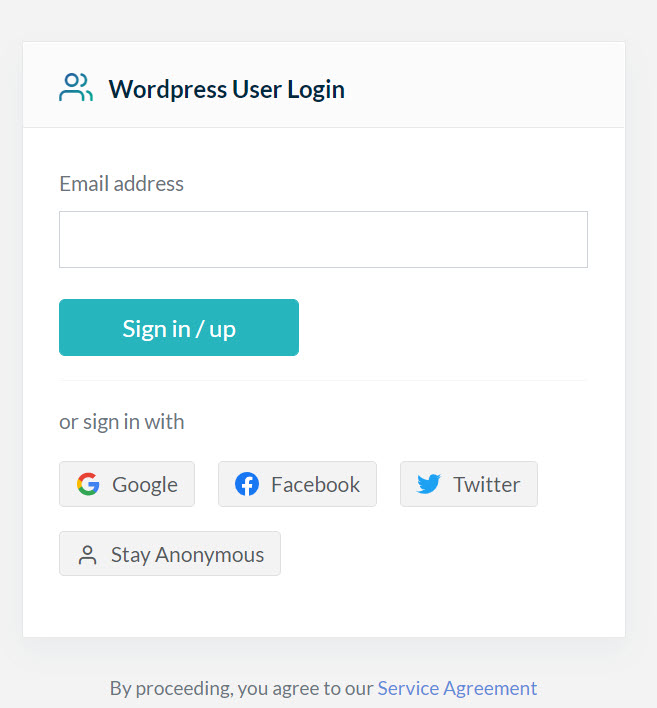
To sign up, just enter your email address and click the Sign in/up Button to proceed.
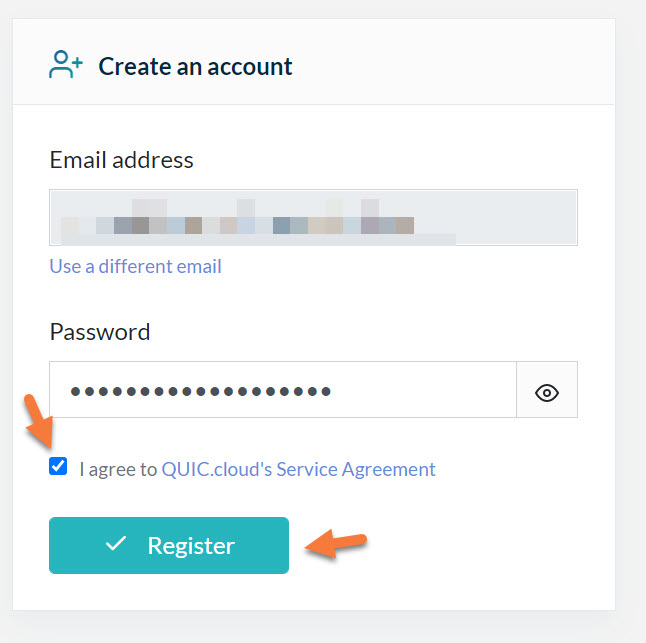
You will need to enter a password and agree with their Service Agreement, then click Register to finish.
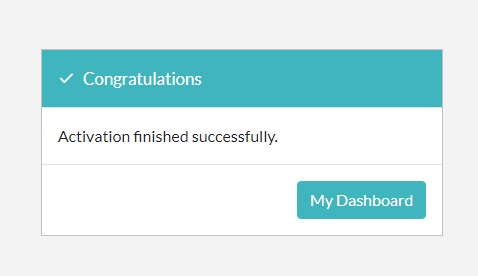
Their website will send you a Validation Email to the email address you gave during sign-up. Locate this email message, then click the link in the message to confirm your account.
After your account is confirmed, you’ll see a message stating activation has finished successfully with a button to return to your WordPress Dashboard.
Once you return to your WordPress Dashboard, you’ll see a button that says Visit My Dashboard on QUIC.Cloud.
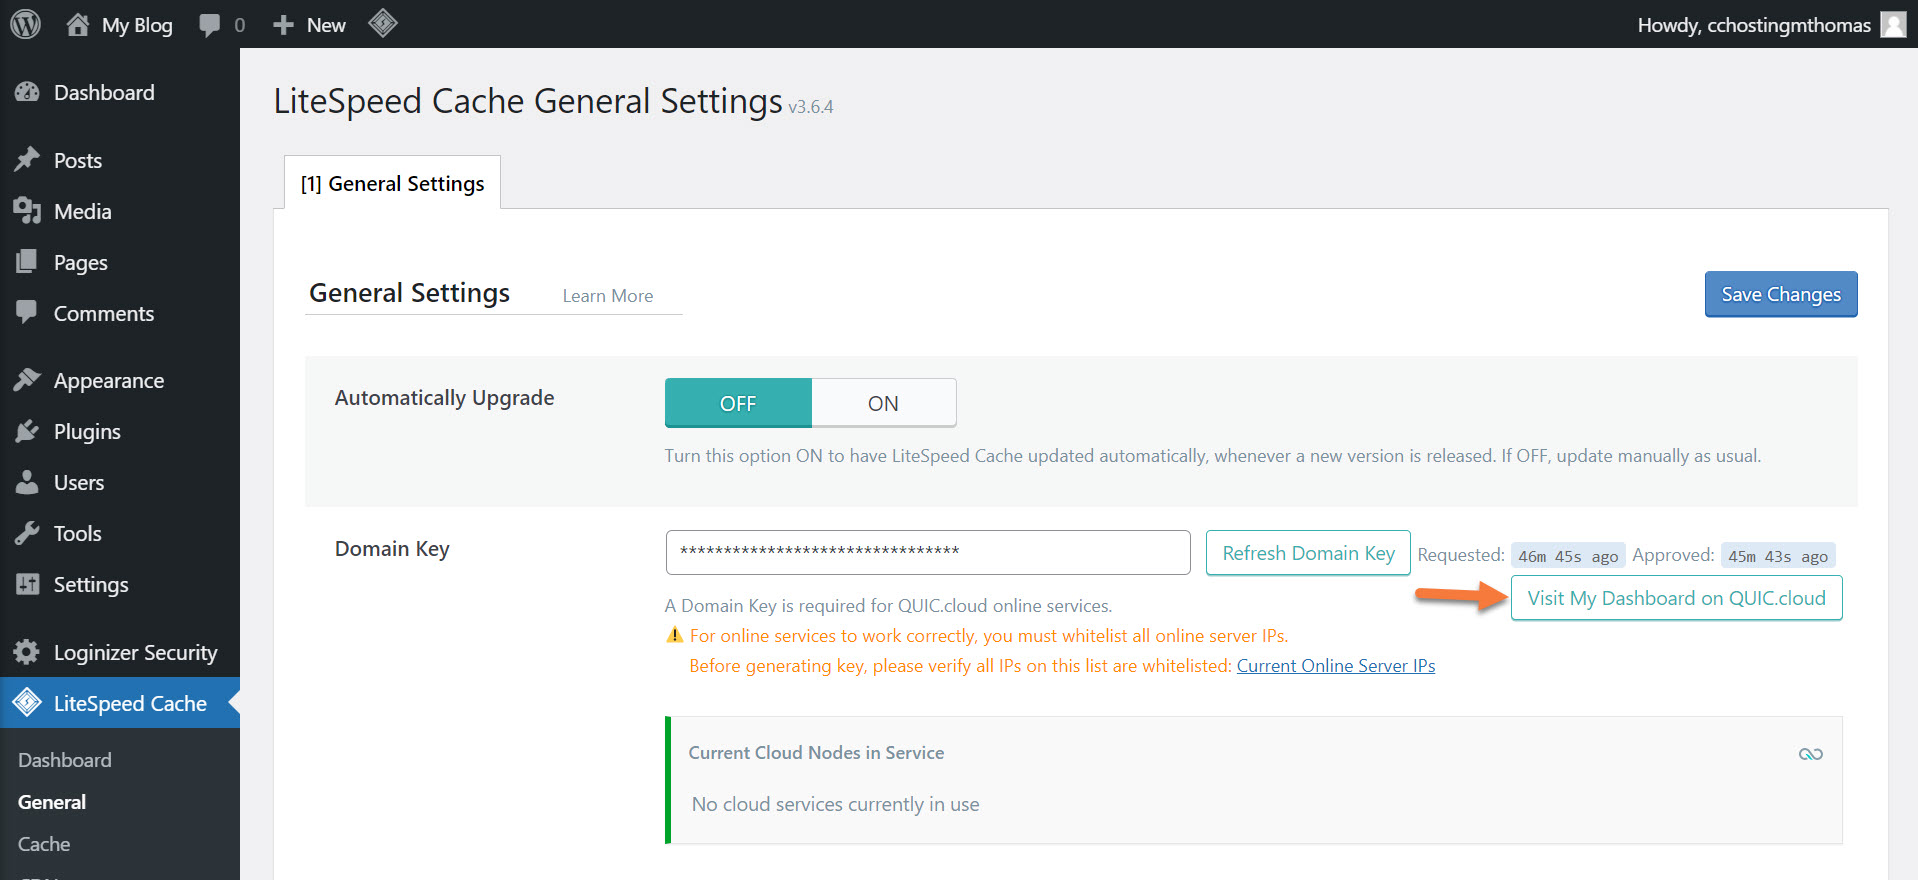
This means you’ve successfully paired your WordPress site with your QUIC.Cloud account! Congratulations!
Exciting News: Introducing Our fastest WordPress Hosting stack 🚀 Ready for speed? Try it for just $1!
Part 2: Configuring the CDN
Before a domain can use QUIC.Cloud’s CDN, the DNS for that domain must be properly set up.
How to configure QUIC.Cloud CDN using their Nameservers
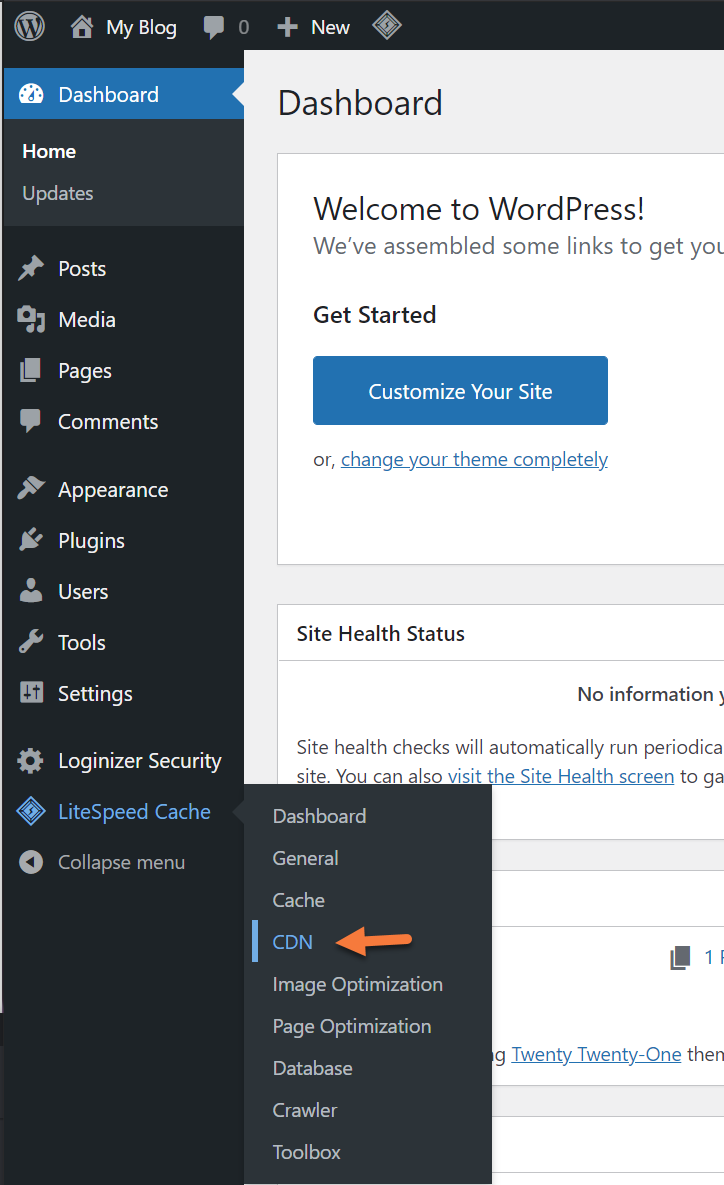
Step 1: Navigate to the CDN Section of the LiteSpeed Cache Plugin.
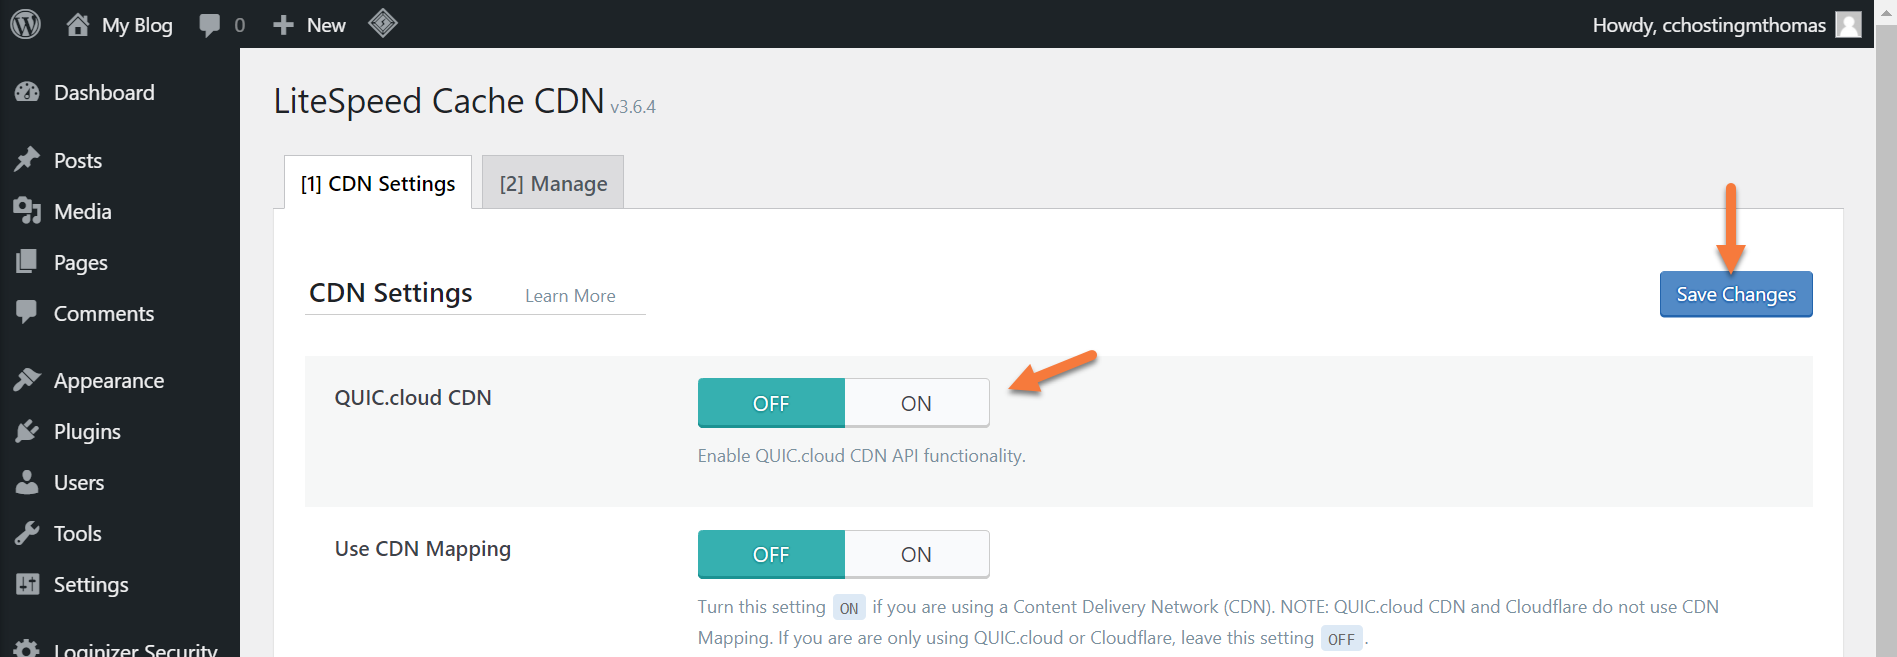
Once the CDN page loads, look for the QUIC.Cloud CDN option, and click the On setting to enable it. Then click the blue Save Changes button.
Step 2: Click here to open your QUIC.Cloud Dashboard. Once it’s open, you’ll be presented with a list of the domains you’ve linked to your QUIC.Cloud account.
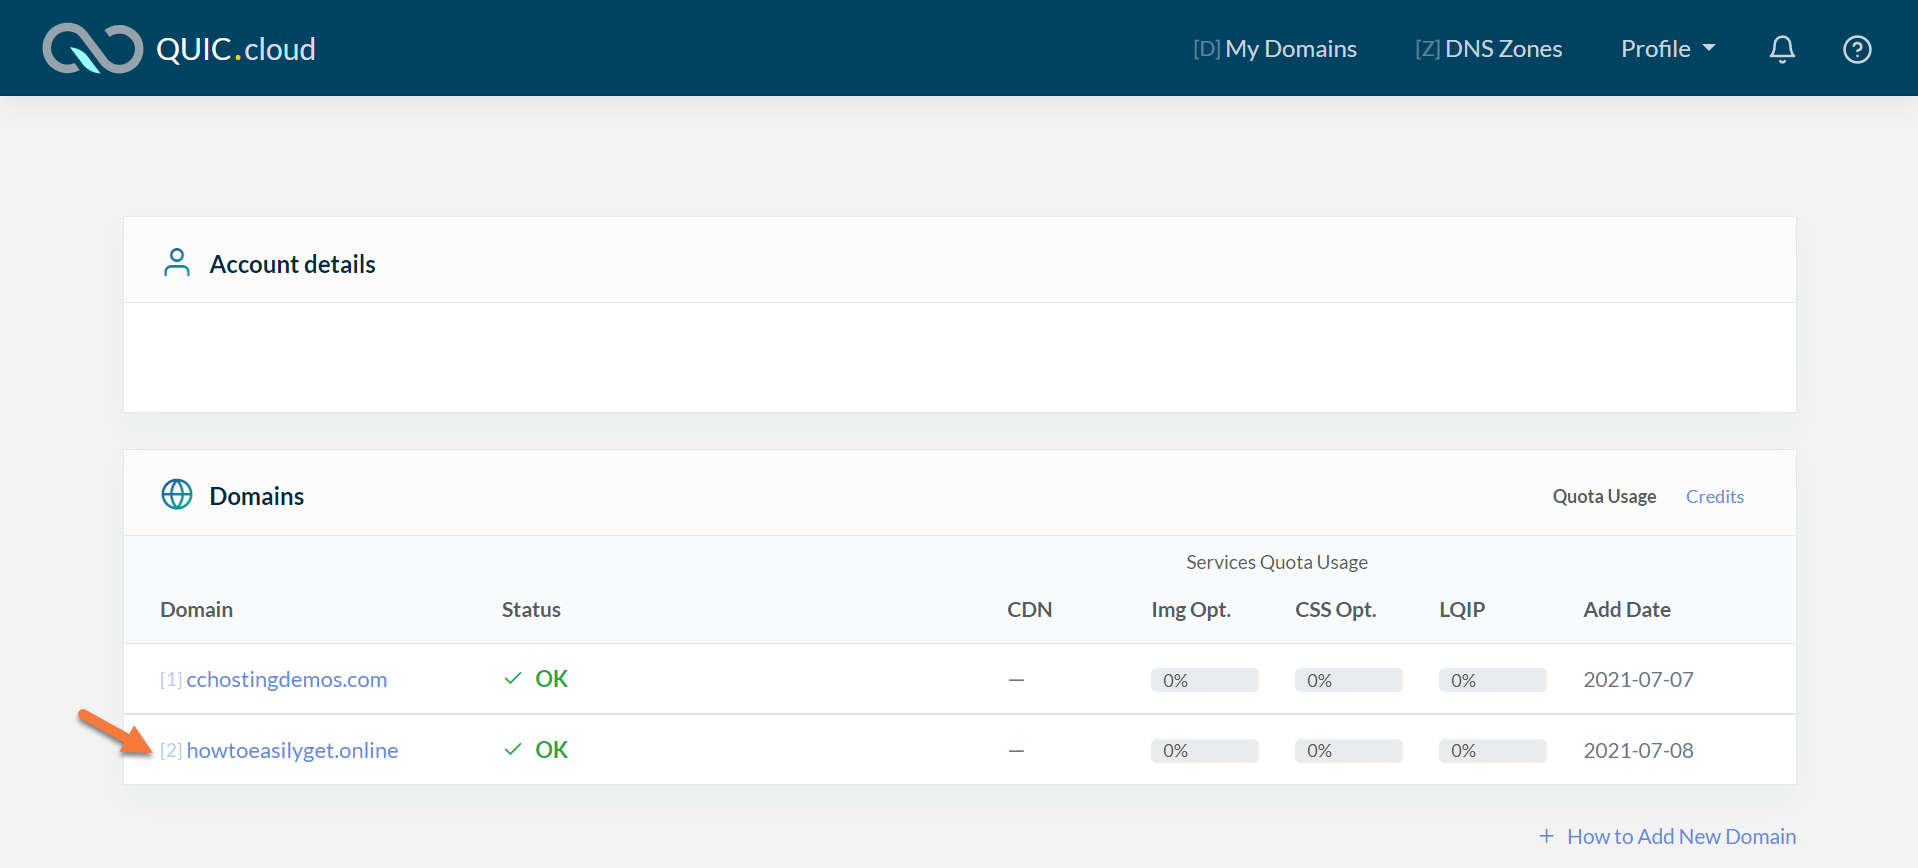
Click on the domain for which you want to set up the CDN.
The list of Services for this domain will appear.
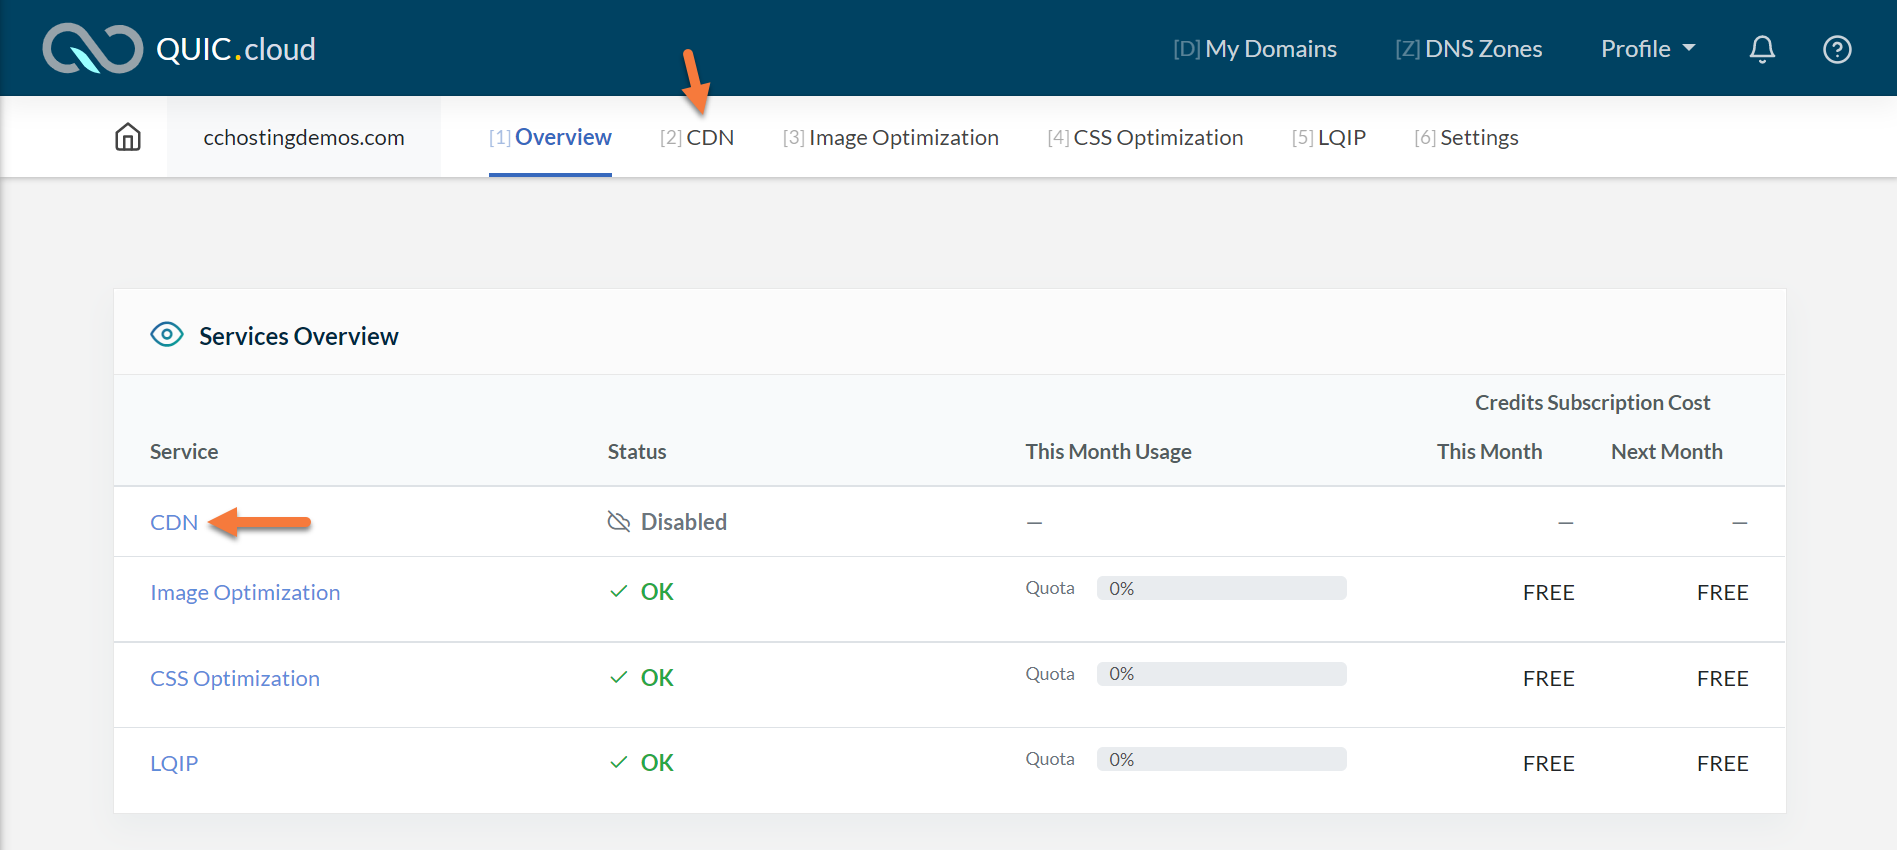
Click CDN either at the top or in the list of services to open the CDN area of the Dashboard.
The CDN tool will open.
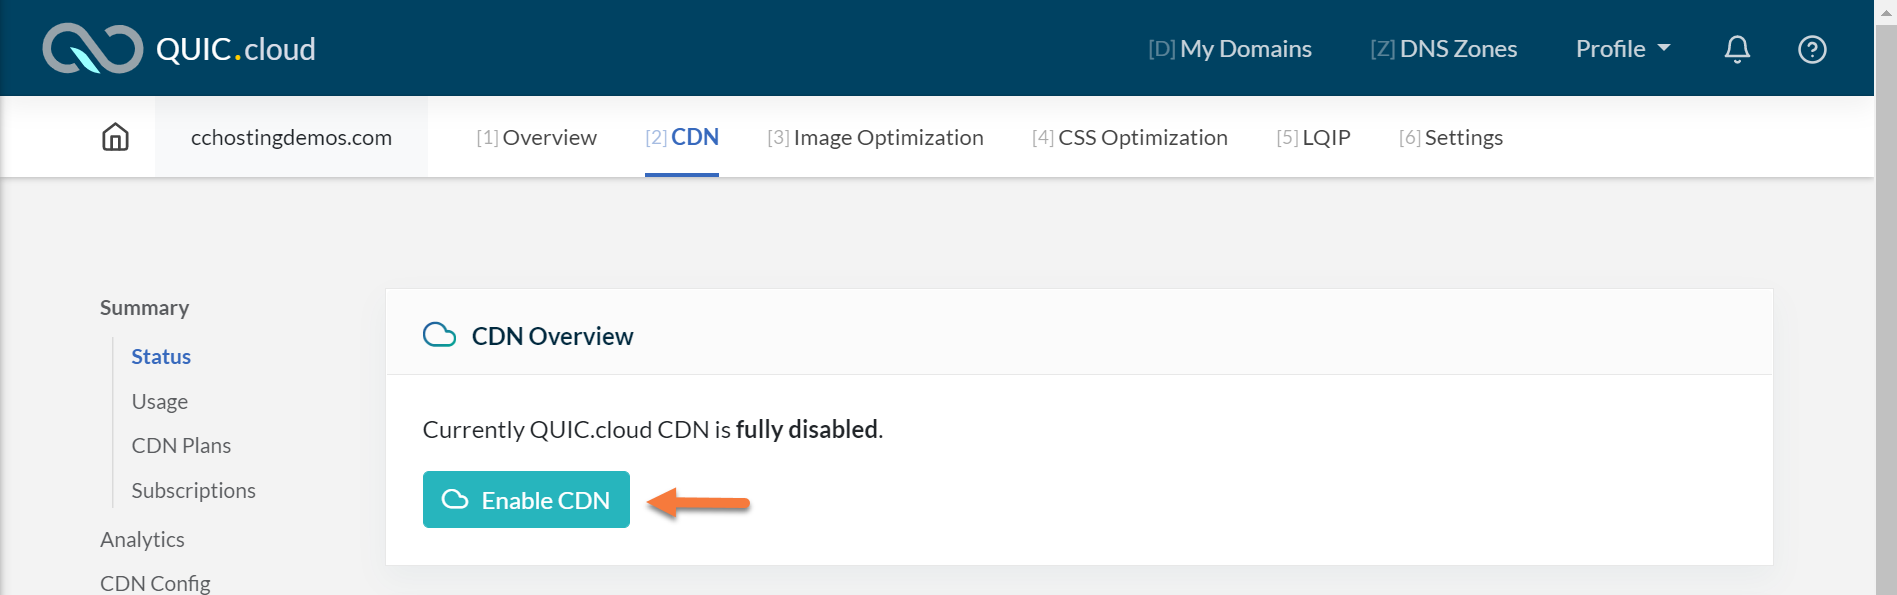
Click the button titled Enable CDN to turn the CDN feature on.
Step 3: You will be presented with a list of 3 options:
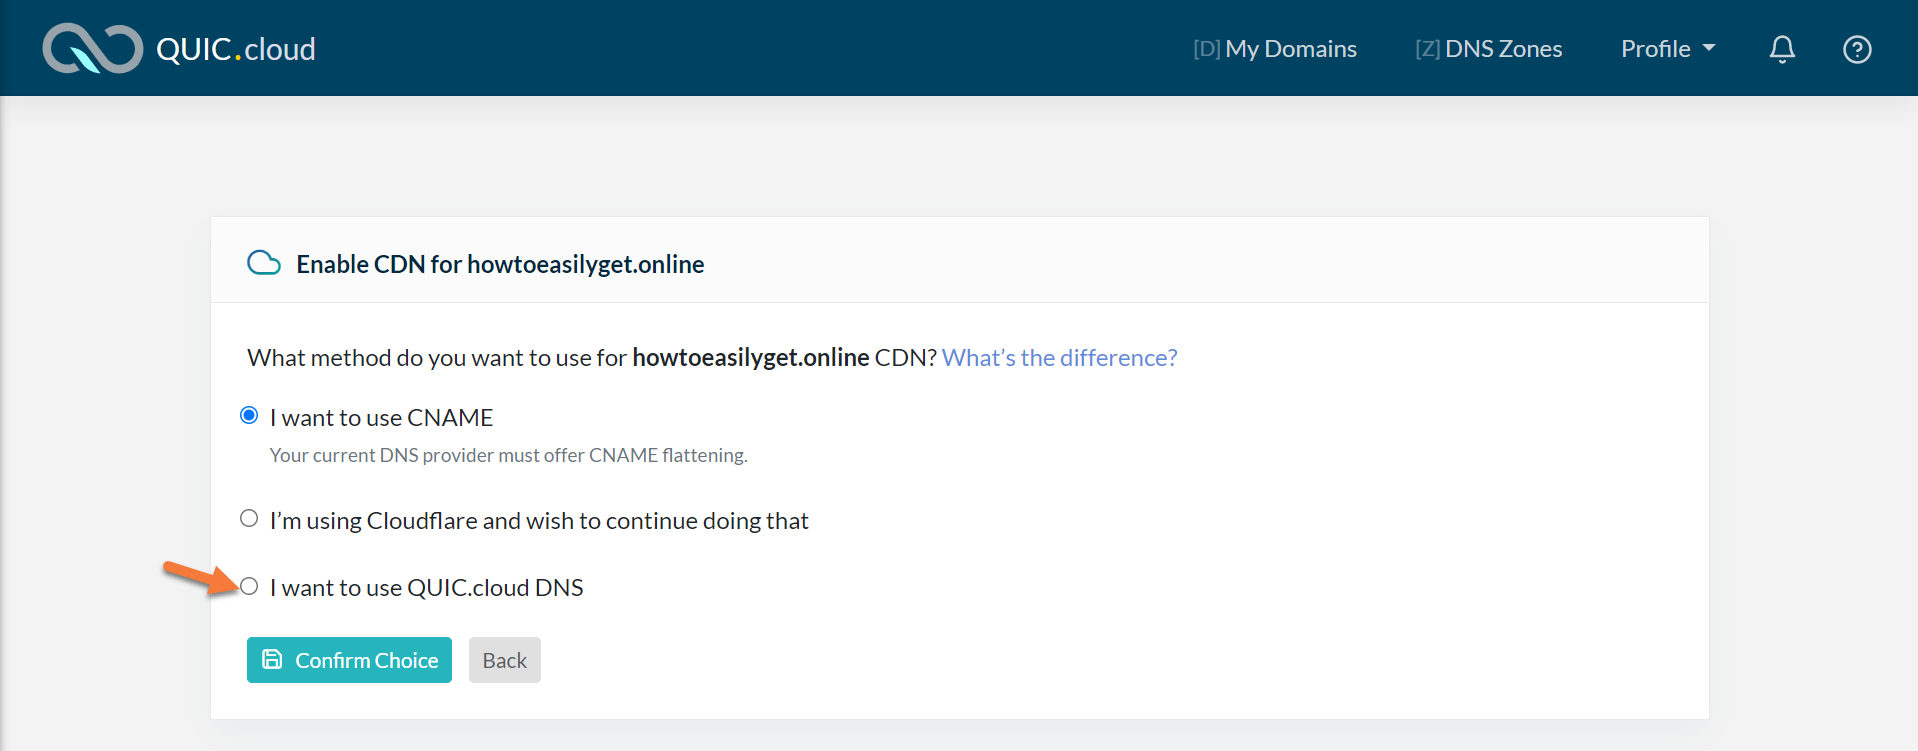 Choose the 3rd option – “I want to use QUIC.Cloud DNS”. Then click the Confirm Choice button.
You will see the QUIC.Cloud tool scans your DNS records.
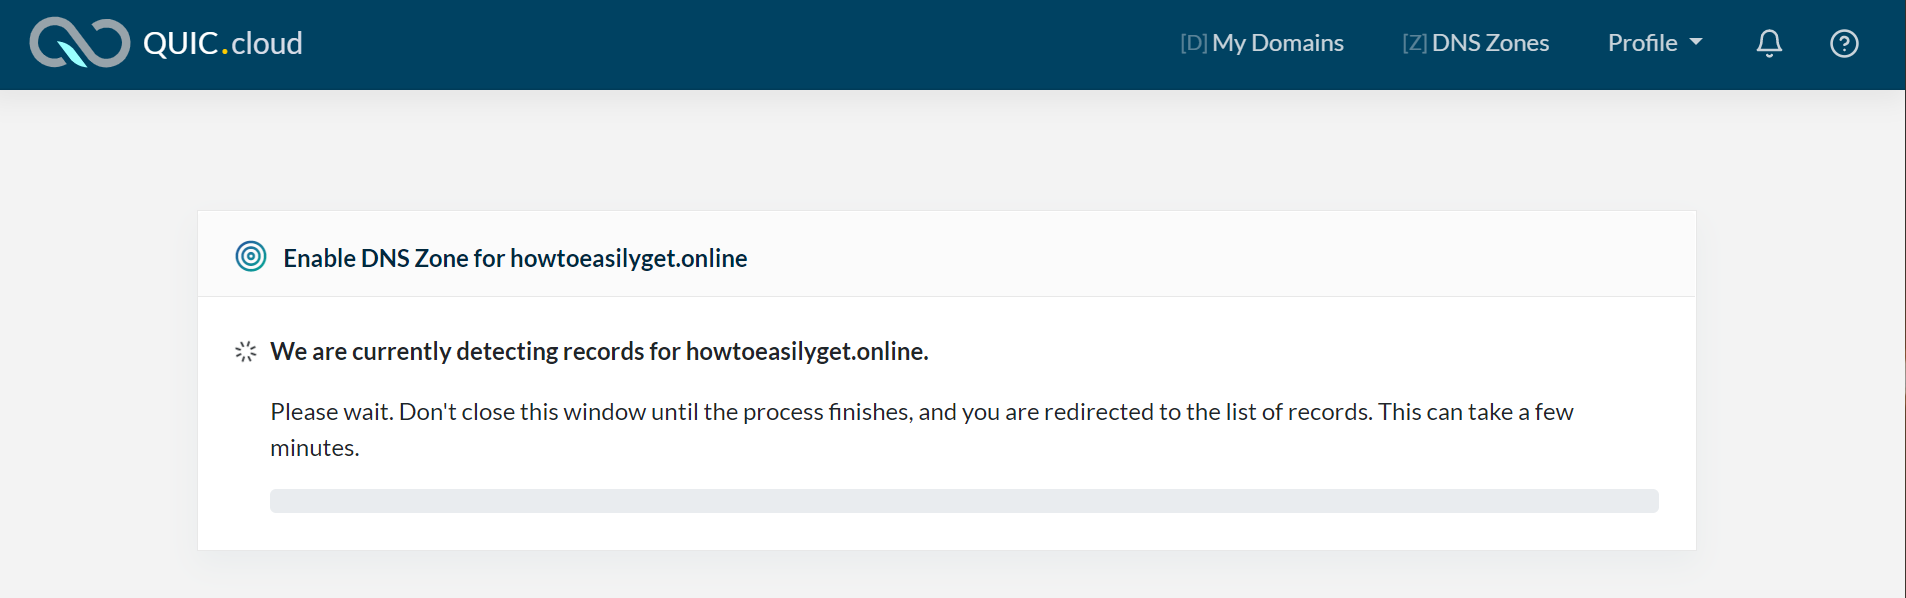
This means QUIC.Cloud is creating a carbon copy of all of your DNS records from the zone file that was hosted at ChemiCloud. On the next screen, you will see a list of those DNS records.
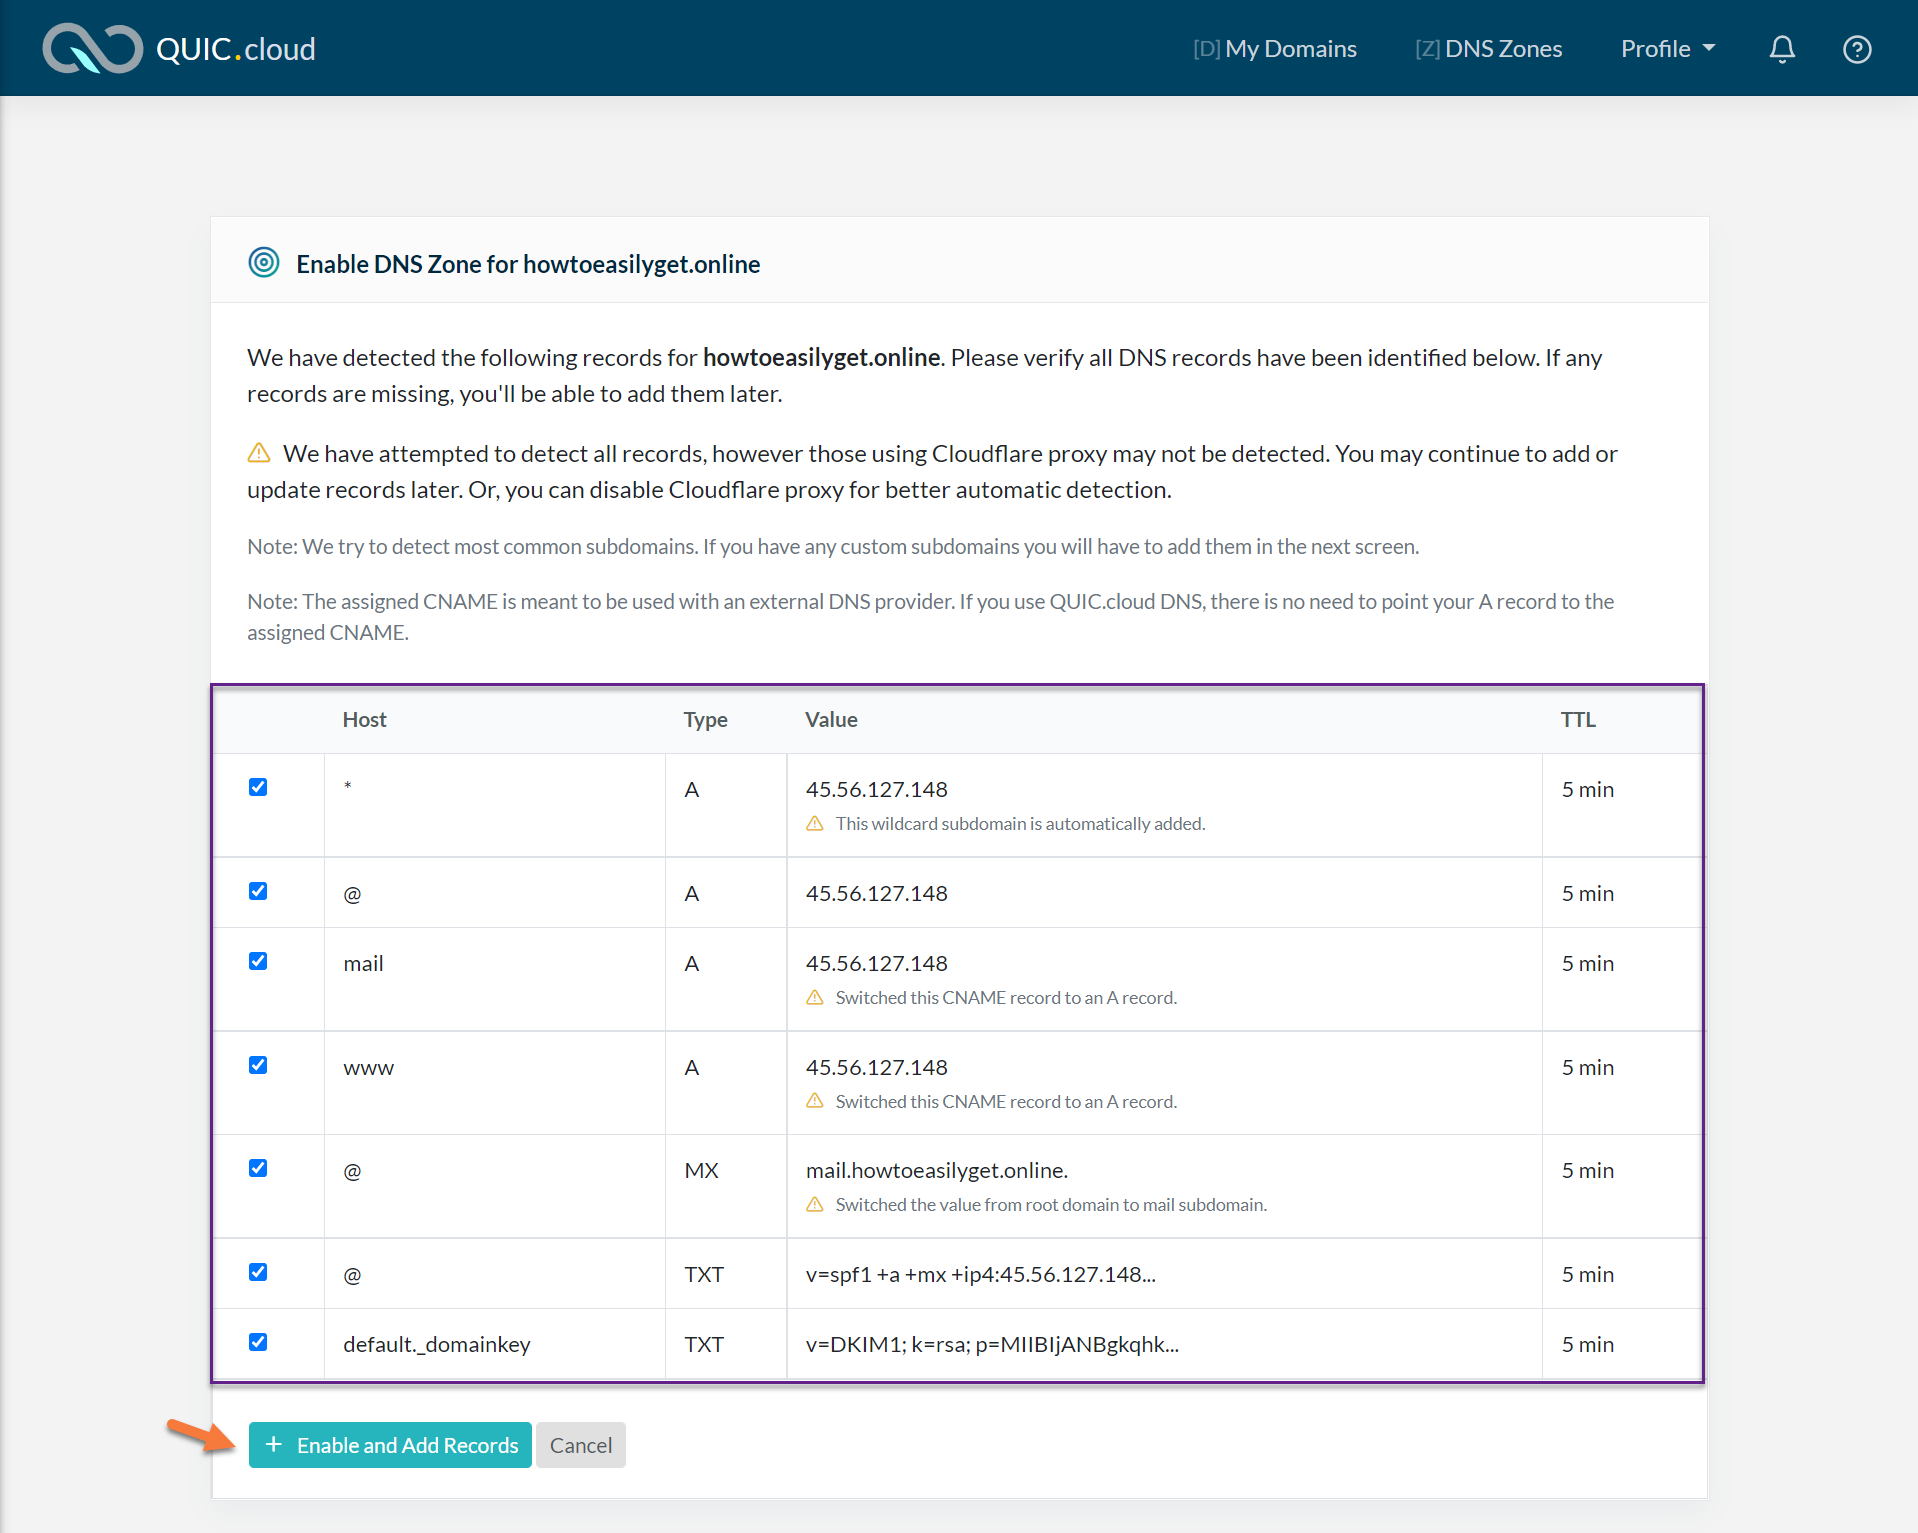
Review the list of records and make sure they are all there. When you’re done, click the + Enable and Add Records button to proceed.
Step 4: Next you will be taken to the DNS Dashboard for the domain you added into QUIC.Cloud. Take note of the nameservers that have been assigned to your domain.
You will need to log in to your domain registrar and change the nameservers on this domain to the nameservers given by QUIC.Cloud.

Step 5: Once you’ve made the nameserver changes at your domain registrar, return to the page where your DNS Setup is at QUIC.Cloud and click the refresh status button.
 QUIC.Cloud says it can take up to 48 hours for their system to detect that you are using their nameservers, however, it doesn’t always take this long. For me, it took about 20 minutes.
You’ll know your nameservers have updated when you see this:
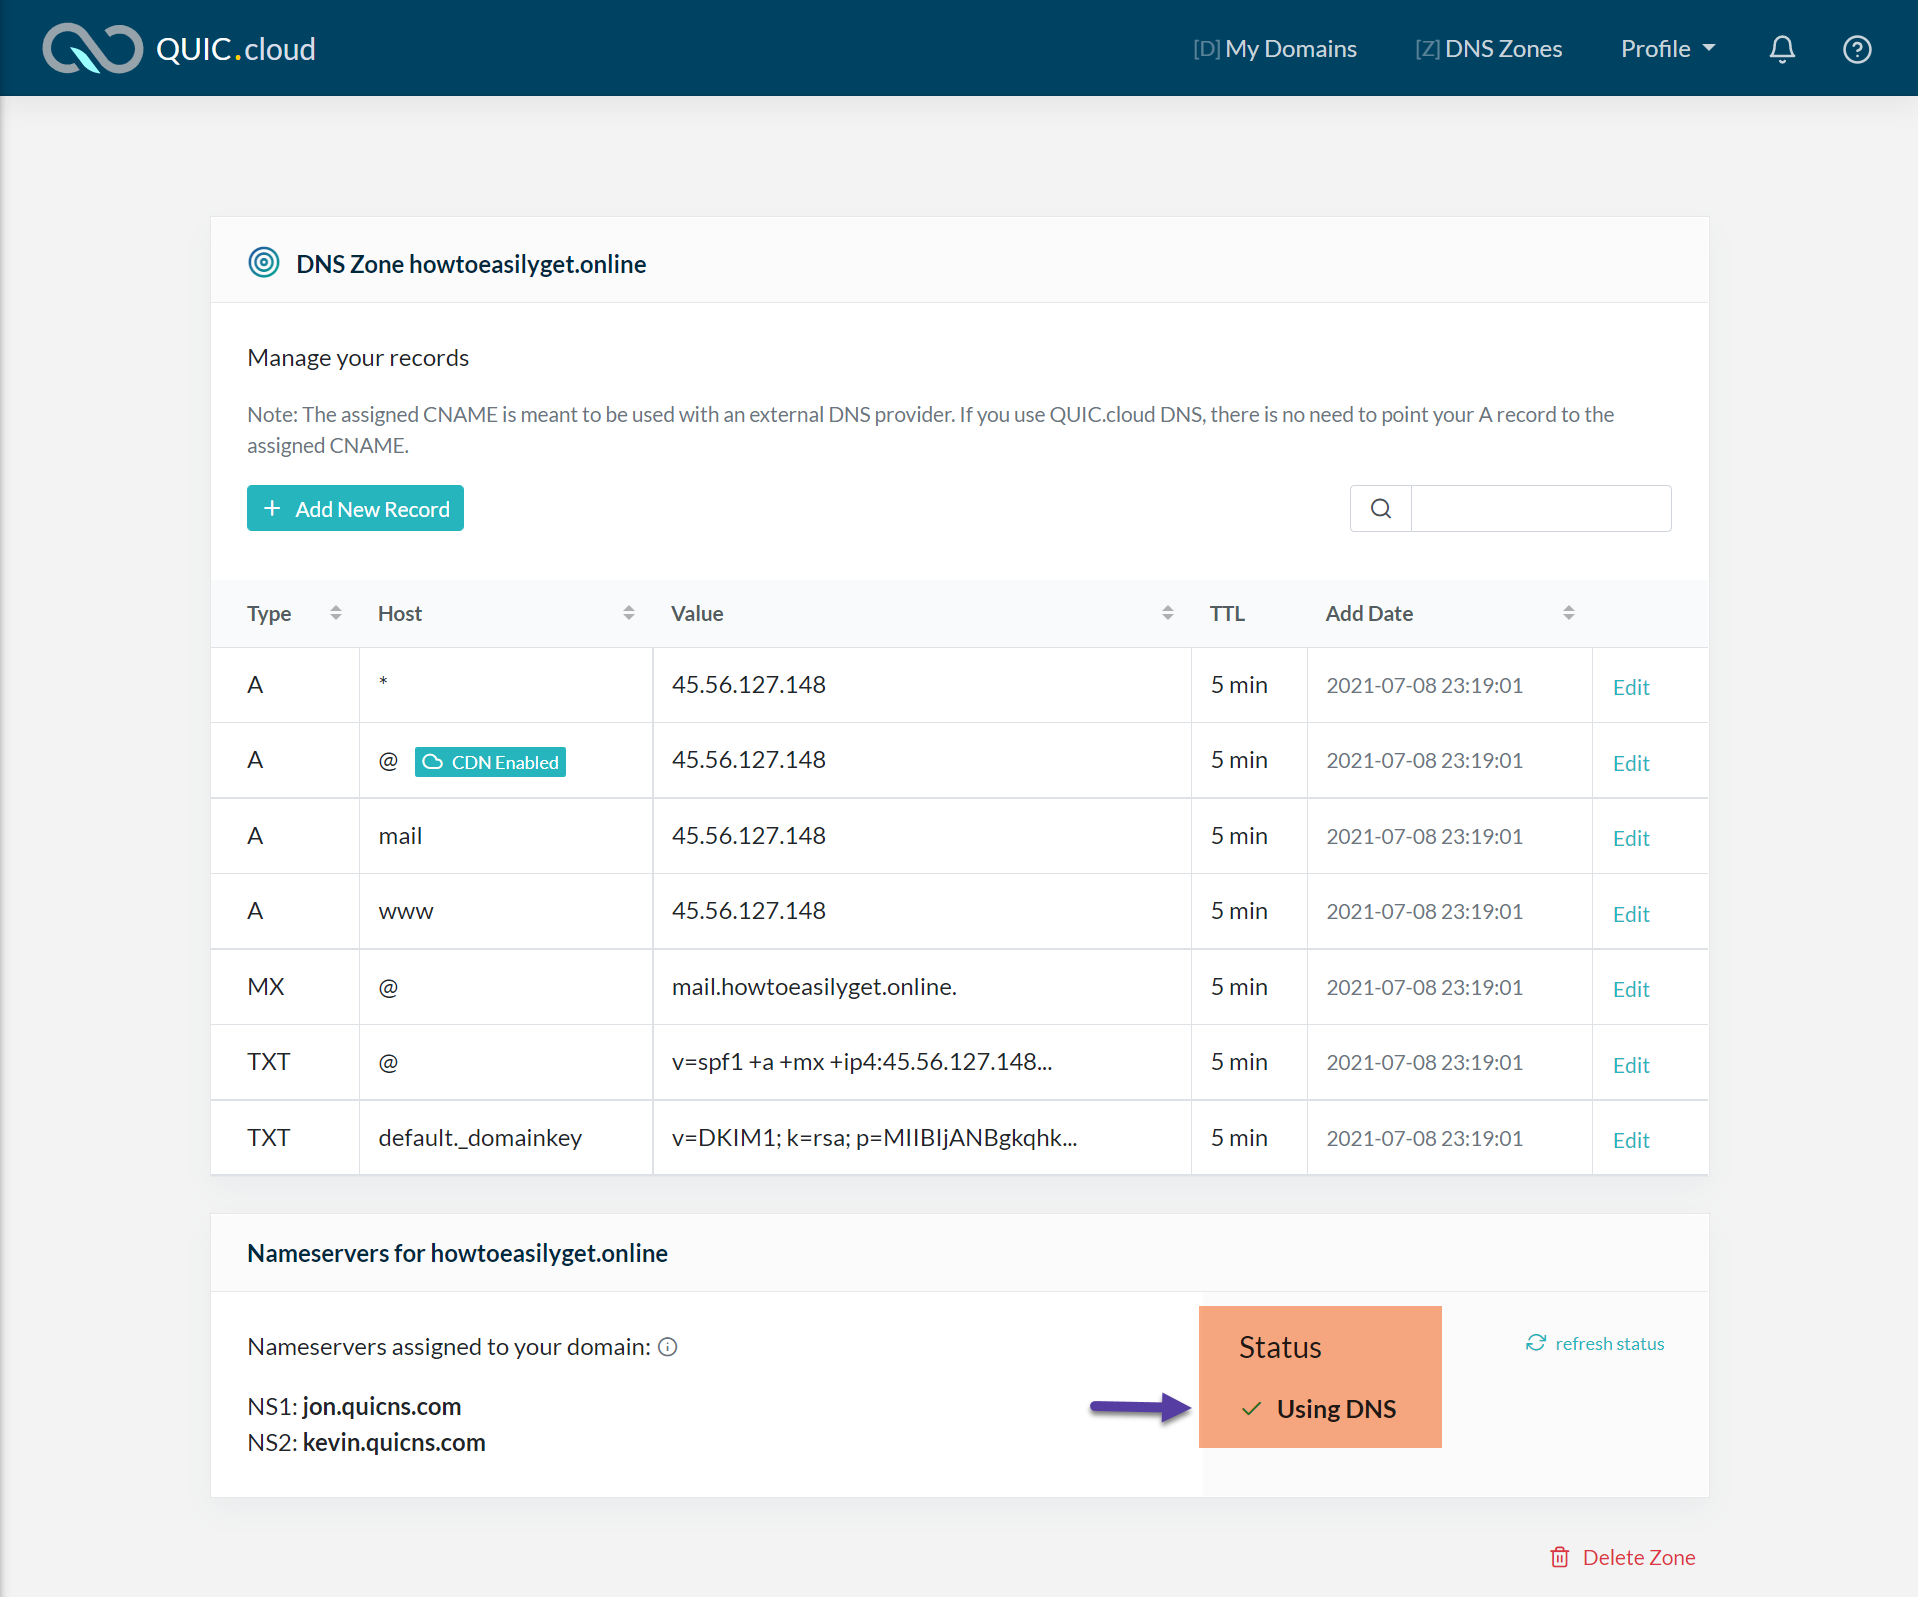
Congrats, this means your site is now using QUIC.Cloud CDN!
▶️ Please join us in the next tutorial, where we will learn how to use the LiteSpeed Cache Toolbox in WordPress.