In this tutorial, we’ll guide you through enabling Redis Object Cache in WordPress using different methods and caching plugins that support object caching.
Why enable Redis Object Cache?
Object caching in WordPress significantly improves website performance by reducing database queries. It stores the results of previous queries, leading to faster page load times and an overall better user experience.
Prerequisite:
Before proceeding, ensure that Redis is activated on your cPanel account by following the steps outlined in the next section.
How to Easily Enable Redis Object Cache in WordPress
For those using ChemiCloud web hosting, Redis object caching is available and working out of the box. Please find the steps below on how to activate Redis in cPanel:
Step 1) Login into your cPanel.
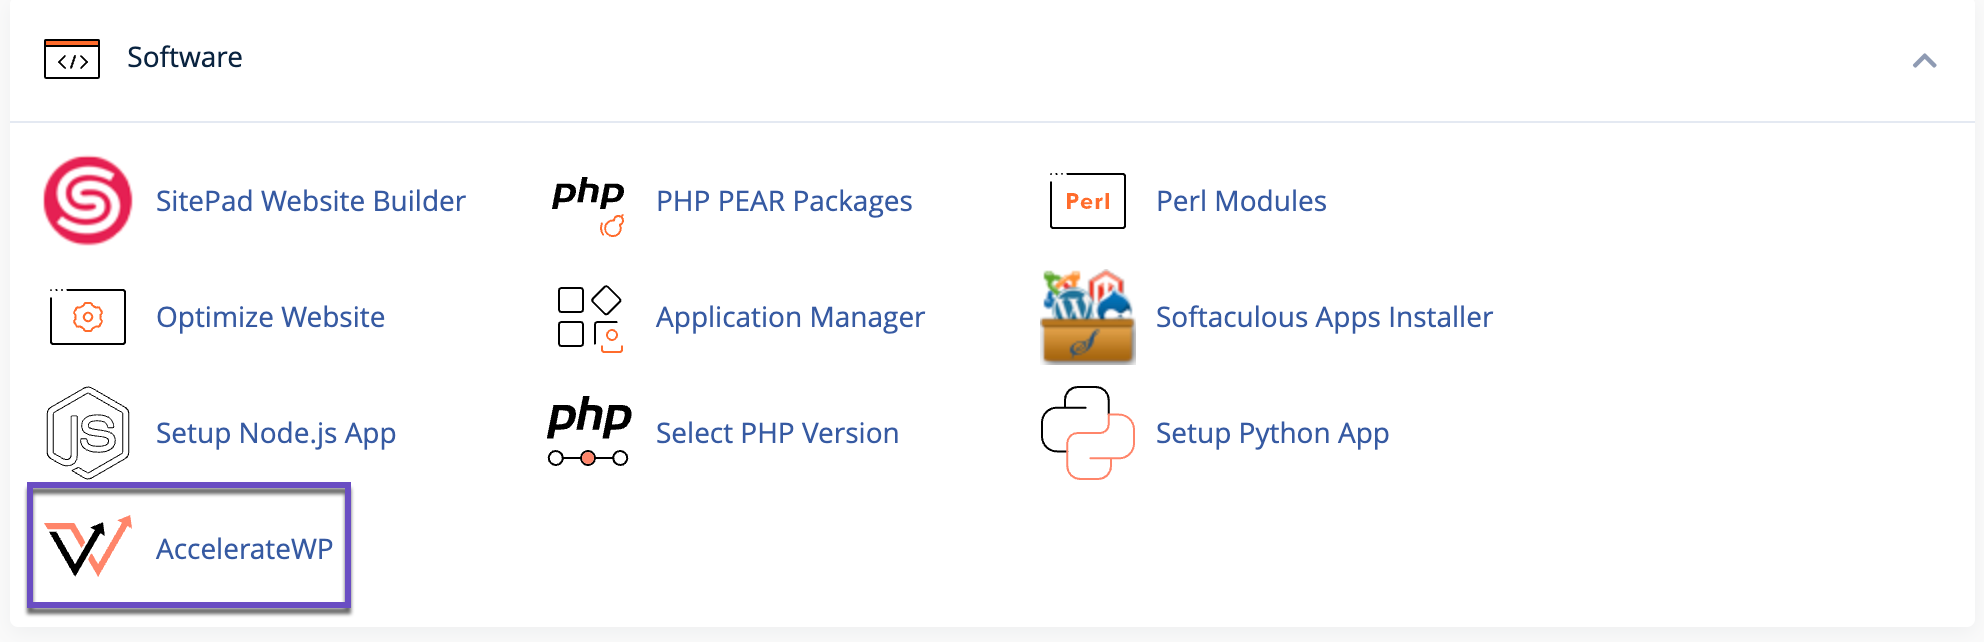
Step 2) Scroll down to the Software section and click AccelerateWP.
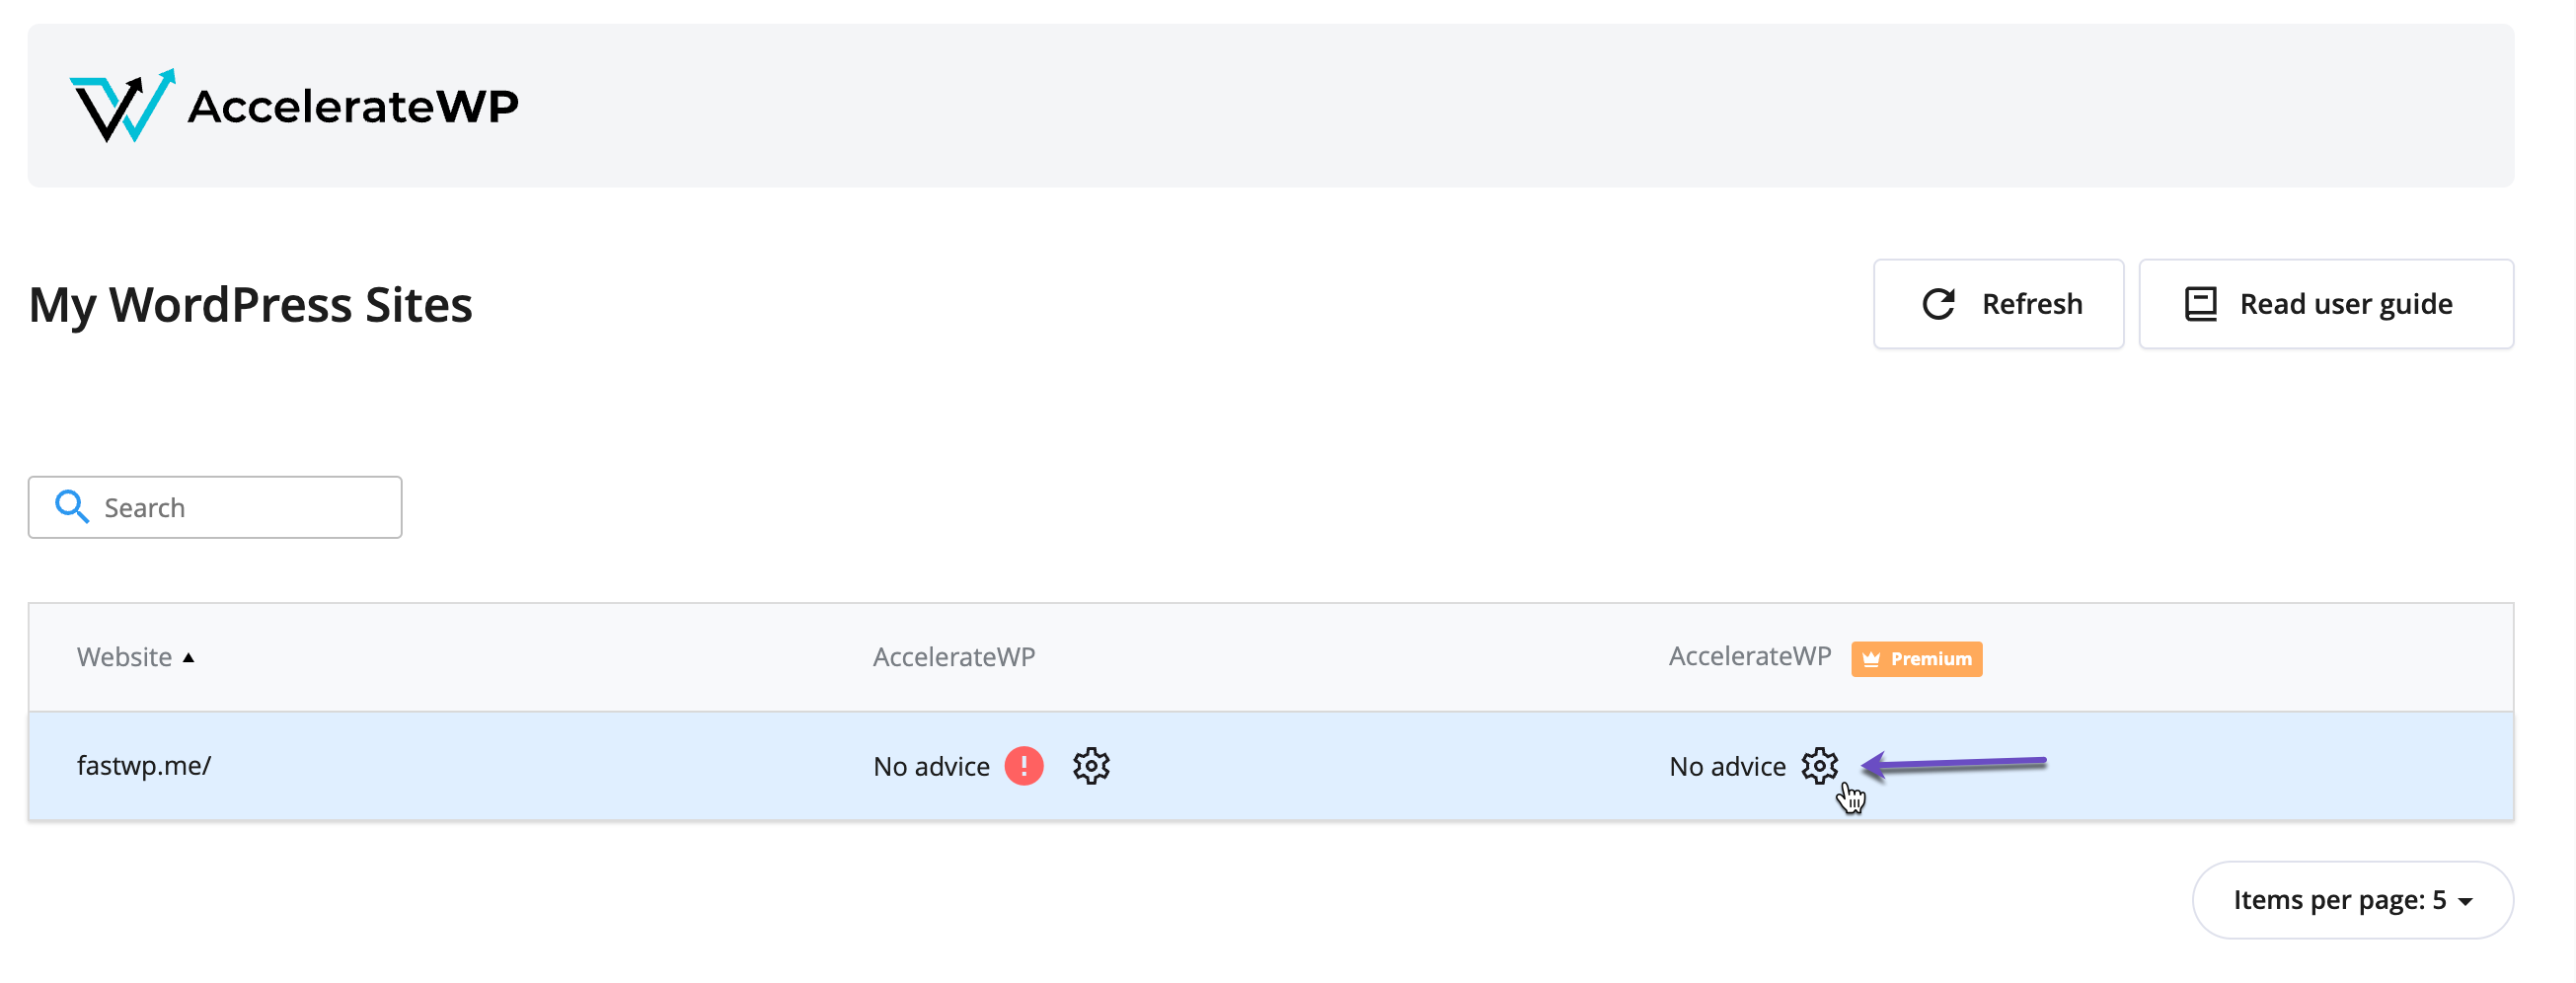
Step 3) Locate the WordPress Install you want to enable Redis object caching and click the gear icon (⚙️ “Feature Enable”) on the “AccelerateWP Premium” right side column.
 Step 4) Toggle the Redis Object Cache feature to ON.
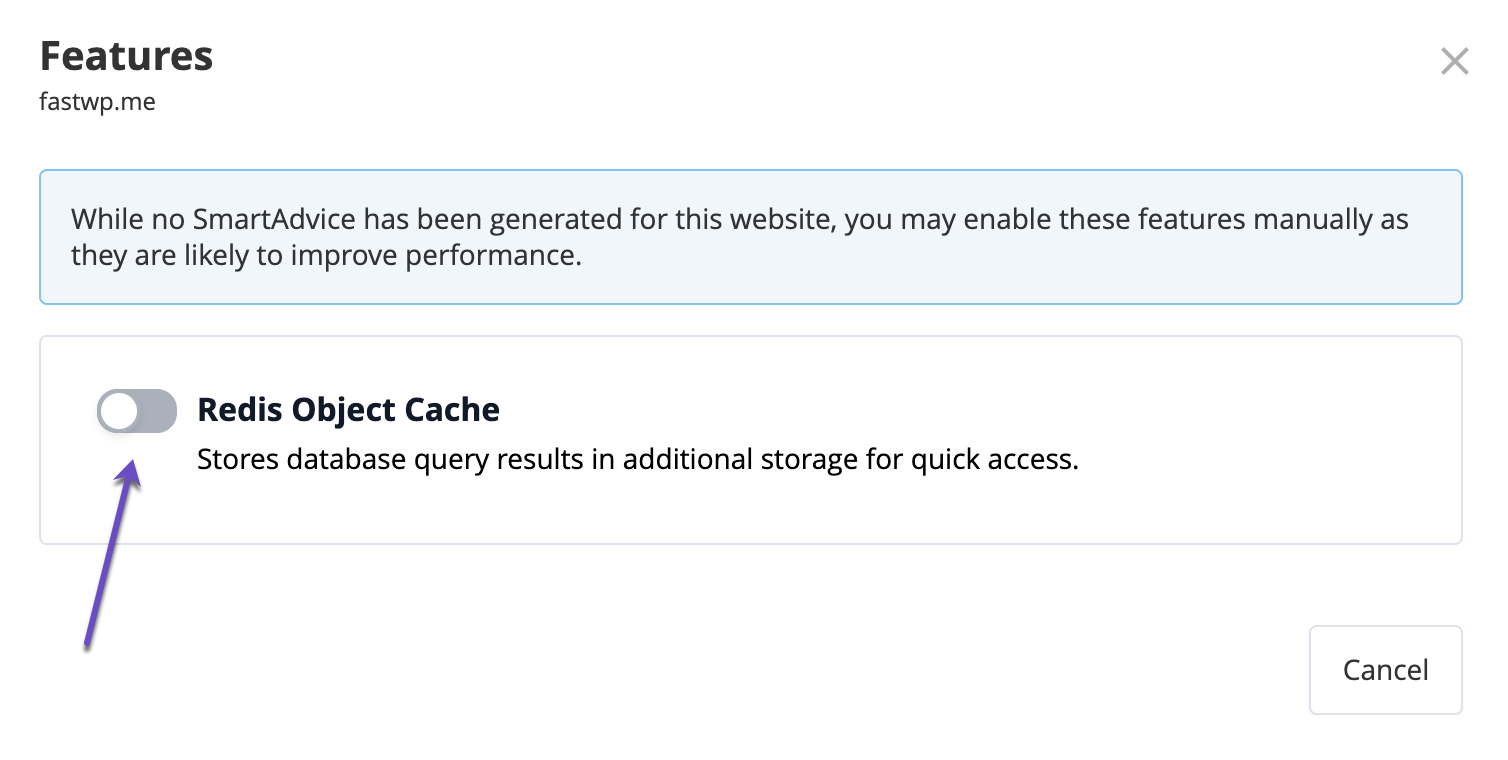
This will automatically install the Redis Object Cache WordPress plugin, activate it, and configure it for your WordPress website.
That’s it!
Enabling Redis Object Cache via the LiteSpeed Cache Plugin
If you prefer to enable Redis Object Cache through the LiteSpeed Cache plugin, follow these steps:
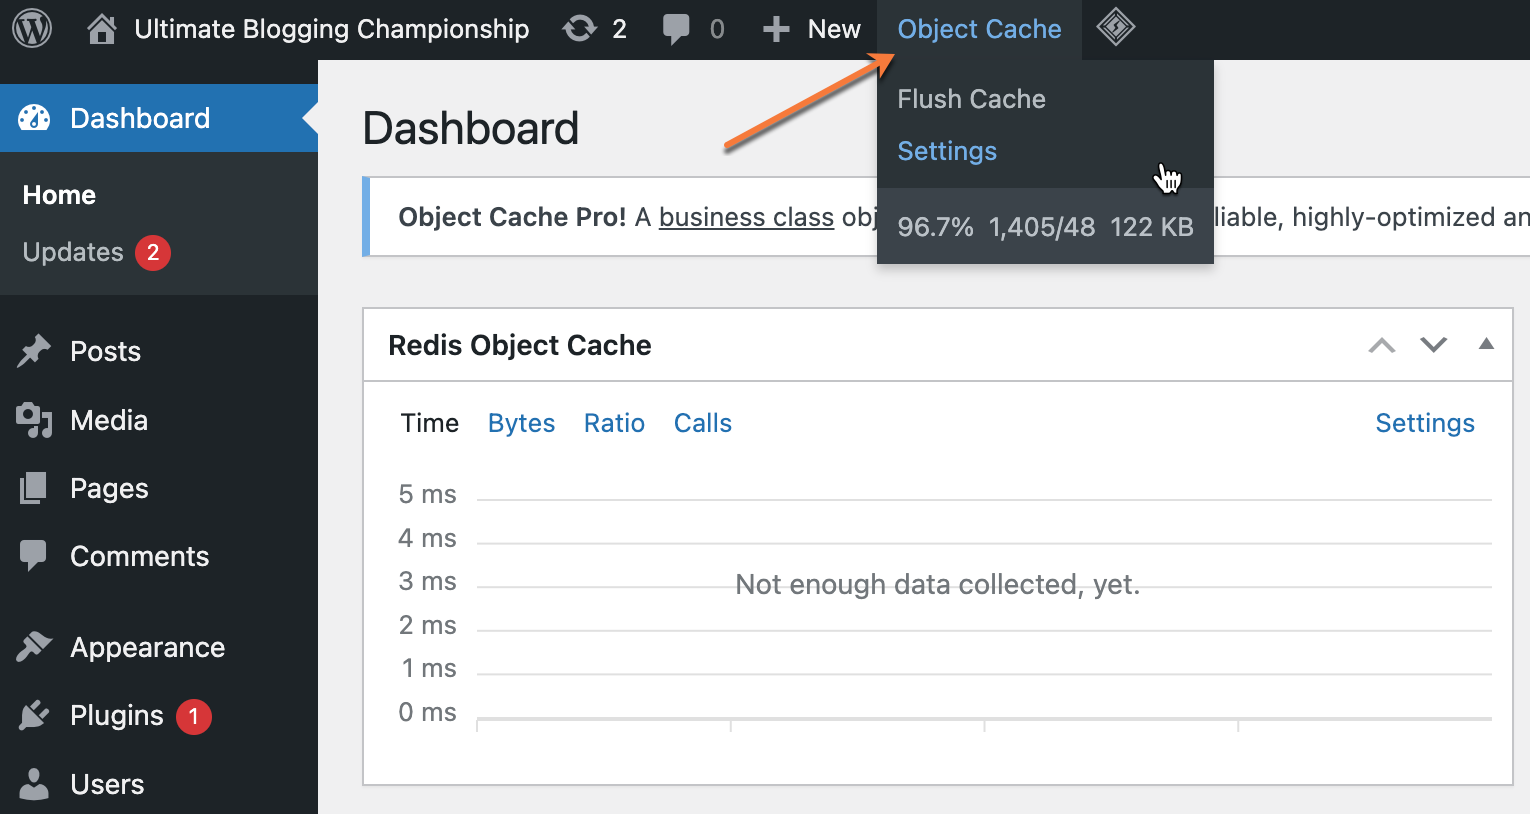
Step 1: In your WordPress Admin panel, navigate to the Object Cache option in the top header, then click on Settings.

Step 2: On the Redis Object Cache settings page, copy the HOST (path) information, as you’ll require it on Step 5.
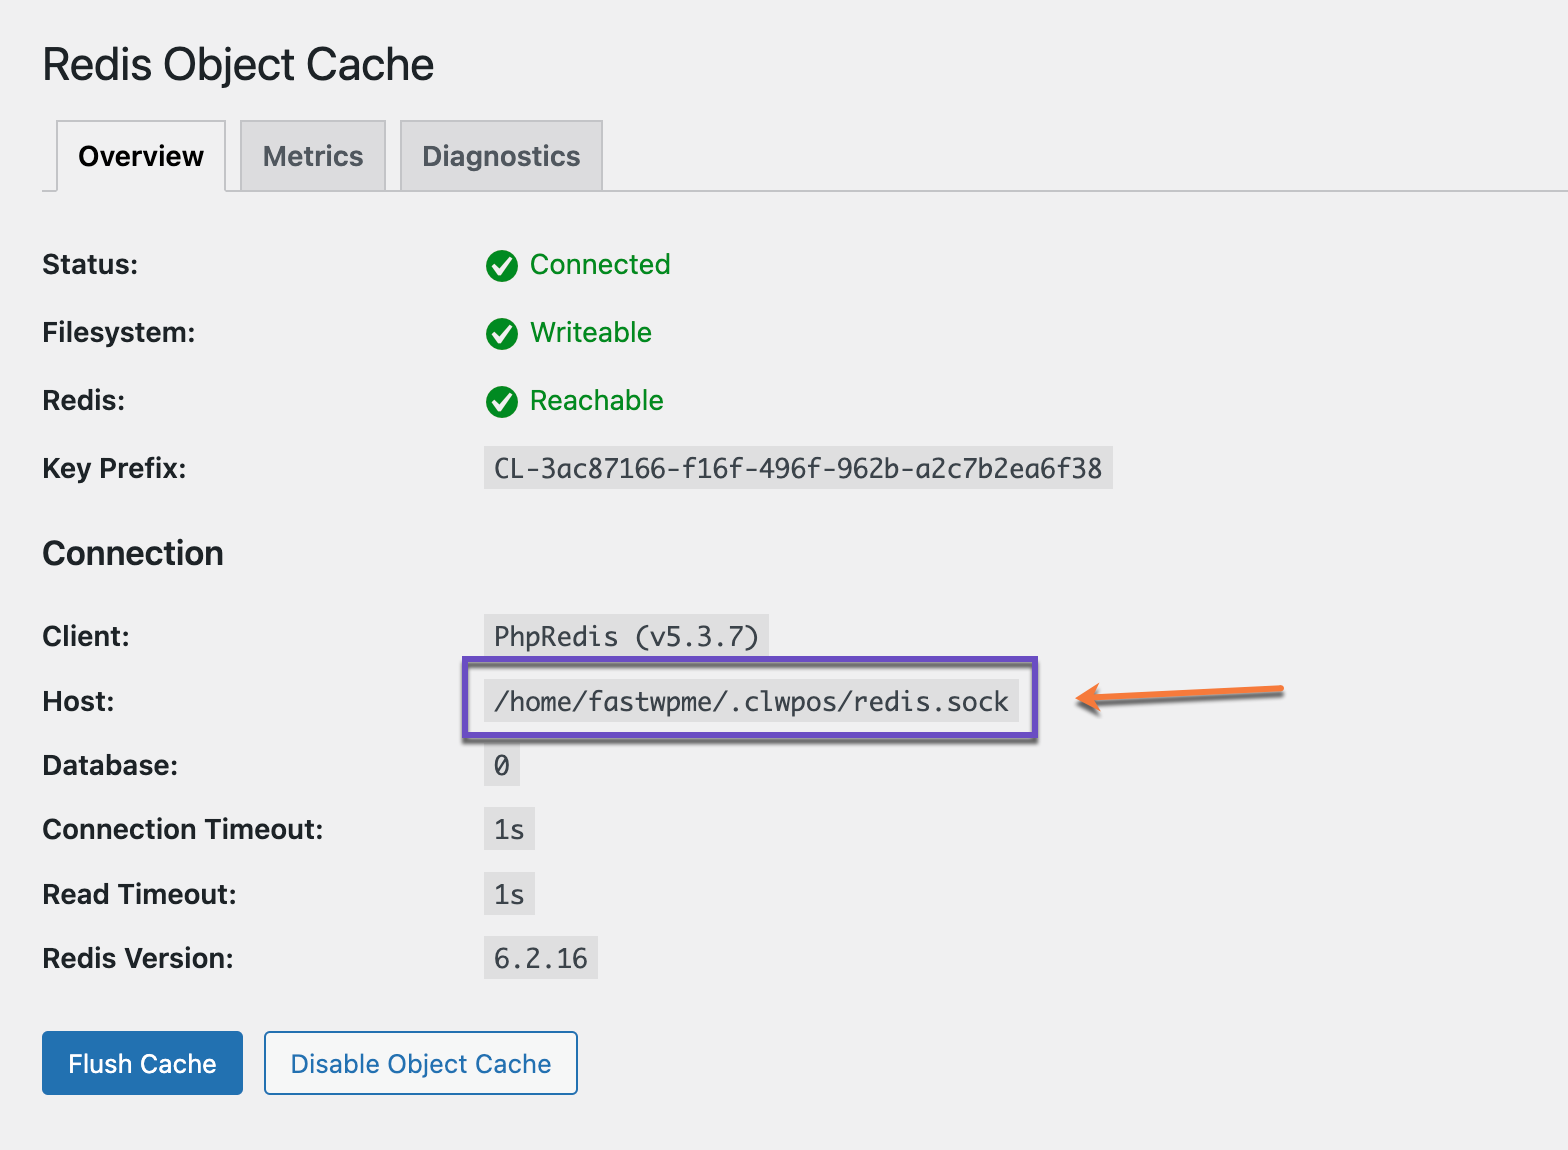
You can also find the HOST details in your website’s wp-config.php file.
Step 3: Go to the Installed Plugins section and deactivate the Redis Object Cache plugin.

If the LiteSpeed Cache plugin is already installed and activated, follow these steps:
Step 4: Go to LiteSpeed Cache > Cache > Object tab in your WordPress Admin panel.
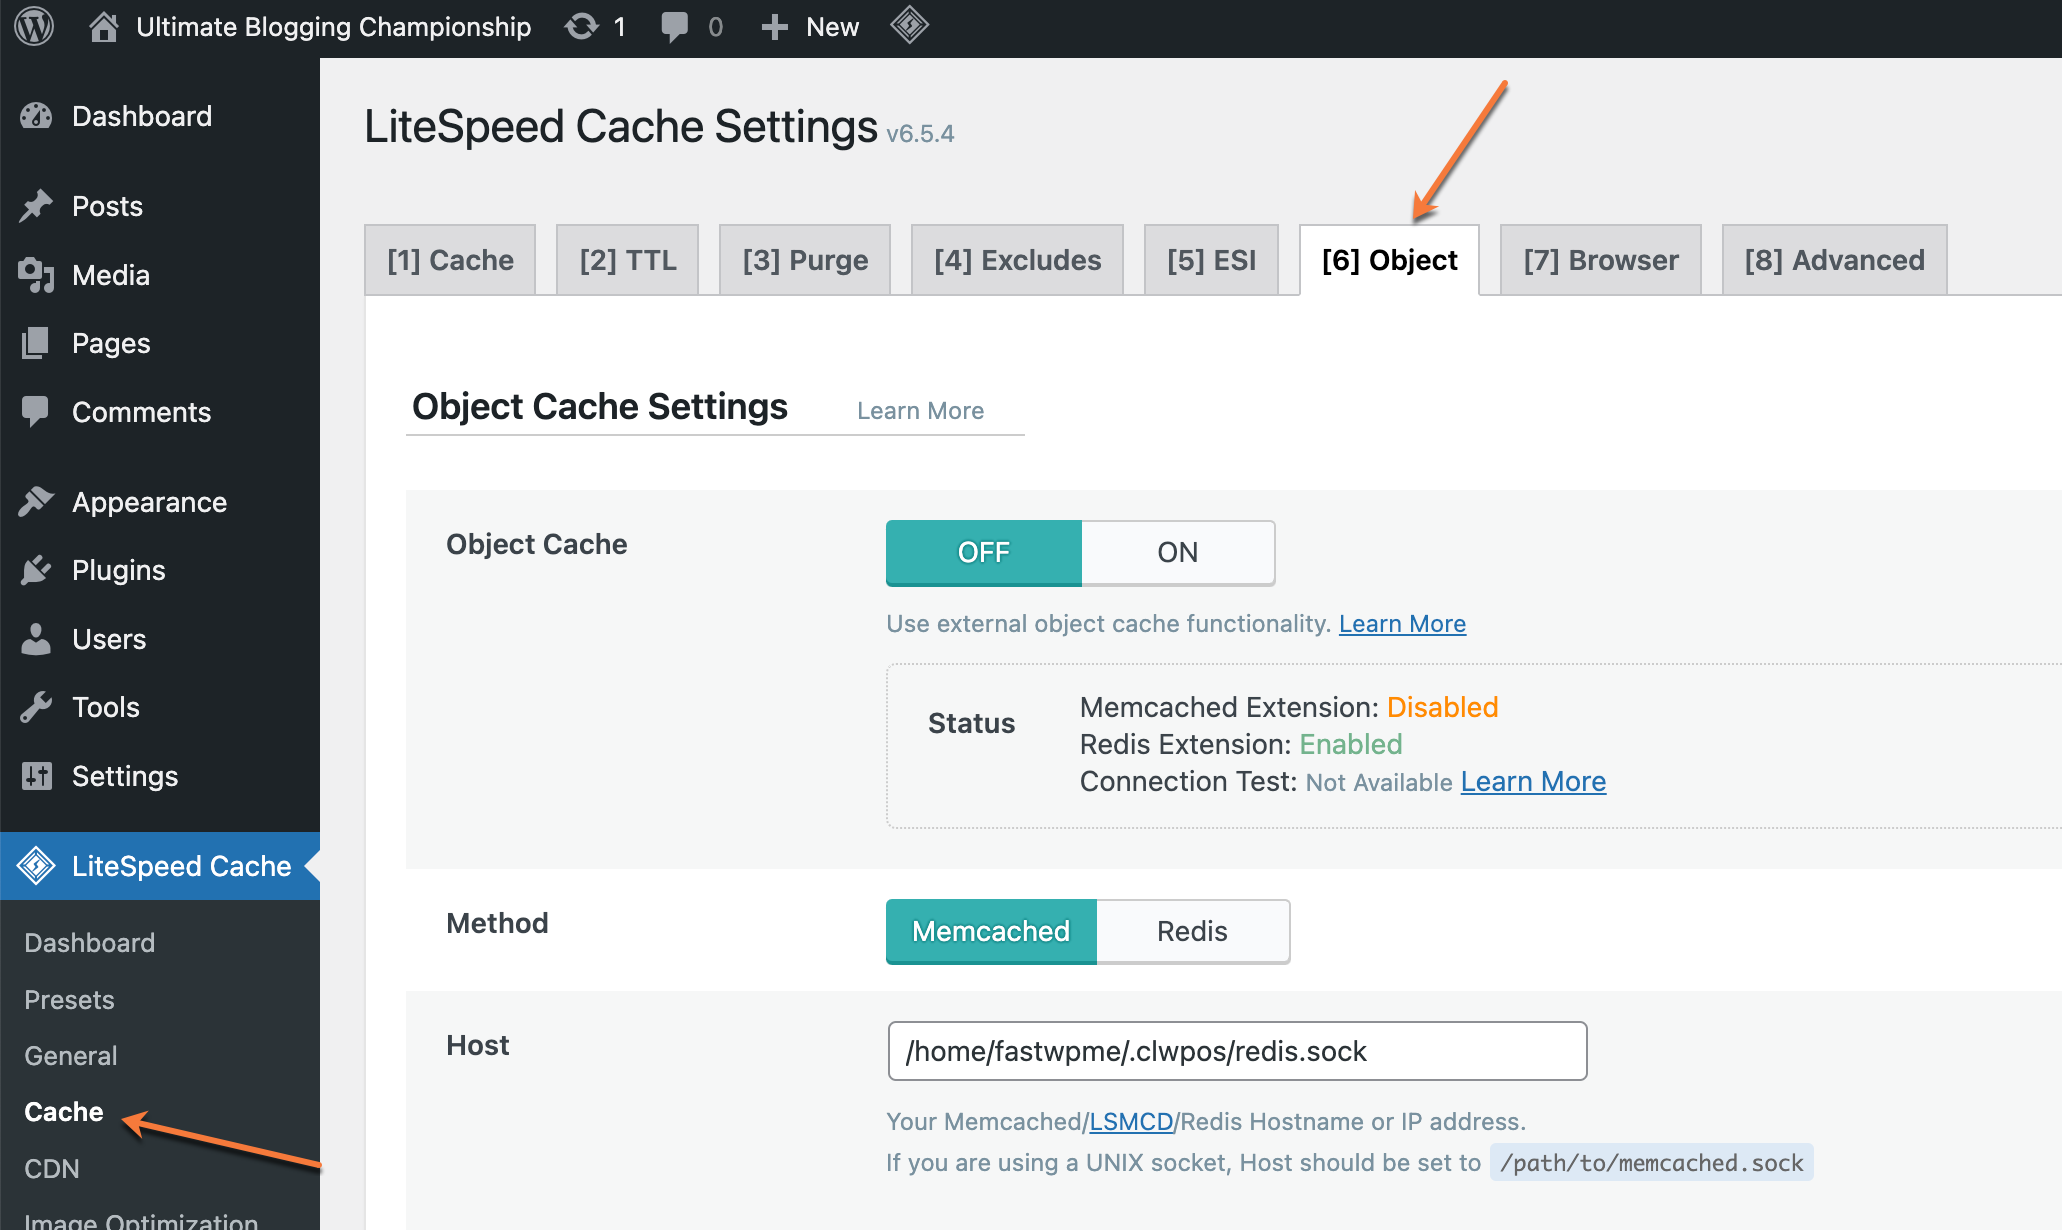
Step 5: In the Object Cache settings section, update the following:
- Object Cache: ON
- Method: Redis
- Host: Enter the socket path you copied earlier from the Redis Object Cache settings.
- Port: 0
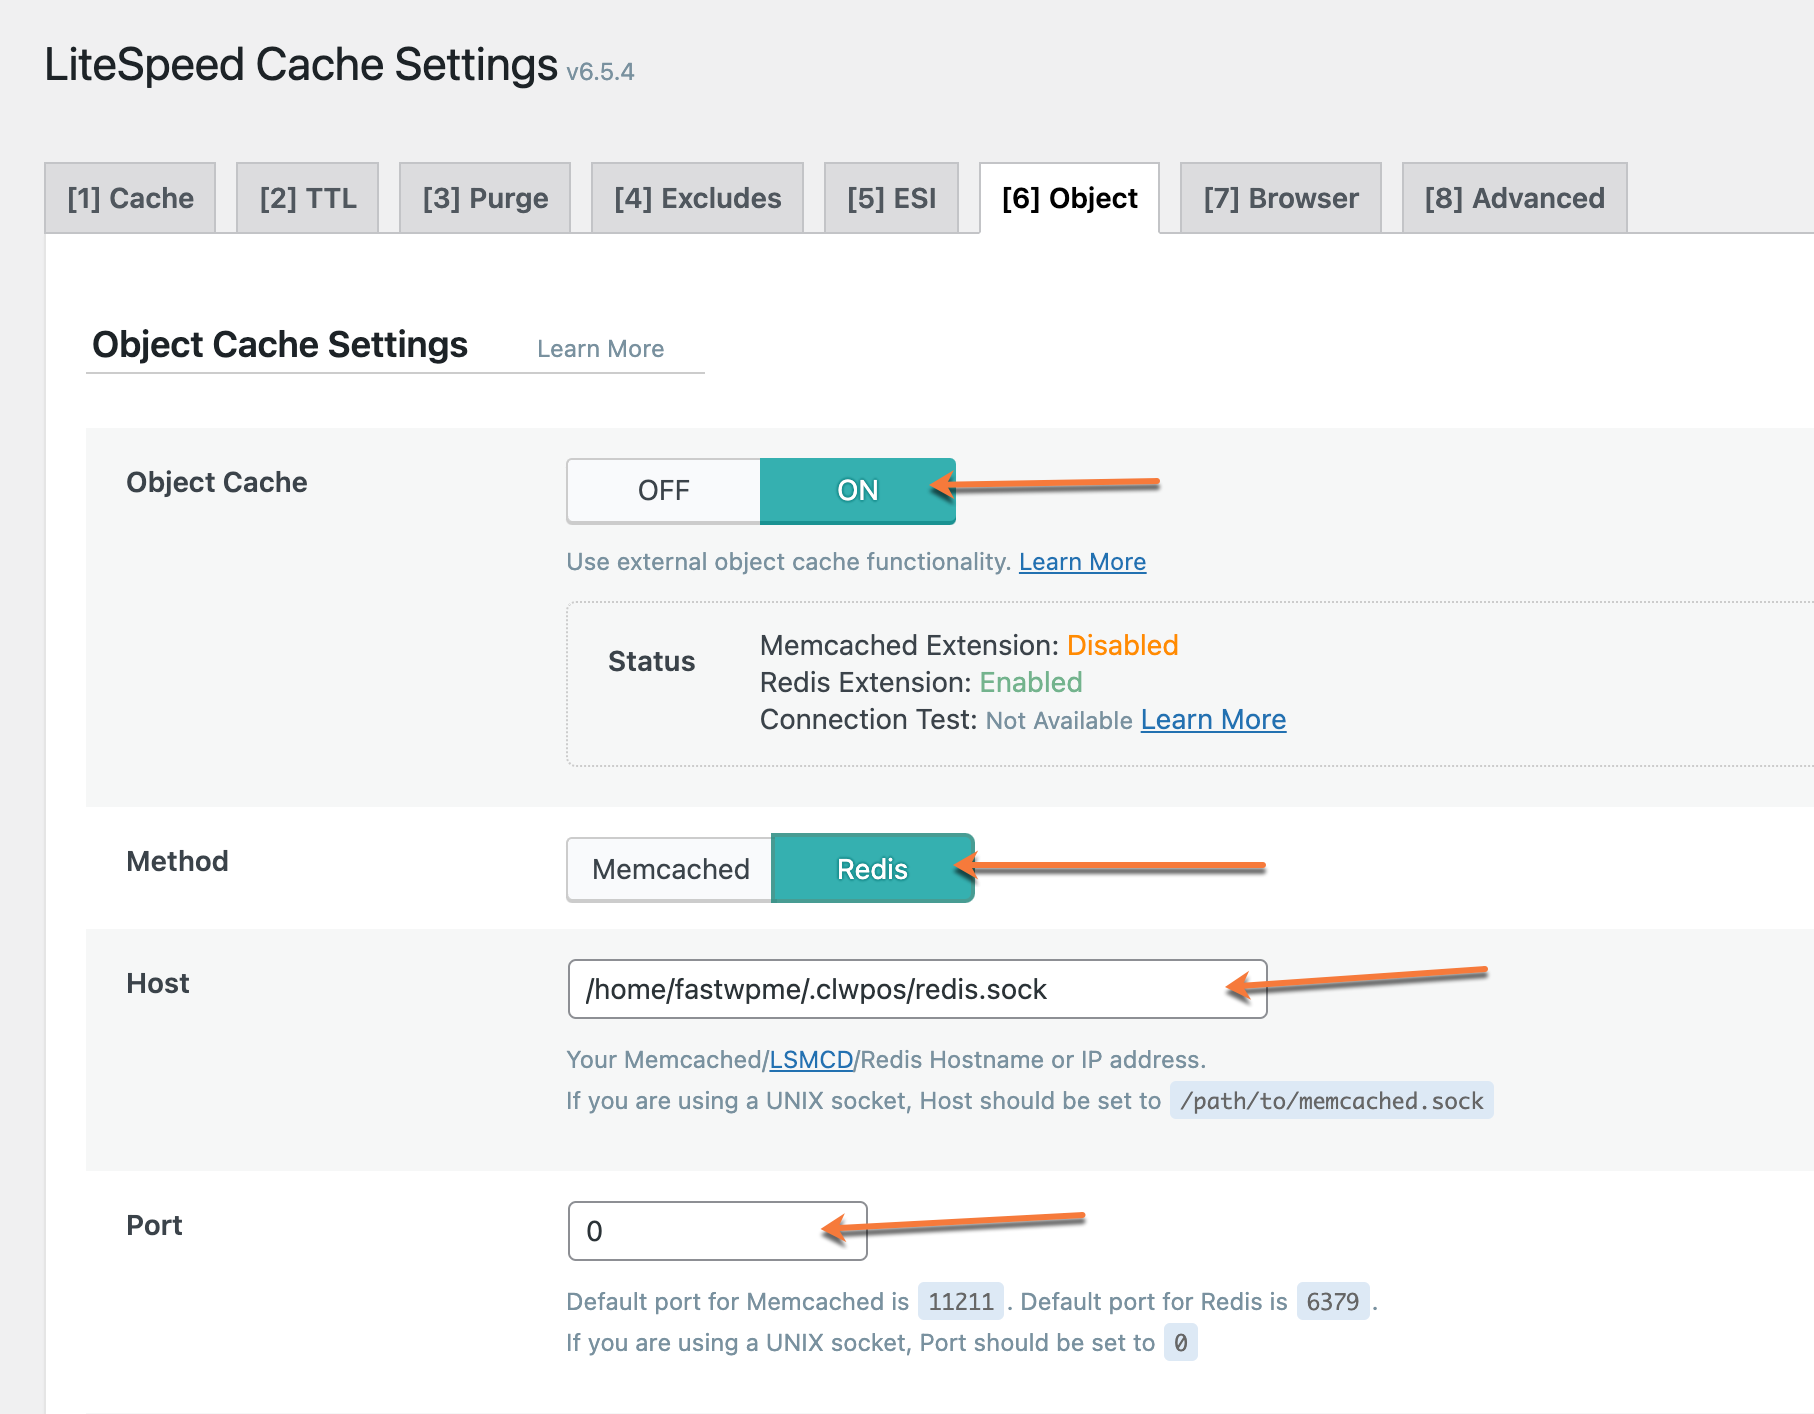
Leave all other settings as they are. Click Save Changes to apply the configuration and activate Redis Object Cache.
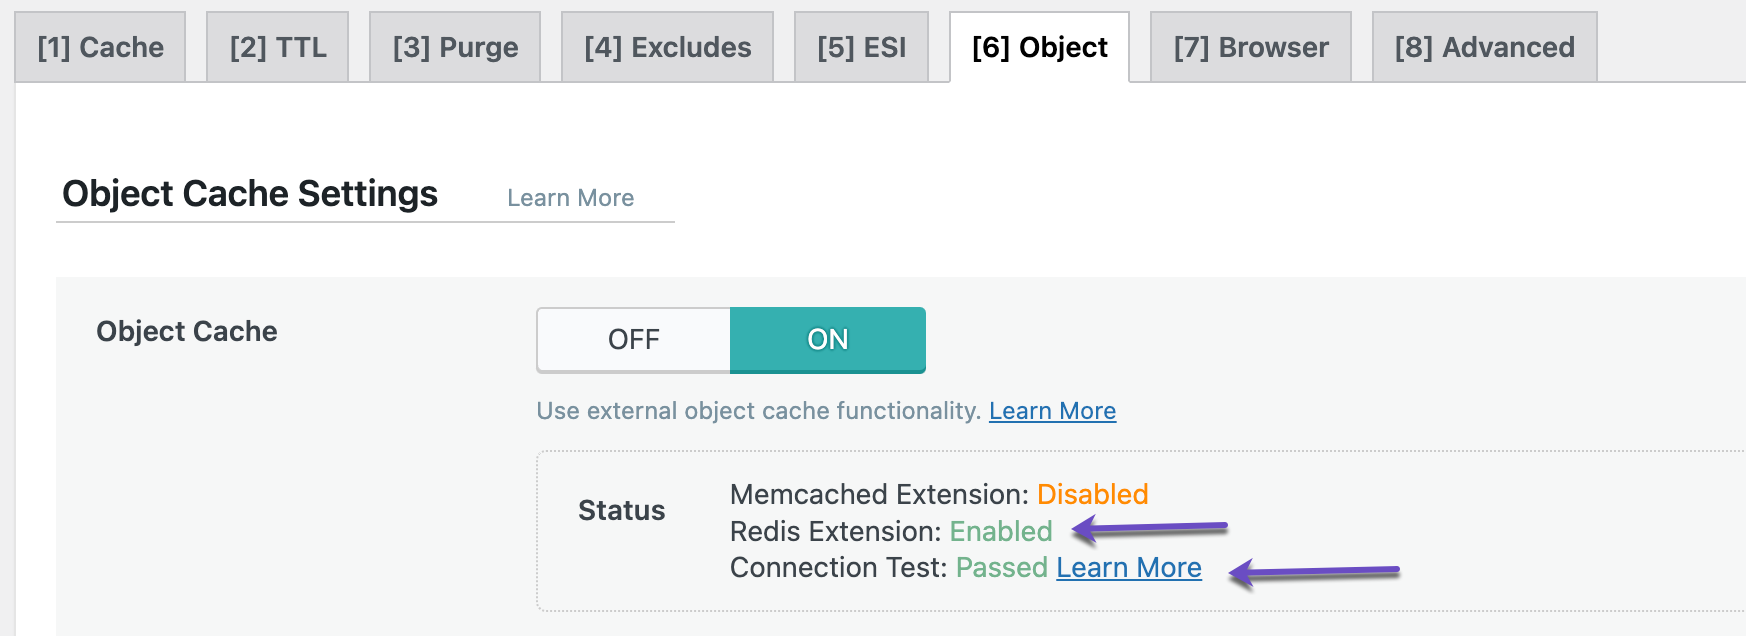
Once saved, you should see a “Connection Test: Passed” message confirming the setup.
Enabling Redis Object Cache via the W3 Total Cache plugin
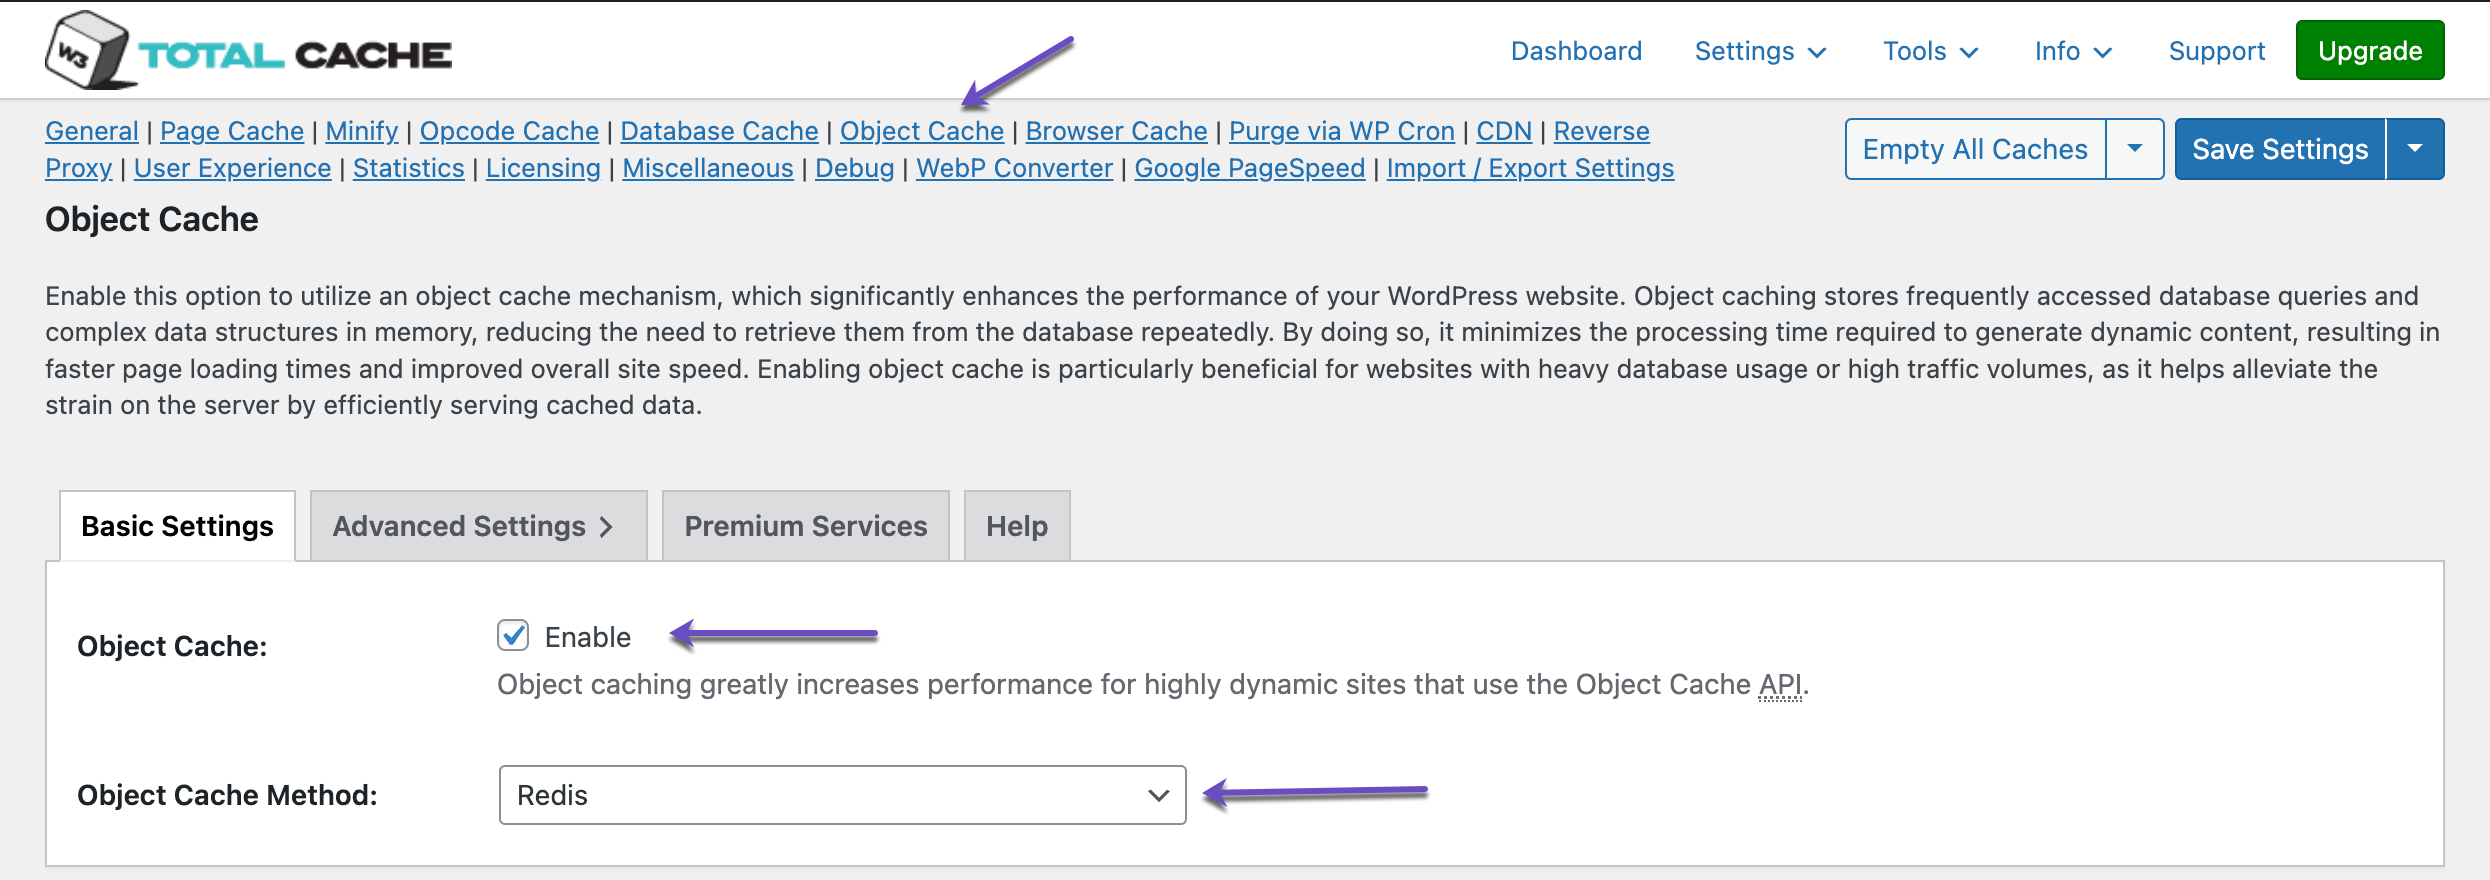
Step 1: In your WordPress Admin Dashboard, navigate to Performance > General Settings > Object Cache tab.
Step 3: In the left-side menu, go to the Object Cache section.
- In the Redis Hostname field, enter the socket path you obtained from cPanel > Redis Object Cache.
- Click Test.
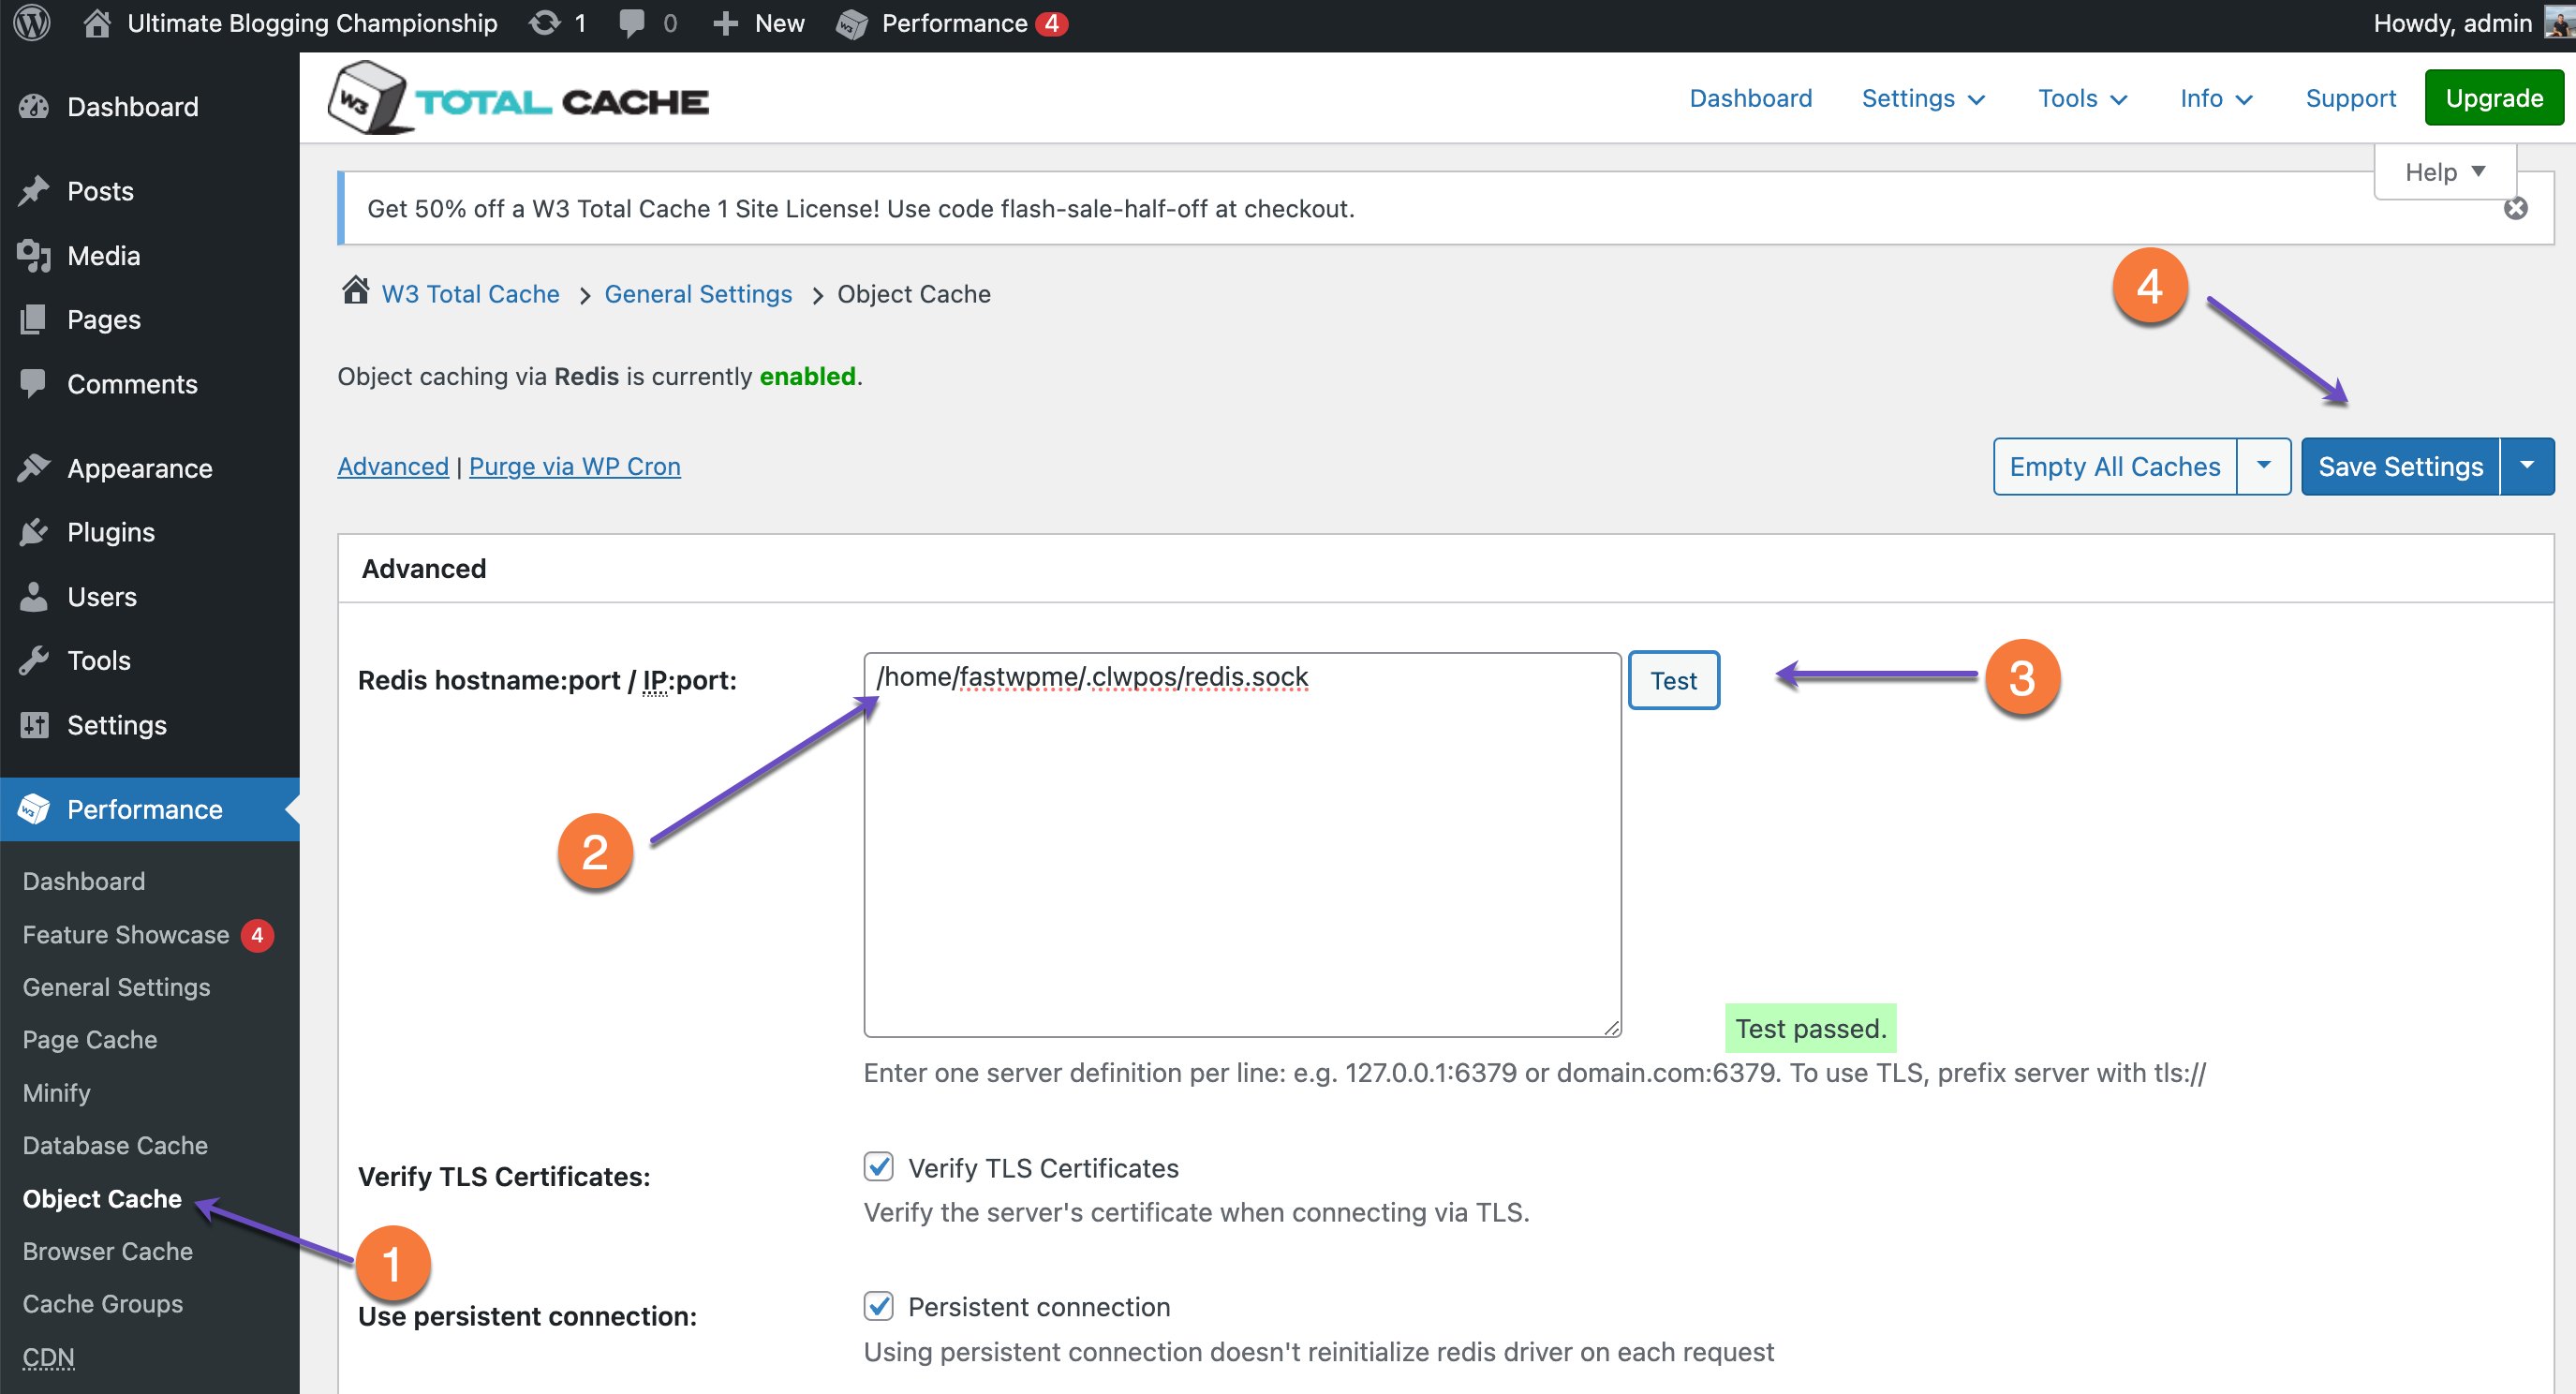
If the test is successful, you should see a “Test passed” message. To complete the setup, click Save Settings.
Conclusion
By following these steps, you have successfully enabled Redis Object Cache for your WordPress website using the LiteSpeed Cache or W3 Total Cache plugin. This optimization helps improve site performance by reducing database load and enhancing page load times.
If you encounter any issues, double-check your settings or reach out to our 25/7 Support for assistance.
I was pointed here via support but what the article says I should find, I don’t find.
wp-config.php does not have host information.
Installing Redis Object Cache does not give me any host information (it’s deactivated and I can’t change that).