Crawl-Delay in robots.txt: What Does It Mean?
Did you know Search Engines like Yahoo!, and Bing needs to crawl your website regularly, not only to search for and index newly created content but also so they can update their systems with any changes you’ve made to your website, such as restructuring or deleted content?
If you didn’t know, now you do! You can do this utilizing a specific directive added to your robots.txt file.
Among the numerous directives you can add to a robots.txt file, you can add ones that control the rate or speed at which the search engines index your site. Typically, most website owners won’t need to configure a crawl-delay for their website, but there are some cases where it may be a good idea.
Google no longer supports the crawl-delay directive, however, Bing and Yandex do support the crawl-delay directive.
This knowledgebase article will cover how to make a robots.txt file, insert the correct directive for limiting a search engine’s crawl rate, and show how to manage this setting for search engines that don’t adhere to this setting.
How to Create a robots.txt File in cPanel
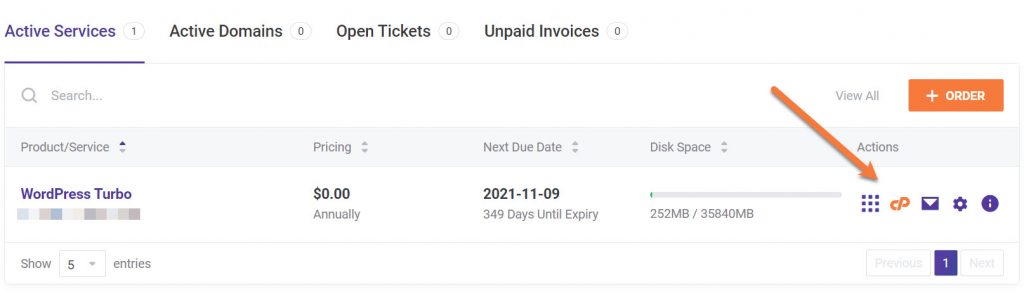
We’ll be using the cPanel File Manager to create the file. First, open your Client Area to login to your Client Portal. Then, locate the orange CP icon to the right of the service you want to administer.
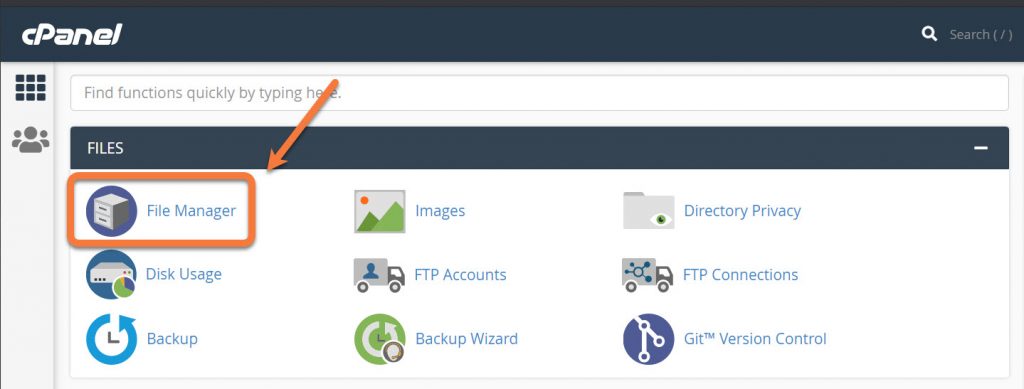
Once your cPanel has opened, under the FILES area, open the File Manager.
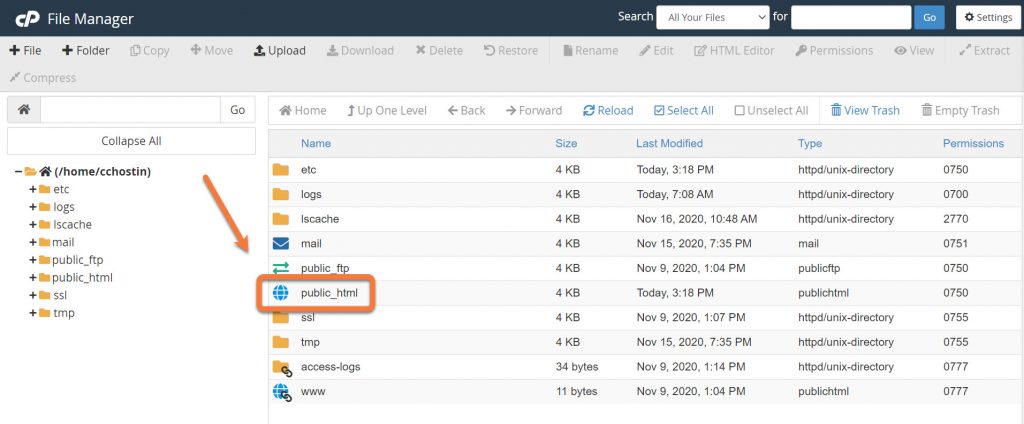
Once the File Manager opens, you’ll want to look for your public_html folder (How to find your document root in cPanel). Then double click on the globe icon to the left of public_html to open the folder.
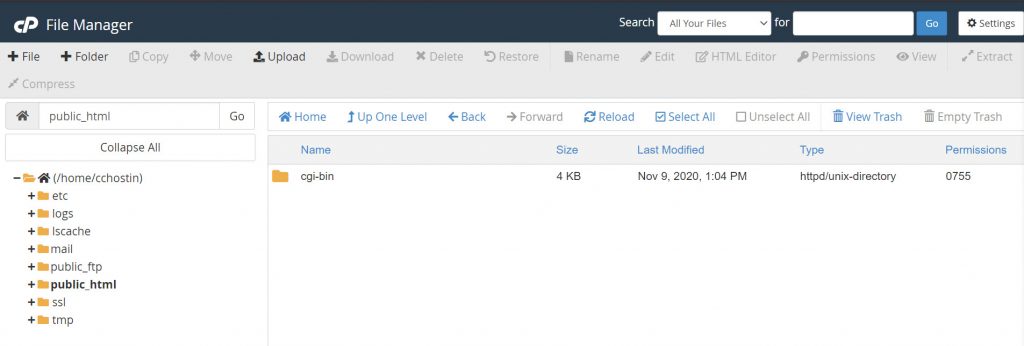
Once the folder is open, depending on how far you are into developing your website you are, you may or may not have any files/folders in your public_html folder. Don’t worry, if you do have files/folders here, you can still complete this tutorial and not worry about it breaking your site. 🙂
In our example, our public_html folder is empty, save for the cgi-bin folder.
We can easily create an empty robots.txt file from within the File Manager. In the top left corner of the File Manager, look for the + File option, adjacent to + Folder. Click + File and a modal will open asking you for the name of the file + where you want it created:
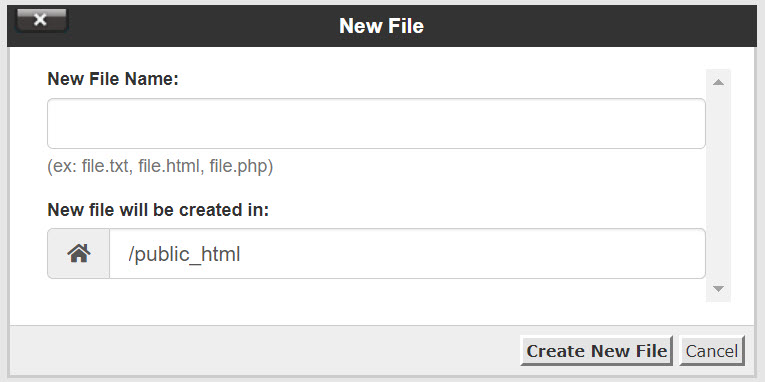
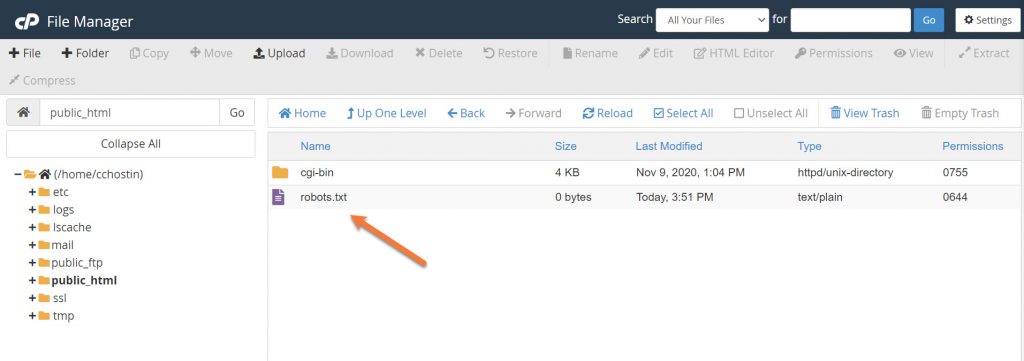
In the New File Name box, name the file robots.txt, then click Create New File. You will be returned to the File Manager view in the public_html folder, and you’ll see the file has been created.
How To Configure A Crawl-Delay In Your Robots.txt File
cPanel’s File Manager is useful because it allows us to create the file, but we can edit it without leaving the File Manager.
To begin editing the file, single-click on the robots.txt file so that it is highlighted in semi-opaque cyan color, as shown below:
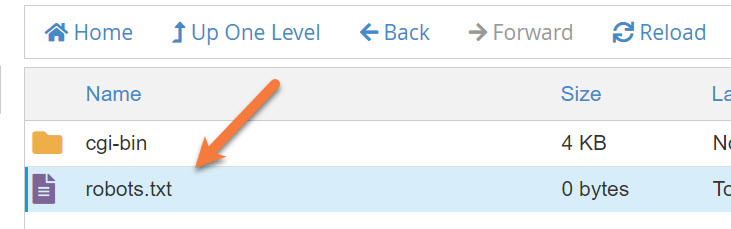
Once you have selected the file, look at the top menu of the File Manager. Several options are at the top, including + File, + Folder, Copy, Move, Upload, and others. The one we need to use is Edit. After you click Edit, a modal will appear with some information.
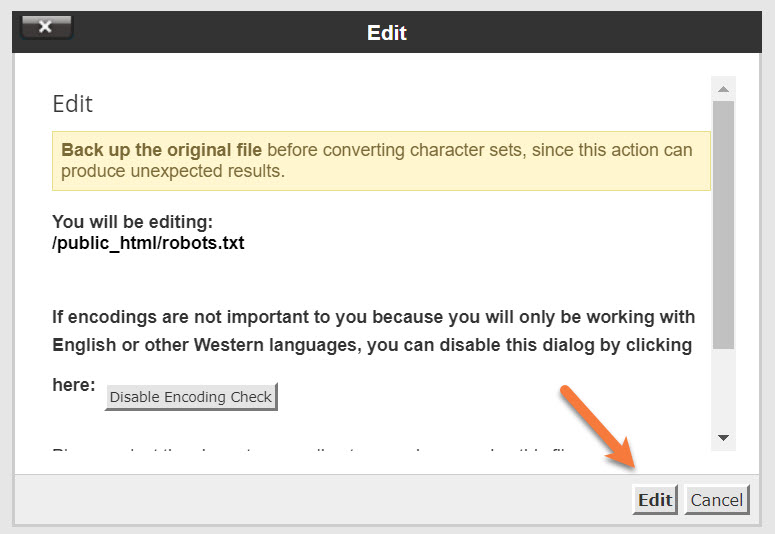
For the use of the robots.txt file, you can ignore this and proceed to click Edit.
A new tab will appear in your browser and you’ll be taken to something that resembles an old-school word processor. For those who don’t remember those, it’s what people used to type their letters on before the Internet. 😁

To insert a crawl-delay, copy the text below and paste it into the editor:
User-agent: *
Crawl-delay: 1
This will ask search engine spiders crawling your website to wait 1 second between each page they crawl. If you want them to wait longer, you can use these other two settings:
User-agent: *
Crawl-delay: 5
or
User-agent: *
Crawl-delay: 10
These will ask the search engines to wait 5 or 10 seconds between page crawls.
Did you know that website speed affects SEO & Google Rankings? We use LiteSpeed caching to deliver content to your visitors almost instantly. ⚡ Check out our web hosting plans!
Your editor should look similar to the image below after pasting one of the options above:

After entering the data, click the blue Save Changes button in the top right corner. Then click the Close button adjacent to the Save Changes button.
You will be taken back to the cPanel File Manager where the robots.txt file has been created and updated with this directive.
Can this work for Ahrefs, Semrush bots, MJ12bot, SeekportBot, SiteAuditBot, AhrefsSiteAudit too?
How can I achieve this?