If you’ve changed your email server information or your user password, you’ll need to update your account information. Outlook gives you a few ways to do this.
This Knowledgebase article will cover how to do this in 2 ways.
How to Update Email Account Settings in Microsoft Outlook 365
How to Update your Email Account Settings from within Microsoft Outlook
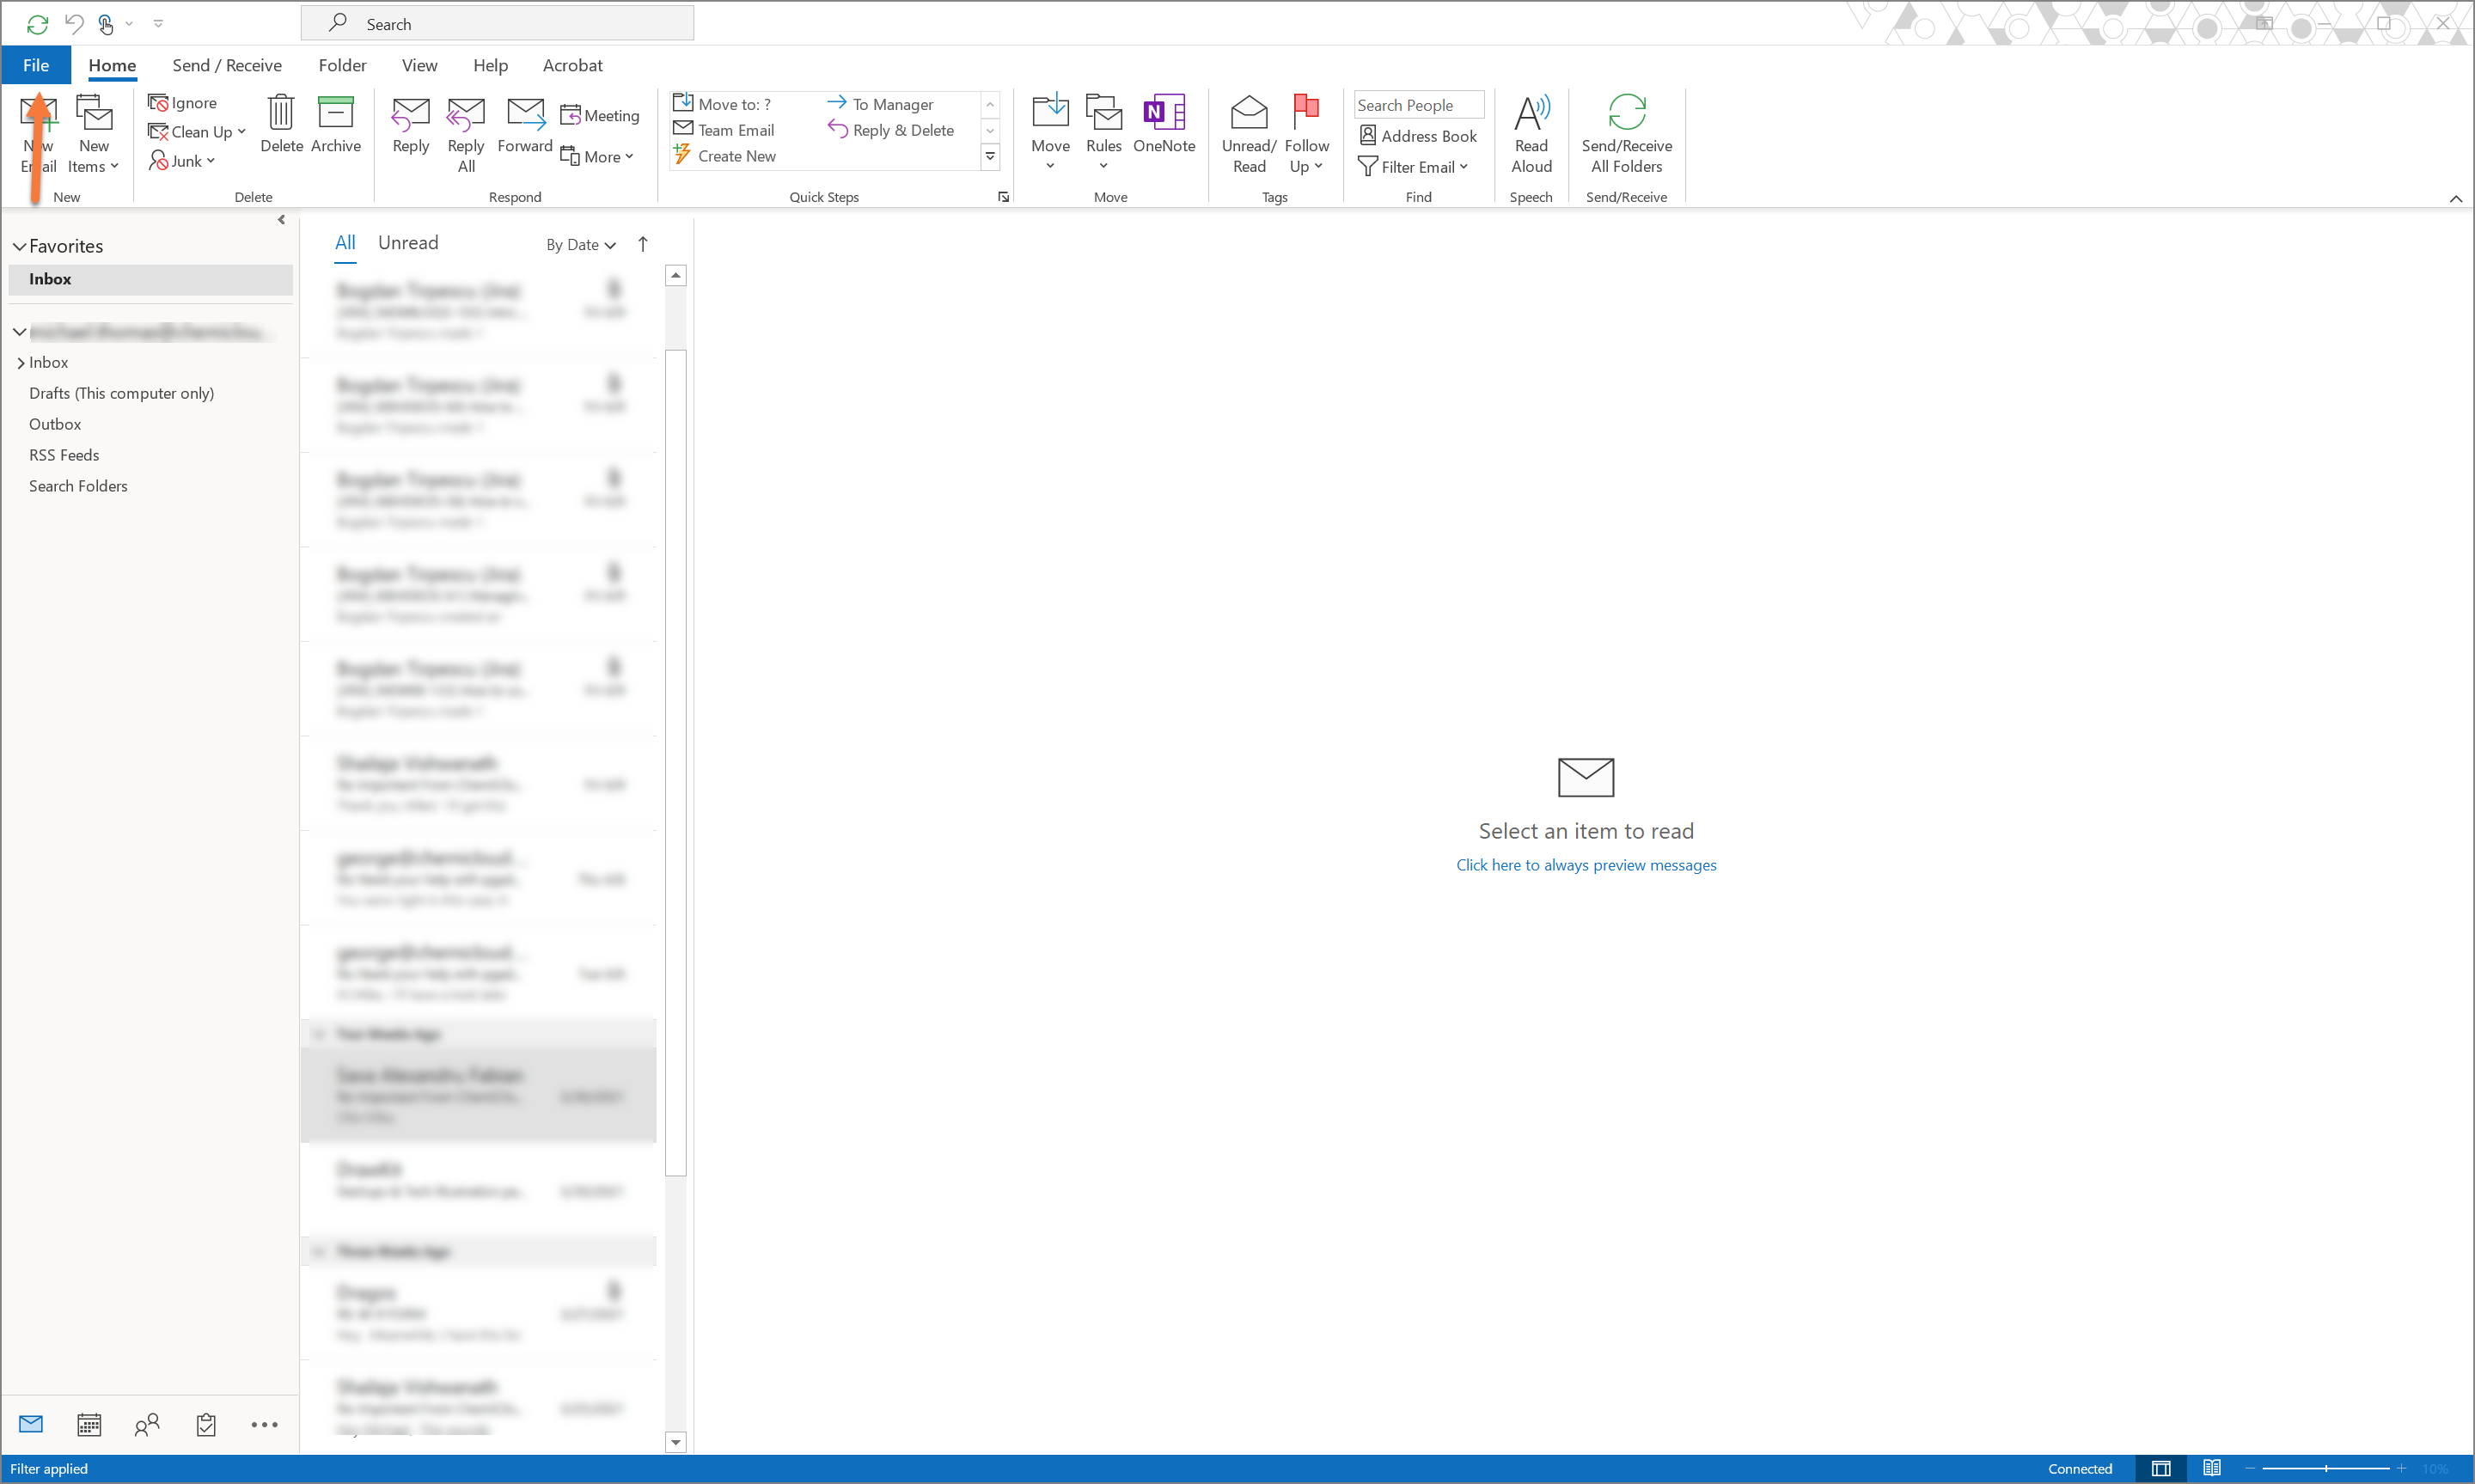
Step 1: Open Microsoft Outlook and click File in the top left corner.
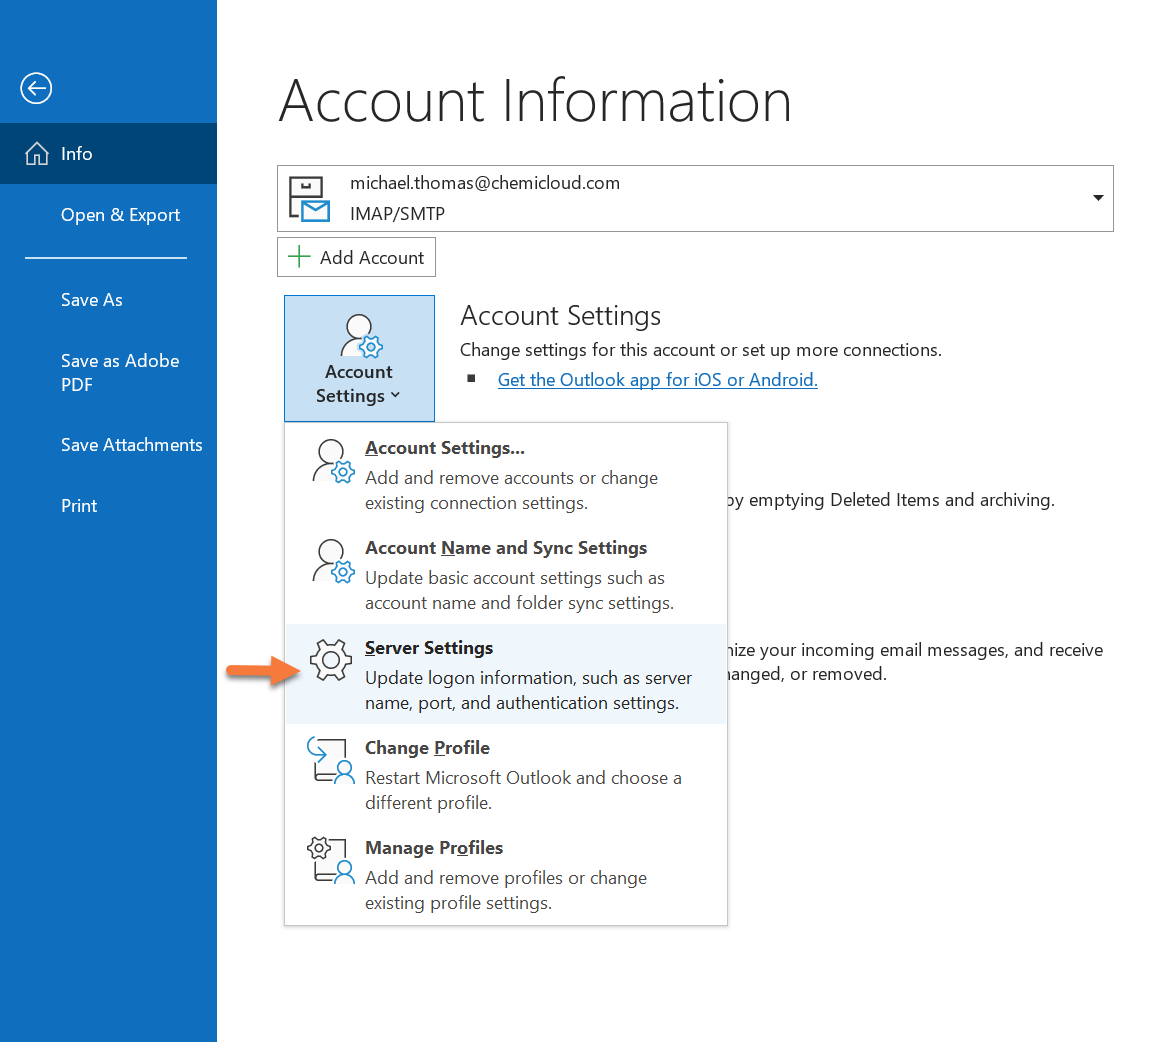
Step 2: Click Account Settings, then choose Server Settings.
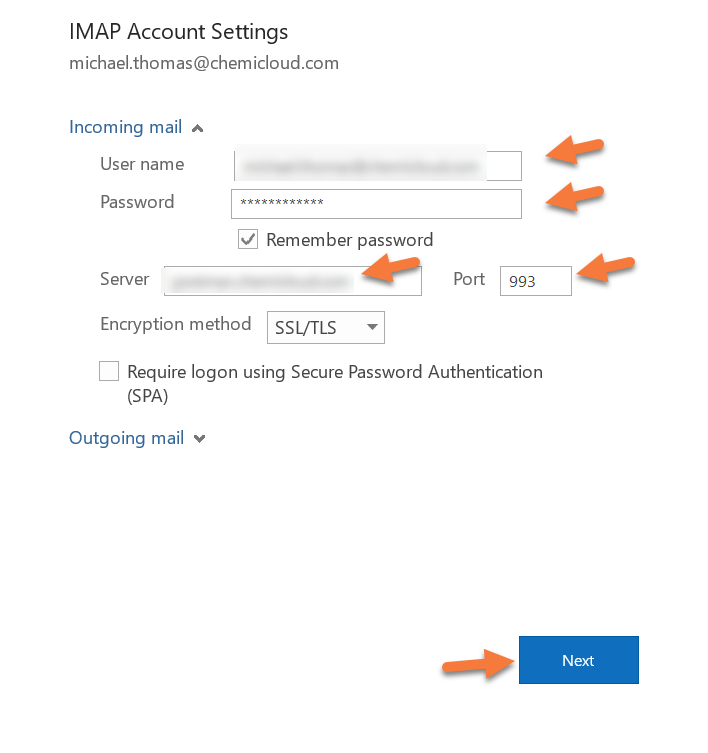
Step 3: Enter your updated credentials or server information, then click Next.
Step 4: Outlook will verify the information is correct and it will send a test message. When it has finished, click Done.

And that’s how you update your email account settings inside of Outlook.
How to Update your Email Account Settings using the Control Panel
Step 1: Open the Start menu by clicking the Windows flag in the lower-left corner, then begin typing the following: Control Panel. When you see the Control Panel at the top, click it to open the Control Panel.

Step 2: In the top right corner of the Control Panel, search for Mail.
When Mail comes up in the Control panel, click it to open this panel.

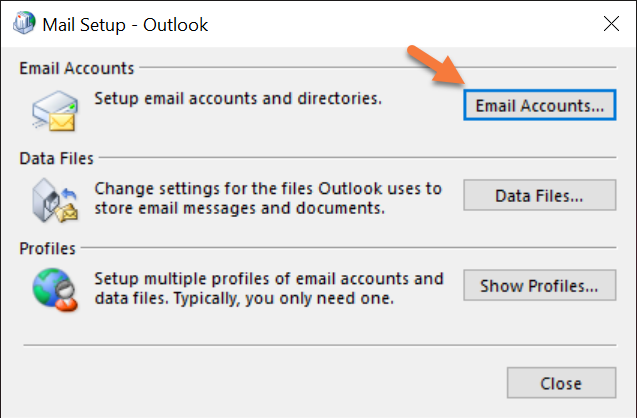
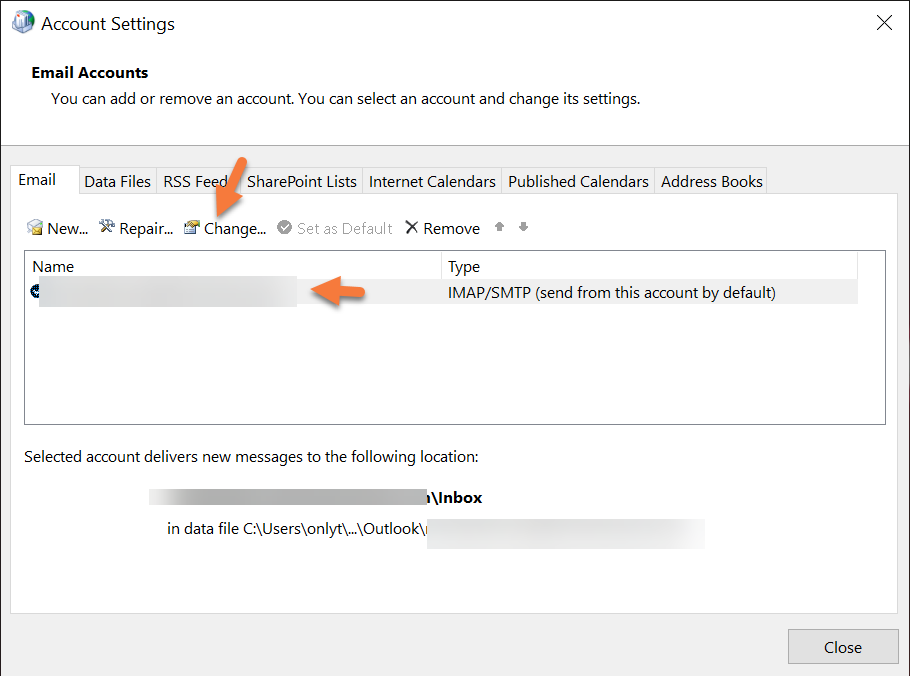
Step 3: In the Mail window, click Email Accounts.
Next, find your account from the list, and click Change.
Step 4: Enter your updated account information in the new dialog and then click Next.

Outlook will verify it can connect to the server using the updated settings and will send a test email.
Click Close when finished.

And that’s how you update your email account settings in Outlook without having Outlook open.
And that’s a wrap!
this did not work at all. none of the stuff above appears after “click on Mail Microsoft Outlook”. Microsoft changed Outlook since this page was written. It is not the same now in 2024.