By default, email accounts added to Windows 10 Mail are added as IMAP. However, if you wish to configure a POP3 account in Windows 10 Mail, this guide will be of use to you.

Adding a POP3 Email Account to Windows 10 Mail
If you’ve never used the built-in Mail app in Windows 10, this section will cover how to add your first account to the application.
Windows Mail will default to using IMAP for new accounts. If you are looking to add a POP3 mailbox, please see our guide on How to Easily Setup an IMAP Email Account in Windows 10 Mail.
Step 1: Open Mail. This can be done by clicking the![]() logo in the bottom left corner of your taskbar on your keyboard type mail, then select Mail from the search results.
logo in the bottom left corner of your taskbar on your keyboard type mail, then select Mail from the search results.
Step 2: When Mail opens for the first time, you’ll see a screen that looks like this:
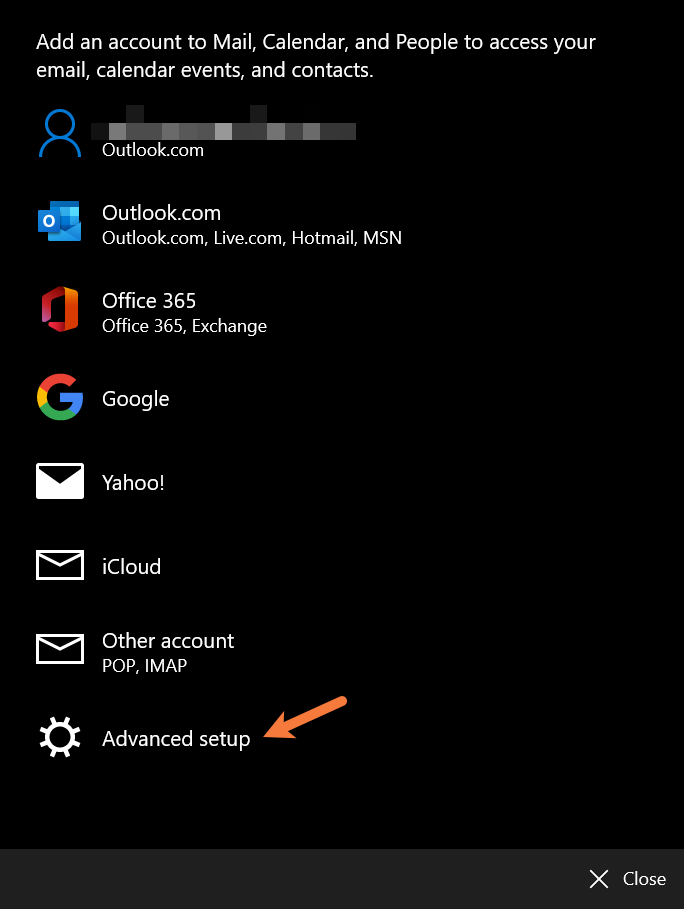
Be sure to select Advanced setup.
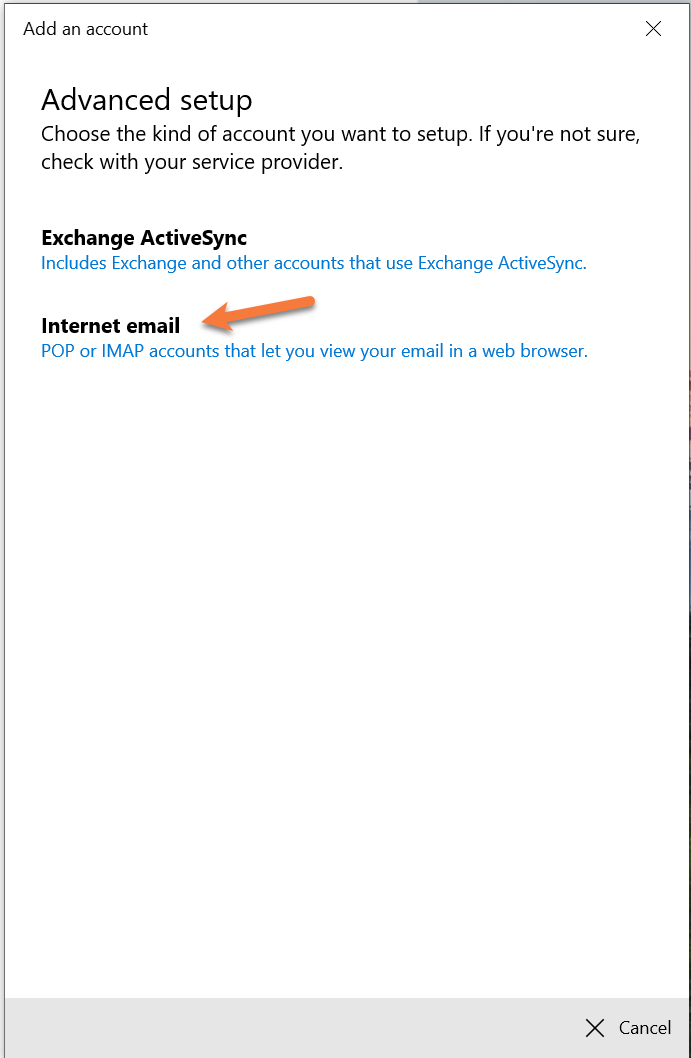
Step 3: On the next screen, select Internet email.
Step 4: On the next screen, you’ll need to enter some account information.
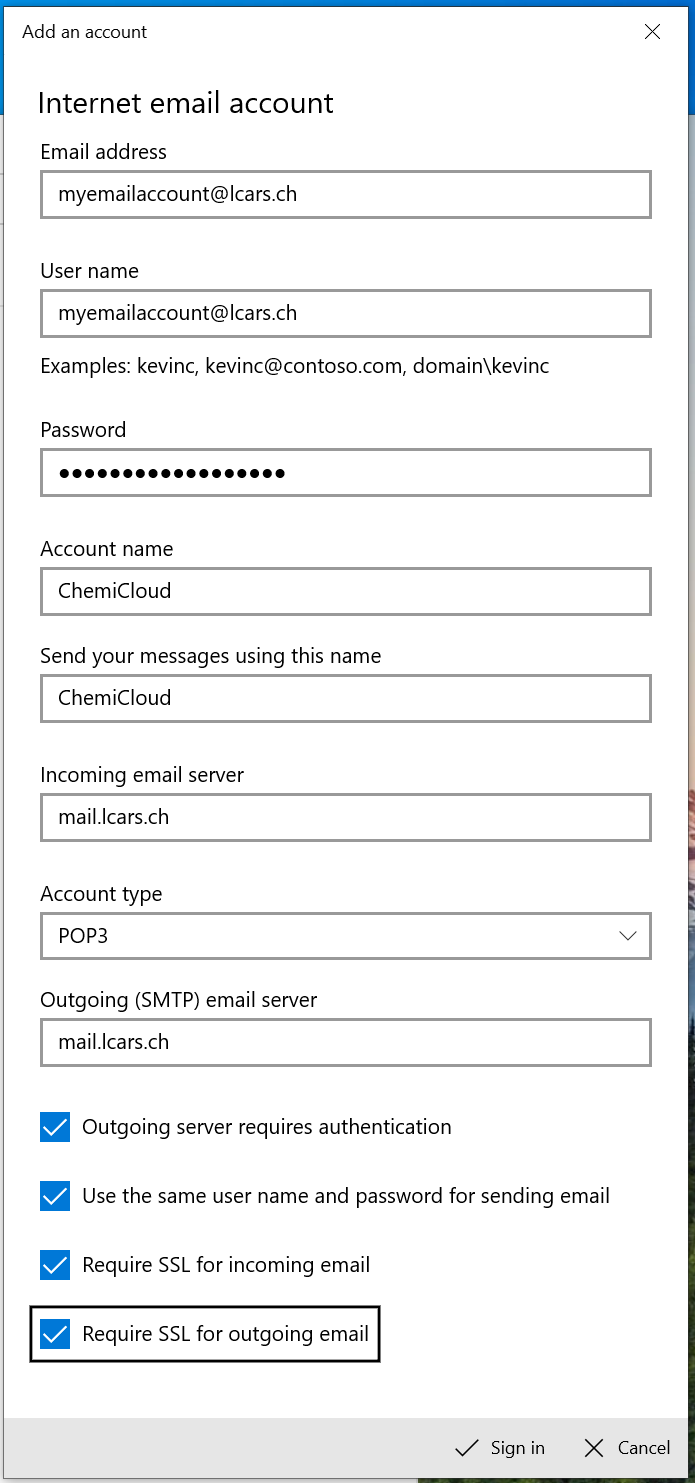
There’s a lot of info on that screen, so let’s break it down into chunks.
The first 3 fields of this window are asking you for the Email Address you are adding and the password for the account. Yes, it is asking you to enter the email address twice. 😉
Struggling with the Windows 10 Mail client setup? ChemiCloud is the hosting solution designed to save you money and time! 🤓 Check out our email hosting plans!
Moving on to the middle 2 fields, the first field – Account name – is the name of the account and how it will appear in Windows Mail. If you have multiple email accounts, you would name them so you can identify them and ensure you’re sending mail from the right account.
Under Send your messages using this name, this is the name people will see when they receive a message from you sent via Windows Mail.
Finally, to the last 3 fields and the 4 checkboxes, you will want to enter your mail server information. If your mail is hosted by ChemiCloud, it will be similar to the following:
Your Incoming email server should be mail.yourdomain.tld
Account type should be set to POP3
Outgoing (SMTP) email server should be mail.yourdomain.tld
All 4 checkboxes should be checked.
Click Sign In to proceed.
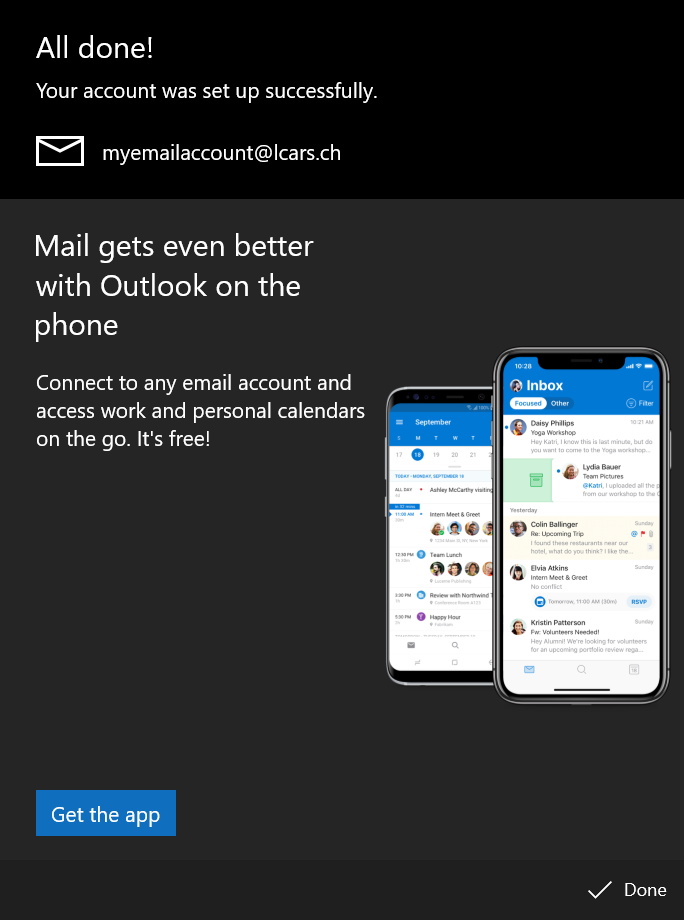
If the username, password, and mail server settings you entered were correct, you should see the all done screen, below:
Adding another POP3 Email Account to Windows 10 Mail
Adding an additional email account to Windows Mail
If you already have an email account added to Windows Mail you can use the steps below to add an additional email account.
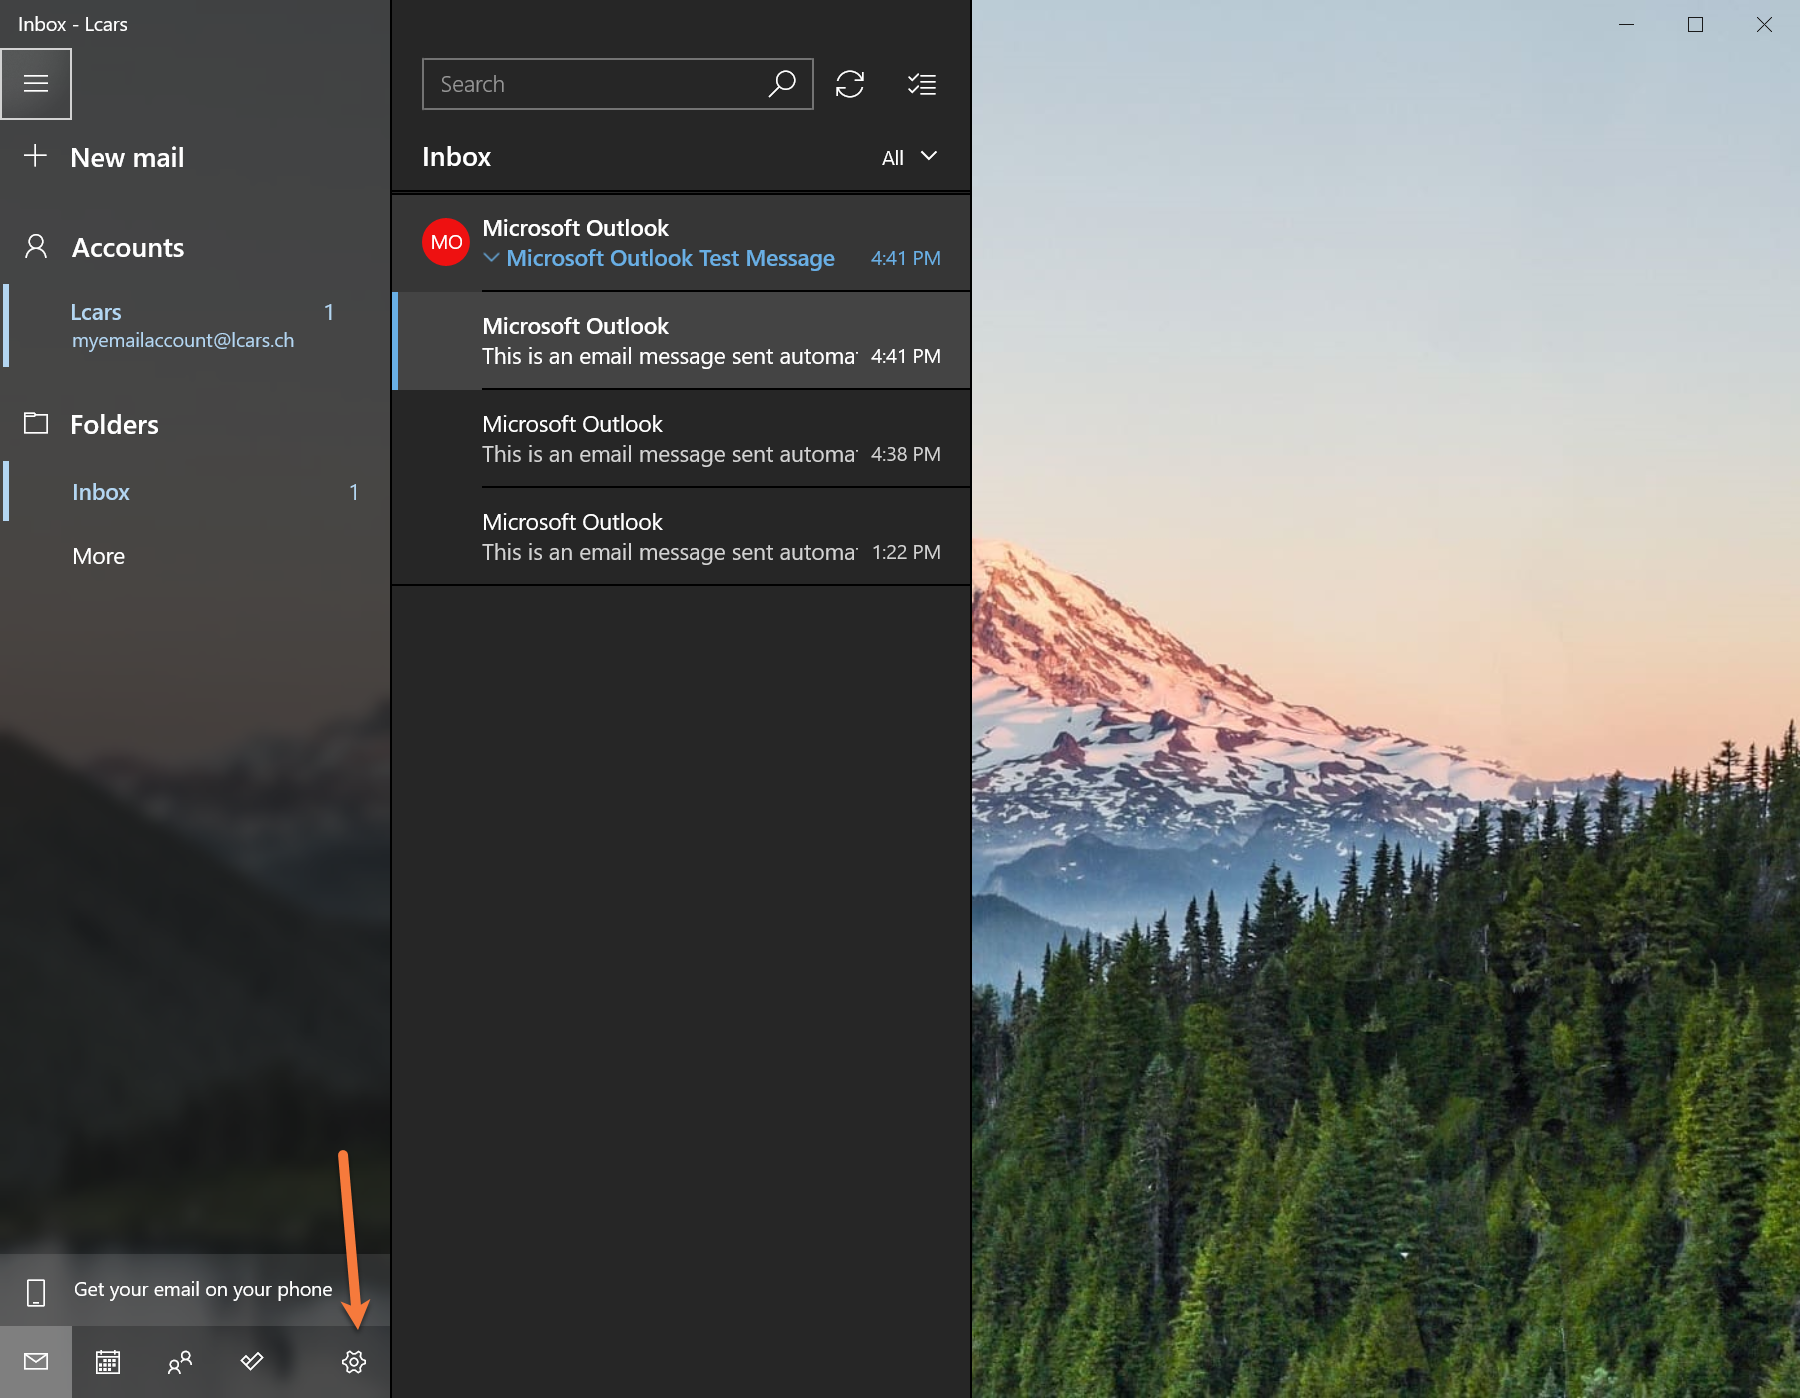
Step 1: Click the ⚙ in the bottom corner of Windows Mail to open the Settings Menu.
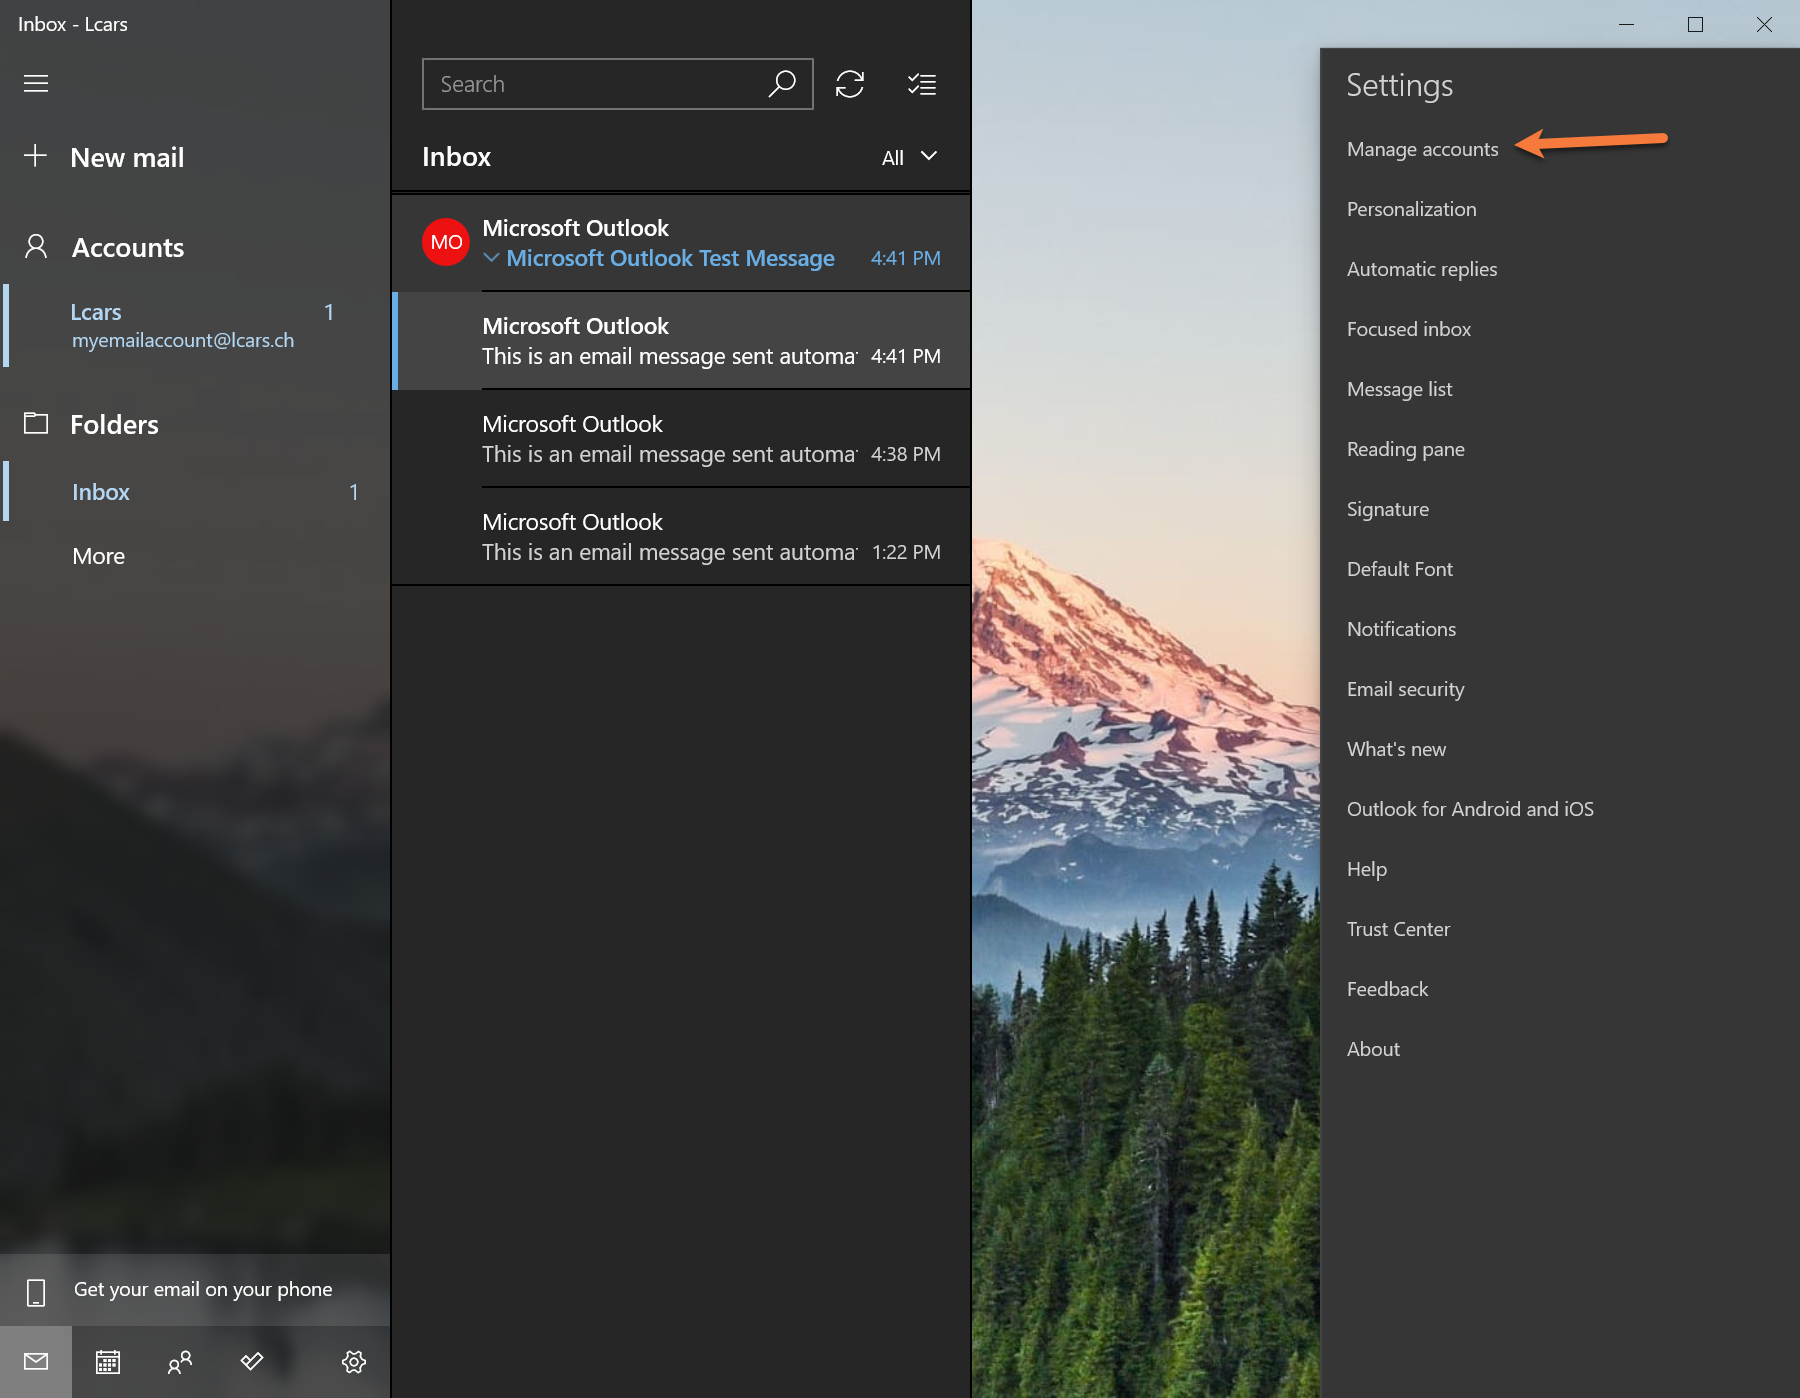
Step 2: In the settings menu, click Manage Accounts.
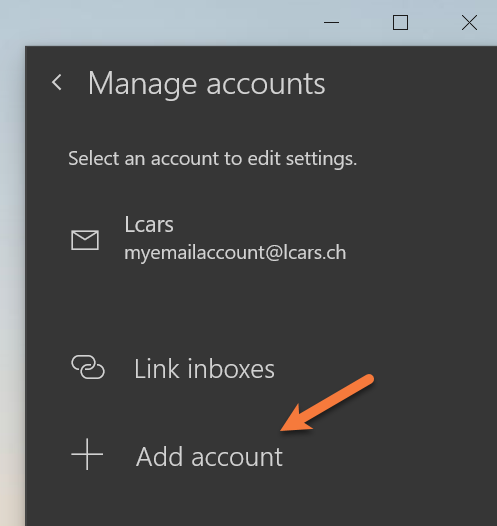
Step 3: In the Manage Accounts menu, click Add account.
Step 4: The add a new account dialog modal will appear. From this dialog box, select Advanced setup.
Step 5: On the next screen, select Internet email.
Step 6: On the next screen, you’ll need to enter some account information.
There’s a lot of info on that screen, so let’s break it down into chunks.
The first 3 fields of this window are asking you for the Email Address you are adding and the password for the account. Yes, it is asking you to enter the email address twice. 😉
Moving on to the middle 2 fields, the first field – Account name – is the name of the account and how it will appear in Windows Mail. If you have multiple email accounts, you would name them so you can identify them and ensure you’re sending mail from the right account.
Under Send your messages using this name, this is the name people will see when they receive a message from you sent via Windows Mail.
Finally, to the last 3 fields and the 4 checkboxes, you will want to enter your mail server information. If your mail is hosted by ChemiCloud, it will be similar to the following:
Your Incoming email server should be mail.yourdomain.tld
Account type should be set to POP3
Outgoing (SMTP) email server should be mail.yourdomain.tld
All 4 checkboxes should be checked.
Click Sign In to proceed.
If the username, password, and mail server settings you entered were correct, you should see the all done screen, below:
That’s it! Now you know how to add a POP3 account to the built-in Mail app on Windows 10!
We hope this was helpful! If you have any questions, feel free to leave a comment, open a ticket from your Client Area, or hit us up on Live Chat 24×7.
Hey there Kathy,
The incoming mail issues could be related to email routing or the MX records. I suggest you contact your mail provider and ask them to check if these settings are correct. If you’re hosting the emails with us, please don’t hesitate to reach us out by live chat. We’d be glad to help!
After putting my pop-3 account in it says I’am set up, but I get no incoming mail.
This is really very helpful for me to adding my pop3 account. Thanks
Unable to add my pop3 account. Password appears to change from the one I put in and I get an sincerror sign when triying to get messages