Directory privacy is a powerful feature that can help protect sensitive information and provide additional security for your website.
Using this feature wisely and in conjunction with other security measures, such as strong passwords and regular backups, is essential.
What is Directory Privacy, and why is it important?
Directory privacy refers to restricting access to specific directories on a website. This is important for protecting sensitive information or files that are not publicly accessible.
What are the use cases of Directory privacy in cPanel?
Directory privacy in cPanel is a helpful feature that can be used in various scenarios to protect sensitive information or files that should not be publicly accessible. Here are some simple use cases:
- User-specific content: Directory privacy can protect content only for specific users, such as employee data or confidential documents.
- Test or development sites: If you’re working on a new version of a website or testing new features, you may want to password-protect the directory until you’re ready to launch it publicly.
- Private storage: You may want to use your web hosting account to store personal or private files, such as backups or personal photos. Directory privacy can help ensure this content is not accessible to the public.
- Client access: If you’re building a website for a client, you may want to use directory privacy to give them access to a specific directory without exposing the rest of your website.
How to Setup Directory Privacy in cPanel
cPanel makes it easy to set up directory privacy for your website. Here are the step-by-step instructions on how to set it up in cPanel.
- Log in to your cPanel account.
- Navigate to the “File Manager” tool under the “Files” section.
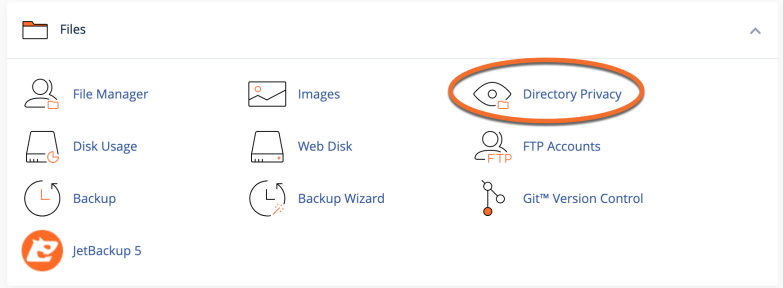
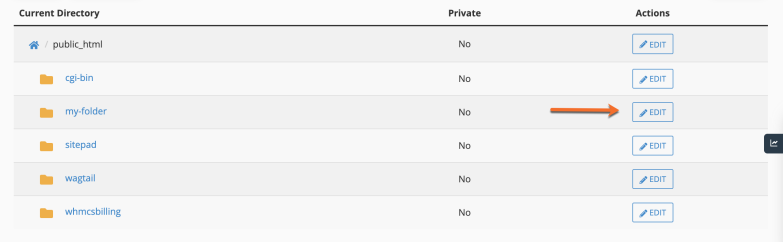
cPanel > Files > Directory Privacy - Choose the directory you want to protect by clicking on it.
- Click Edit.
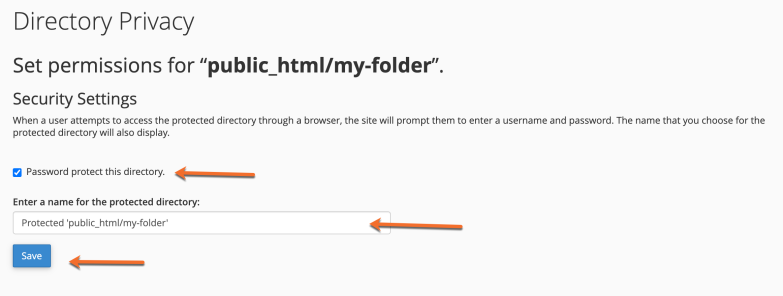
- Under Security Settings, select the Password protect this directory check box.
- In the Enter a name for the protected directory text box, type a name for the protected directory.
- Click Save
- Once you receive a confirmation message, click the Go Back URL.
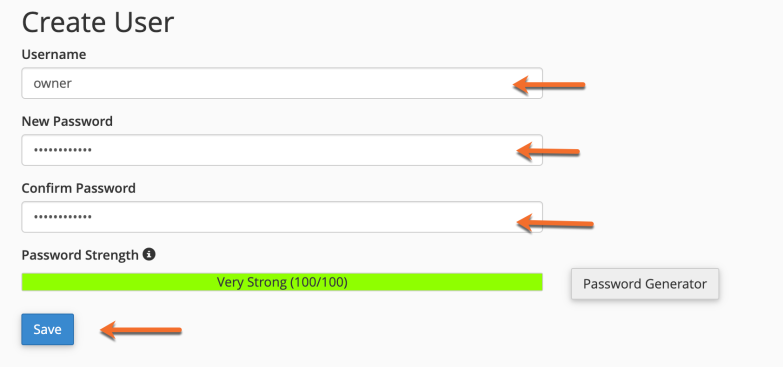
- Under Create User, type a username in the Username text box.
- In the New Password text box, type the user’s password.
- In the Confirm Password text box, retype the user’s password.
- Click the “Save” button to activate the password protection for the directory.
Once you have completed these steps, the directory will be password-protected, and only users with the correct credentials can access its contents. It’s important to note that this feature is not a substitute for proper web application security practices.
Still, it does provide an additional layer of protection for sensitive files or directories.