This article will teach you how to create a WordPress staging environment using the WordPress Toolkit in cPanel.
Suppose you need to do some testing or want to make significant changes to your website. Then, using the WordPress Toolkit, you can easily clone your existing website onto a staging/development sub-domain (e.g., staging.my-awesome-website.com).
We’ll assume that you’ve already installed WordPress. If you haven’t already installed WordPress on your site, this article will tell you how.
How to Create a WordPress Staging Environment
To create a staging environment for your WordPress site using the WordPress Toolkit, follow these steps:
- Log in to cPanel.
- In the Domains section of the cPanel’s home screen, click WordPress Management:
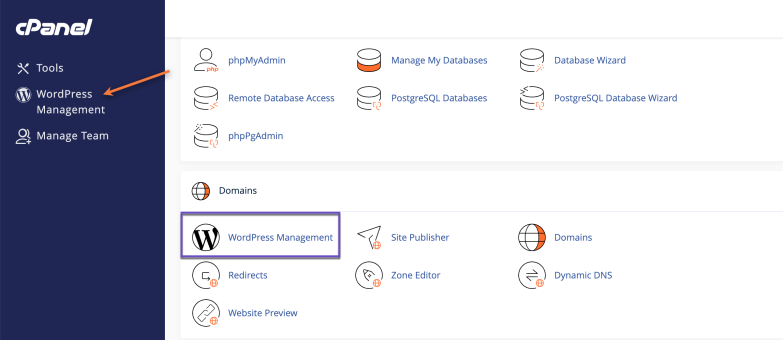
cPanel > WordPress Management - Next, the WordPress Toolkit page will appear, and you’ll see the list of the existing WordPress installs.
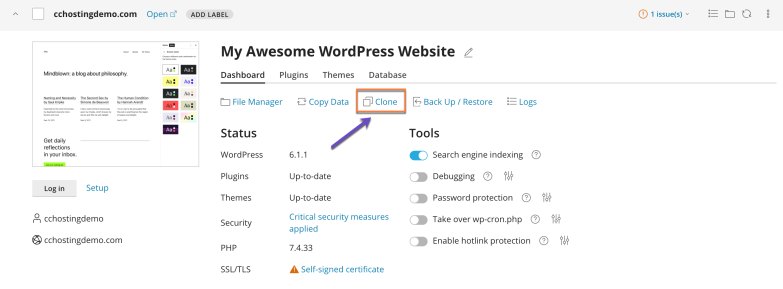
- Locate the site where you want to create a staging environment, and click Clone.
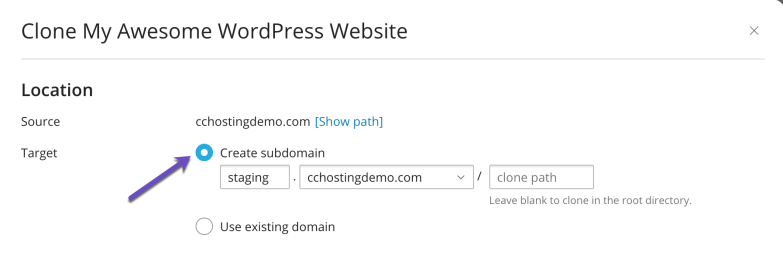
- To keep things separate, we recommend you create a staging environment for your website using a new subdomain. Additionally, you have the option to use the existing domain or subdomain. In our example, we’ll use a new subdomain.
- Once you Click Start, WordPress Toolkit will begin creating the staging environment for your website.
- When staging is complete, click Close. You now have an exact copy of your site you can use for testing and development.To keep things organized, we recommend you add a Label to both the staging and production environment. To do so, click on the Add Label button for each WordPress instance, and choose either Production or Staging:
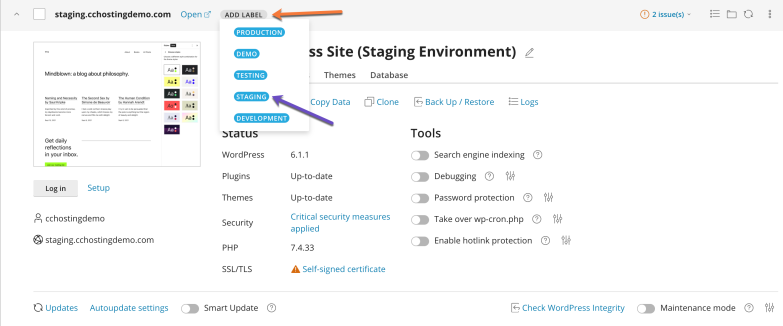
WordPress Toolkit is smart enough to disable Search engine indexing, so you don’t have to worry about duplicate content on search engines.How to Push Changes from Staging to Production Environment (Live Website)
Now that you’ve worked on your website in the staging environment, it has come time to push any changes in production, which means pushing any changes to the live website. To do so, please follow the steps below:
1. Log in to cPanel.
2. In the Domains section of the cPanel’s home screen, click WordPress Management:
cPanel > WordPress Management 3. Next, the WordPress Toolkit page will appear, and you’ll see the list of the existing WordPress installs.
4. Locate the staging environment you wish to push into production and click Copy Data.
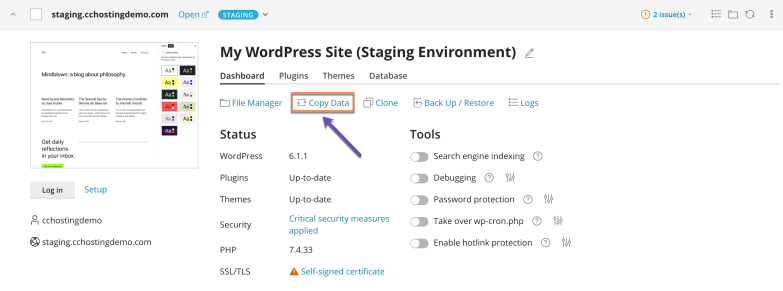
5. The Copy Data dialog box appears:

6. Under Location, select the destination (target) website. This will be the production (live website)
7. Under Data to Copy, select whether you want to copy files, the database, or both
8. Under Database Tables, select whether you want to copy specific tables, new tables, or all tables
9. Optionally, select the Create a restore point check box under Restore to create a restore point. A restore point enables you to revert the copied data if the site does not work correctly.
10. Click Start. WordPress Toolkit copies the data you specified.

That’s it !! Your staging changes have been pushed to your live website.
These articles really help. Thank you very much.