This article will show you how to install WordPress quickly and easily using the WordPress Toolkit in cPanel. The WordPress Toolkit is packed with features that will let you configure and manage your WordPress websites without any hassle.
How to Install WordPress in cPanel Using WordPress Toolkit
To install WordPress using the WordPress Toolkit, follow the steps below:
- Log in to cPanel.
- In the DOMAINS section of the cPanel’s home screen, click WordPress Management:
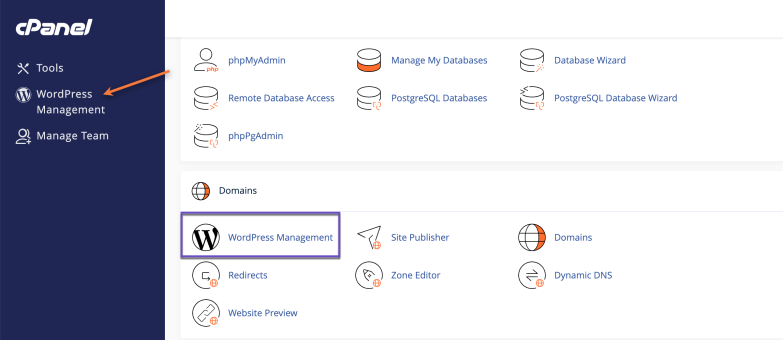
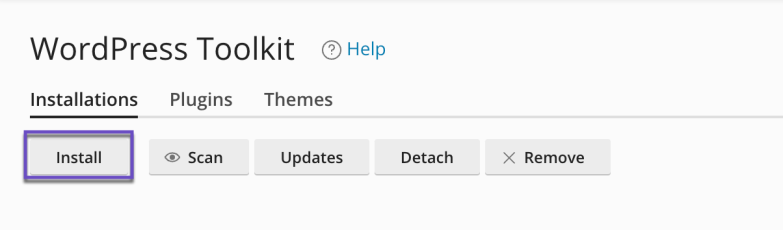
cPanel > WordPress Management - The WordPress Toolkit page will load. Under Installations, click Install:
Installations > Install - Under Choose installation options, there are multiple options to customize your site:
- Installation path text box: you can optionally specify a different folder to install WordPress.
- In the Website title text box, specify the title of your site.
- In the Plugin/theme set list box, you can optionally select a package of plugins and themes to install.
- In the Website language list box, select the language for the site.
- In the Version list box, select the WordPress version you want to install.Unless you have a specific reason for not doing so, you should install the latest version.
- Under WordPress Administrator, type the username you want to use to manage your site in the Username text box.
- In the Password text box, type the password you want to use for your WordPress admin panel.
- In the Email text box, type a valid e-mail address. This address is used to receive update notifications and can be used to reset your password if needed.
- Under Database, you can optionally change the database settings.(There’s no need to change any of them unless you have a specific reason).
- Under Automatic Update Settings, you can optionally change the settings for WordPress, plugin, and theme updates.(There’s no need to change any of them unless you have a specific reason).
- Click Install. WordPress Toolkit begins the installation, and you’ll see the installation progress:

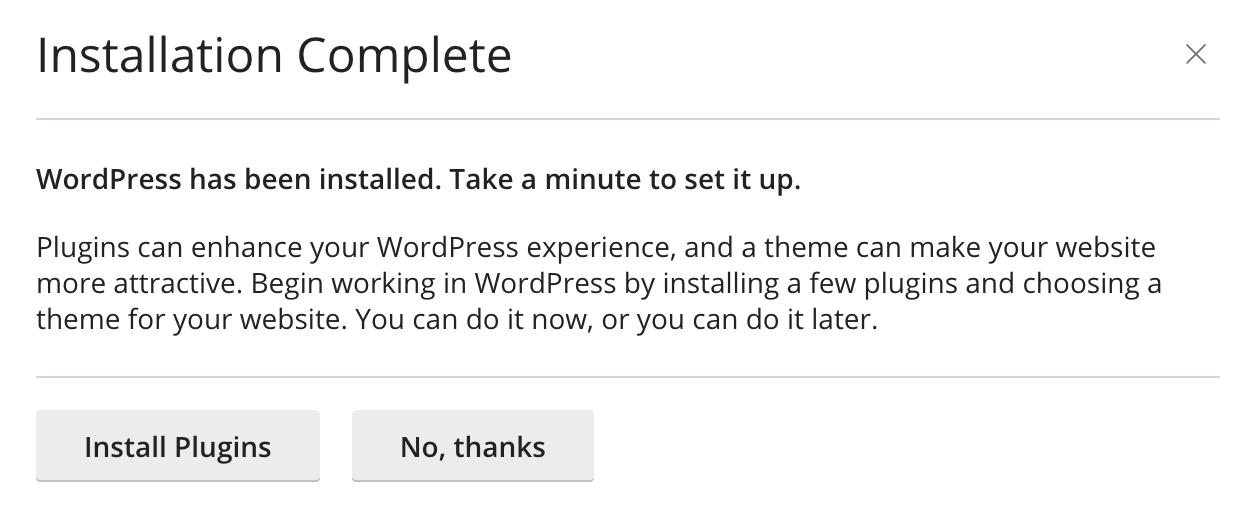
6. After the WordPress installation is complete, you can optionally install plugins (Don’t worry, you can do it at a later time):

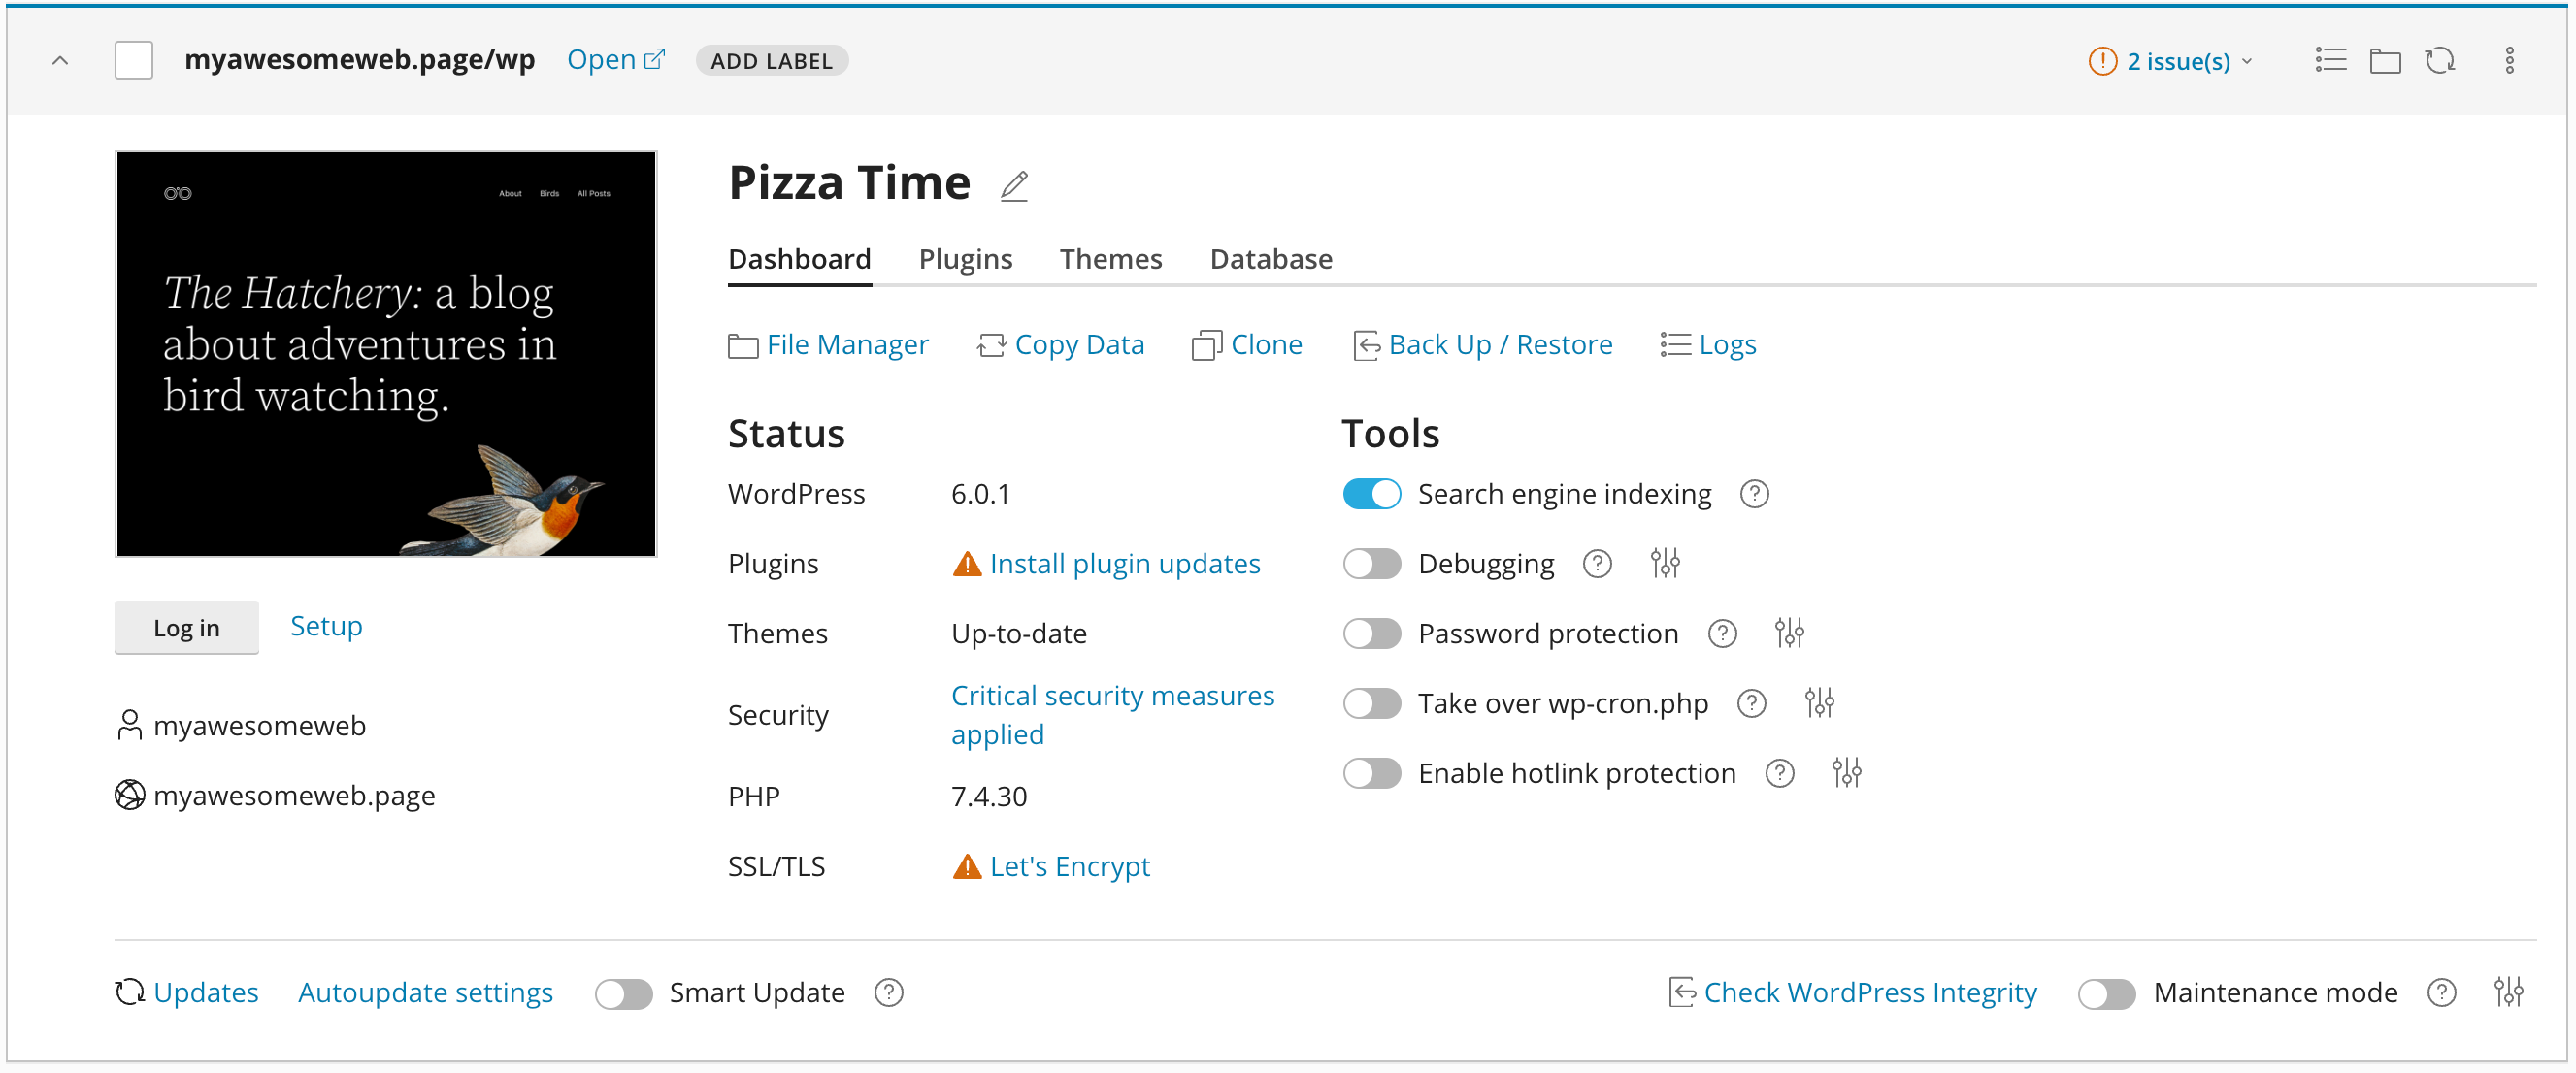
Now that WordPress is installed, you can use the WordPress Toolkit to help manage your WordPress install.

WordPress Install Management Please see this article for more information on how to Manage your WordPress install.
Updated on December 5, 2024Spring Refresh Sale!👉 View Deals - The WordPress Toolkit page will load. Under Installations, click Install: