This article will show you how to manage your WordPress install quickly and easily using the WordPress Toolkit in cPanel. The WordPress Toolkit comprises features that let you configure and manage your WordPress websites without hassle.
We’ll assume that you’ve already installed WordPress. If you haven’t already installed WordPress on your site, this article will tell you how.
How to Manage WordPress Installs
To manage an existing WordPress install using WordPress Toolkit, follow these steps:
- Log in to cPanel.
- In the Domains section of the cPanel’s home screen, click WordPress Management:
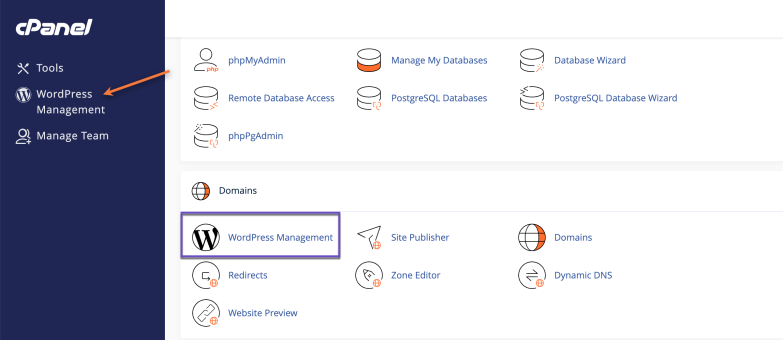
cPanel > WordPress Management - Next, the WordPress Toolkit page will appear, and you’ll see the list of the existing WordPress installs.

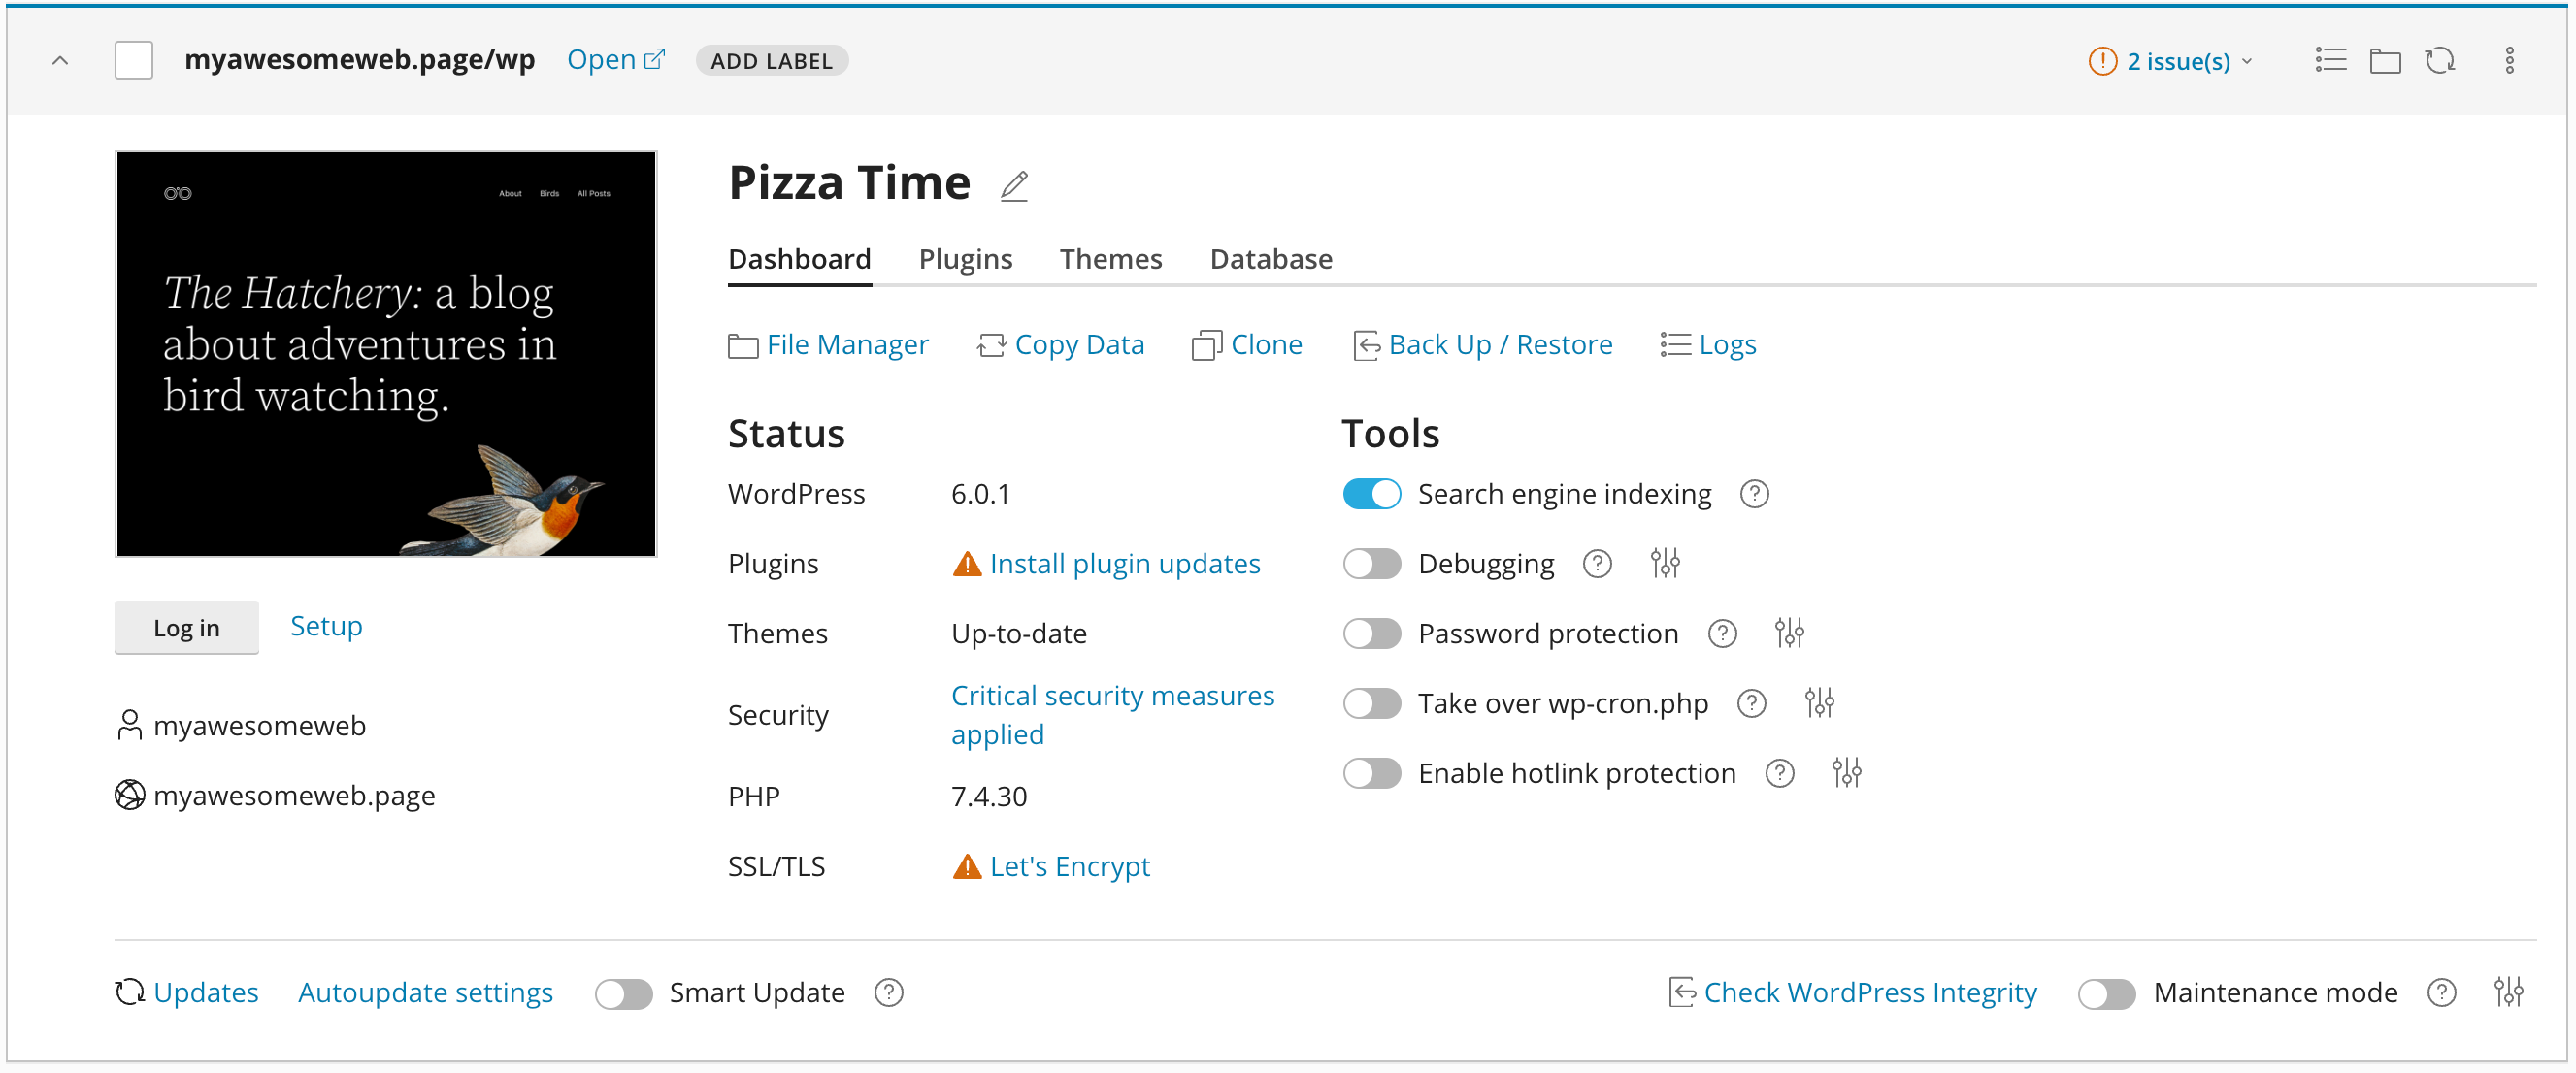
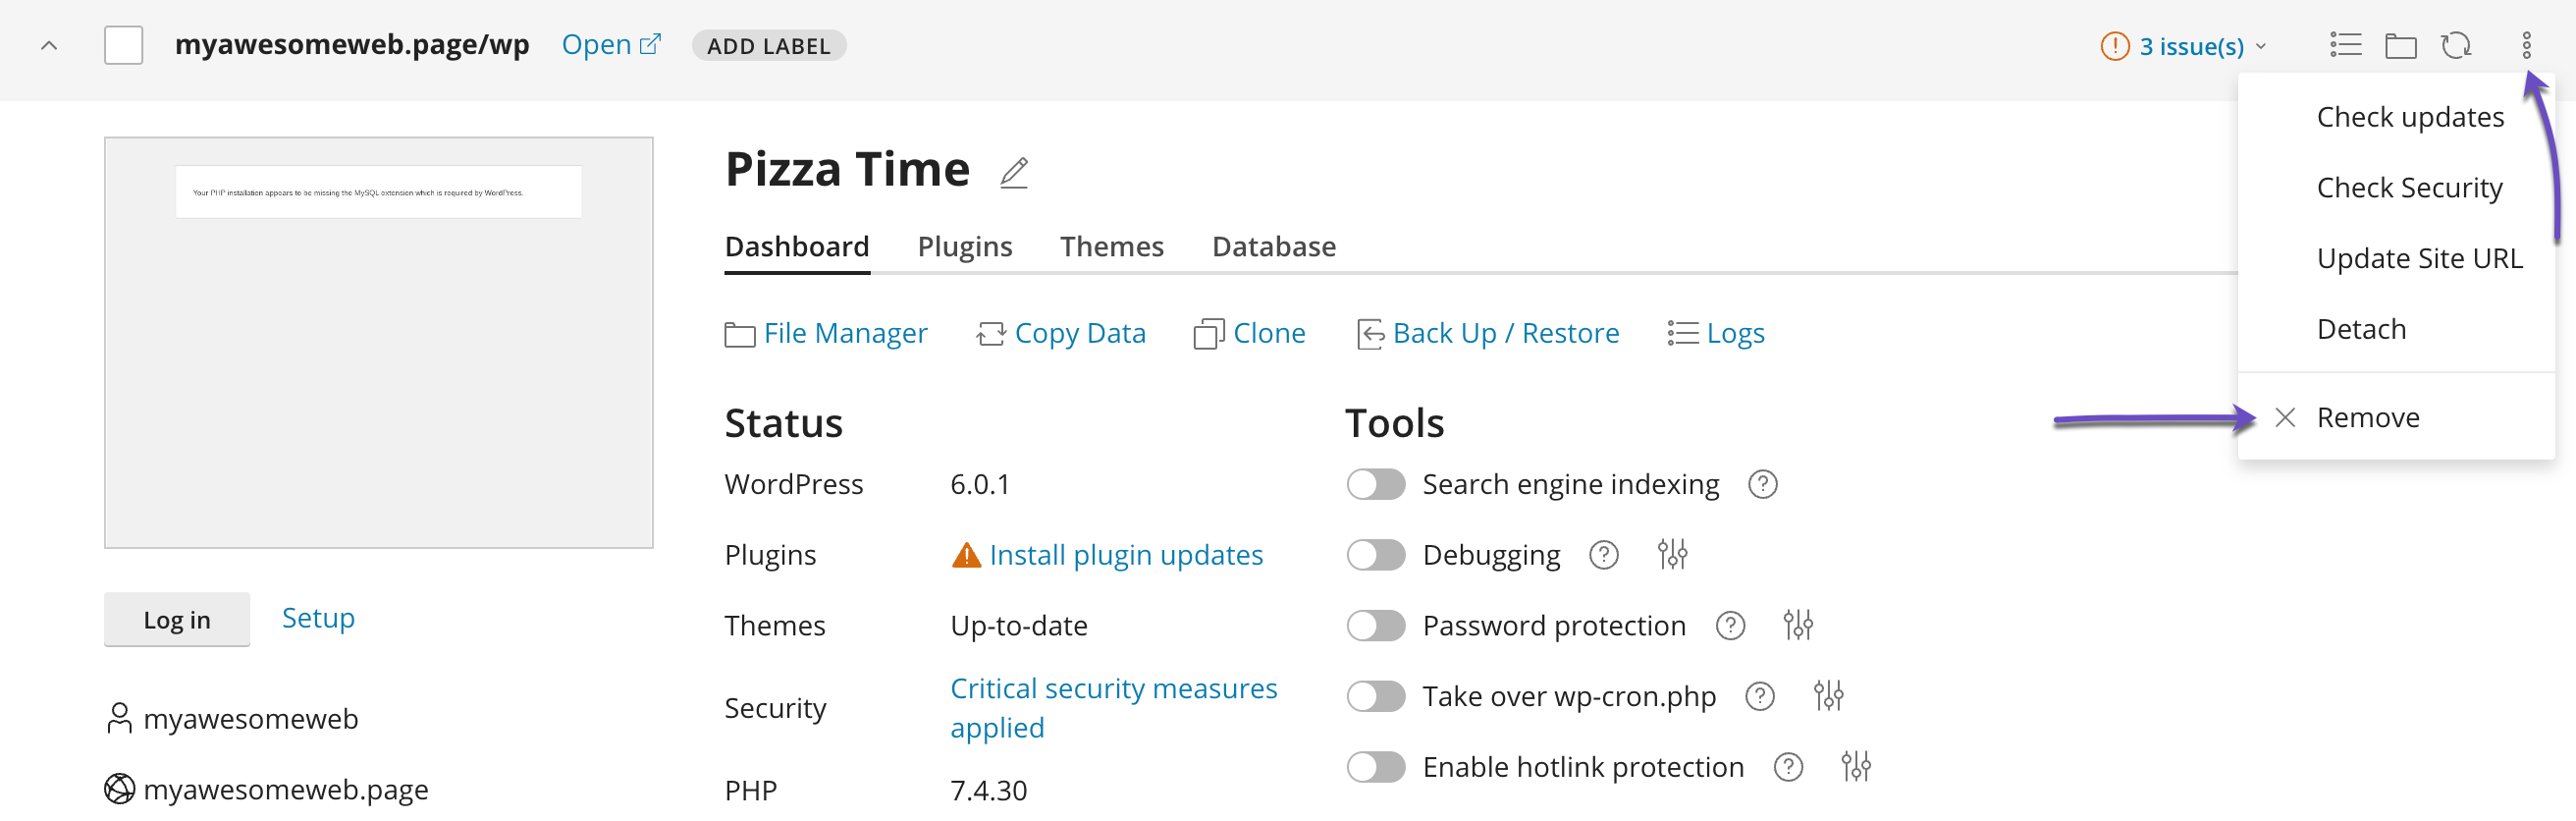
In the WordPress Toolkit dashboard, we’ll explore multiple management options below.
- To view your site, click Open.
- To add a label to your WordPress install (Production, Staging, Development), click Add Label
- To log in to your WordPress Administrator panel, click Log in.
- To change various site settings, such as the login password, administrator’s e-mail address, or site language, click Setup.
- To view and manage your files for your WordPress site, click File Manager.
- To copy files from one WordPress installation to another, click Copy Data.
- To view action logs for the install, click Logs.
- To place the site in maintenance mode, click the Maintenance mode toggle button. Click the Manage icon beside to customize maintenance mode settings, such as the maintenance email template, the message that appears to site visitors, the Countdown timer, or Social Media links.
- To enable or disable search engine indexing, click the Search engine indexing toggle.
- To enable or disable WordPress debugging, click the Debugging toggle.
- To enable or disable password protection, click the Password protection toggle.When this option is enabled, all site visitors must enter a username and password to access the site.
- To enable or disable hotlink protection, click the Enable hotlink protection toggle.Hotlink protection prevents other websites from displaying, linking, or embedding your images and, consequently, using your bandwidth.
Checking WordPress Install Integrity
This feature comes in handy if you suspect your site is infected with malware. In this scenario, use the Verify Checksums option to check the integrity of the WordPress core files.
If checksums fail to match, you can quickly reinstall WordPress core files without affecting your site content.
Detaching a WordPress Site
This option comes in handy if you want to remove (detach) a WordPress installation from WordPress Toolkit. When you do this, you can no longer use WordPress Toolkit to manage the WordPress install. To do this, follow these steps:
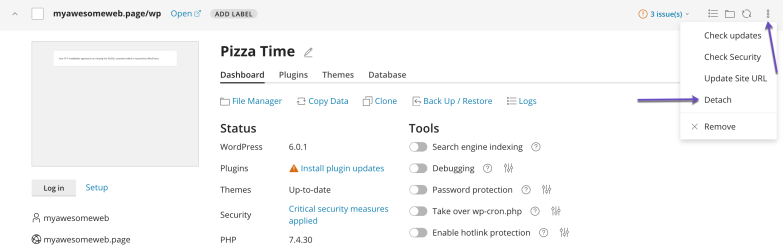
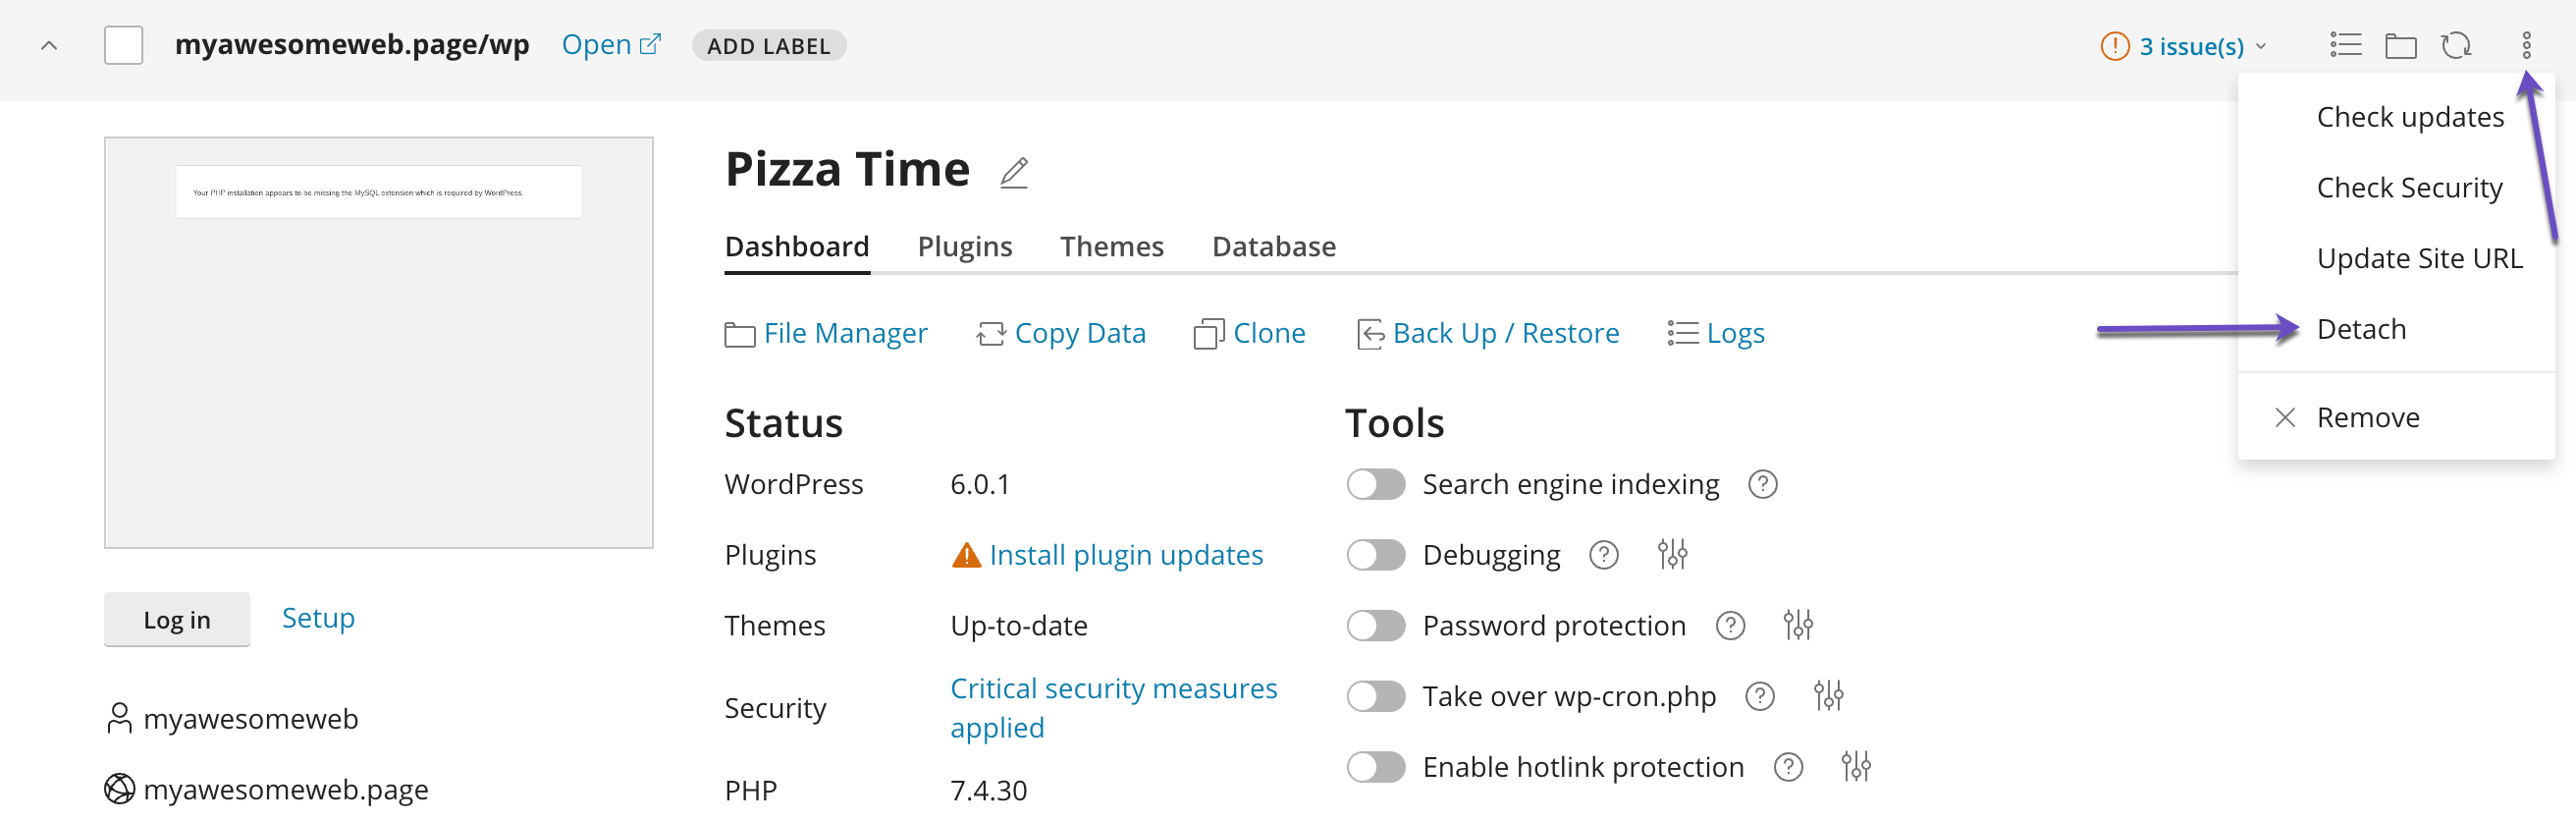
- From the WordPress Toolkit main page, in a site list entry, click the three dots icon, and then click Detach:
- In the Detaching WordPress Websites dialog box, click Detach to confirm. WordPress Toolkit will detach the install.
Deleting a WordPress Site
This option comes in handy if you want to delete a WordPress install. To do this, follow these steps:
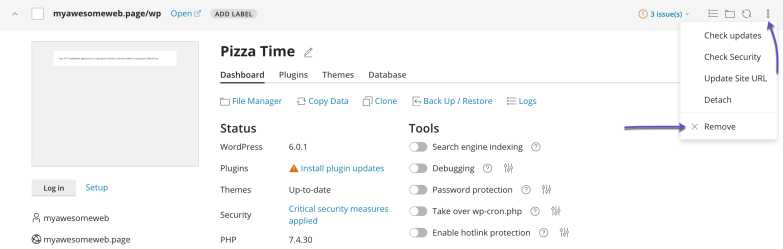
- From the WordPress Toolkit main page, in a site list entry, click the three dots icon, and then click Remove:
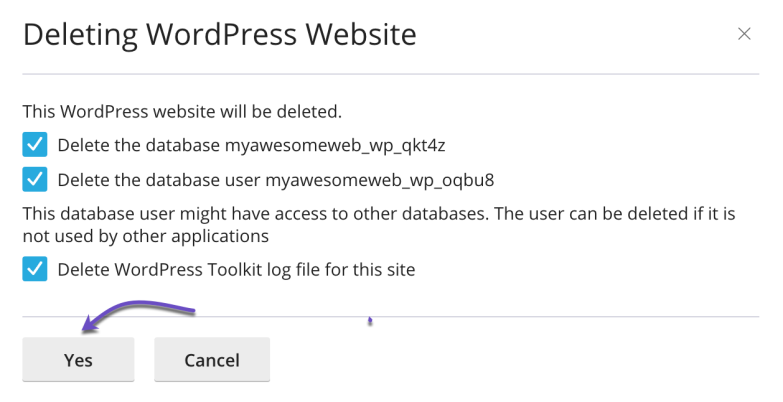
- Select the data you want to remove, and then click Yes. WordPress Toolkit will delete the data you specified.

Updating WordPress
WordPress Toolkit makes updating your site—and keeping it updated—simple. To do this, follow the steps in this article.
Creating a Staging environment
This feature comes in handy if you need to do some testing or want to make significant changes to your website. Then, using the WordPress Toolkit, you can easily clone your existing website onto a staging/development sub-domain (e.g., staging.my-awesome-website.com).
Please follow the steps in this article to create a staging environment for your WordPress site.
Backing up and restoring a WordPress Site
WordPress Toolkit makes the backup and restores process easy. To back up or restore your WordPress site, follow the steps in this article.