Overview
Apple Mail is the default email client that comes with every Mac using OS X 10.15 or later. This tutorial will show you how to configure your email address on Mac using Apple Mail application.
This article is primarily for Mail version 13.4 on mac OS Catalina (Version 10.15.4). Your version of Apple Mail may vary depending on the version of macOS you are using.
Requirements
Before you start, be sure to have these handy:
- Your email address – for more information on how to create an email address, please read this article: How to Create an Email Account
- Your email password
- Your mail client settings (Incoming/Outgoing) – for more information on how find your mail client settings, please read this article: How to Find Mail Client Settings in cPanel
How to Configure Your Email on Mac Using Apple Mail
Let’s begin!
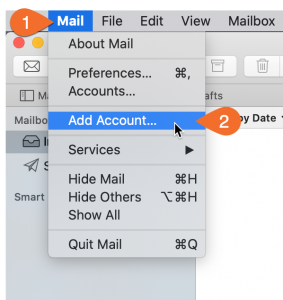
1) Open Mail. If you haven’t added an email account yet, you’ll be taken directly to the Add Account prompt.
If you’re adding an additional account, or this prompt doesn’t otherwise load automatically, you’ll need to select Add Account from the Mail menu.
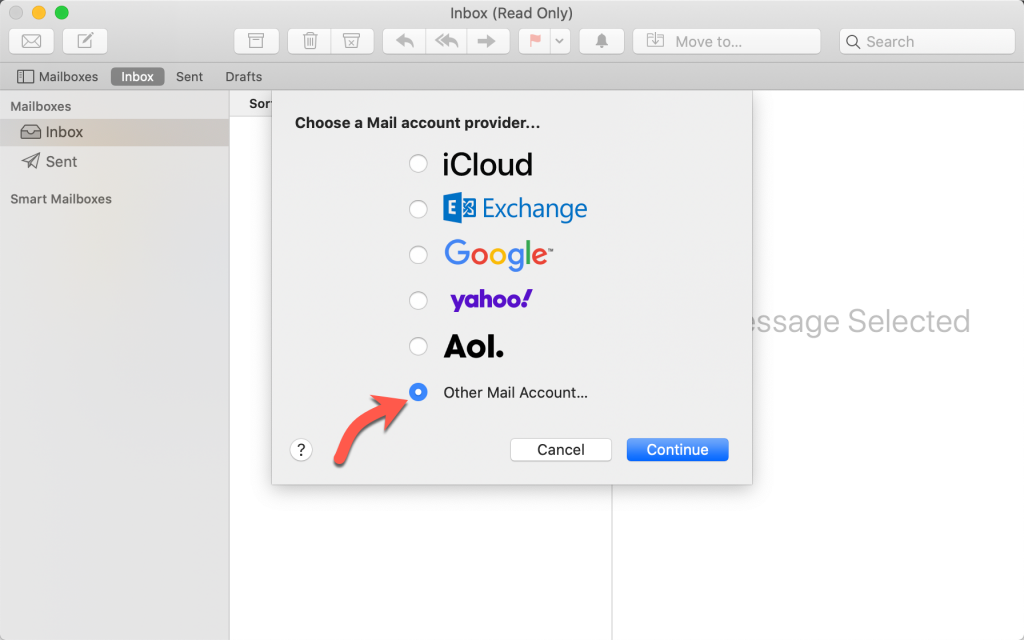
2) From the Add Account prompt, select Add Other Mail Account… and click Continue.
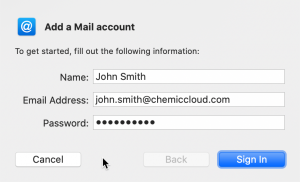
3) Fill out the following information and click Sign In.
- Full Name: Your name as you would like it to appear.
- Email Address: Your full email address.
- Password: The password for your email account.
4) Apple Mail app will attempt to contact the mail server. The default search uses “autodiscover.example.com” — unless you have this subdomain already created and an SSL Certificate installed, this will not work.
If autodiscover setting has been unsuccessful, the message “Unable to verify account name or password” will appear in a new settings box.
5) Fill in the fields using your email info and incoming/outgoing mail settings. For more information on how find your mail client settings, please read this article: How to Find Mail Client Settings in cPanel
- Email Address: Your full email address.
- User Name: Your full email address.
- Password: The password to your email account.
- Account Type: We strongly recommend connecting via IMAP. To learn more, please see: What is the difference between POP3 and IMAP?
- Incoming Mail Server: mail.yourdomain.tld (replace yourdomain.tld with your domain name)
- Outgoing Mail Server: mail.yourdomain.tld (replace yourdomain.tld with your domain name)
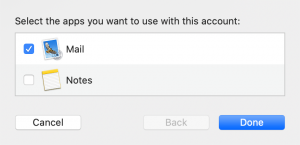
6) You’ll then be asked to confirm which apps that you’d like to attach the email account to. Select email and any others that you’d like and click Done.
That’s it! You just configured your email address on Apple Mail. As always, if you have any questions, please feel free contact ChemiCloud’s award winning 24/7 support.