WHMCS is your ultimate companion for reselling web hosting. This guide will help you set up the Payment Gateway Settings of WHMCS, which is the third step you should take after installing WHMCS.
Let’s begin!
How to Configure Payment Gateways in WHMCS
You can follow the steps in this article or watch out our video tutorial.
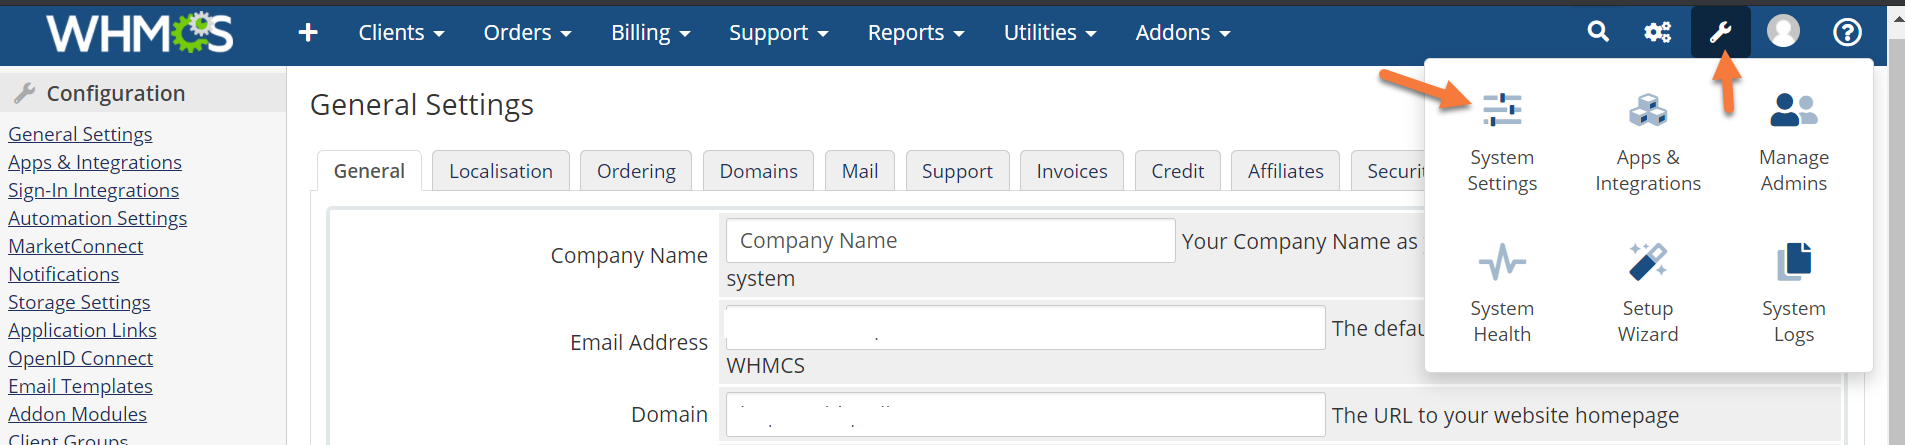
Step 1: First, log in to your WHMCS Admin. Once logged in, click the wrench in the top right corner, then click System Settings.
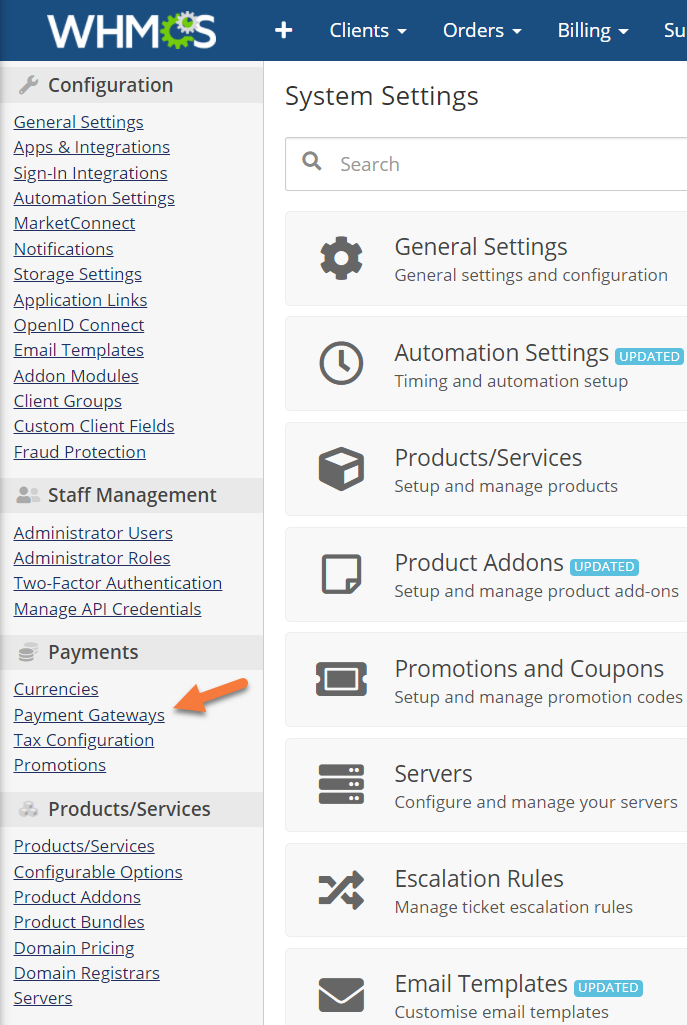
Step 2: From the tools on the left, look for the Payments section, and click Payment Gateways.
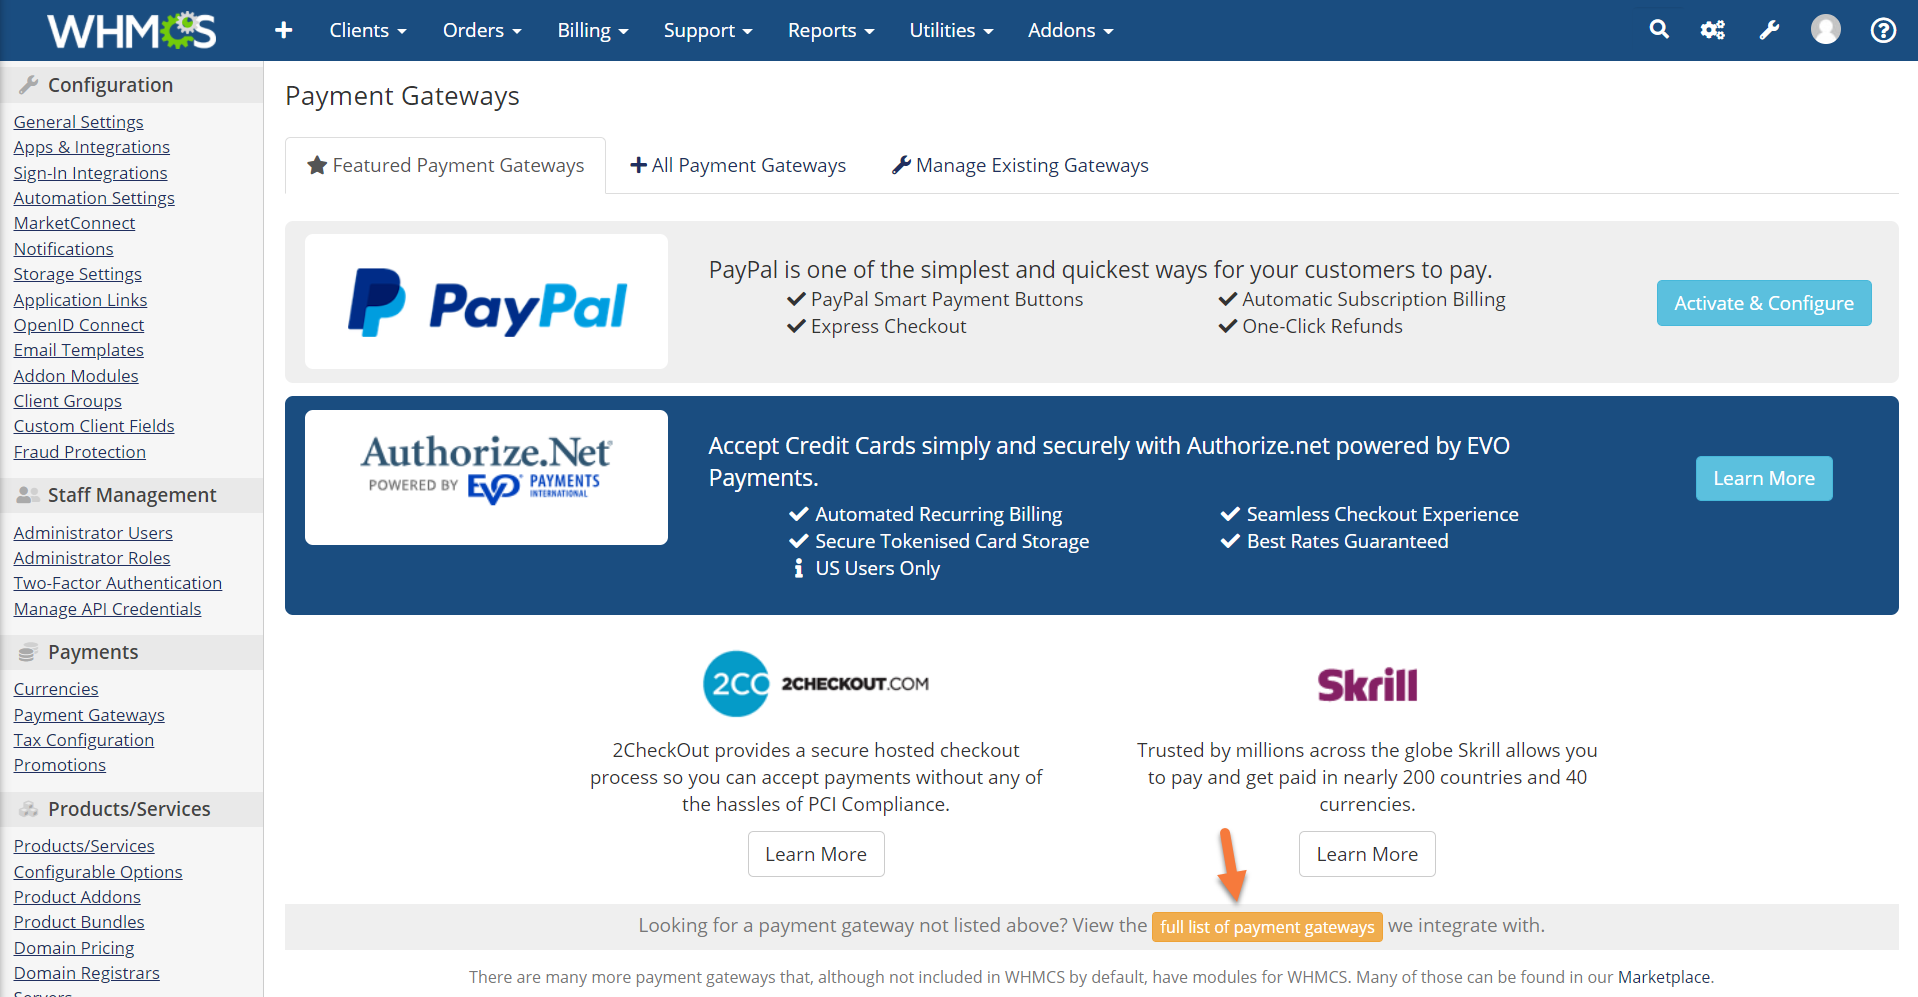
Step 3: The first time you load the Payment Gateways setting, you’ll be presented with this screen:
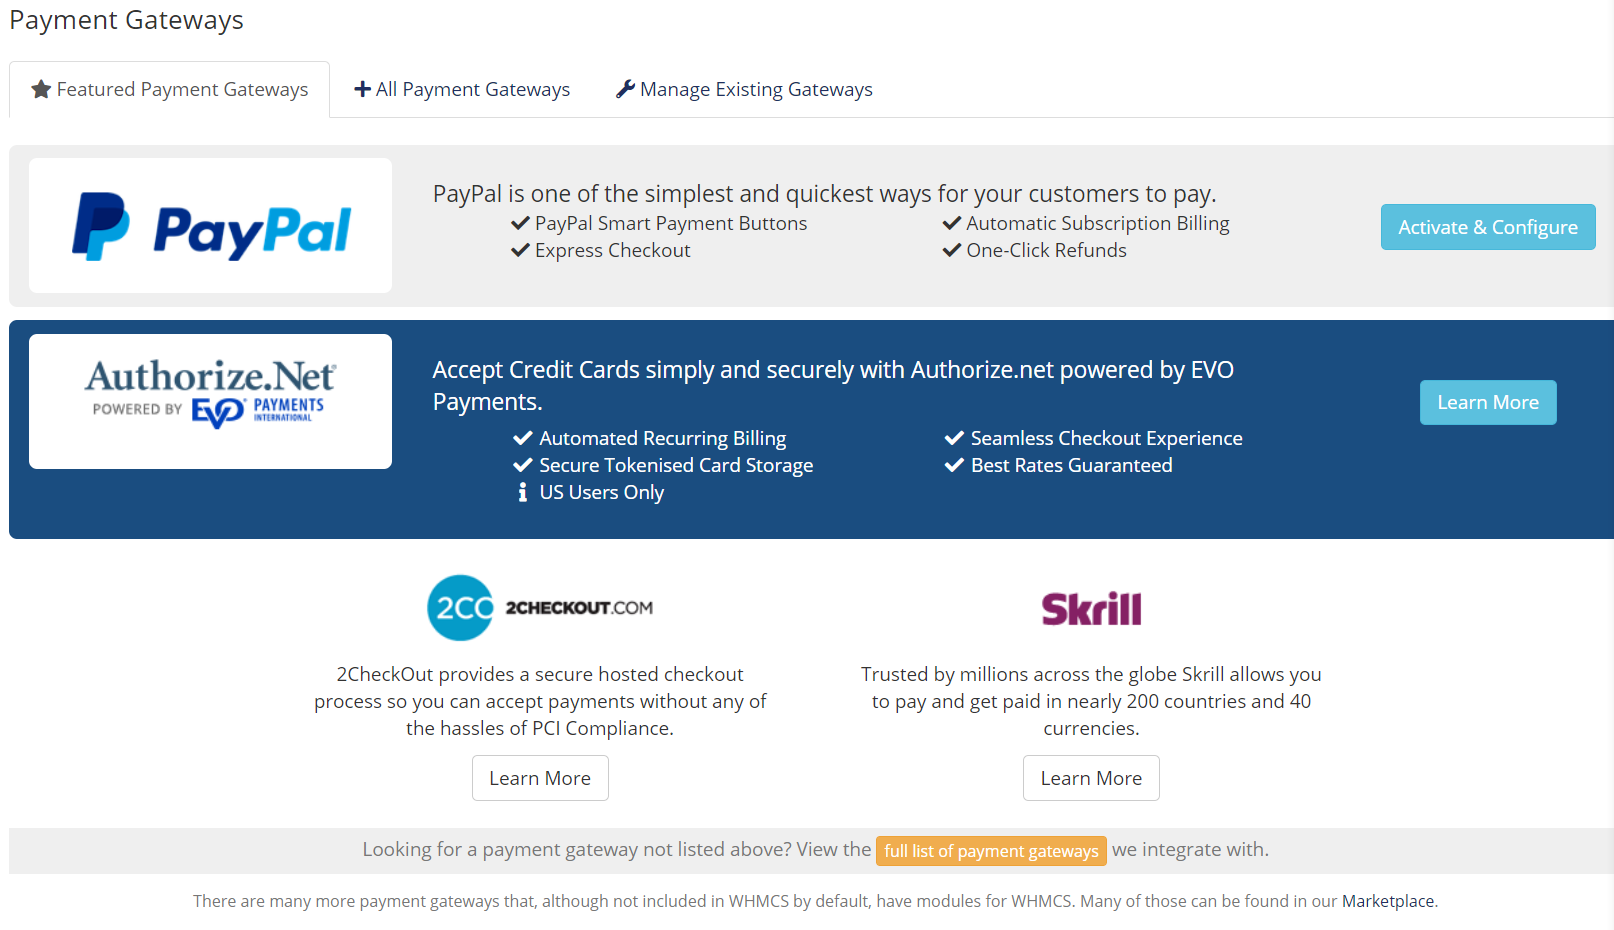
From here, you can decide on the payment processors you want to use.
At ChemiCloud, we recommend users set up PayPal and Stripe. PayPal is a widely accepted payment method in the USA and Canada and Stripe will allow your shop to take credit cards of all types, such as Visa, Mastercard, American Express, Discover, JCB, and others.
How to activate PayPal as a Payment Gateway in WHMCS
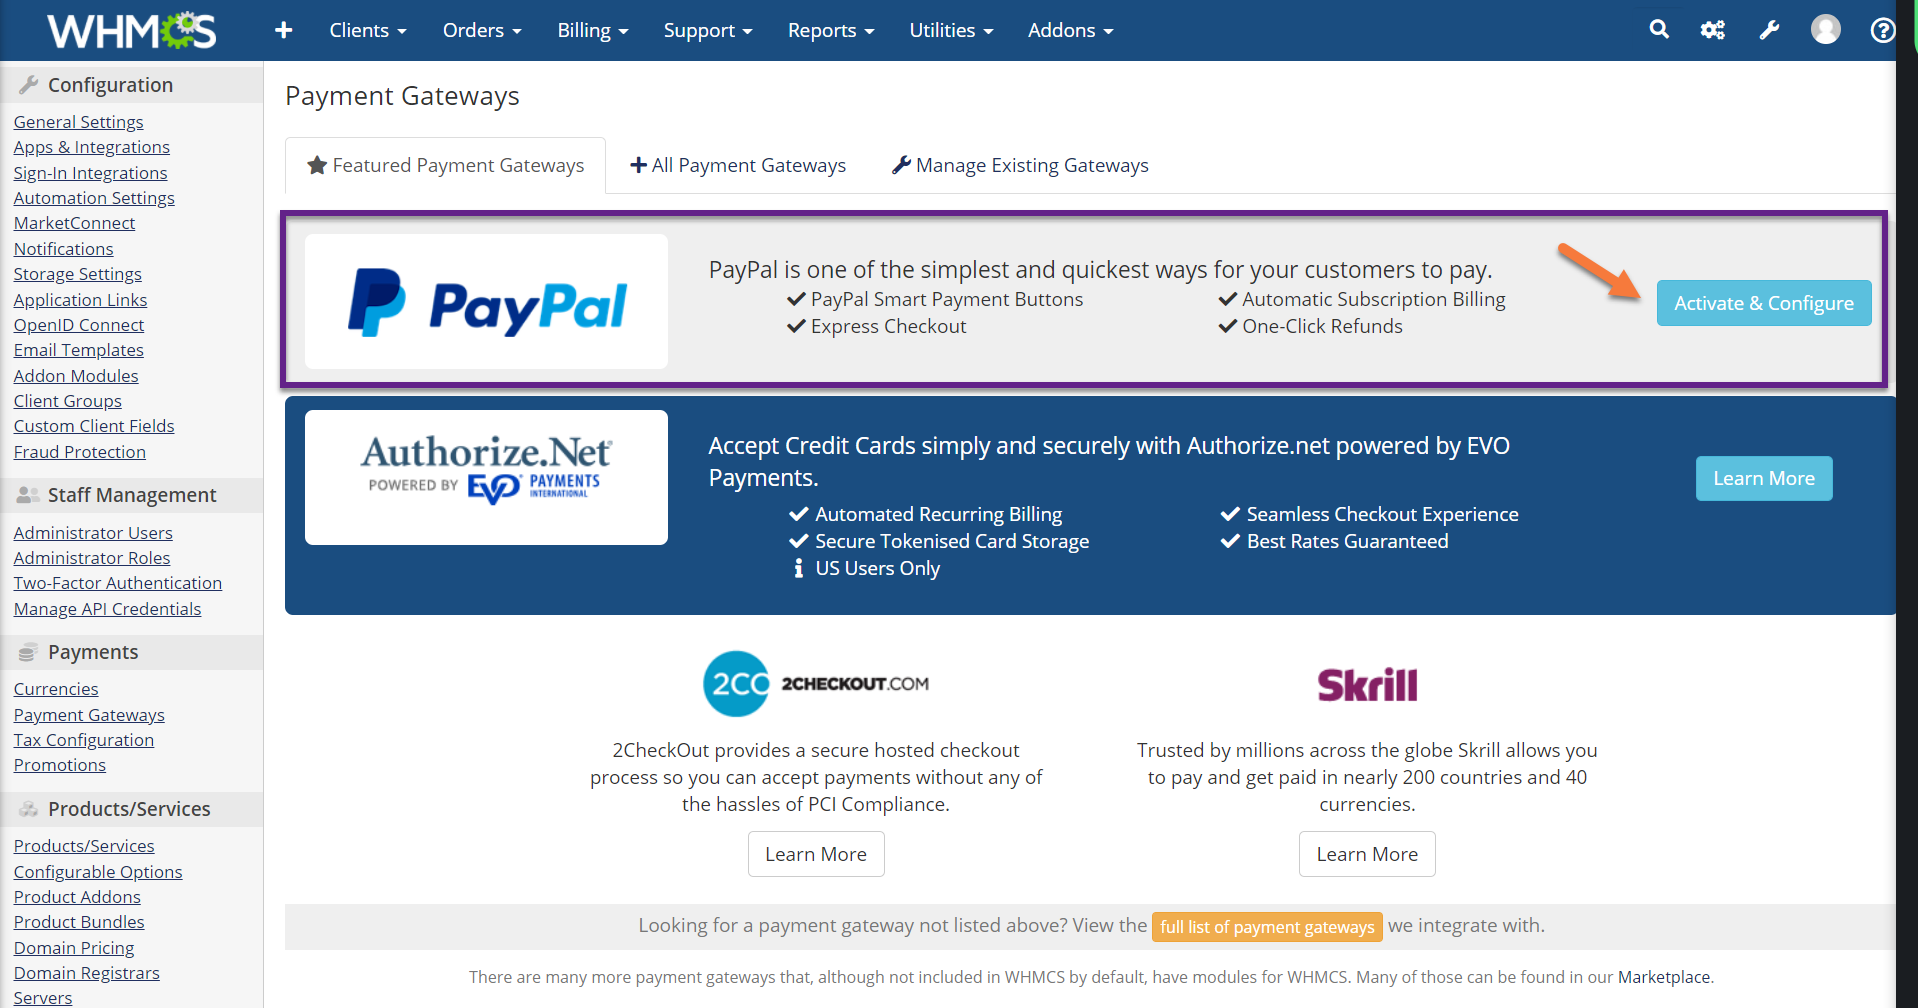
Step 1: In the Payment Gateways area, look for the PayPal banner, and click the teal Activate & Configure button.
Step 2: The PayPal sign-in Modal will open, and you will be guided to sign in to your PayPal account.

Enter your PayPal account email, choose your Country, then click Next.
How to activate Stripe as a Payment Gateway in WHMCS
Step 1: In the Payment Gateway area, look at the bottom for a yellow button titled “full list of payment gateways”.
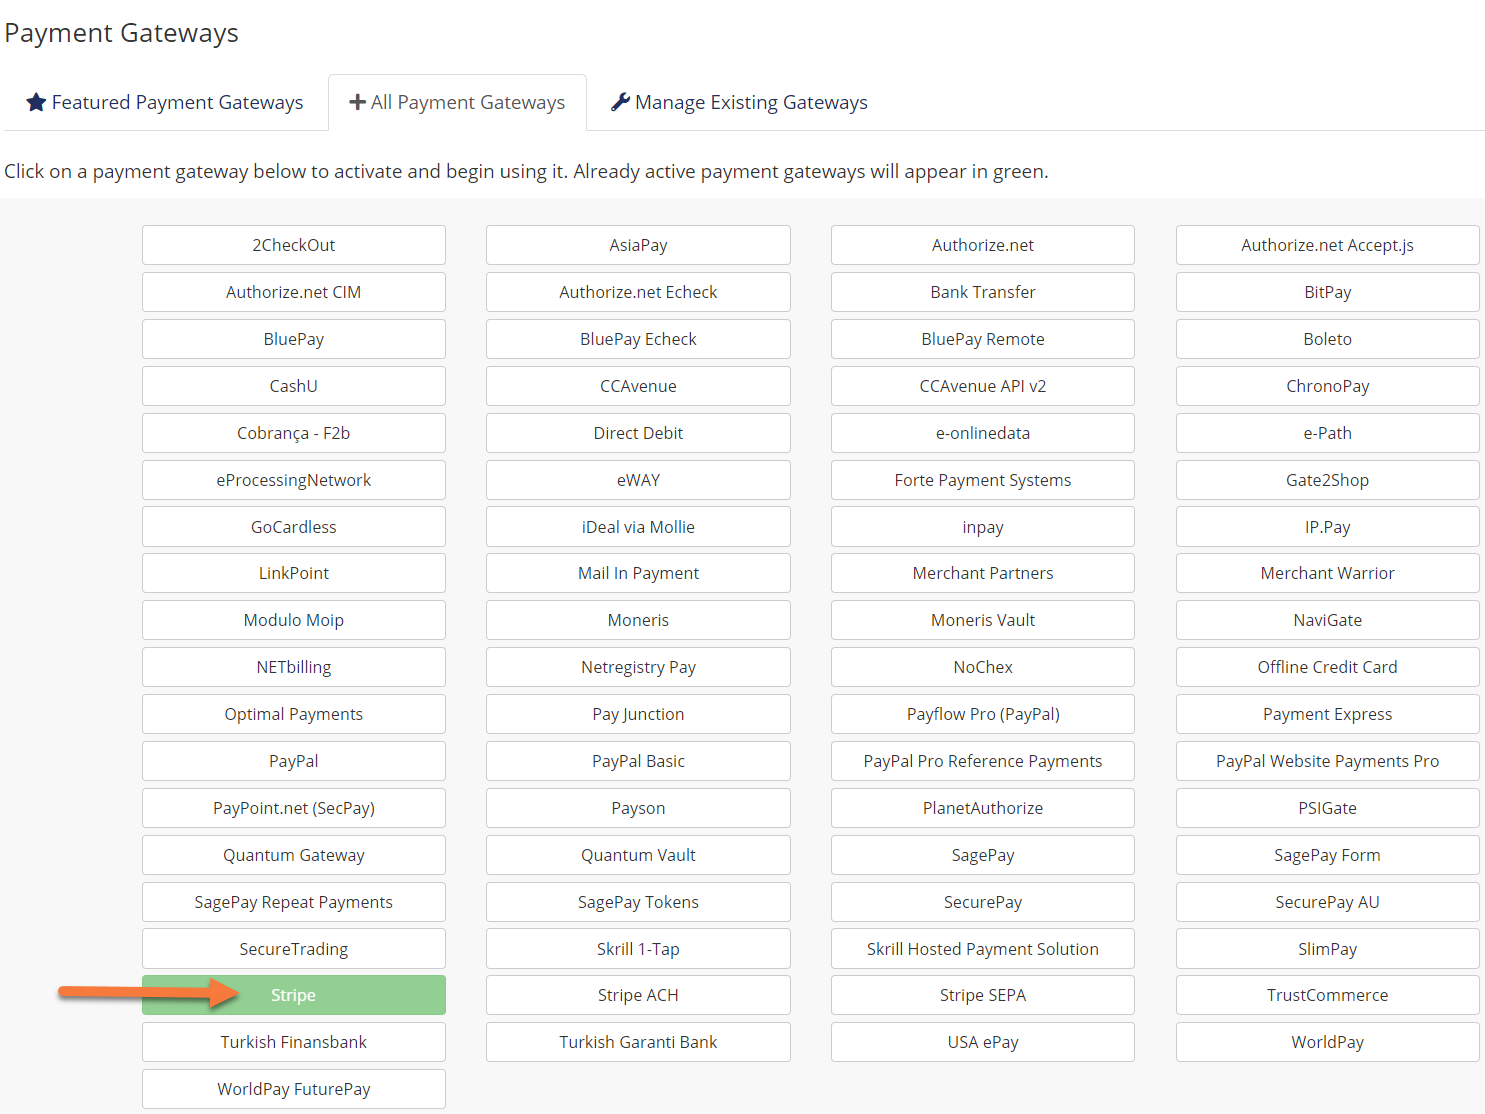
Step 2: Look for and click on Stripe in the list of payment providers:
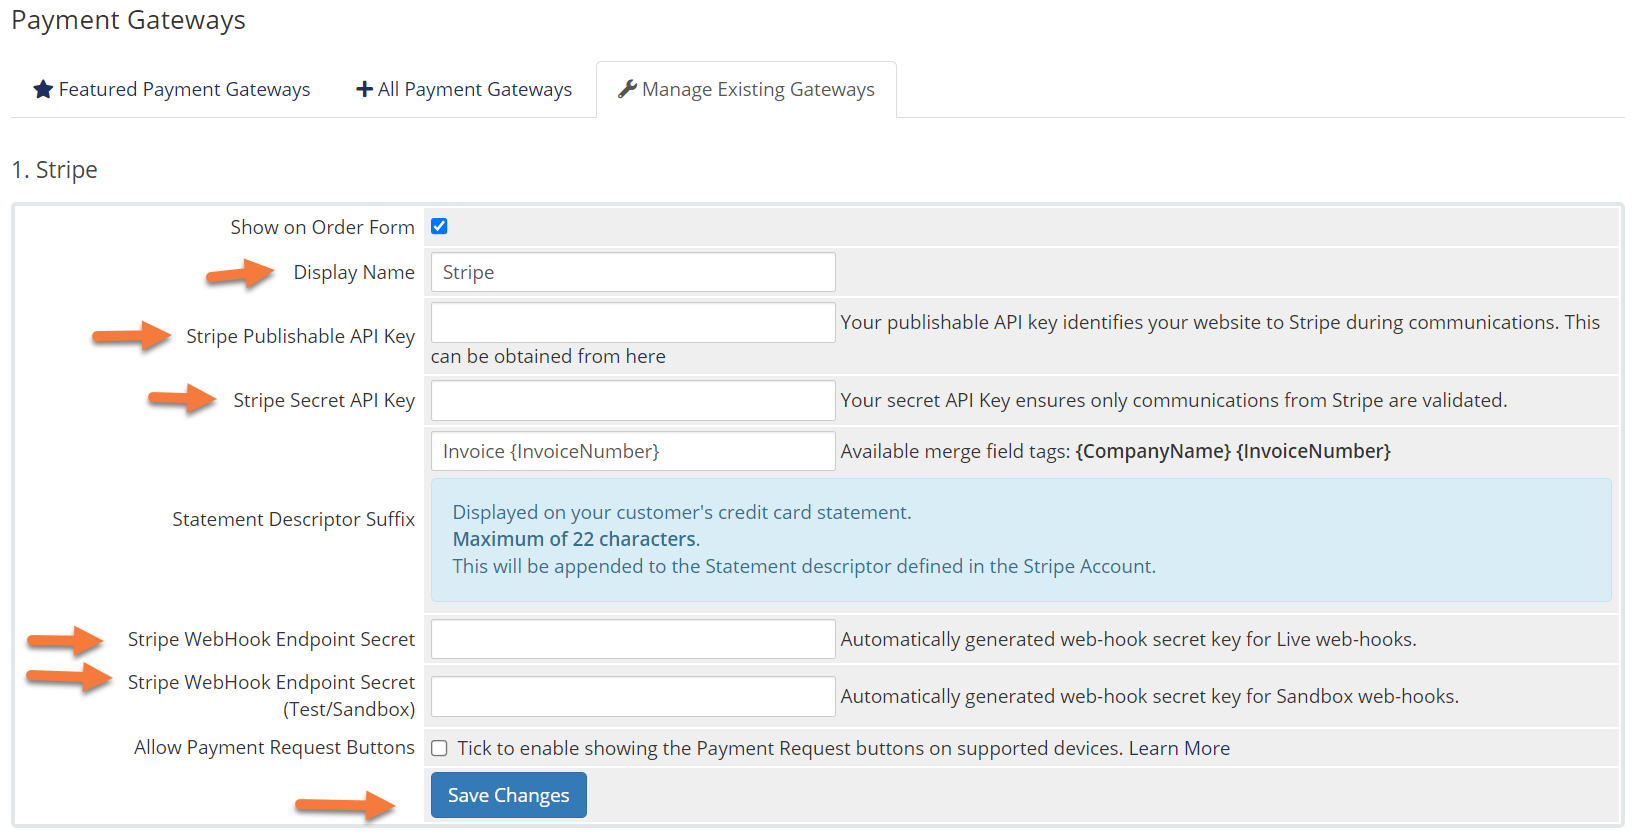
Step 3: You will be taken to the Stripe configuration where you can enter your Stripe API keys.
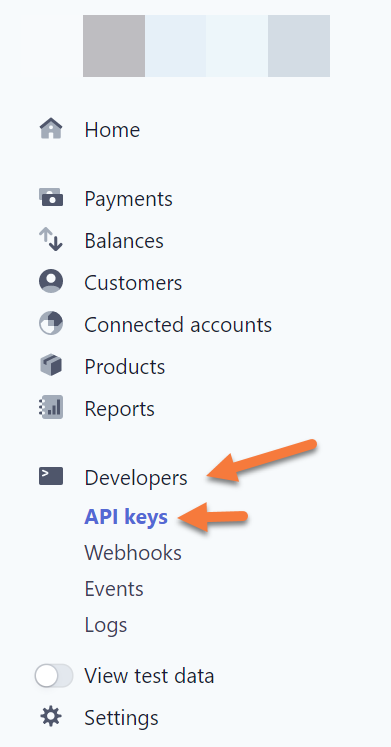
Step 4: To obtain this information, you’ll need to log in to your Stripe account and click Developers from the row of options on the left, then API Keys.
Once you have your Payment Gateways set up and running, you’ll be able to accept money from customers!
And that concludes our tutorial on configuring Payment Gateways in the WHMCS app.
▶️ Please join us in the next tutorial where we will walk you through configuring the Default Currency in WHMCS.