In this tutorial, we’ll be walking you through your first login and the WHMCS Getting Started Wizard.
If you are using cPanel, you can easily install WHMCS from Softaculous. We’ll assume that WHMCS has been already installed.
Now that WHMCS is installed and the cron job has been configured. It’s time to log into the WHMCS admin area and begin the initial configuration.
Getting Started with WHMCS – Setup Wizard
1. First, log in using the administrator credentials you provided during the installation process.
2. Once logged in, you’ll be presented with the Getting Started Wizard. This tool will walk you through the initial configuration of WHMCS. If the wizard does not appear, it can be opened manually via the Help menu > Setup Wizard.
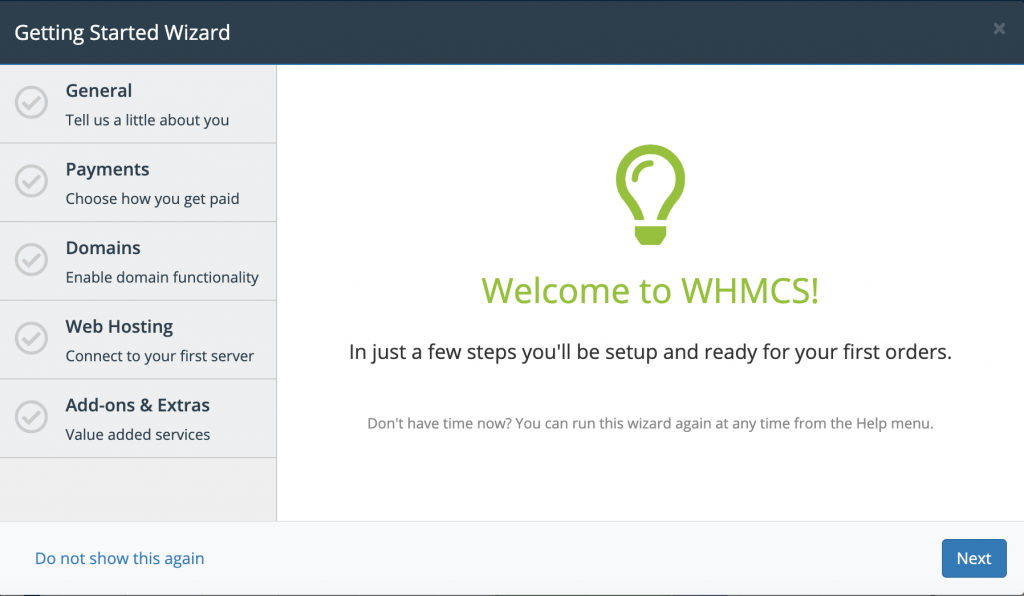
3. To begin the setup wizard, click the Next button at the bottom right of the wizard.
4. In step one, set the basic information for your company, such as the name logo, email address, mailing address country, and language
5. In step two, you can configure the payment gateways for receiving payments from clients, three popular options are provided here, but many more are available for configuration later, click skip step two not configure any gateways or complete the options and click Next.
6. If you’ll want to offer domain registrations, step three offers the ability to configure TLD pricing and register an ENOM account.
7. On the last step of the wizard, you can quickly add a cPanel server to and link it to your WHMCS installation entering a valid hostname or IP username and password, and then clicking the verify connection button will auto-fill the name IP and name server fields with information provided by the server itself. Please check on this tutorial where we will walk you through adding a server to your installation.
Once the Setup Wizard is complete, you are presented with the admin area. From this page, you can manage every aspect of your WHMCS installation.
The first screen visible when logging into the WHMCS admin area is the dashboard. This page provides an overview of automation, support, and business operations in a customizable visual layout.
The main dashboard page is comprised of drag and drop widgets that you can organize to best fit your specific needs. Each widget displays information about a specific aspect of your WHMCS installation. You can also hide widgets, you do not wish to use by clicking the cog icon at the top right corner of the dashboard page.
▶️ Please join us in the next tutorial where we will walk you through configuring the General Settings in WHMCS